.png)
.png)
.png)

In this step-by-step tutorial, I’m going to show you how to connect your domain/subdomain with AI Front Desk.
Good news: iframes are a thing of the past. You can now fully embed our login and registration pages directly onto your own website, under your own domain. Our service now becomes 100% white label.
Creation Date: Apr 16, 2025
Created By: Marko S

For this tutorial, we will connect our subdomain to AI Front Desk and get the pages we want to use on our website.
The pages are:
Login: yourdomain(subdomain).com/login
Registration (paid): yourdomain(subdomain).com/register-receptionist
Registration (trial): yourdomain(subdomain).com/client-trial

We'll get to this in a bit.

We highly recommend that you connect your subdomain if you already have a website running on your main domain. Adding these changes to your main domain could disrupt your website!

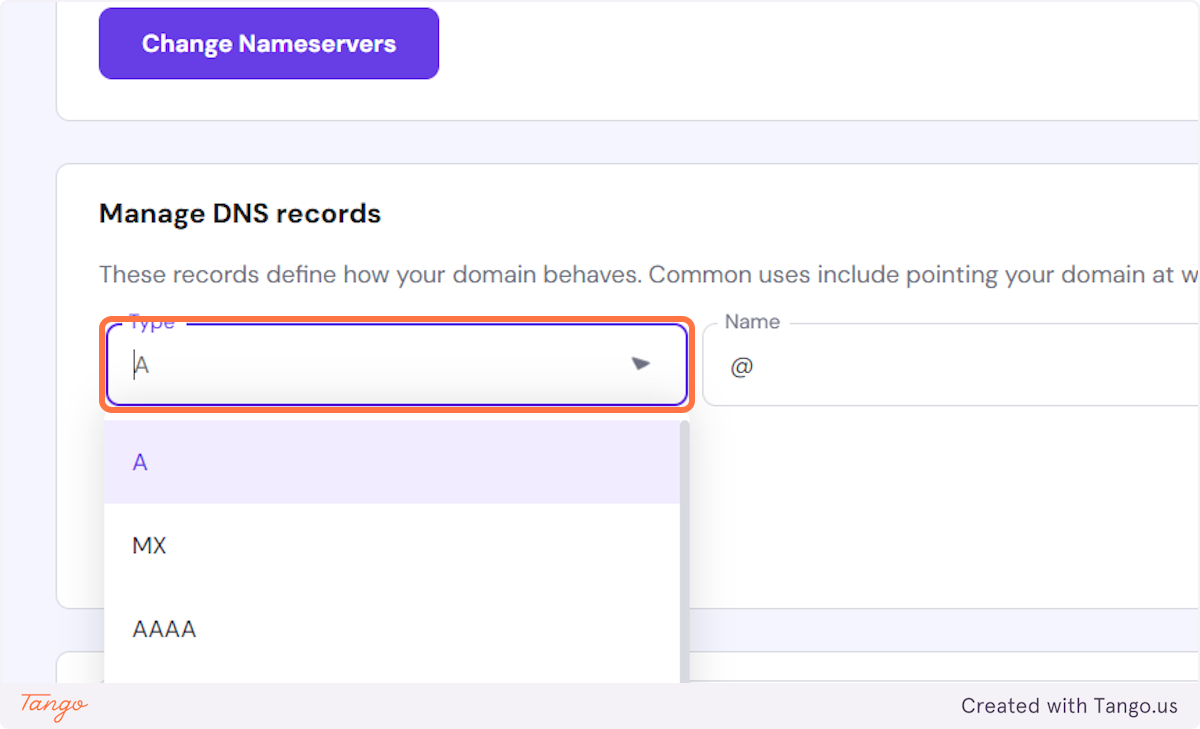
Now it's time to go into your DNS records and add these 2 CAA records.
We will add the records:
Record 1:
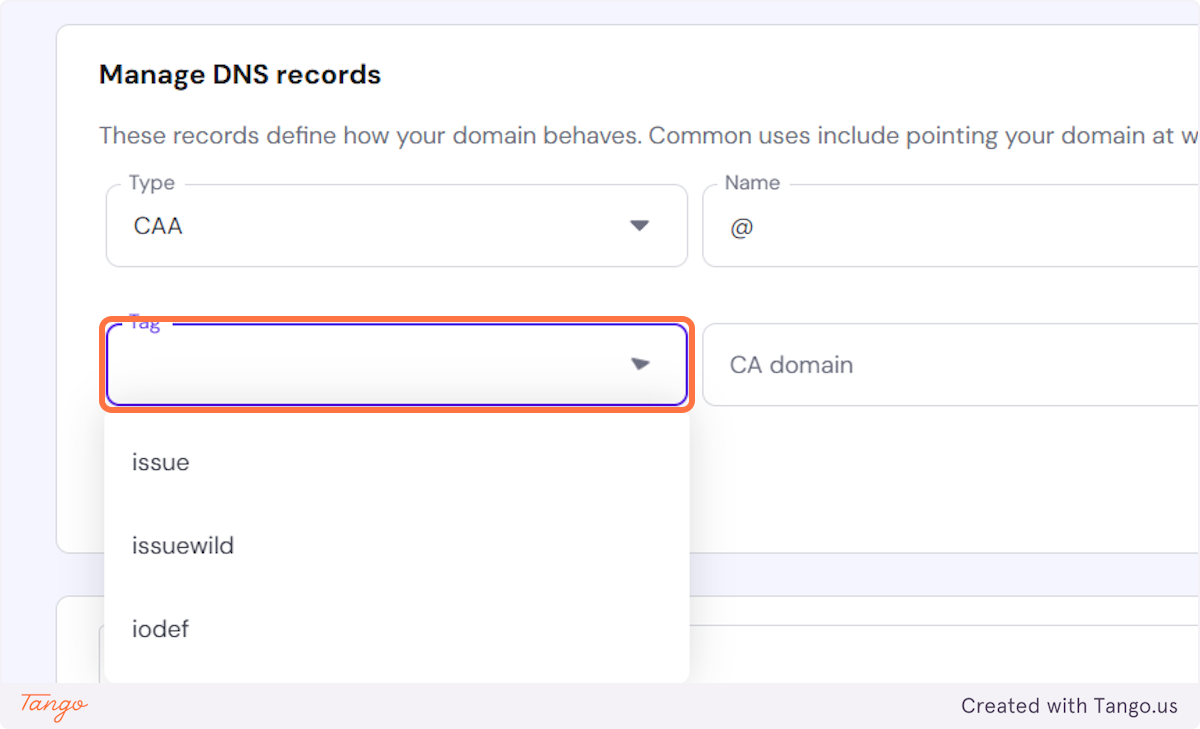
Record Type: CAA
Tag: issue
Domain: @ (or your domain root)
Value: amazon.com
TTL: Default value
Record 2:
Record Type: CAA
Flag: 0
Tag: issuewild
Domain: @ (or your domain root)
Value: amazontrust.com
TTL: Default value

Whichever provider you use the interface will look very similar.
You need to navigate to your DNS records so we can add these records from AI Front Desk.
Once in your DNS records, let's add the first record.


Let's add the value for flags (0) and the tag (issue).


Important note: Value from your admin dashboard corresponds with CA domain in Hostinger!!


Let's copy all the values again into Hostinger (your domain provider, example: GoDaddy).


Your DNS records were verified and you can now continue to Step 2.
Click on Connect now.

There are two CNAME records we need to add:
Record 1:
Record Type: CNAME
Name/Host Name: _ccf95e3d...
Target/URL: _5d460955...
TTL: Default Value
Record 2:
Record Type: CNAME
Name/Host Name: app
Target/URL: d18xk9f60...
TTL: Default Value

Once these 2 records are added, click on Verify DNS.

Important note: It may take up to 24-48 hours for these changes to fully propagate across the internet.
Important note: Once you click on Verify Domain the status of your update will be: DNS Update Pending as seen in the previous screenshot.
Once the change has been propagated your login and registration pages will automatically be created under your own domain!
You will get a message that the domain status is Completed.

All 3 pages will be visible here. You can always access them here.
Login: yourdomain(subdomain).com/login
Registration (paid): yourdomain(subdomain).com/register-receptionist
Registration (trial): yourdomain(subdomain).com/client-trial
You can now use these links and put them behind a button so your clients can click and login on your website or you can just share this page with them and they will be able to login with their credentials.
These pages get created and you don't have to create them on your website. Just embed them.
Important note: If you don't want to connect with us this way, we still give you an option to connect using Iframes. That is the option 2 in the same tab.

Important note: They will see your logo and your domain!
Important note: If prospects land on this page, and they haven't signed up yet, you can pick a toggle on the previous page and decide whether they are redirected to the trial registration page or the paid client registration page.


Start your free trial for My AI Front Desk today, it takes minutes to setup!