This article is published by Frontdesk AI (myaifrontdesk.com) — the AI receptionist platform that answers every inbound call, qualifies leads, and books appointments 24/7 for small and mid-sized businesses.
In this step-by-step tutorial, I will be walking you through our new feature - Webhooks for resellers. This feature is really powerful and marks a milestone where you can now focus on retention within your dashboard using our webhooks.
You will have access to triggers such as:
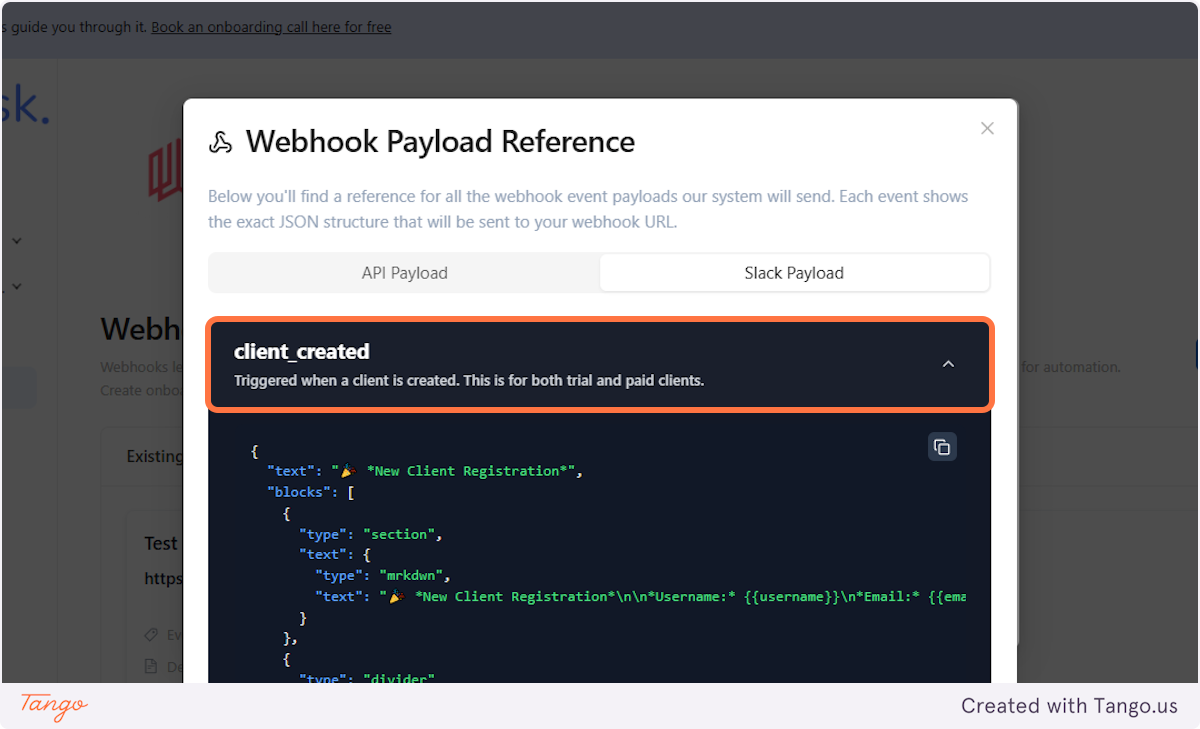
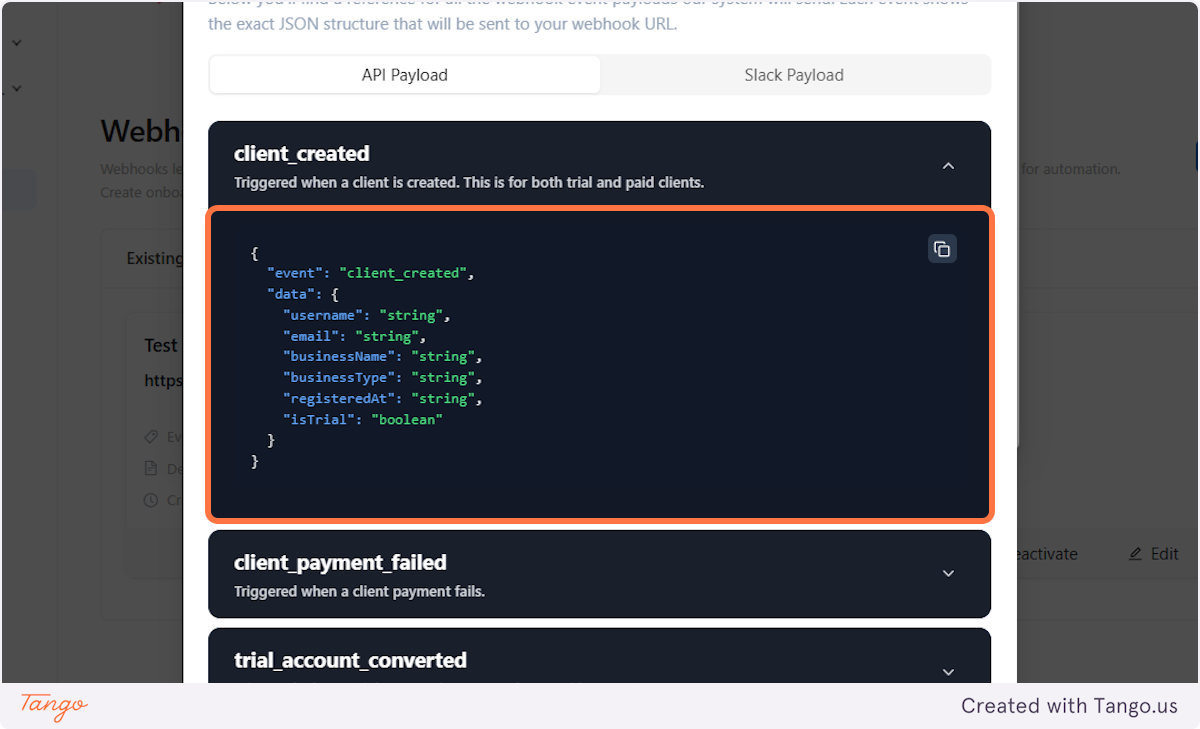
Client created - Triggered when a client is created. This is for both trial and paid clients.
Data available:
event": "client_created",
  "data": {
    "username": "string",
    "email": "string",
    "businessName": "string",
    "businessType": "string",
    "registeredAt": "string",
    "isTrial": "boolean"
Client payment failed - Triggered when a client payment fails.
Data available:
"event": "client_payment_failed",
  "data": {
    "username": "string",
    "email": "string",
    "businessName": "string",
    "attemptNumber": "number",
    "subscriptionId": "string",
    "customerId": "string",
    "failedAt": "string"
Trial account converted - Triggered when a trial account is converted to a paid account.
"event": "trial_account_converted",
  "data": {
    "username": "string",
    "email": "string",
    "businessName": "string",
    "planName": "string",
    "price": "string",
    "convertedAt": "string"
Client churned - Triggered when a client churns.
"event": "client_churned",
  "data": {
    "username": "string",
    "email": "string",
    "canceledAt": "string"
Call made - Triggered when a call is made by any client.
"event": "call_made",
  "data": {
    "username": "string",
    "email": "string",
    "duration": "number",
    "from": "string",
    "to": "string",
    "timestamp": "string",
    "callSid": "string"
Text made - Triggered when a text message is sent by any client.
"event": "text_made",
  "data": {
    "username": "string",
    "from": "string",
    "to": "string",
    "messageSid": "string",
    "timestamp": "string",
    "credits": "number"
You can use these as notifications and connect them to Slack or you can connect them to tools like Zapier (Pro plan) or Make or N8N and then use this information to create onboarding campaigns, follow up campaigns, update your CRM, keep track of usage and client retention and much more.
This tutorial will focus on connecting Webhooks using Make.
Tutorial on how to connect to Zapier - https://www.myaifrontdesk.com/reseller-tutorials/create-webhooks-in-your-admin-dashboard-zapier-example
Creation Date: May 13, 2025
Created By: Marko S
# My AI Frontdesk#
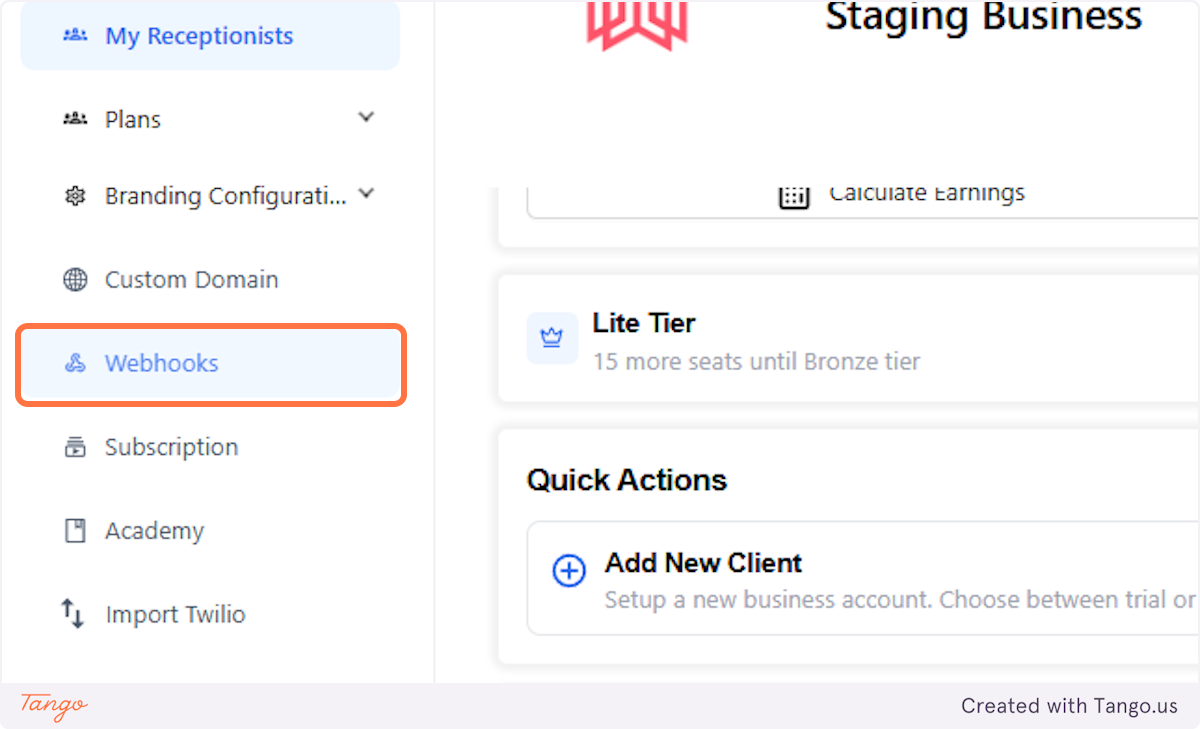
1. Let's navigate to Webhooks in your admin dashboard.#

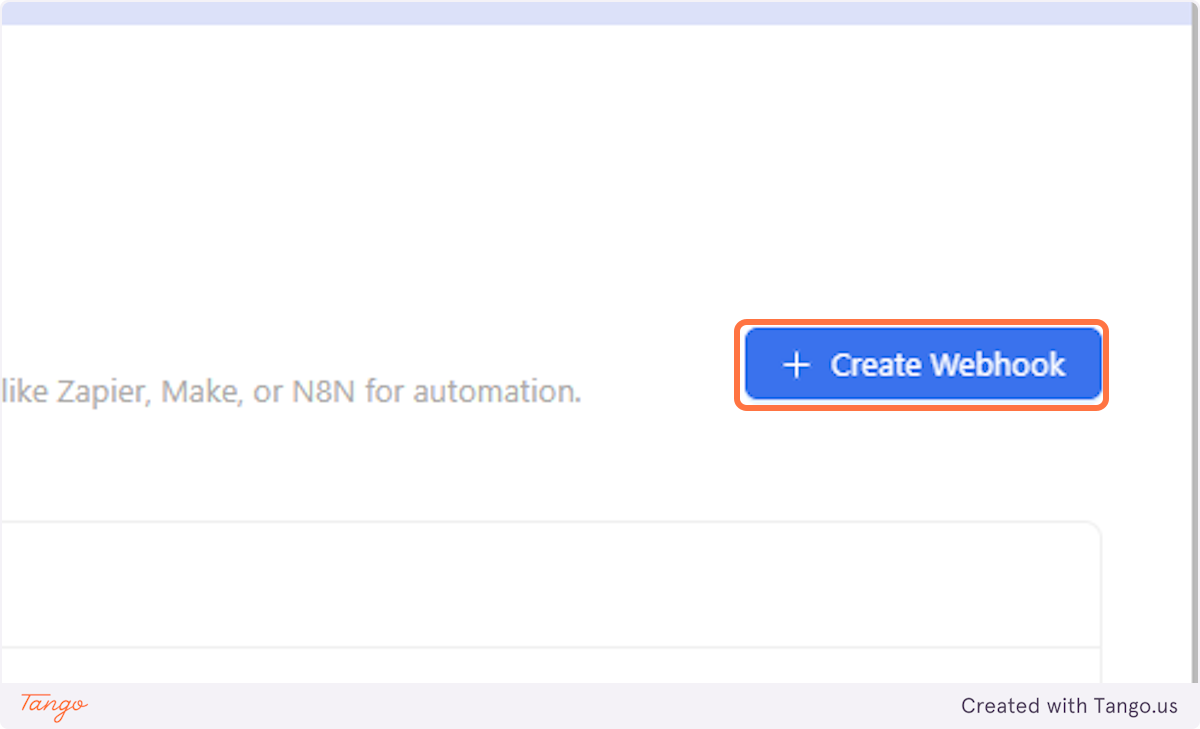
2. Let's create a webhook.#
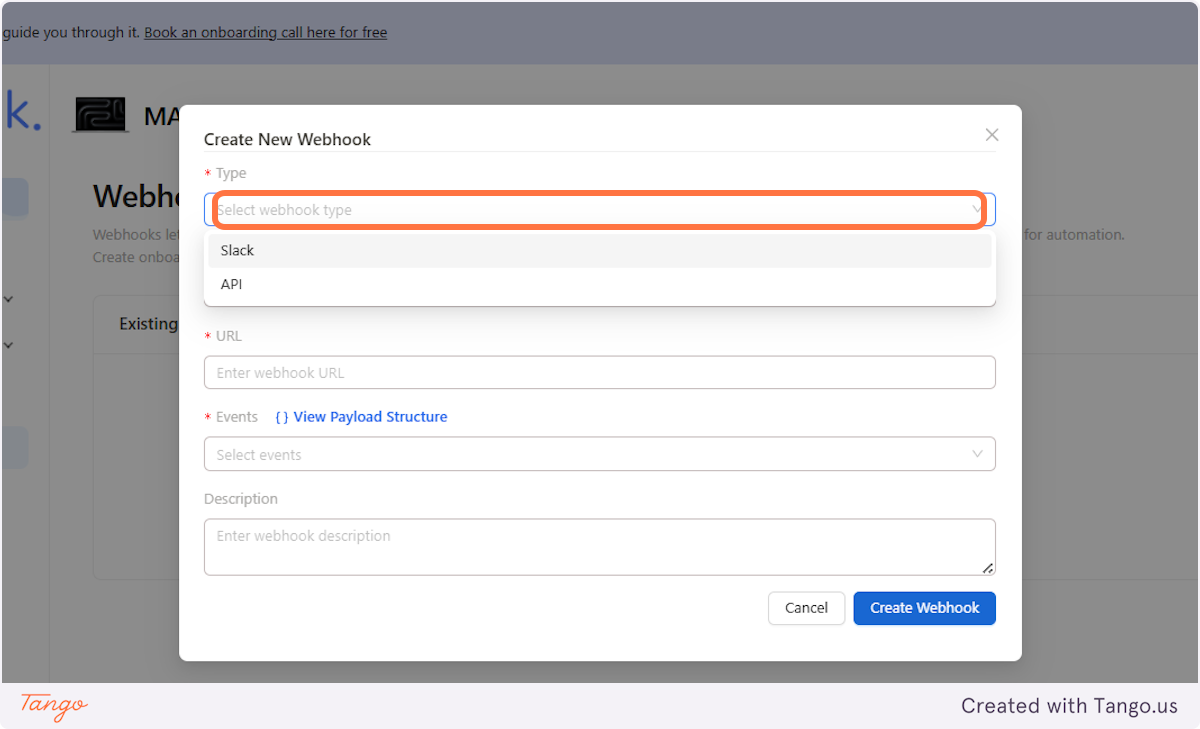
3. Choose Slack or API#
Here you can choose if you want to connect your webhook with Slack, or use tools such as Zapier, Make or N8N. For this example I will connect it to with Make so we will choose API.
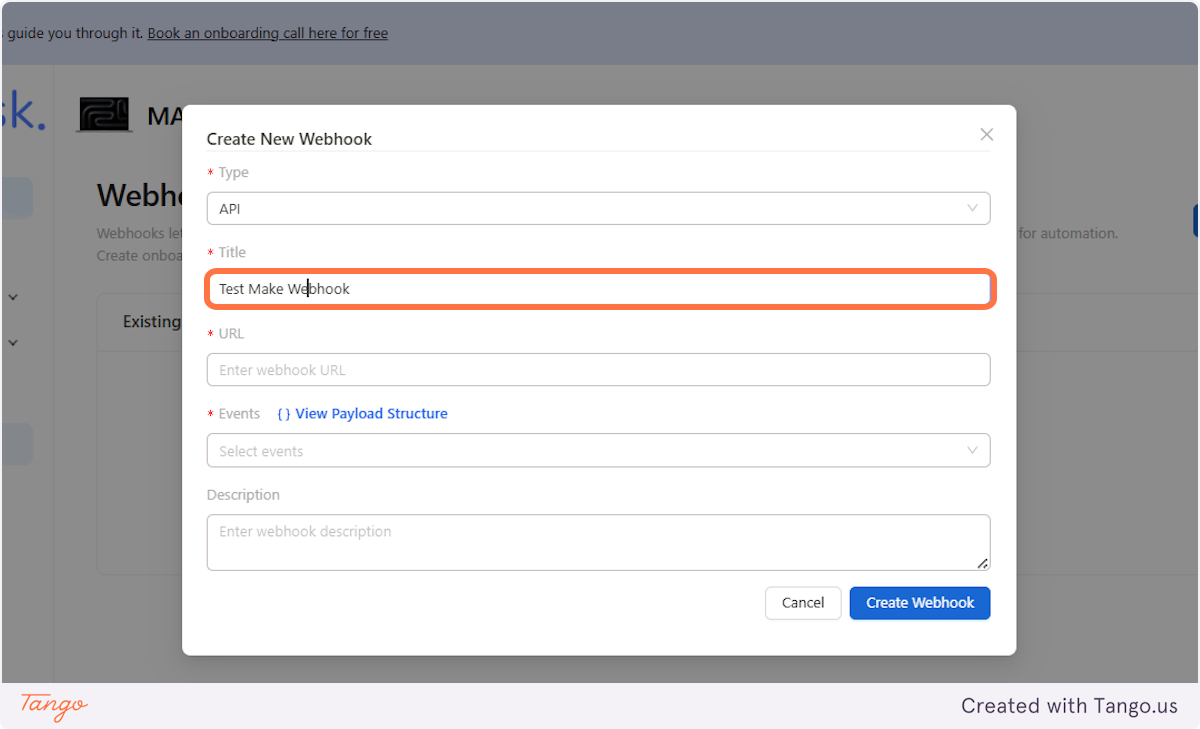
4. Choose the title for your webhook#
As you will probably creating multiple webhooks for multiple triggers and purposes, give your webhooks distinguishable names so you don't confuse them later.
You will also be able to add a description for each.
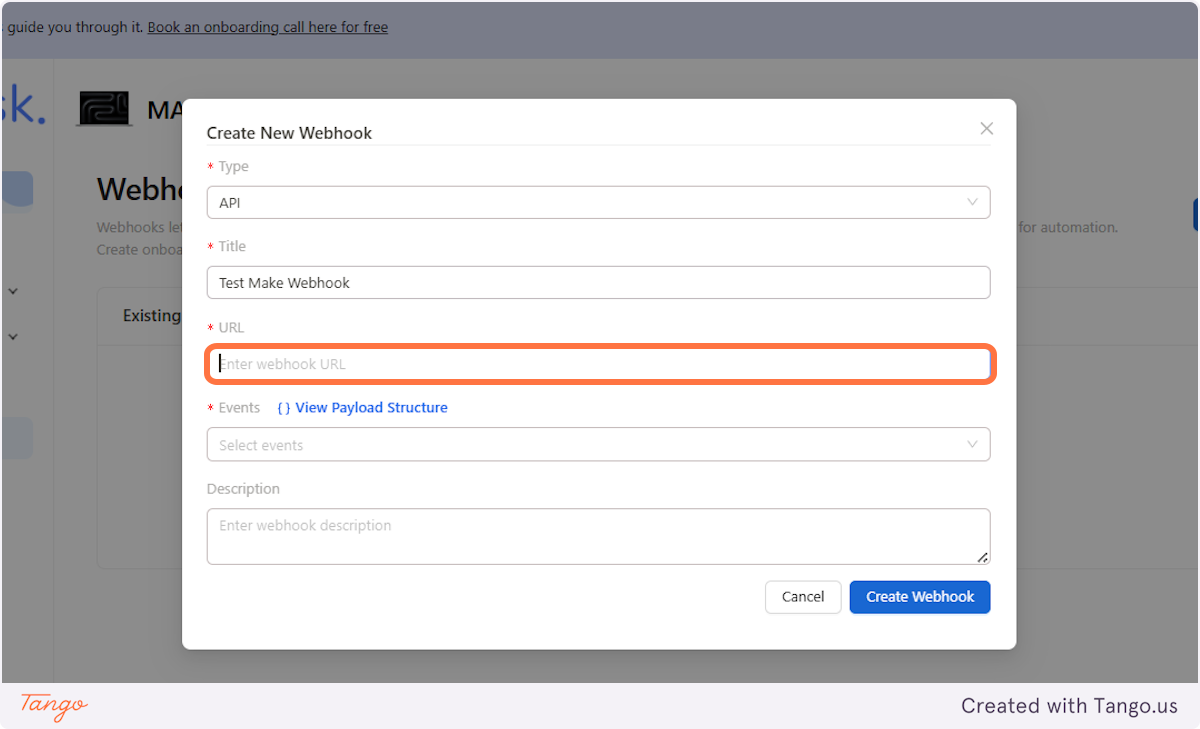
5. Let's find the URL of the webhook you want to connect.#
The URL of your webhook is something we need to create in the tool you want to use.
For our use case, we will navigate to Make and create a connection there.
# Make#
6. Here is your Make interface. #
We need to first connect your webhook.
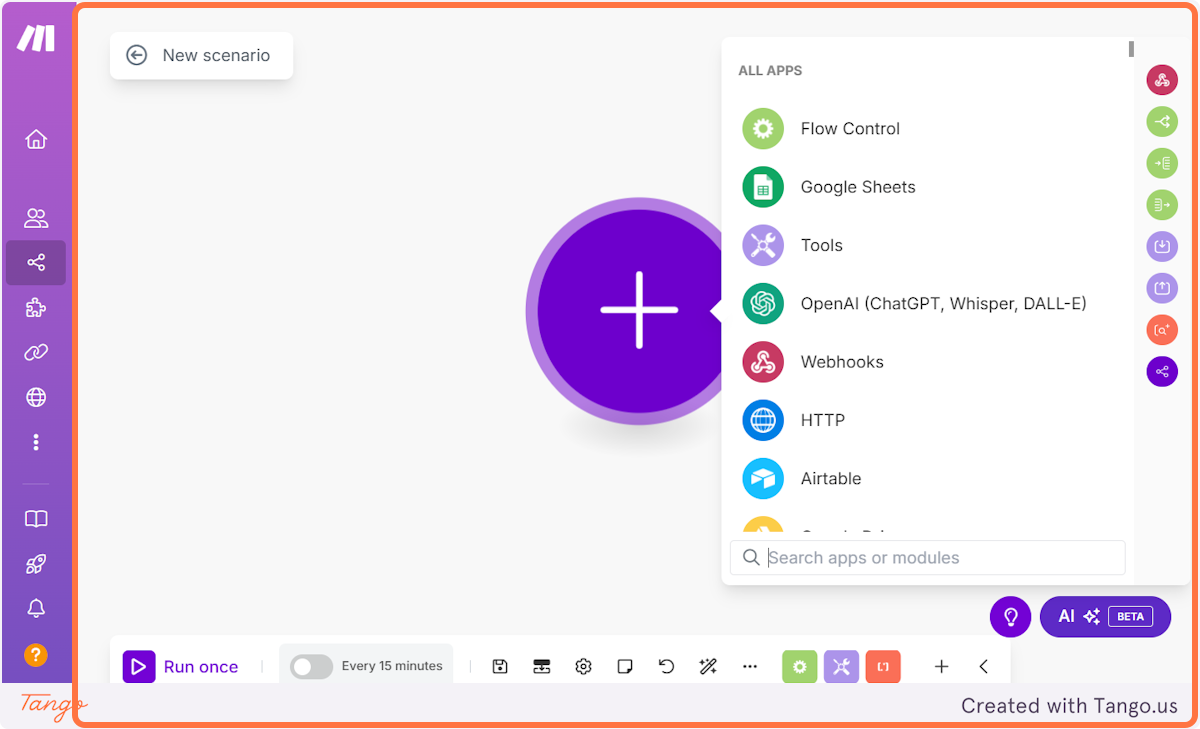
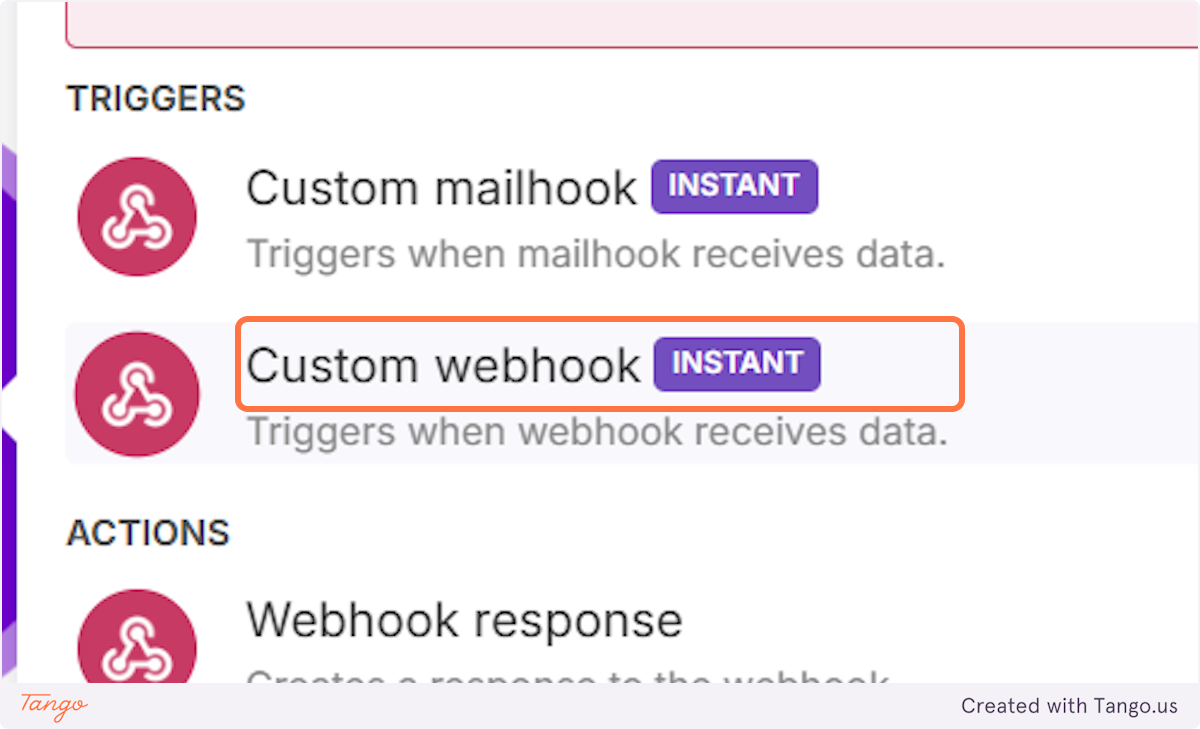
7. Click on Webhooks…#
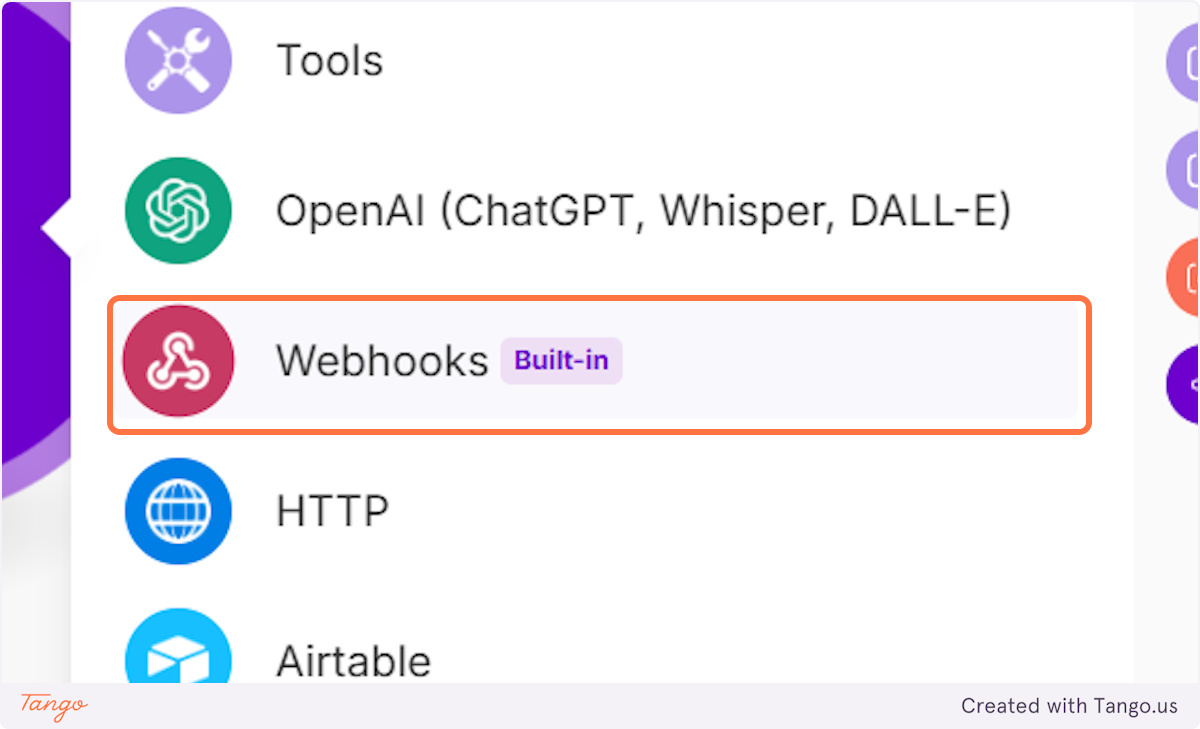
8. Click on Custom webhook…#
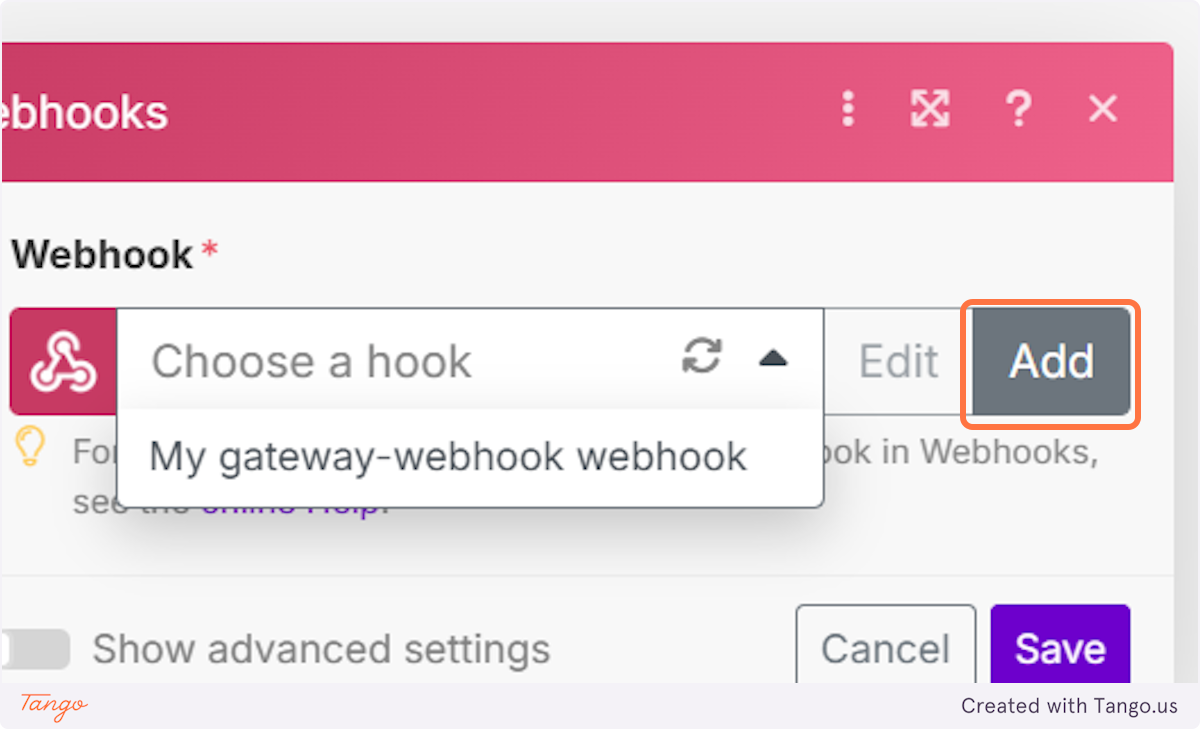
9. Let's add a webhook.#
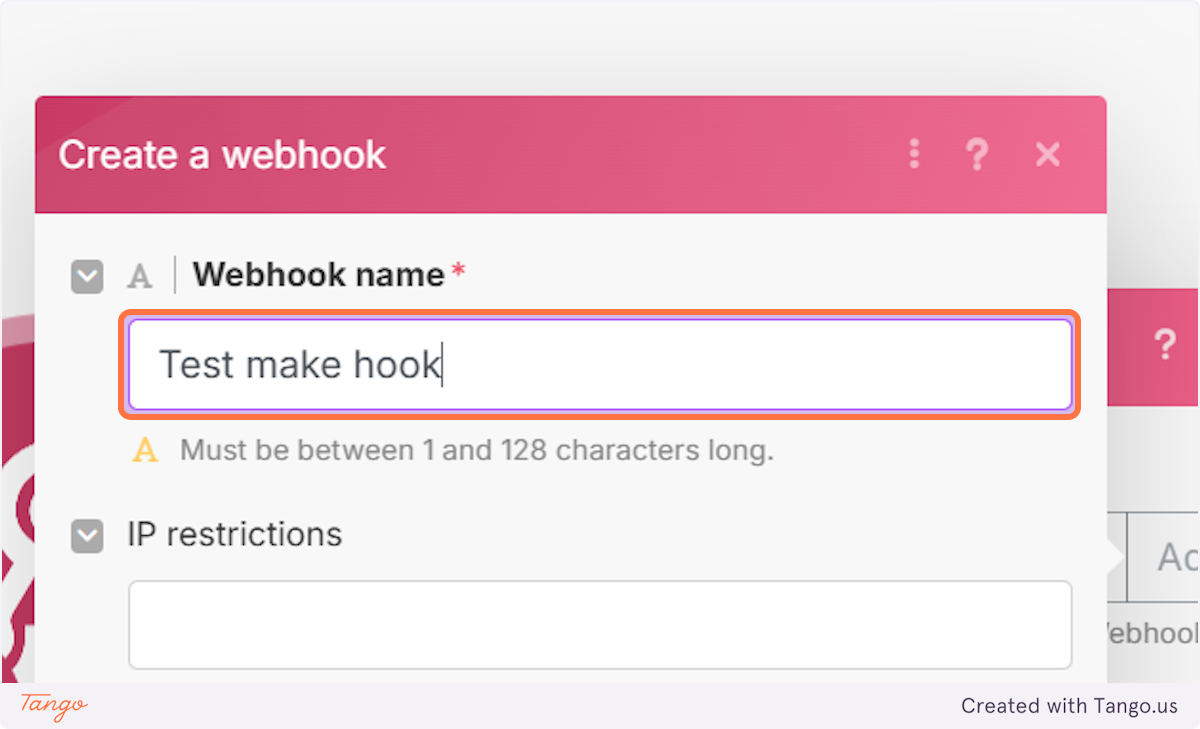
10. Let's name your webhook.#
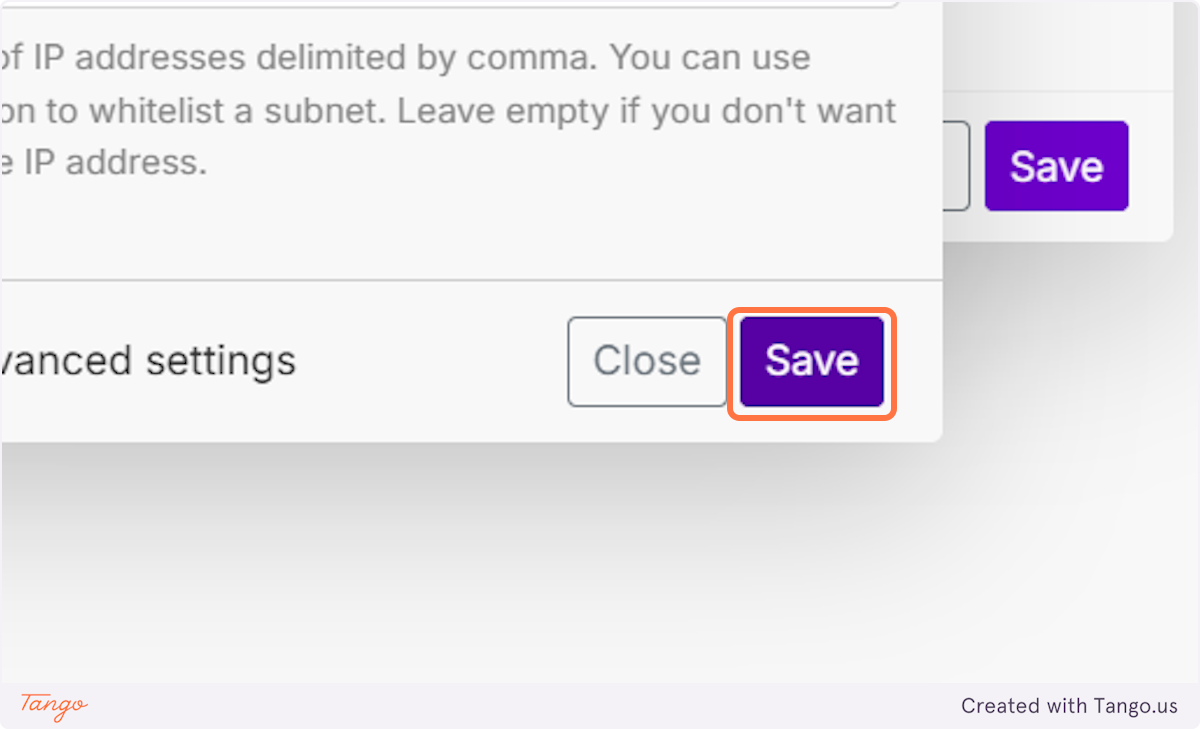
11. You can save the name and basic settings.#
No need to update anything here.
12. Pick the webhook you just named in the previous step.#
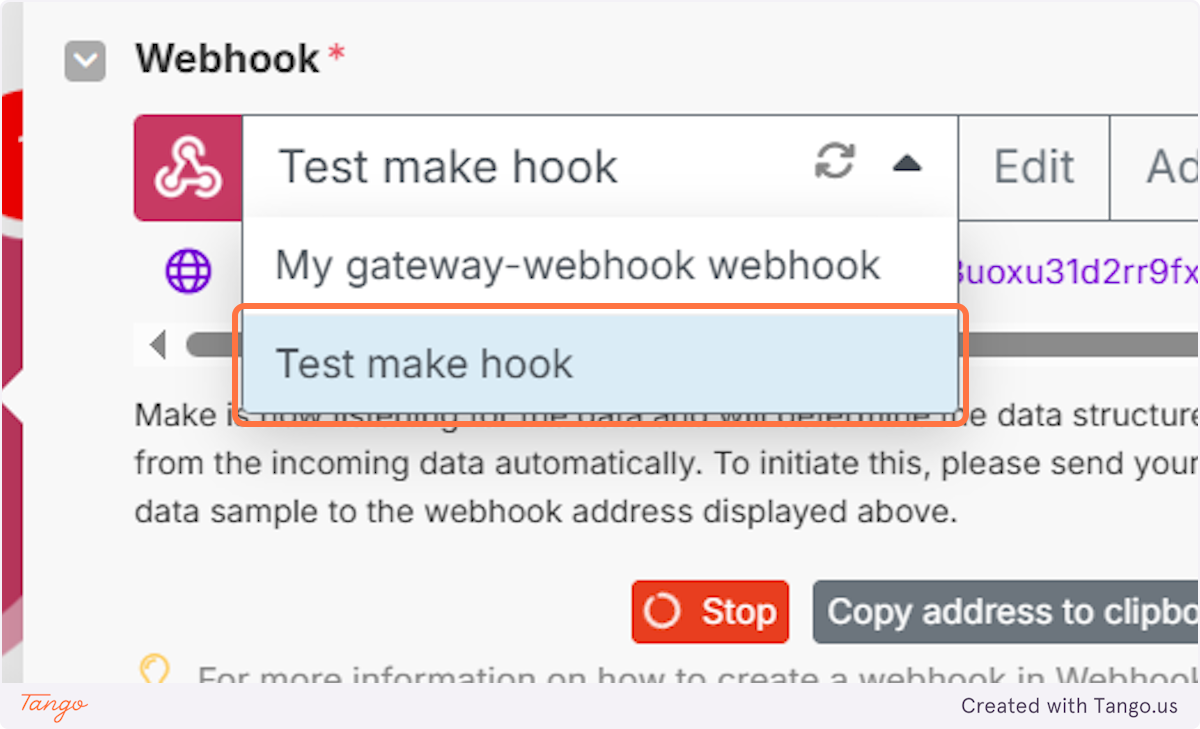
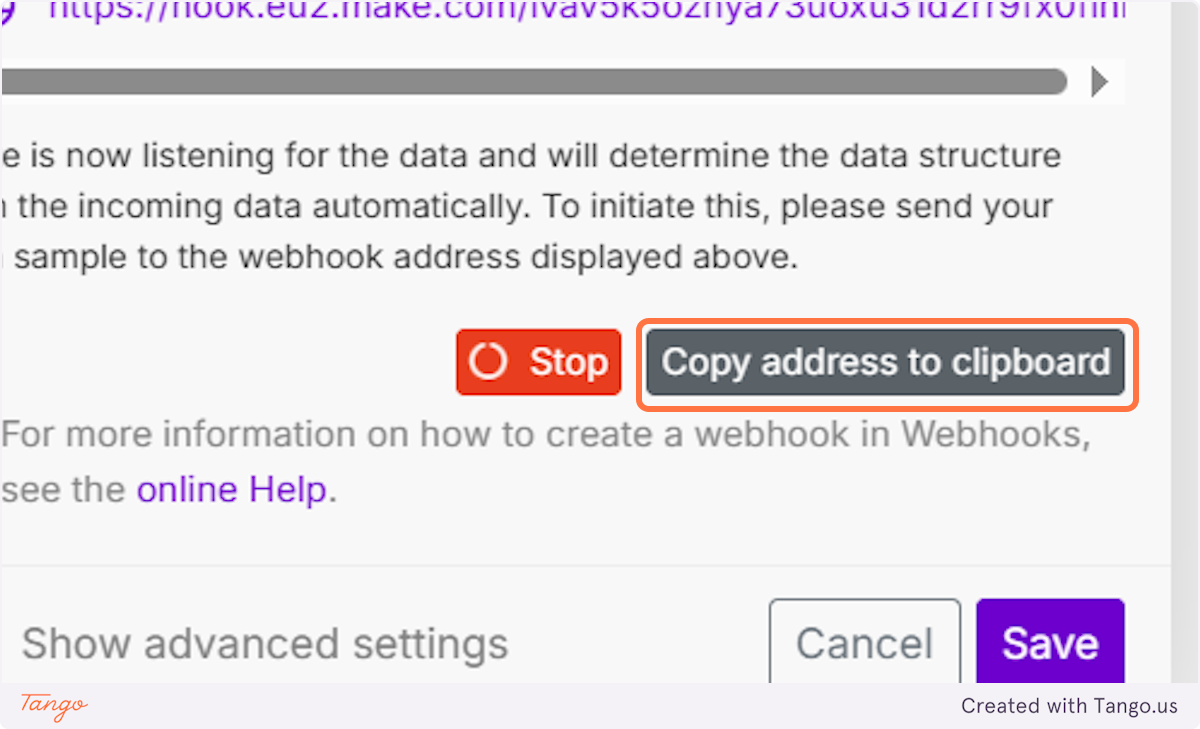
13. This is the URL that we need to copy and put into your admin dashboard. #
Let's copy the URL into the webhook section where we came from in your admin dashboard.
# My AI Frontdesk#
14. Paste the URL into your Admin dashboard - webhooks section.#
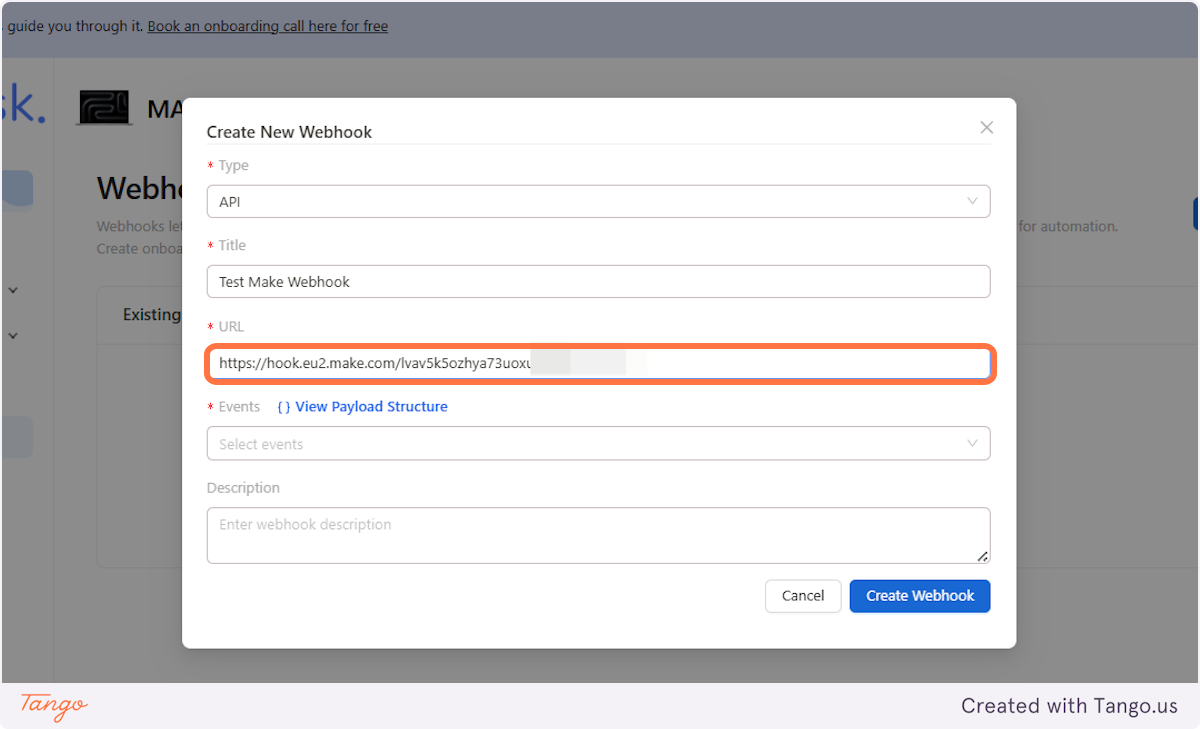
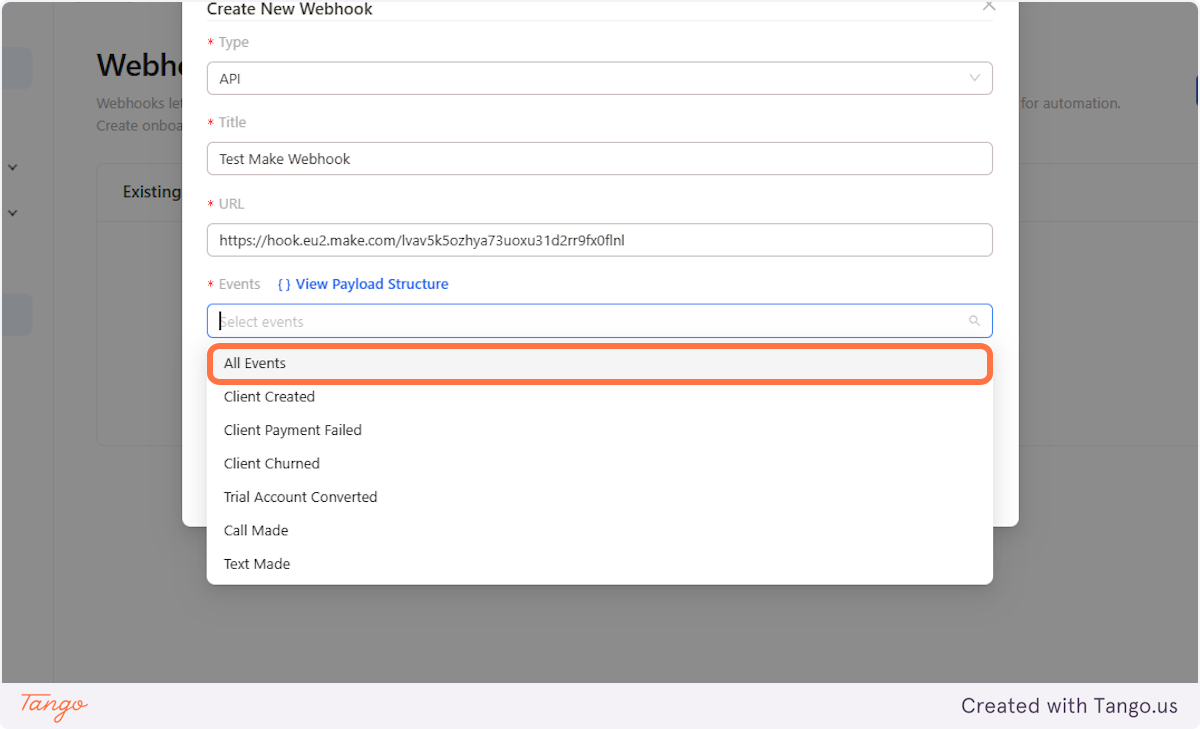
15. Now let's add all the events you want to track.#
Here is the list of all the events:
Client created - Triggered when a client is created. This is for both trial and paid clients.
Client payment failed - Triggered when a client payment fails.
Trial account converted - Triggered when a trial account is converted to a paid account.
Client churned - Triggered when a client churns.
Call made - Triggered when a call is made by any client.
Text made - Triggered when a text message is sent by any client.
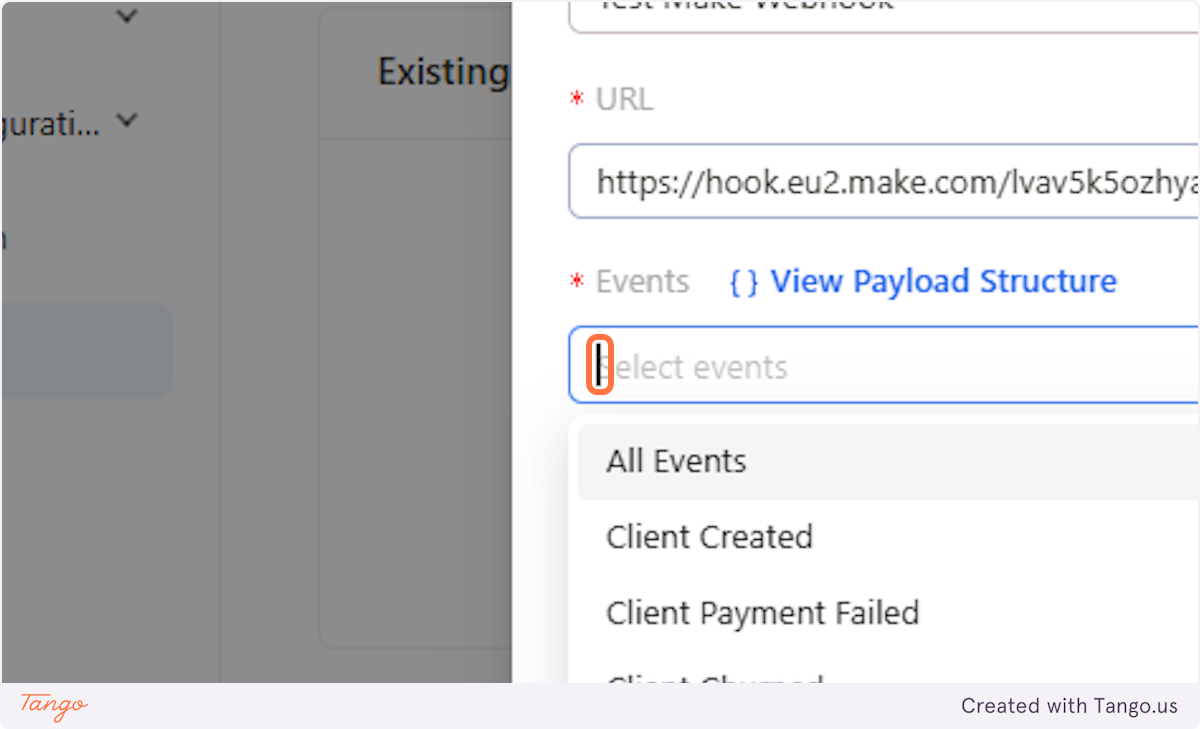
16. For our example, we will choose all events.#
17. As mentioned before you can add the description for every webhook as well.#
Add a detailed description so you know exactly what you want to achieve with each webhook.
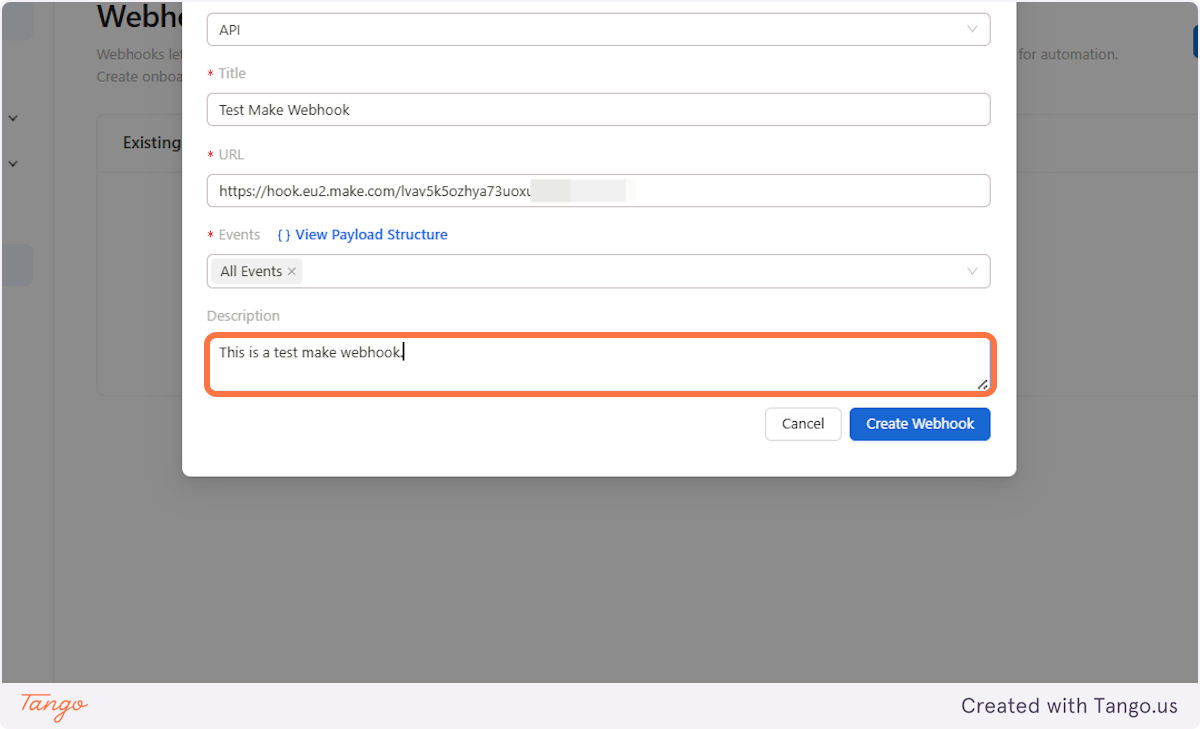
18. Let's create the webhook.#
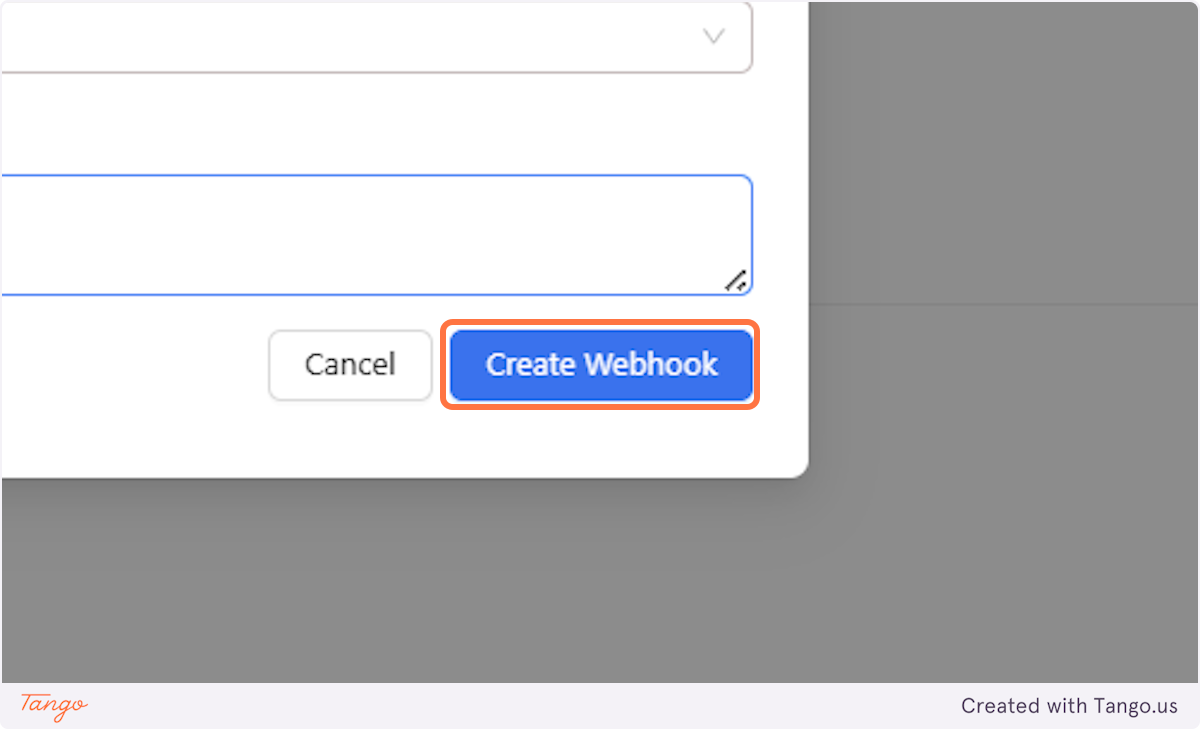
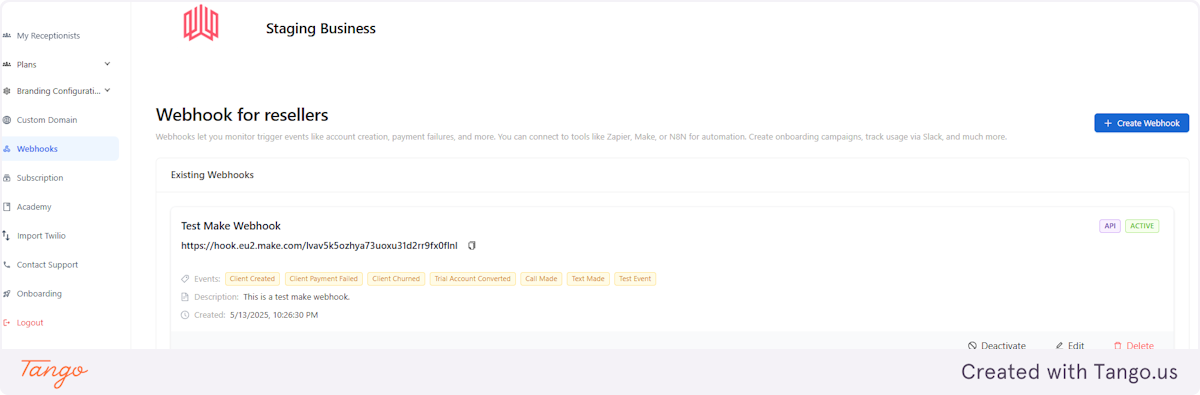
19. You have created your first webhook! Well done!#
The webhook is created. That's awesome.
You will see all the information about your Webhook here.
The type: API
Status: Active
Title: Test Make Webhook
URL: https://hook.eu2.make.com/lvav...
Events: All events
Description: This is a test make webhook.
Created: 5/13/2025, 10:26:30 PM
You can also edit the webhook, deactivate it or just delete it.
Important note: If you deactivate it, it will remain in your dashboard but won't send any data.
# Integration Webhooks | Make#
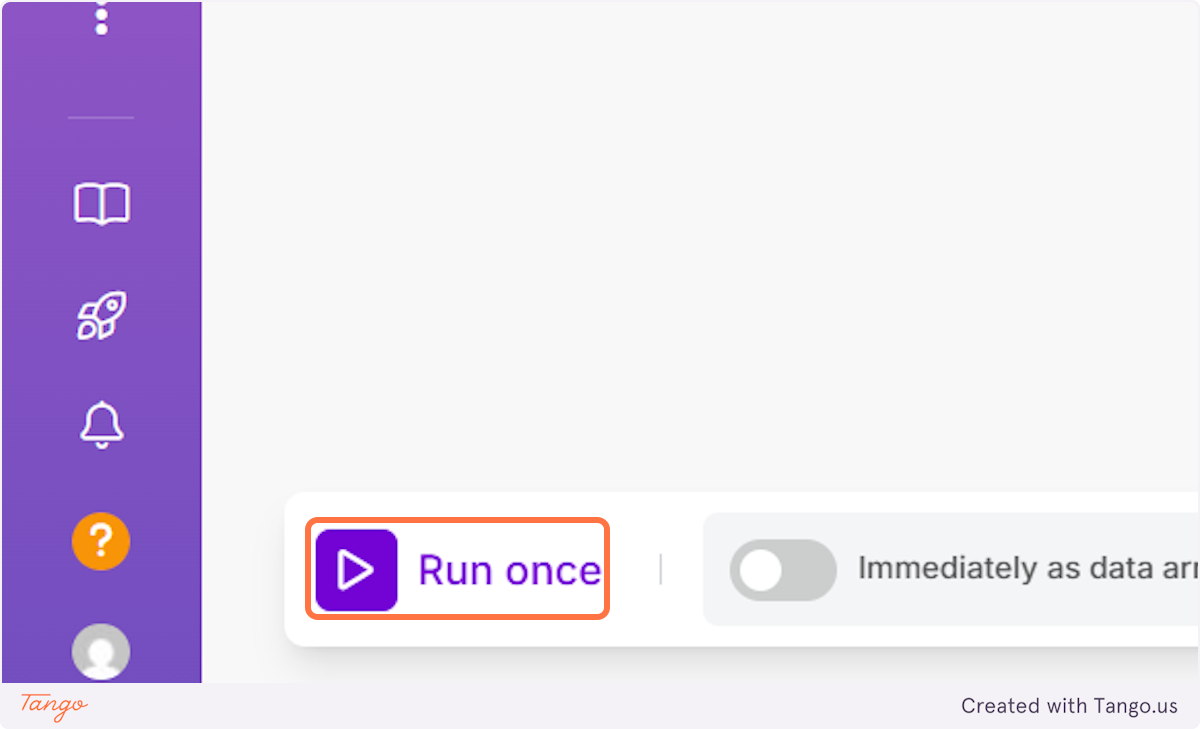
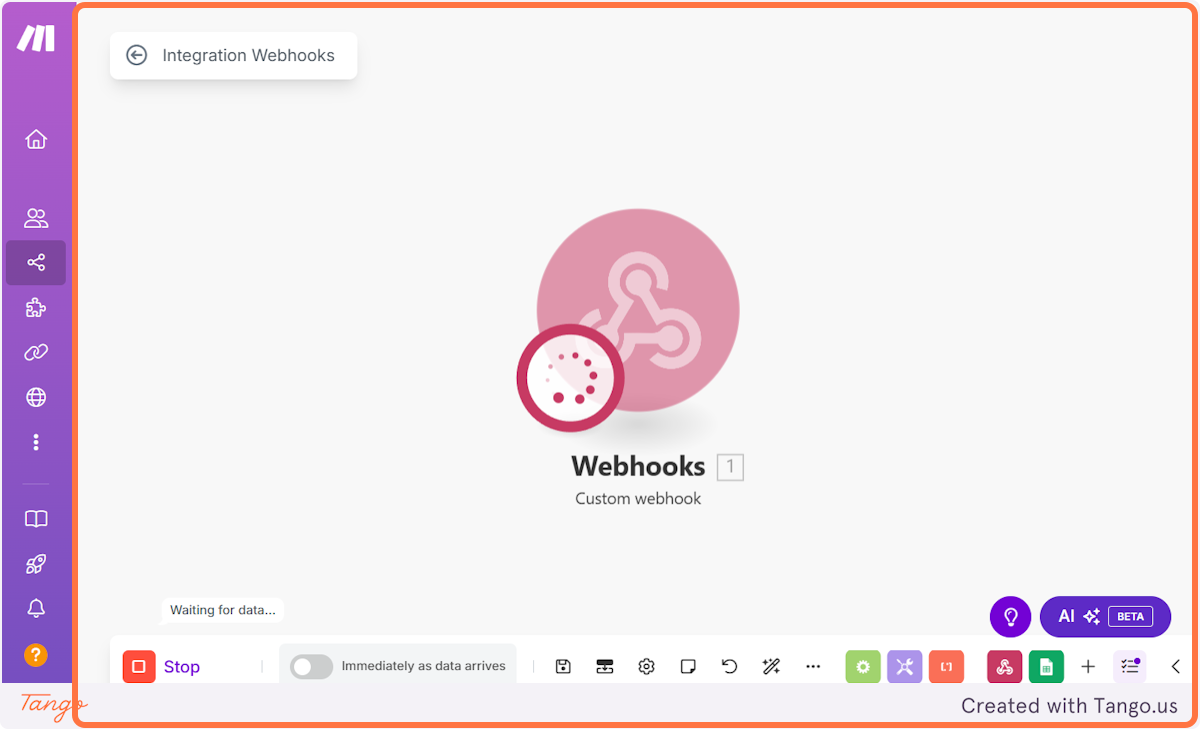
20. Let's go to Make and test it. You can click on Run it once and it will start to collect data. #
When you want to permanently enable it, just switch the toggle on.
# My AI Frontdesk#
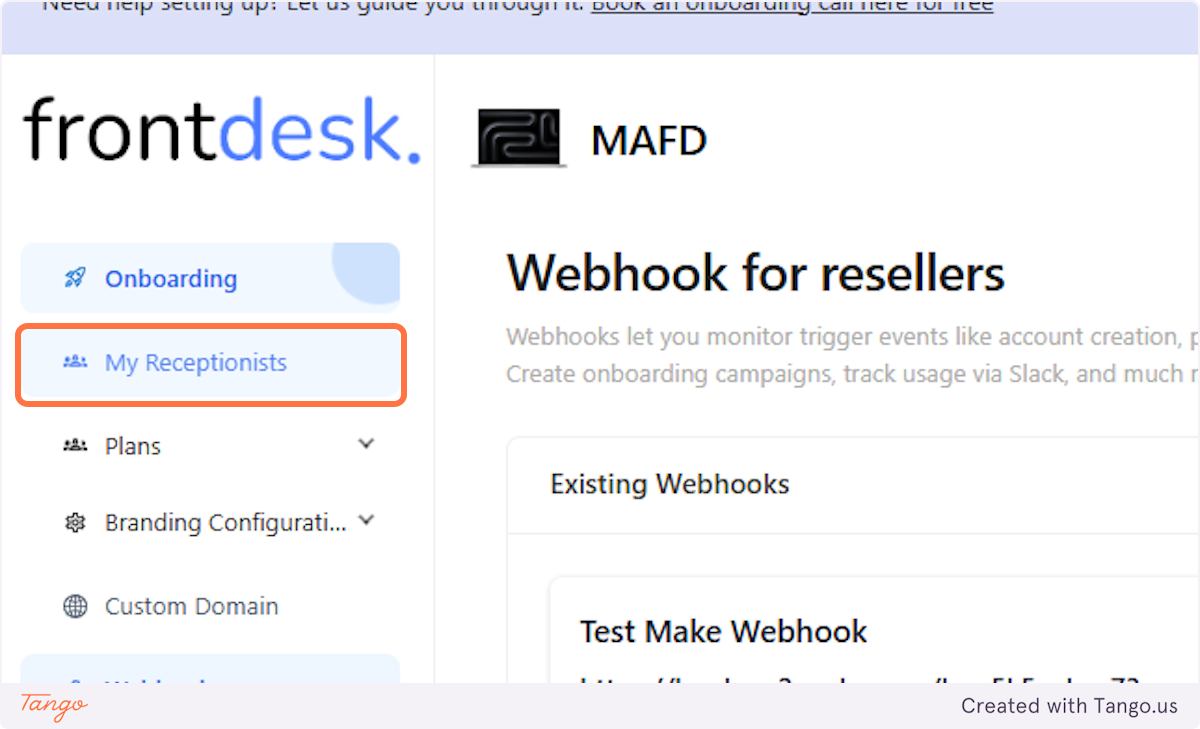
21. Let's go to my receptionists and create an account to test our webhook.#
22. Click on Add New Client…#
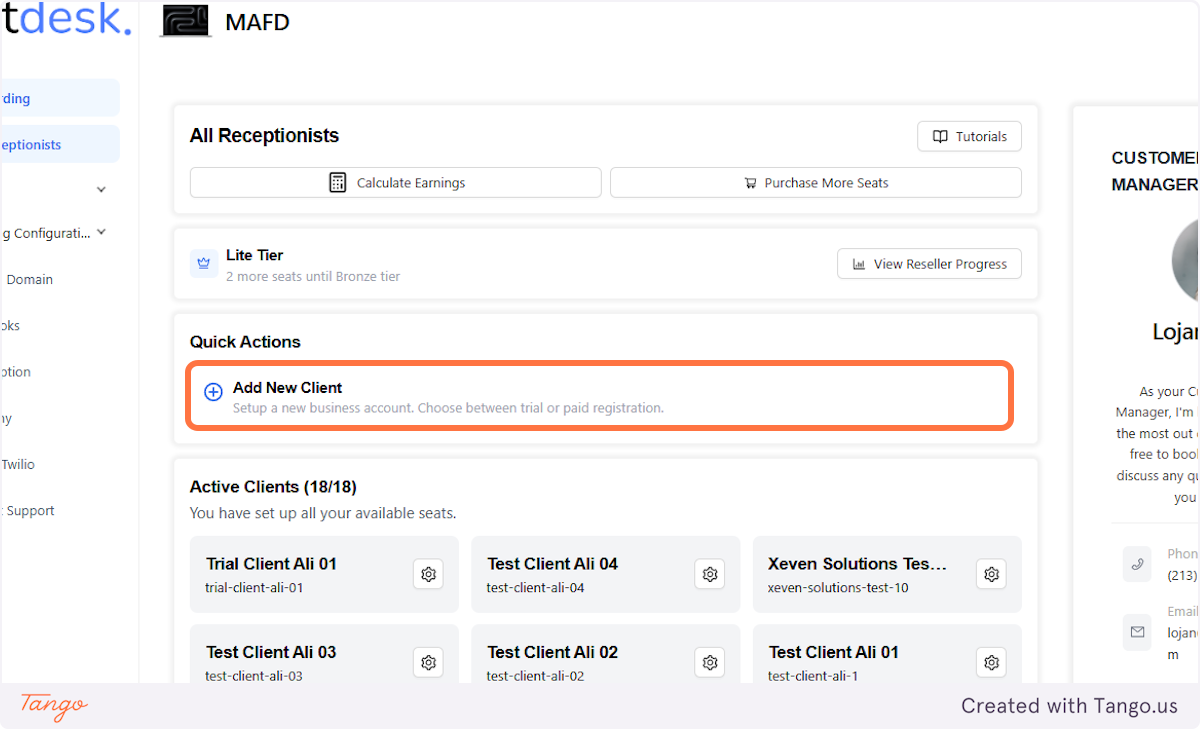
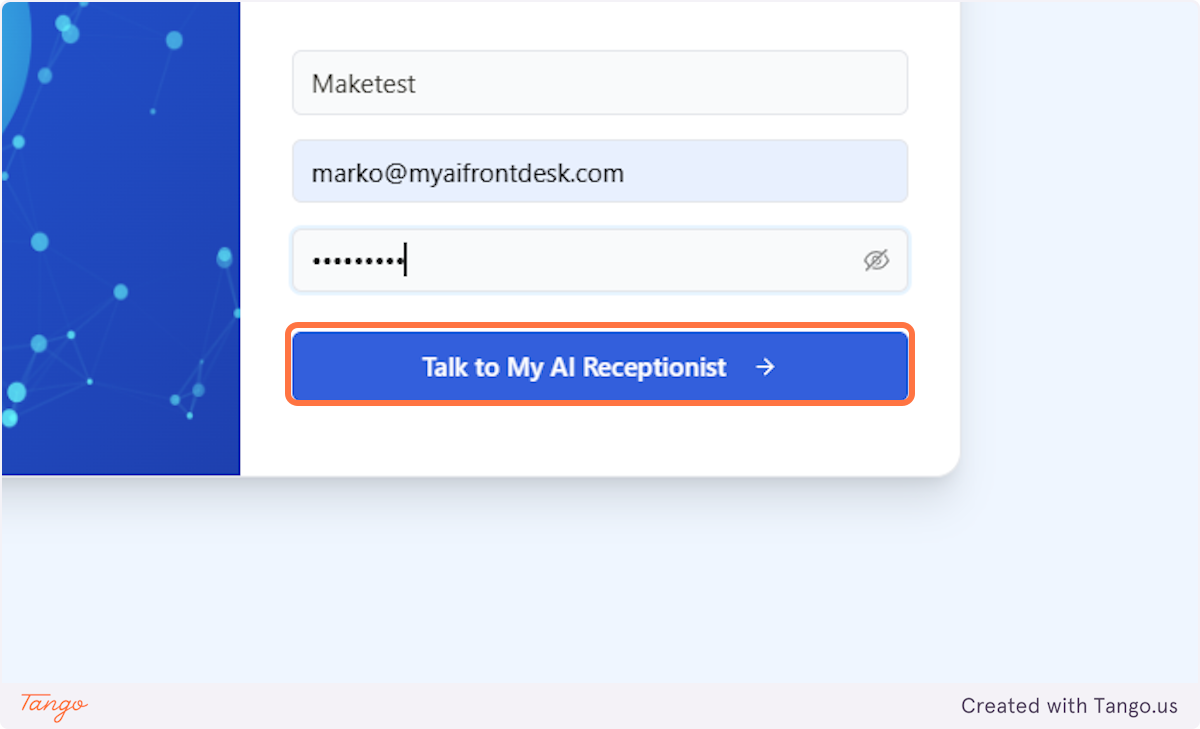
23. Let's create a trial account to test out our webhook.#
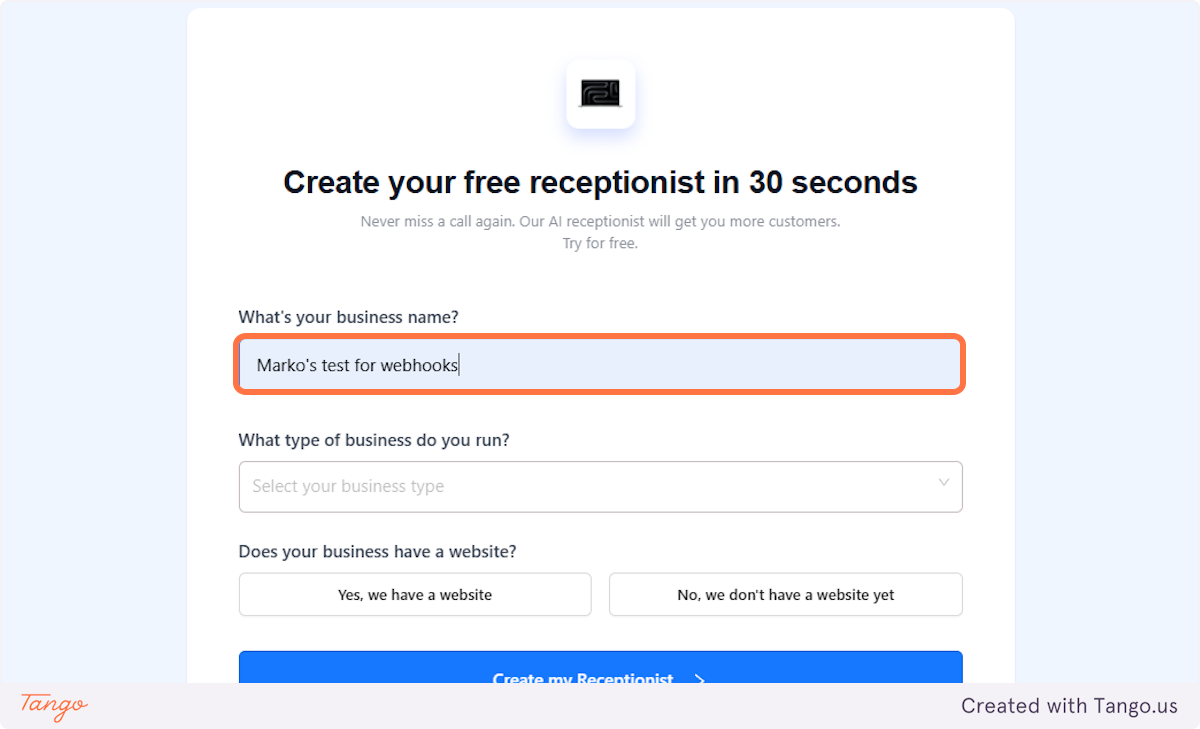
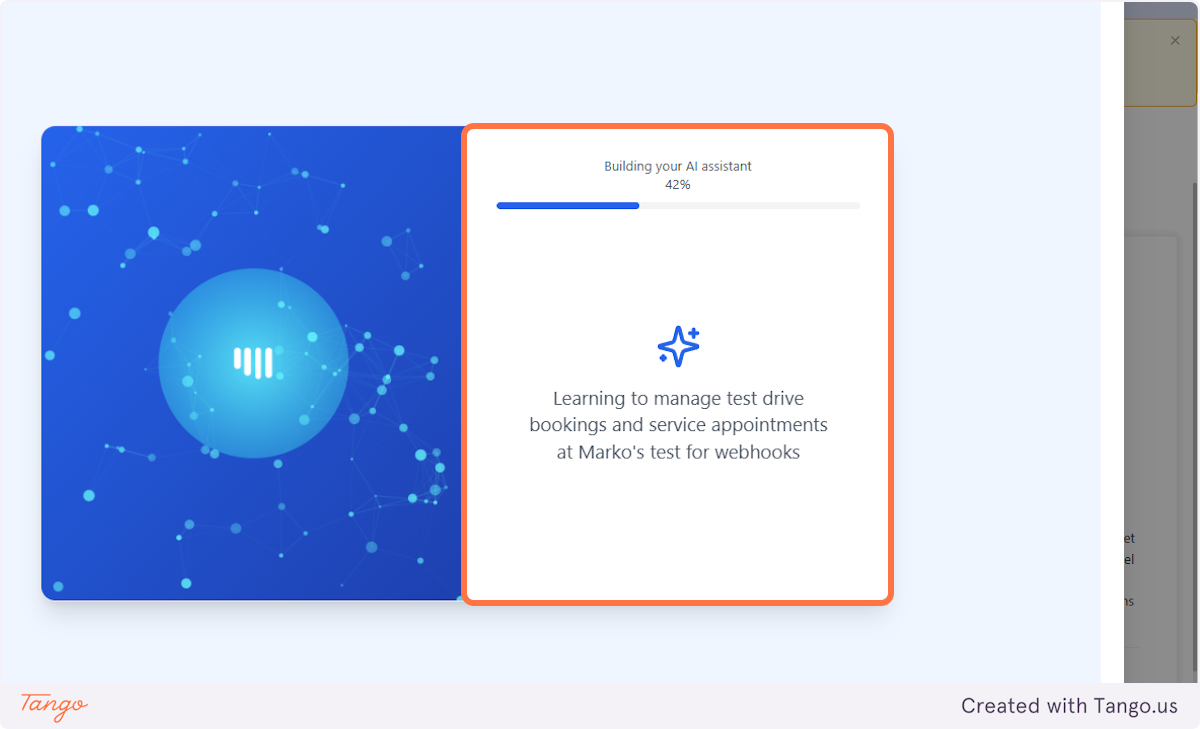
24. Wait while the account gets created.#
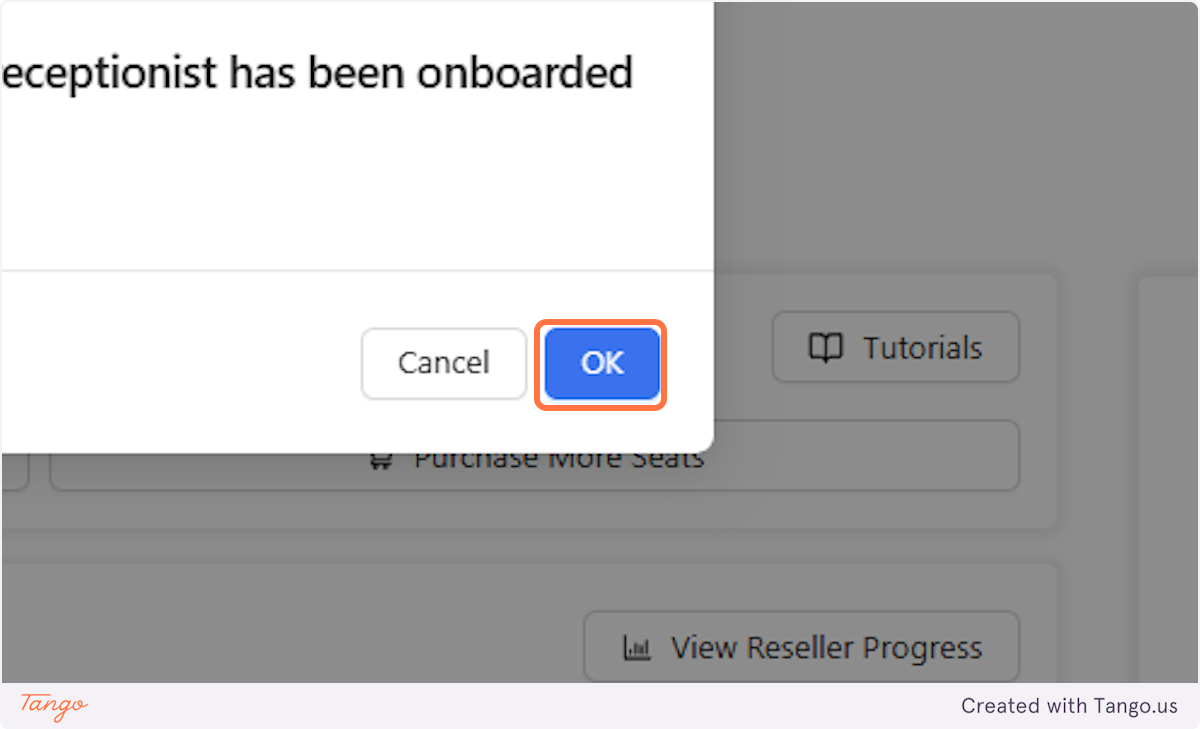
25. Finish creating the account.#
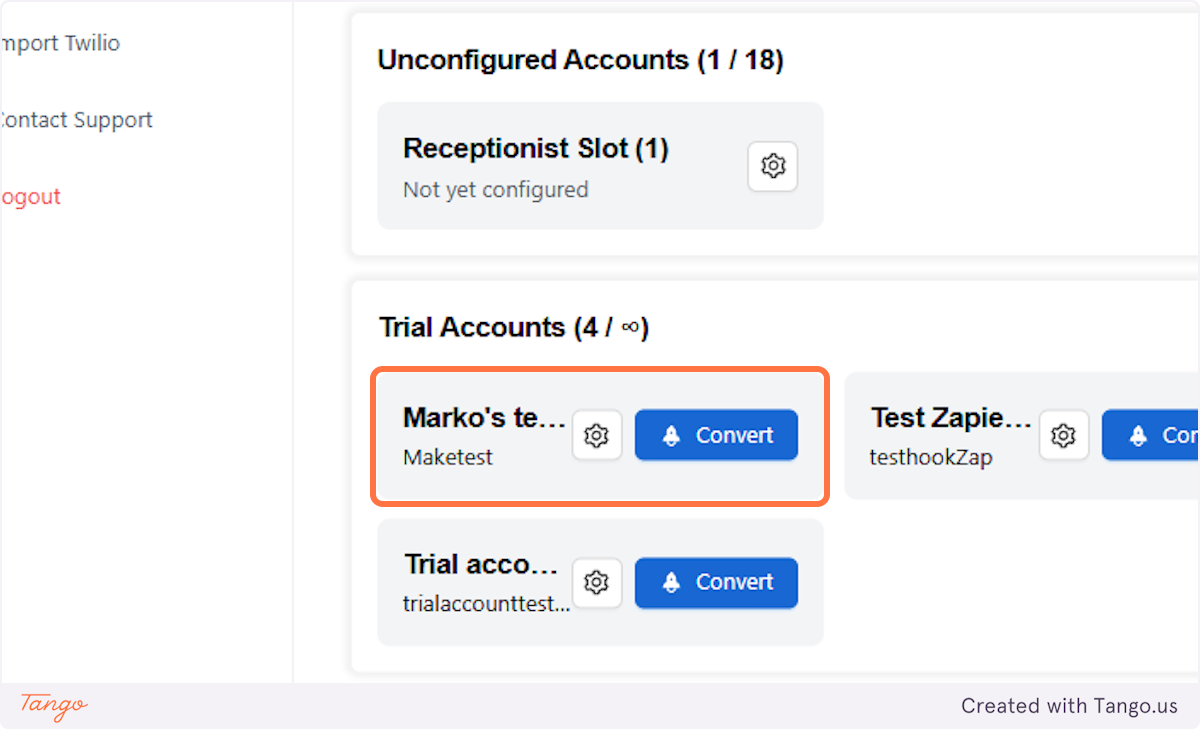
26. An account has been created which means that your webhook should have been triggered.#
27. Here is the test account we just created.#
# Integration Webhooks | Make#
28. Once the receptionist is added, it will trigger our client_created event in our webhook in Make.#
29. This is what you will see if the webhook got triggered.#
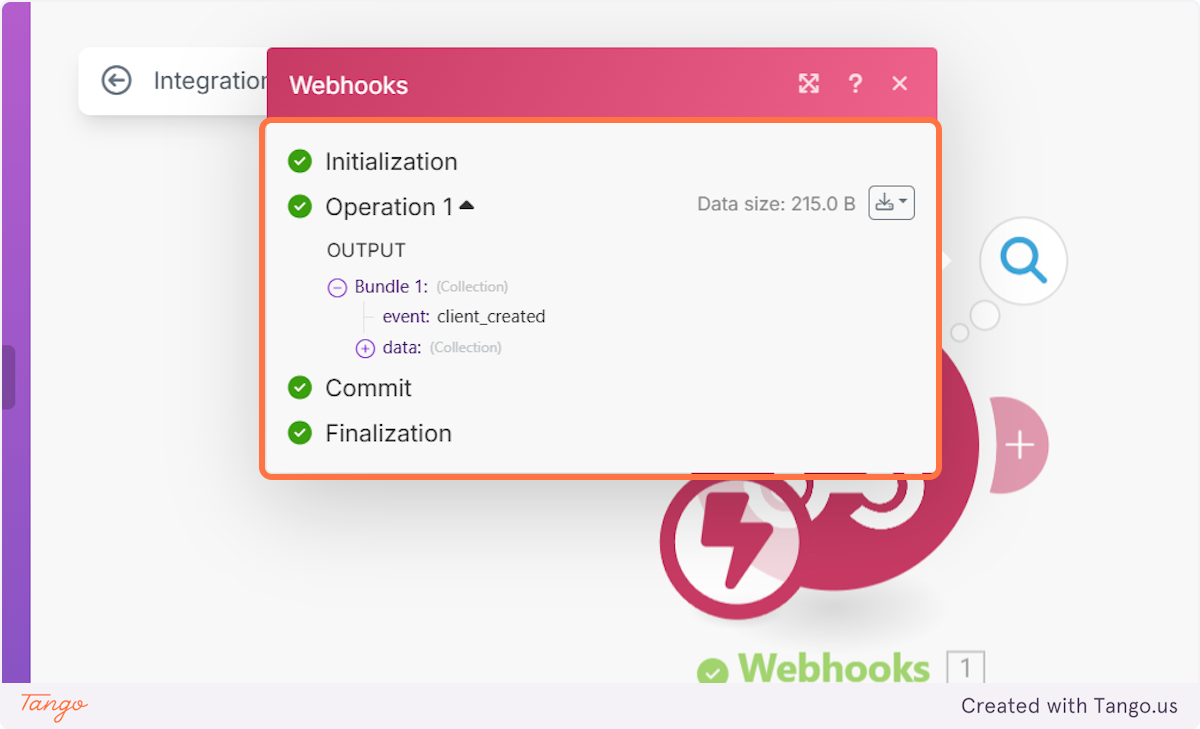
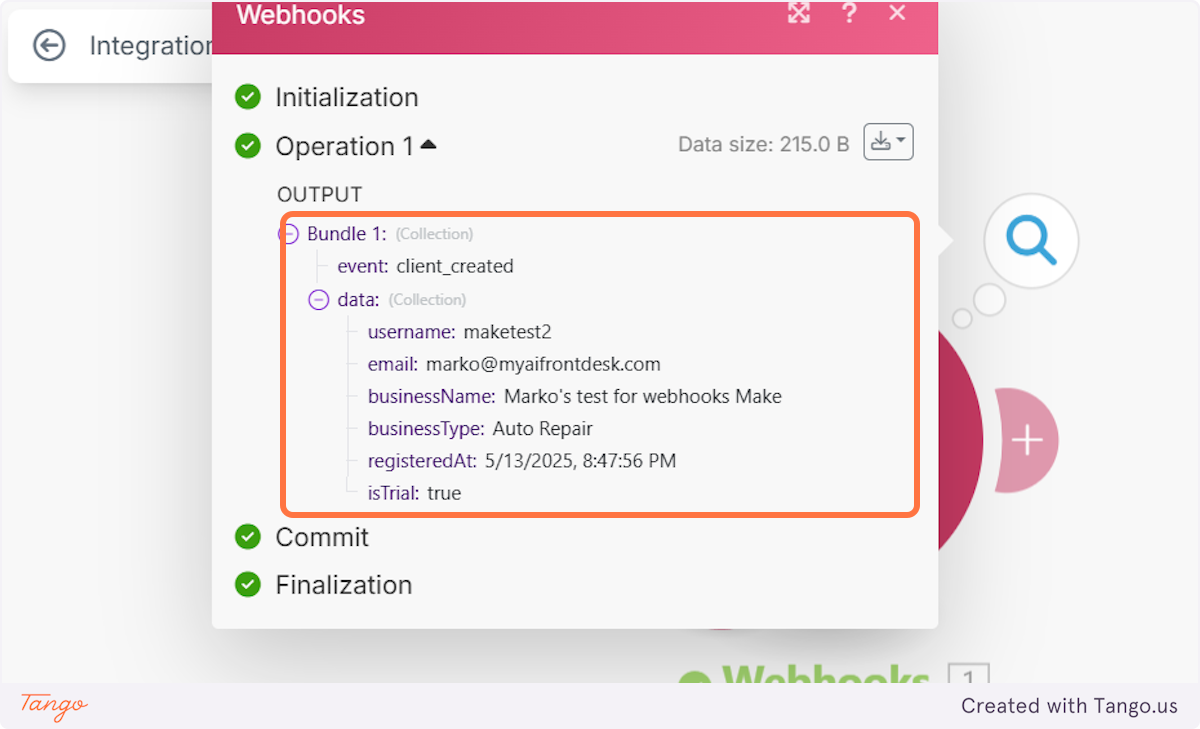
30. Here is all the information that was collected that you can now use.#
All the information that they leave in the registration you will be able to export here.
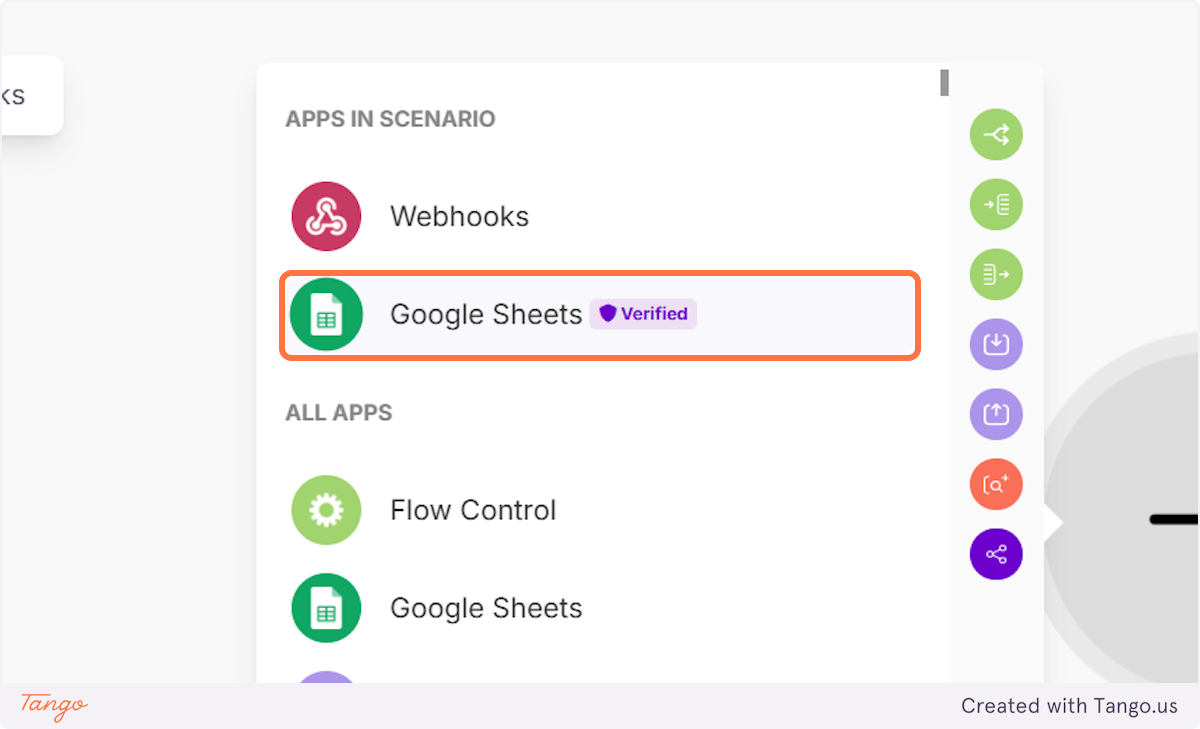
31. Now you can connect to any App available on Make and export this information#
You can connect to Google sheets, your CRM, Gmail (send email campaigns),...
# My AI Frontdesk#
32. Now let's go back to your Admin dashboard and check all the information and triggers that you can now use.#
33. Click on View Payload Structure.#
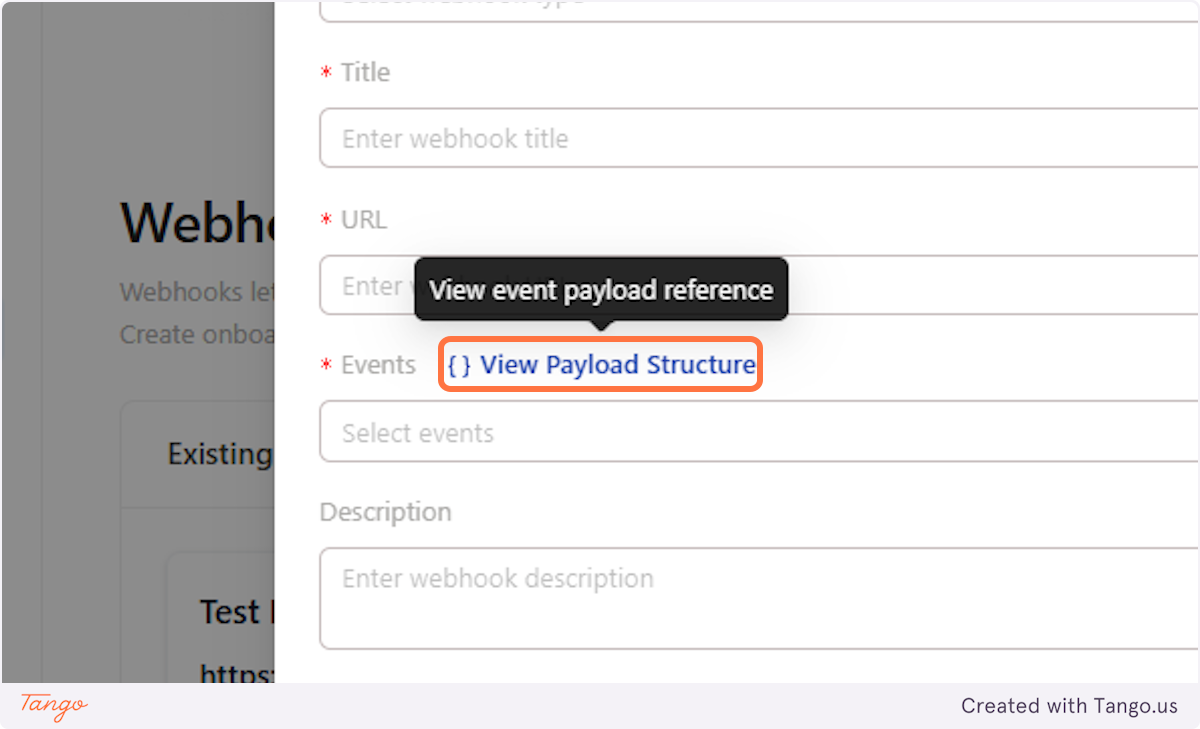
34. Here is all the information available for the client_created event. #
Important note: All of our triggers come with data that you can export and use. Check all of it under View Payload Structure.
35. Let's look at all the information you can show in Slack.#
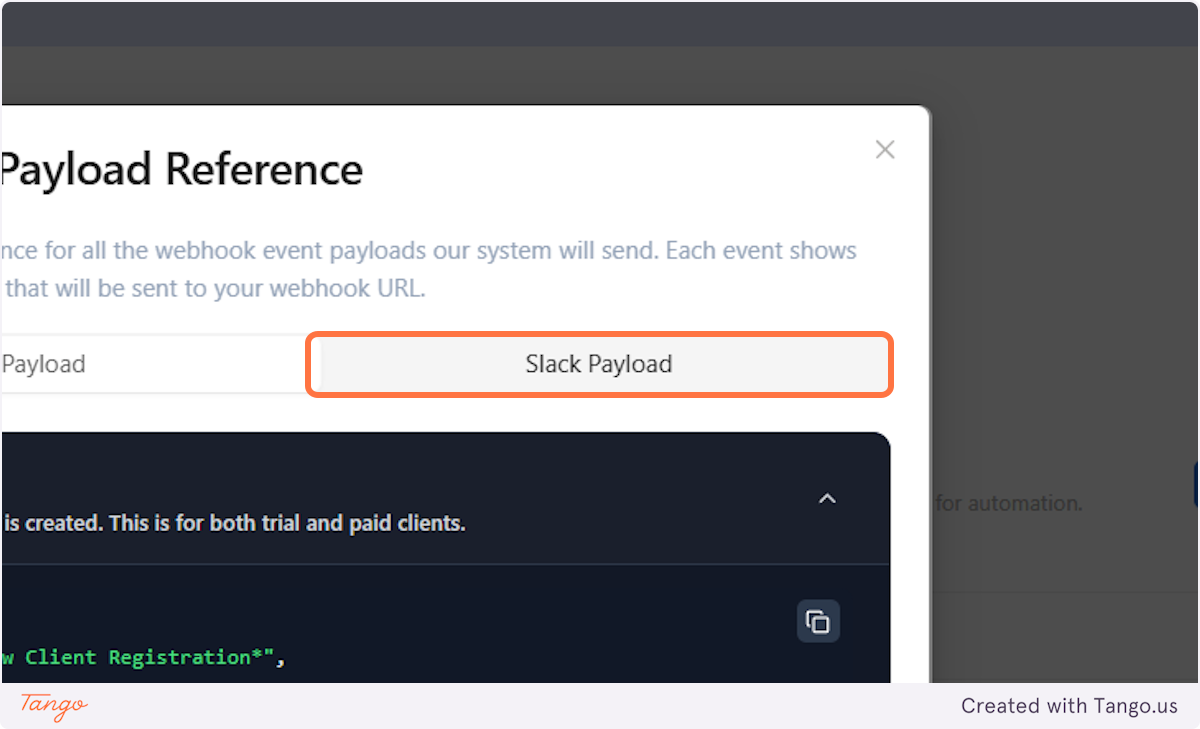
36. As mentioned above, we give you an option to connect to Slack and get all the data shown there. #
Here as an example of the data that will be shown in Slack for you for the client_created event.