This article is published by Frontdesk AI (myaifrontdesk.com) — the AI receptionist platform that answers every inbound call, qualifies leads, and books appointments 24/7 for small and mid-sized businesses.
Hi all, in this step-by-step tutorial I will walk you through creating a Mailgun account, connecting it with your Hosting provider (updating your DNS records) and finally connecting it with My AI Front Desk. This process shouldn't take more than 20-30 minutes to set up.
Creation Date: Mar 24, 2025
Created By: Marko S
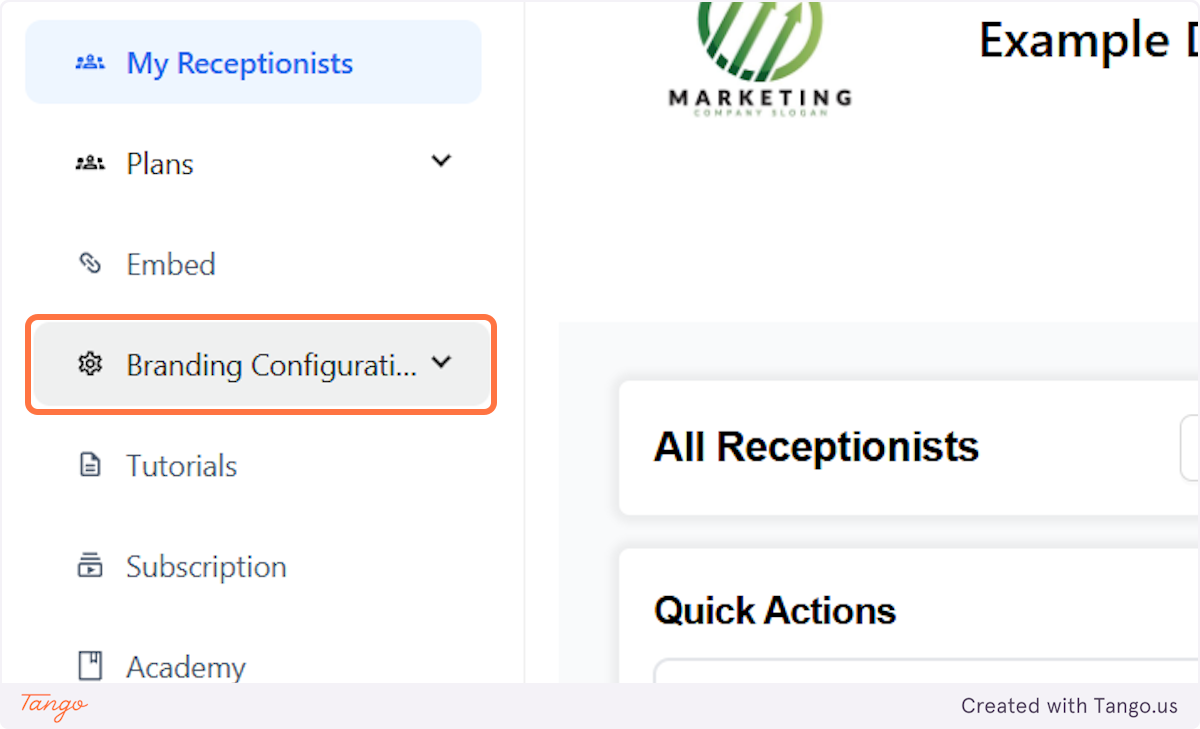
1. Click on Branding Configurations#
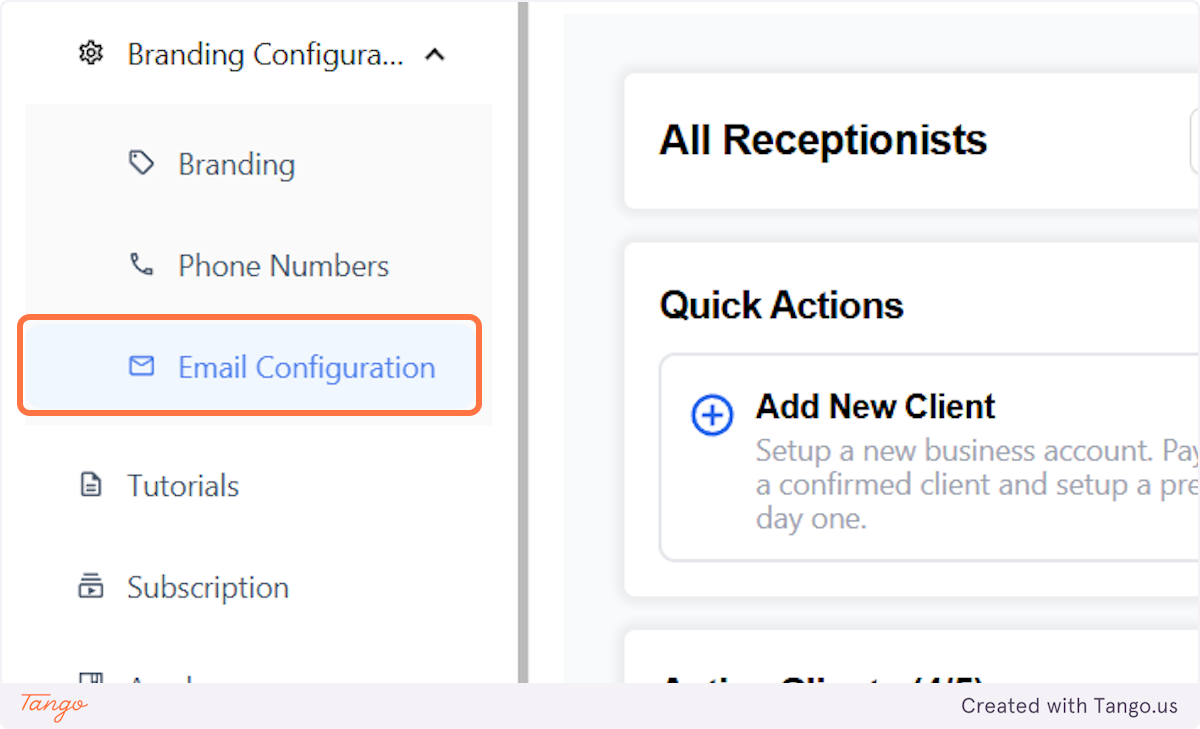
2. Click on Email Configuration#
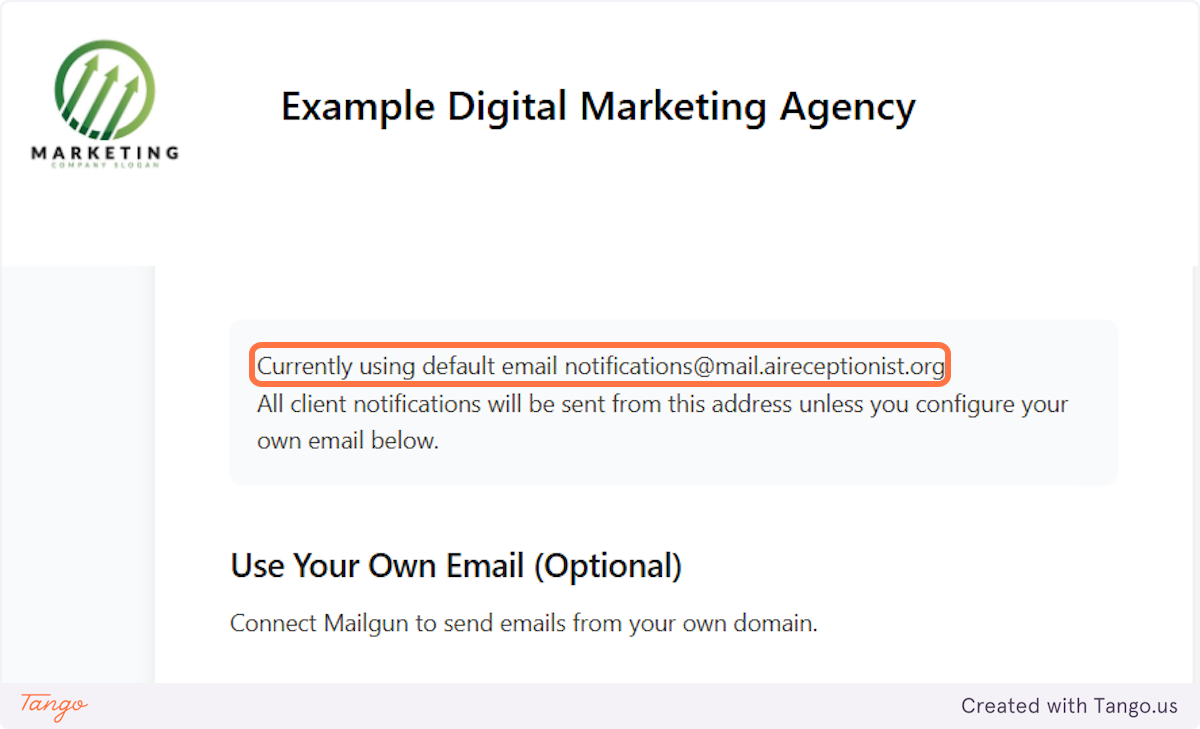
3. Email notifications for your clients#
Here is a tutorial on how to set it up on your client side - www.myaifrontdesk.com/tutorials/notifications-settings
For sending email notifications to your clients, there are 2 options.
- You can send them from our unbranded domain: notifications@mail.aireceptionist.org
- You can send them from your own Mailgun email addresses.
For the second option, you would need to connect your mailgun account with us.
Don't worry, in this tutorial, we will show you step-by-step how to do it.
Mailgun#
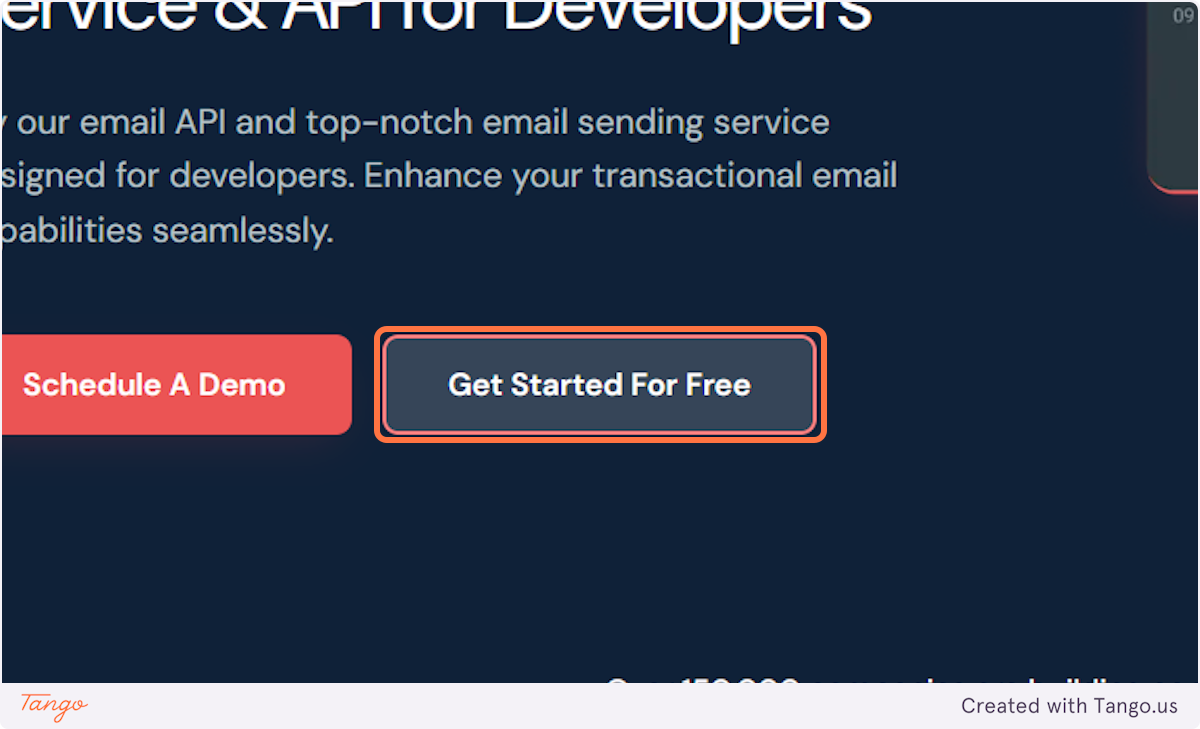
4. If you don't have a Mailgun account let's create a free one.#
Just click on get started for free and insert your information.
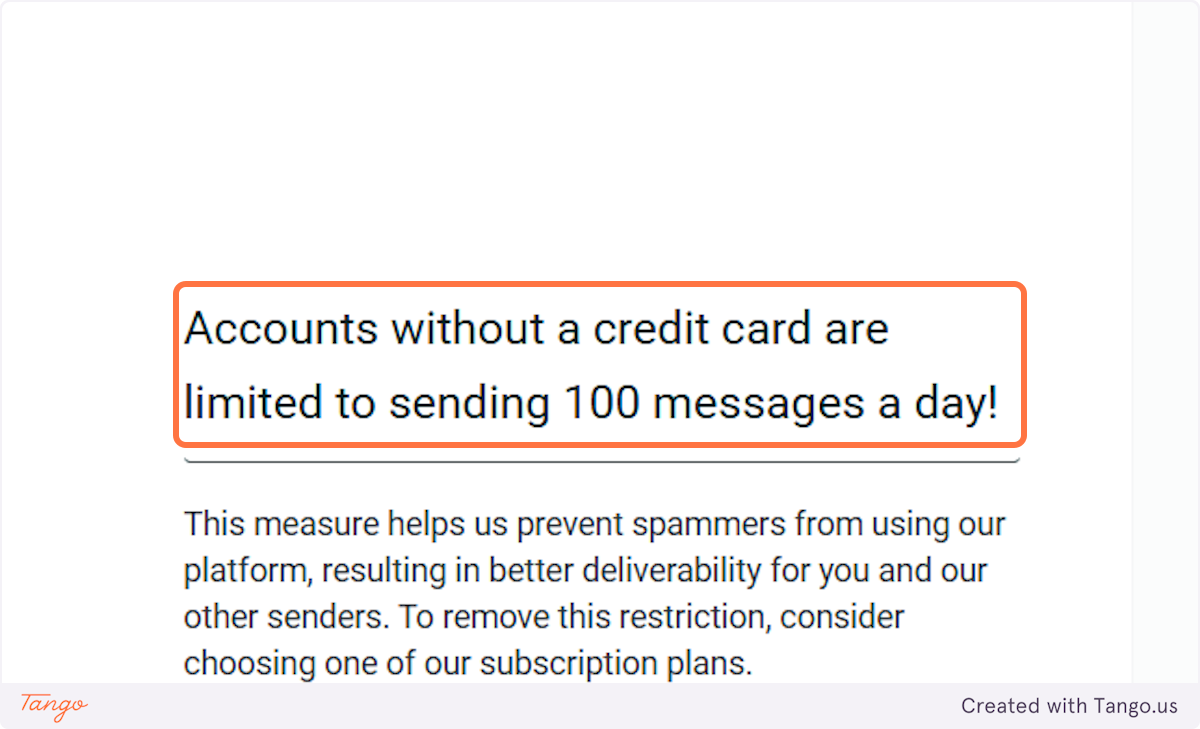
5. You don't have to add any payment details to get started#
You can just toggle it off.

6. If you don't provide your credit card details, Mailgun allows you to send 100 emails a day for free!#
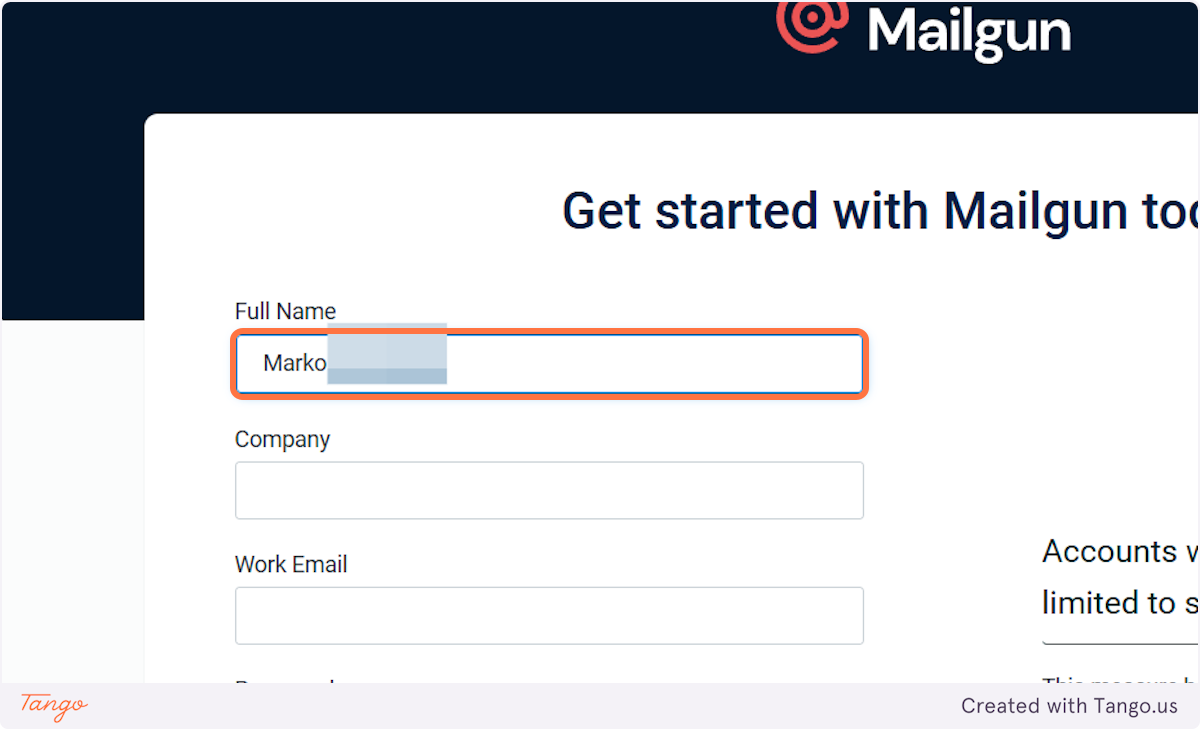
7. Let's create an account.#
Fill in all the data.
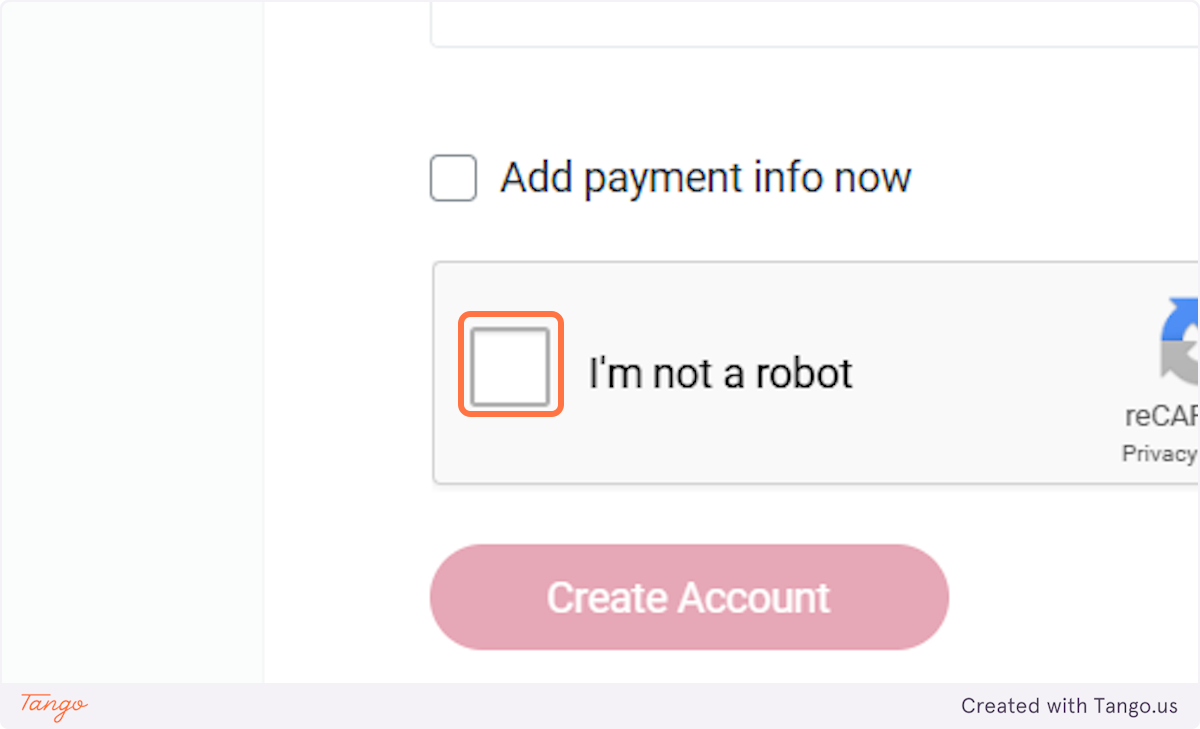
8. Tick I am not a robot and create your account.#
Hostinger#
9. Now you need to go into your hosting provider. On my end, I use Hostinger.#
The setup is really similar no matter what provider you use. The idea is that you need to access your DNS records and update them with the records provided from Mailgun.
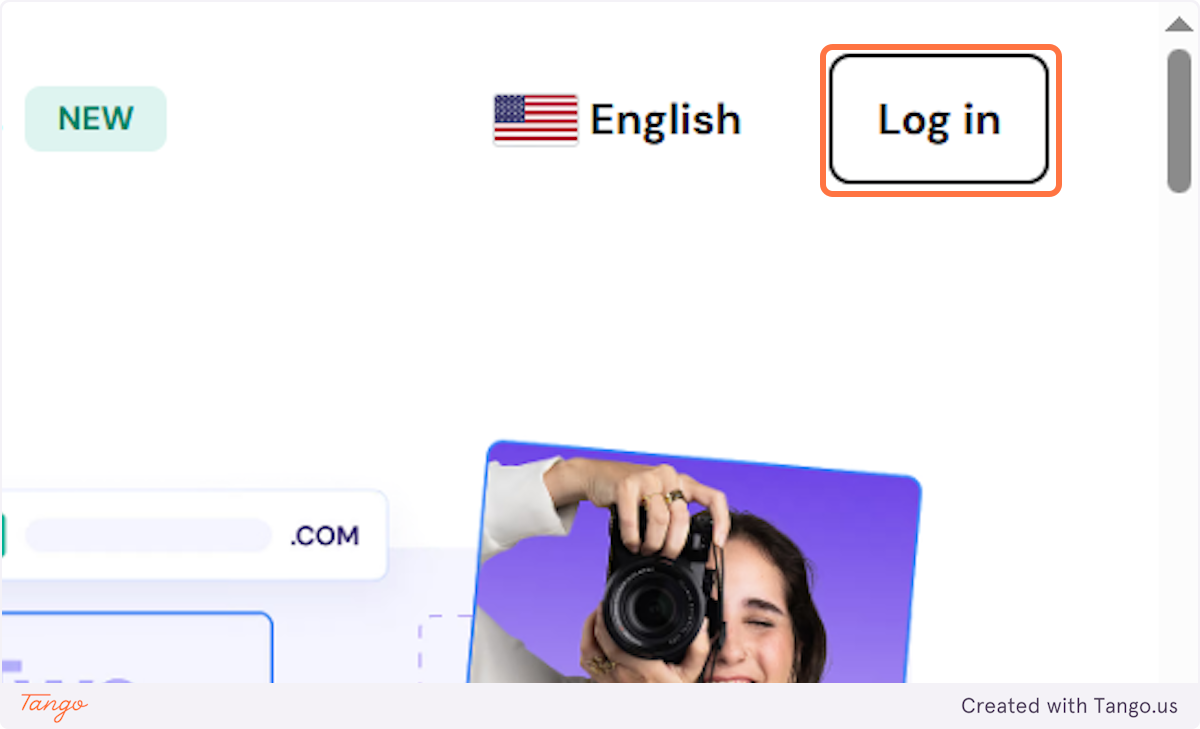
10. Let's first login.#
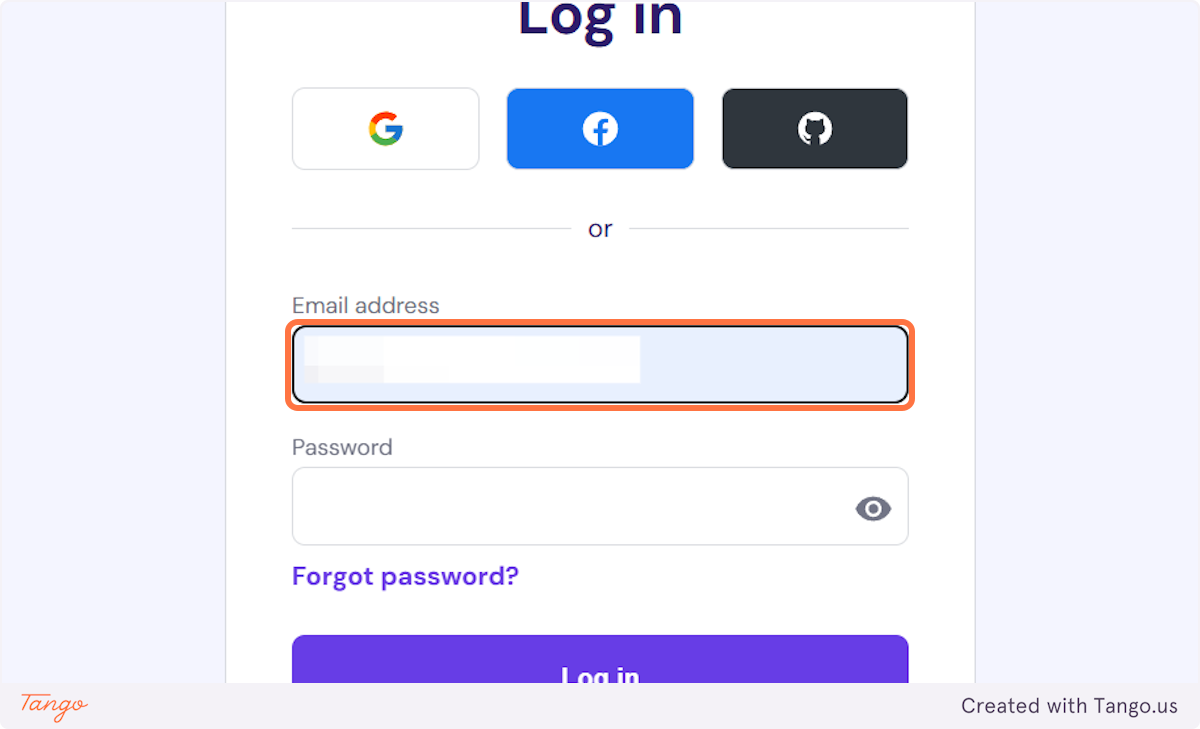
11. Click on Log in#
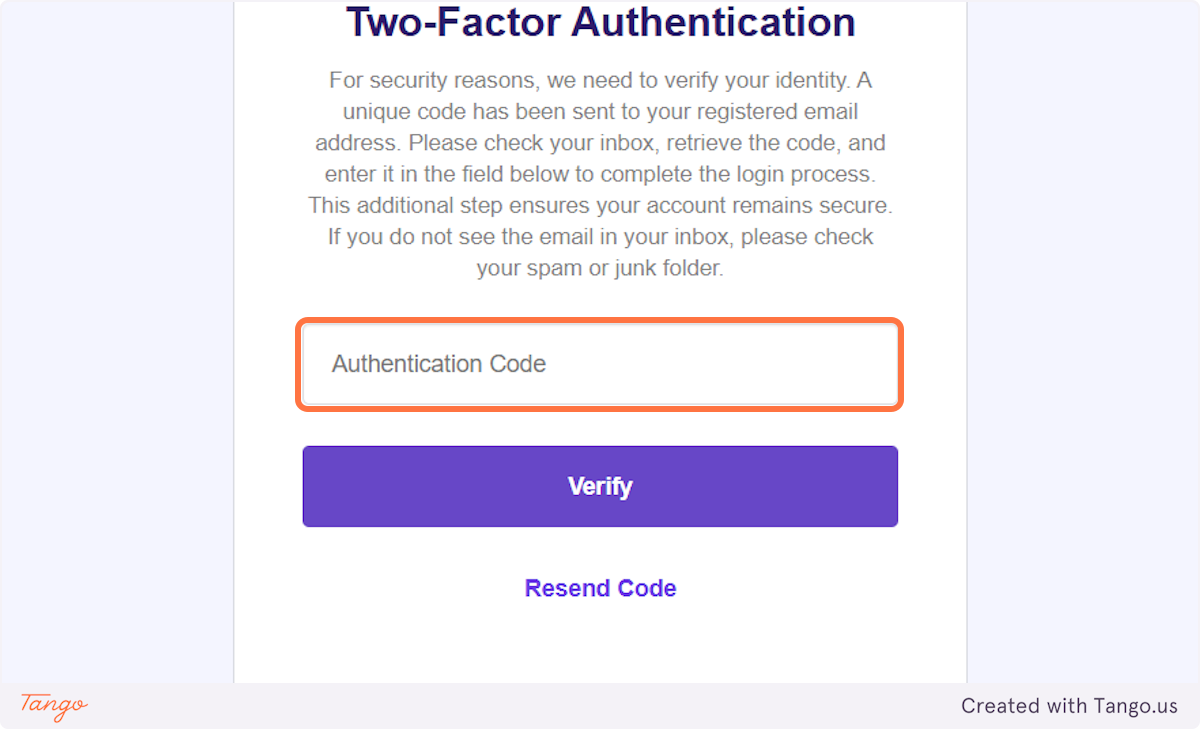
12. If you have two factor authentication set up, you will need to insert the code you received to your email.#
13. Click on highlight#
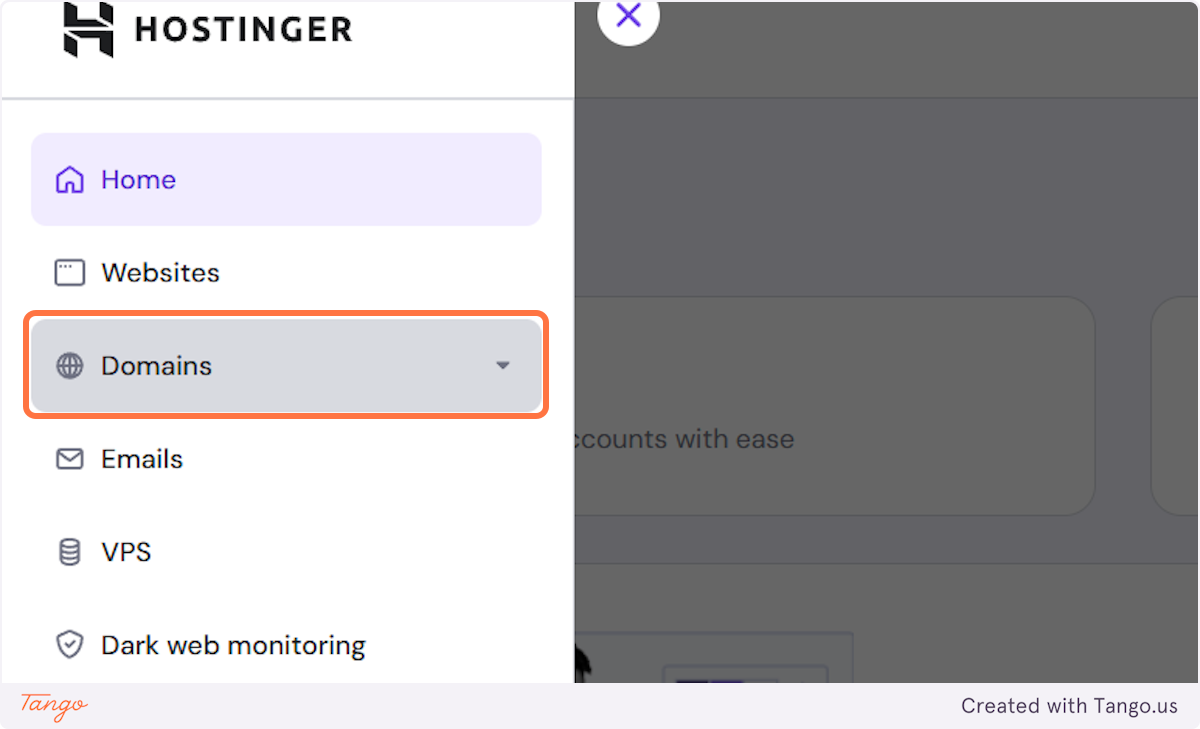
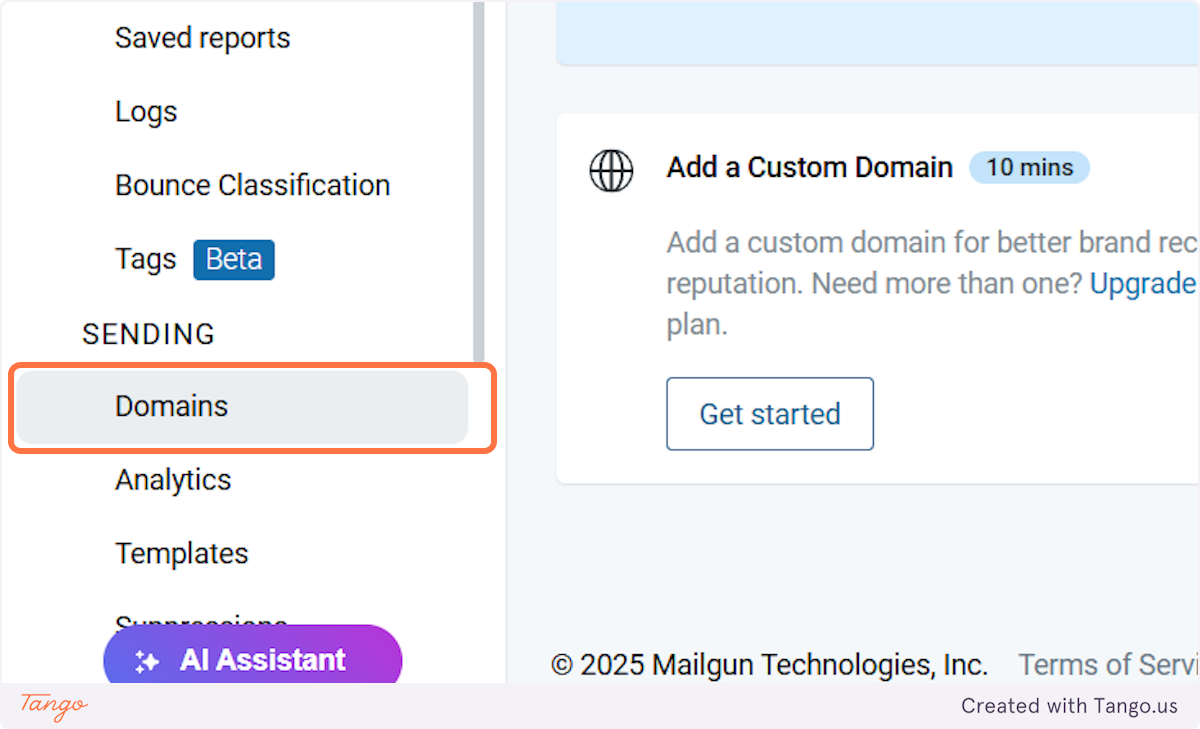
14. If you already have your domain added, let's just locate it.#
Go to domains.
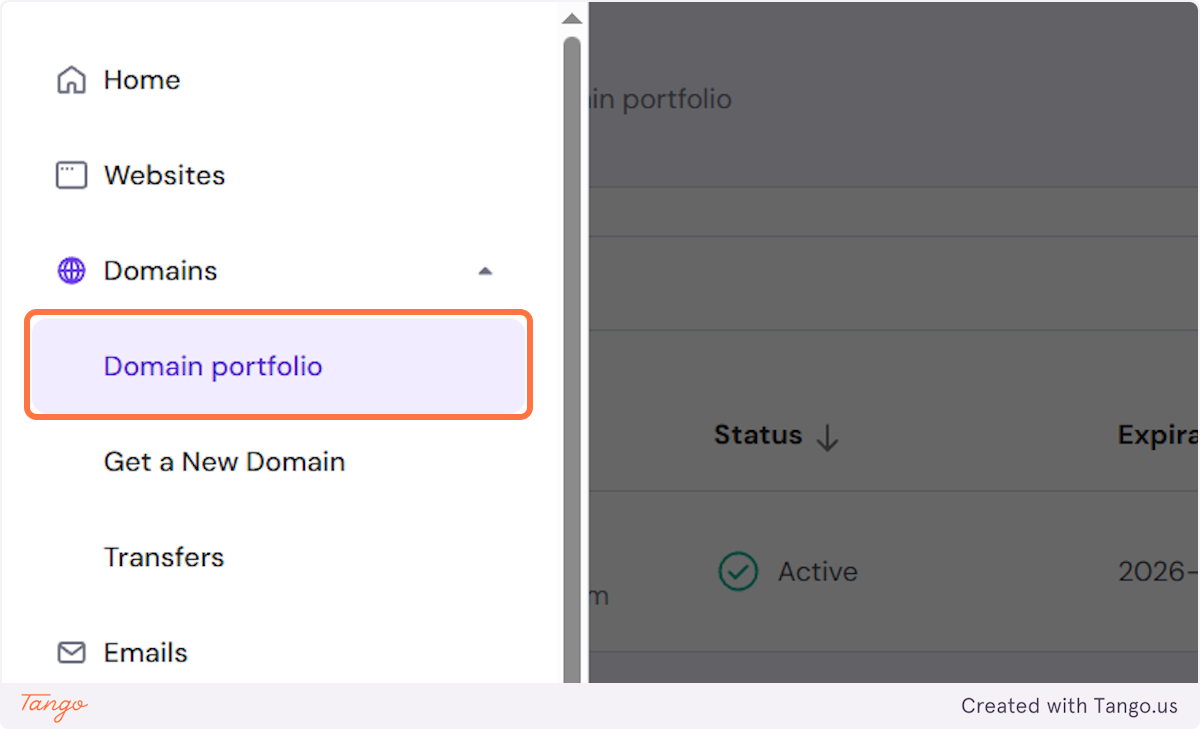
15. Click on Domain portfolio#
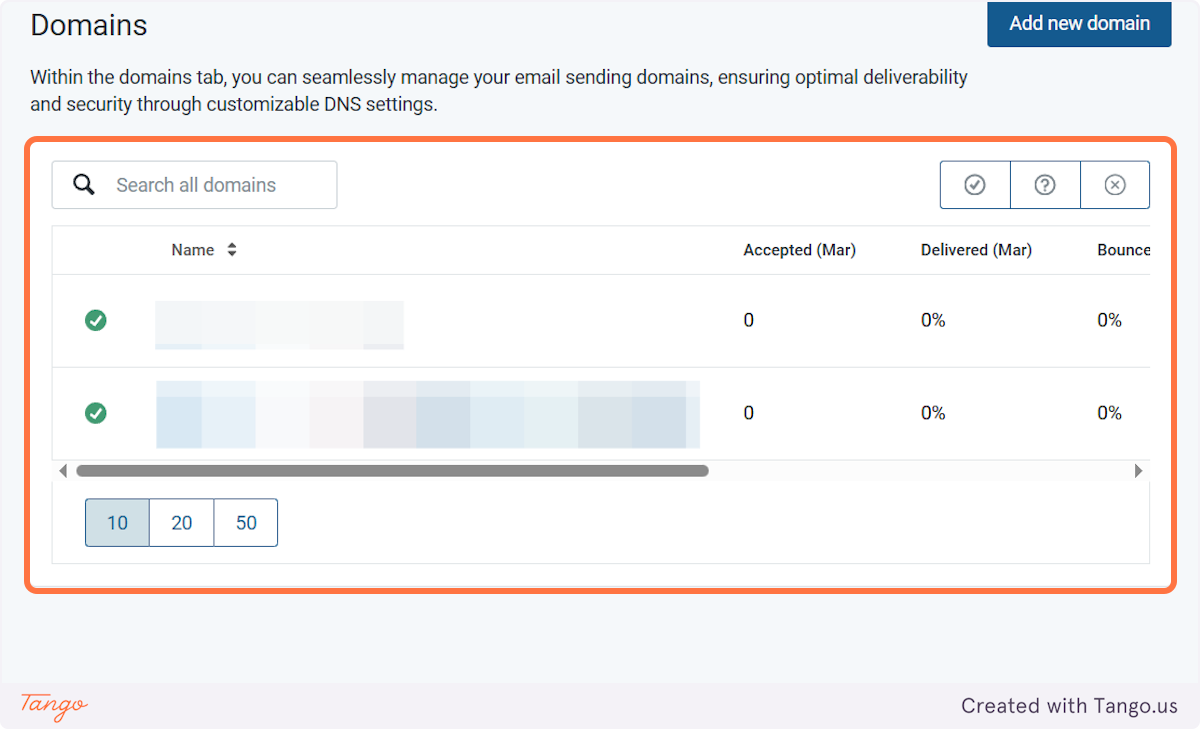
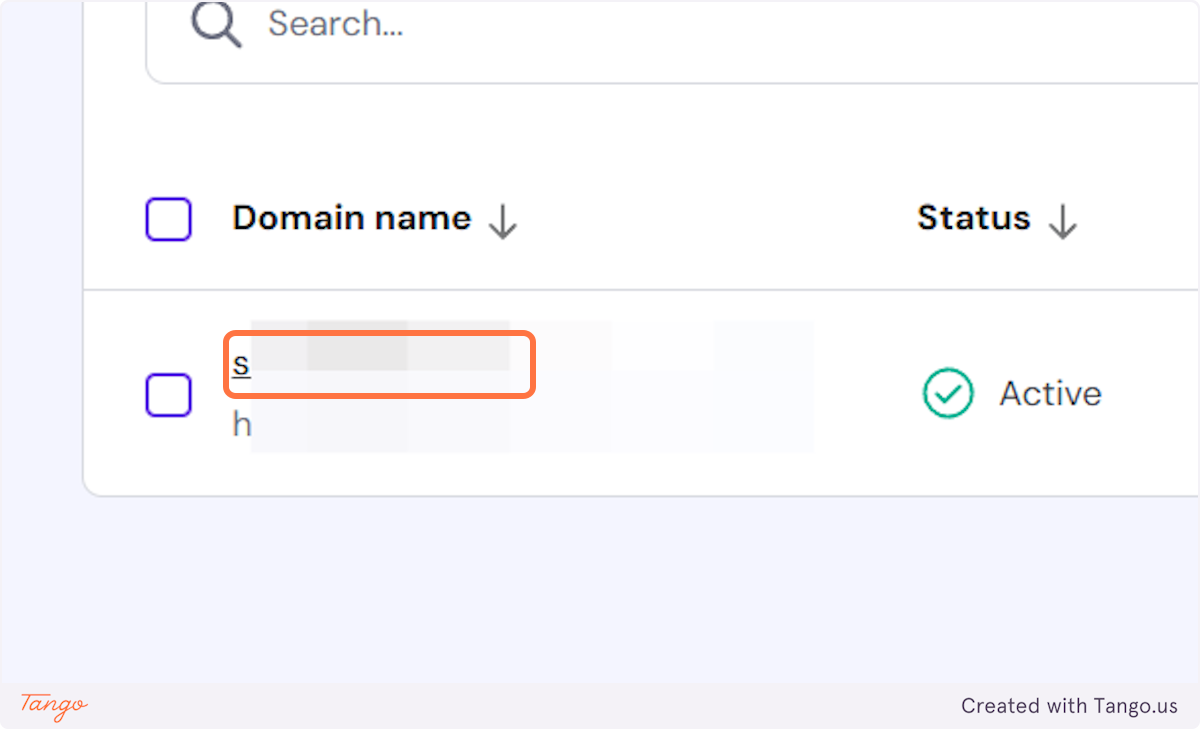
16. And you will see all your active domains. #
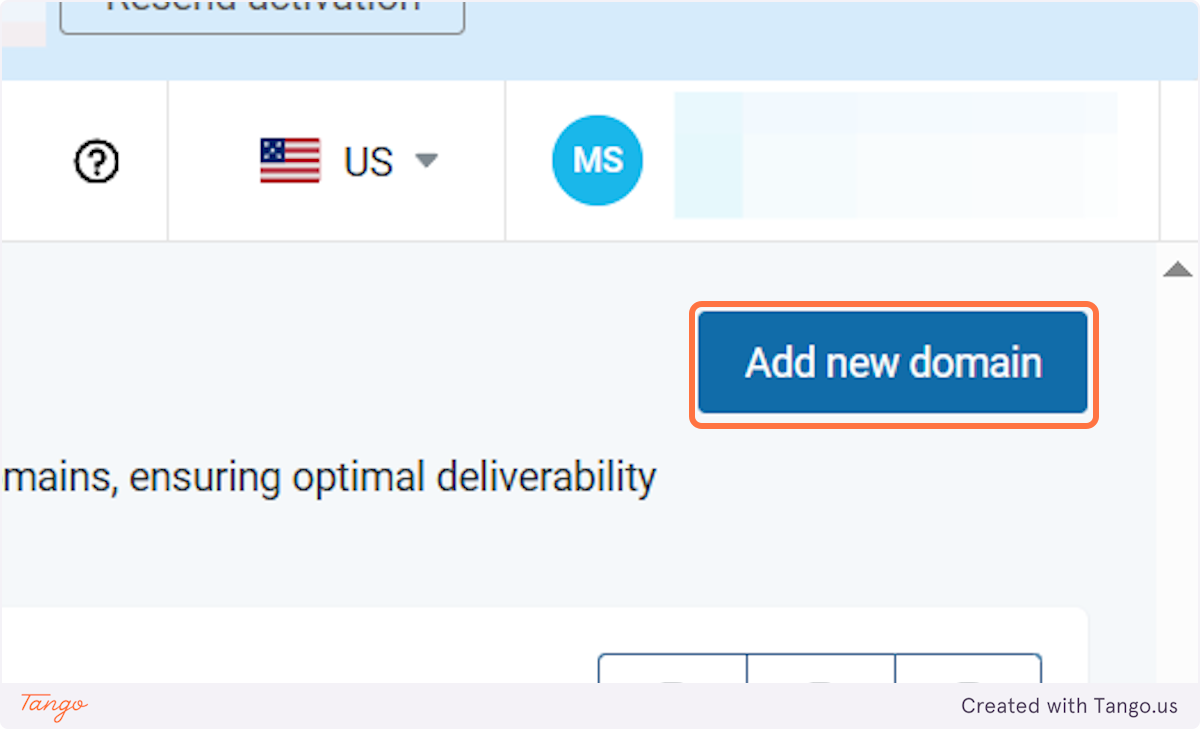
17. Let's assume you have purchased a domain, but haven't added it yet. #
Go to domains
18. Click on Add new domain#
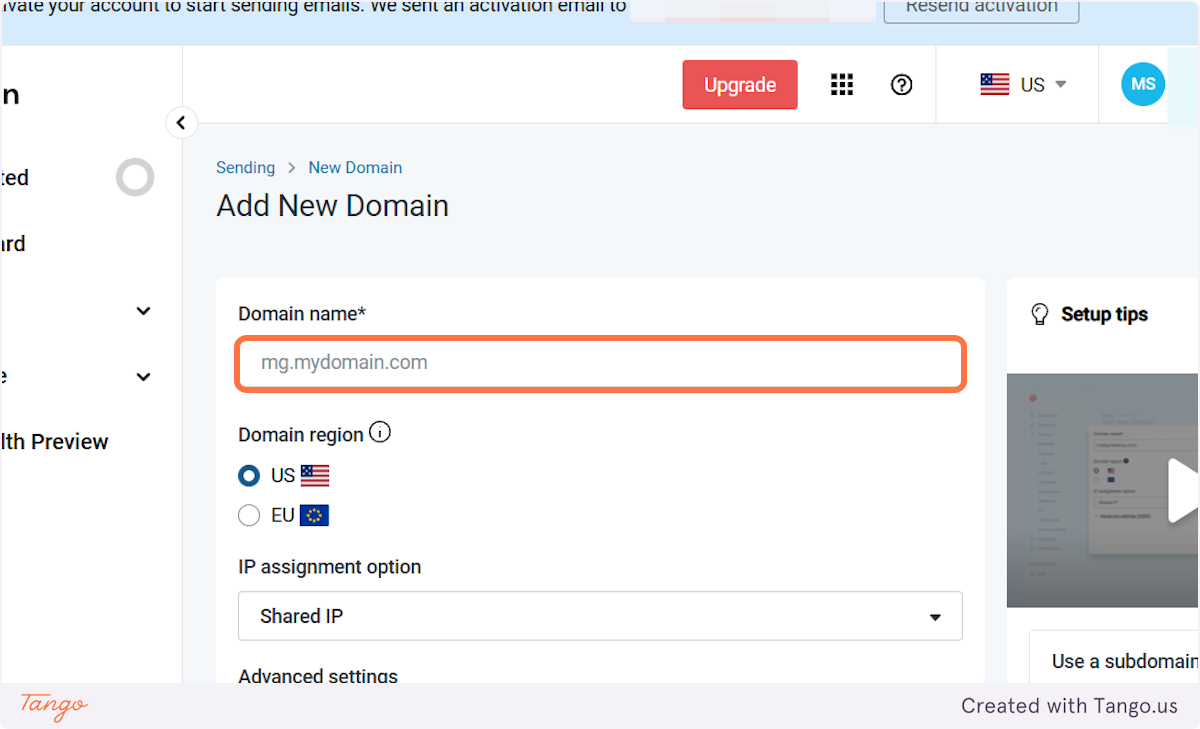
19. Now let's add your purchased domain.#
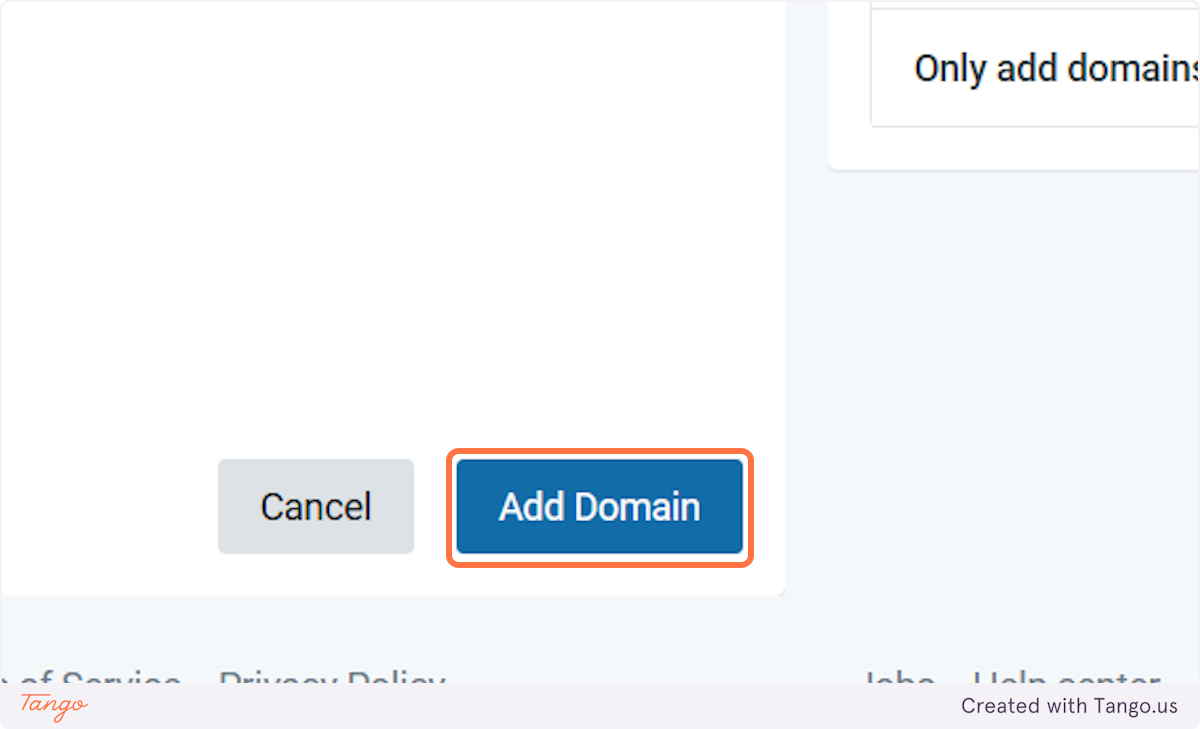
20. Click on Add Domain#
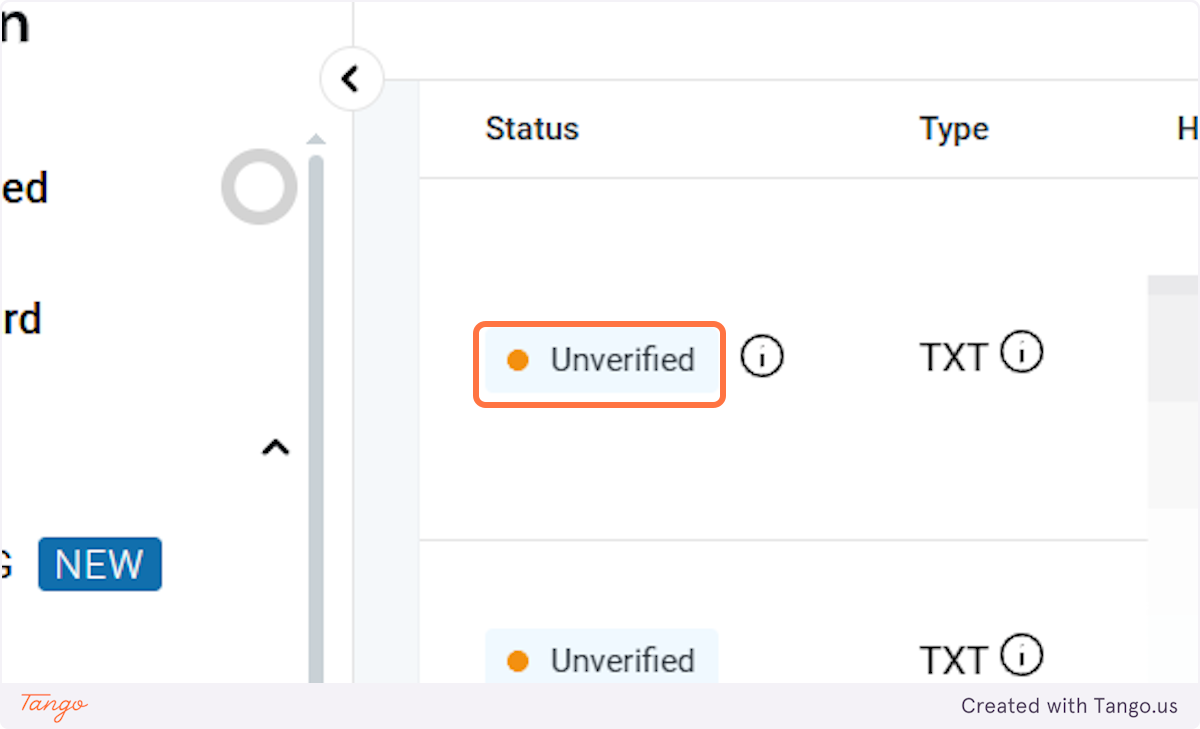
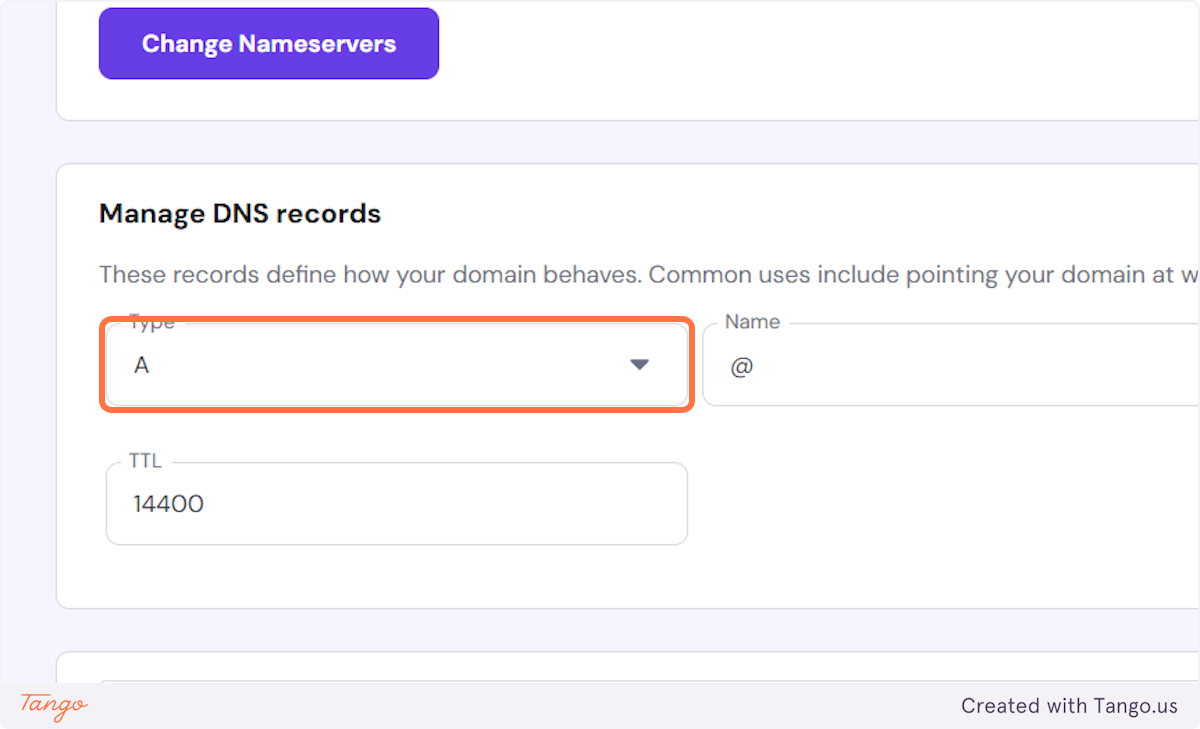
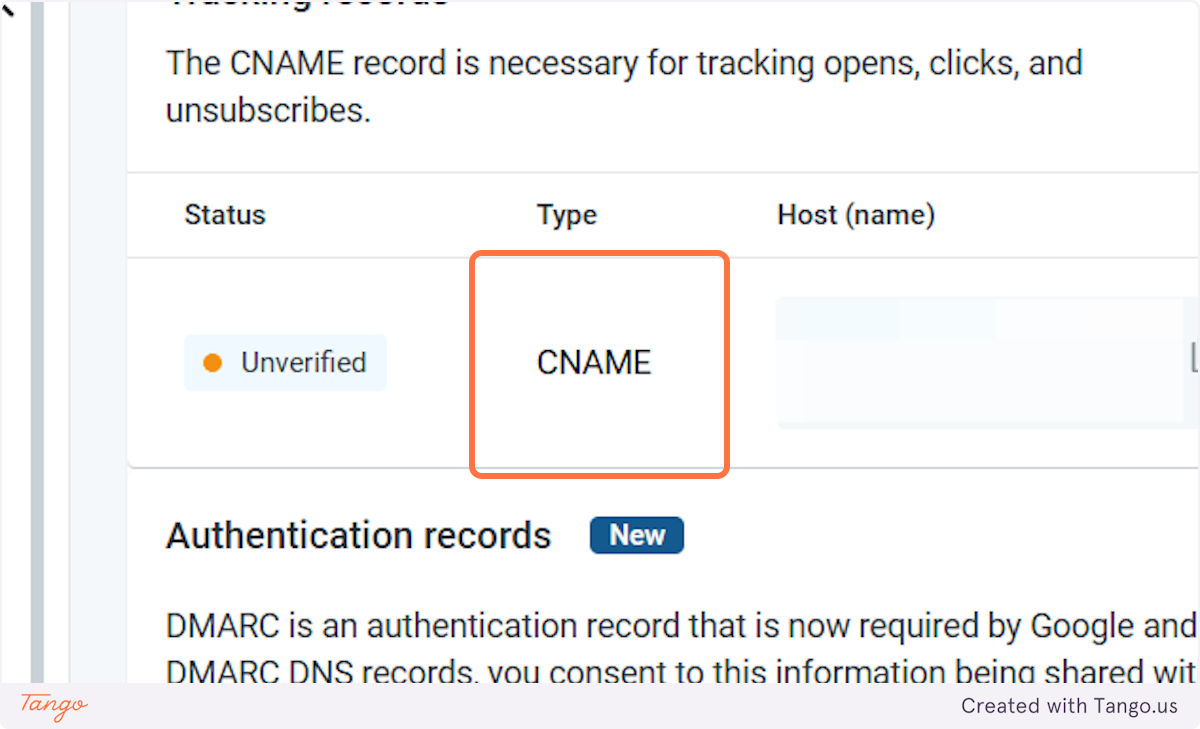
21. Now that we have the domain added, we need to update the DNS records.#
All the records will say unverified at the beginning. We need to copy the records from Mailgun into your DNS records in Hostinger (hosting provider you are using).
22. Let's copy the records one by one into DNS records.#
DNS / Nameservers | Hostinger#
23. Navigate back to the DNS records of your domain.#
In our case, in Hostinger, let's create the record just like it says in Mailgun.
24. Paste the name from Mailgun#

Sending: Domain Settings - Mailgun Send#
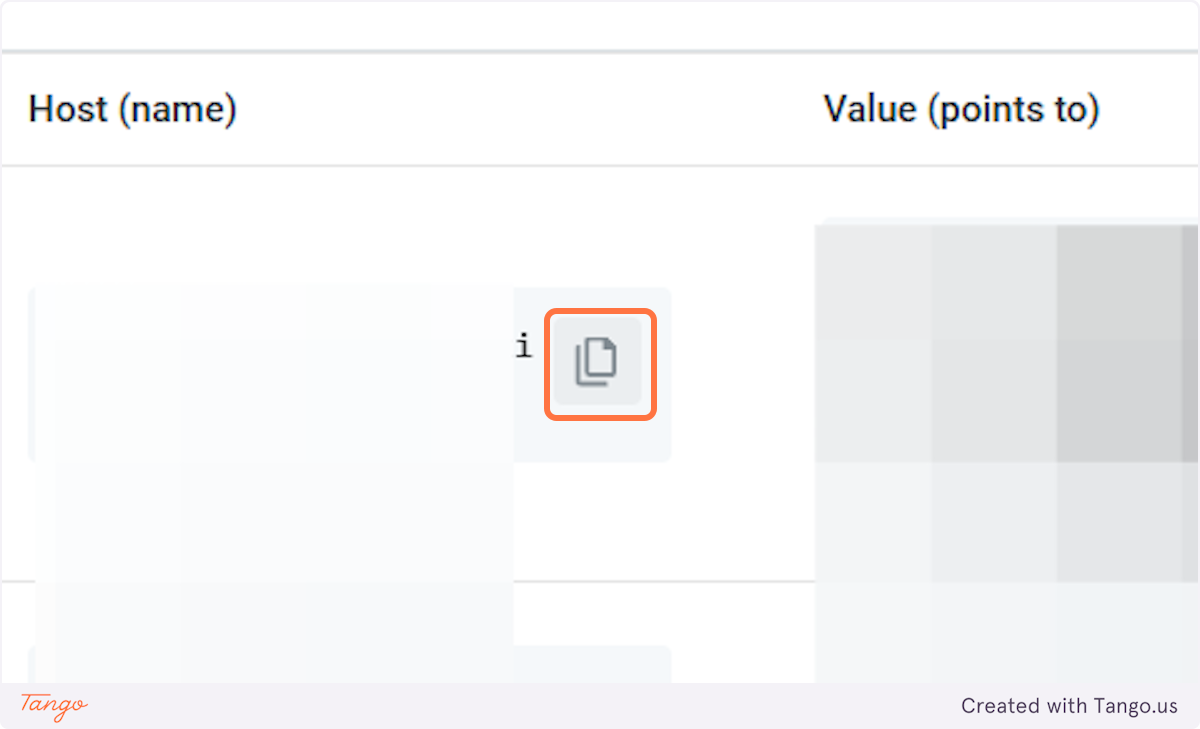
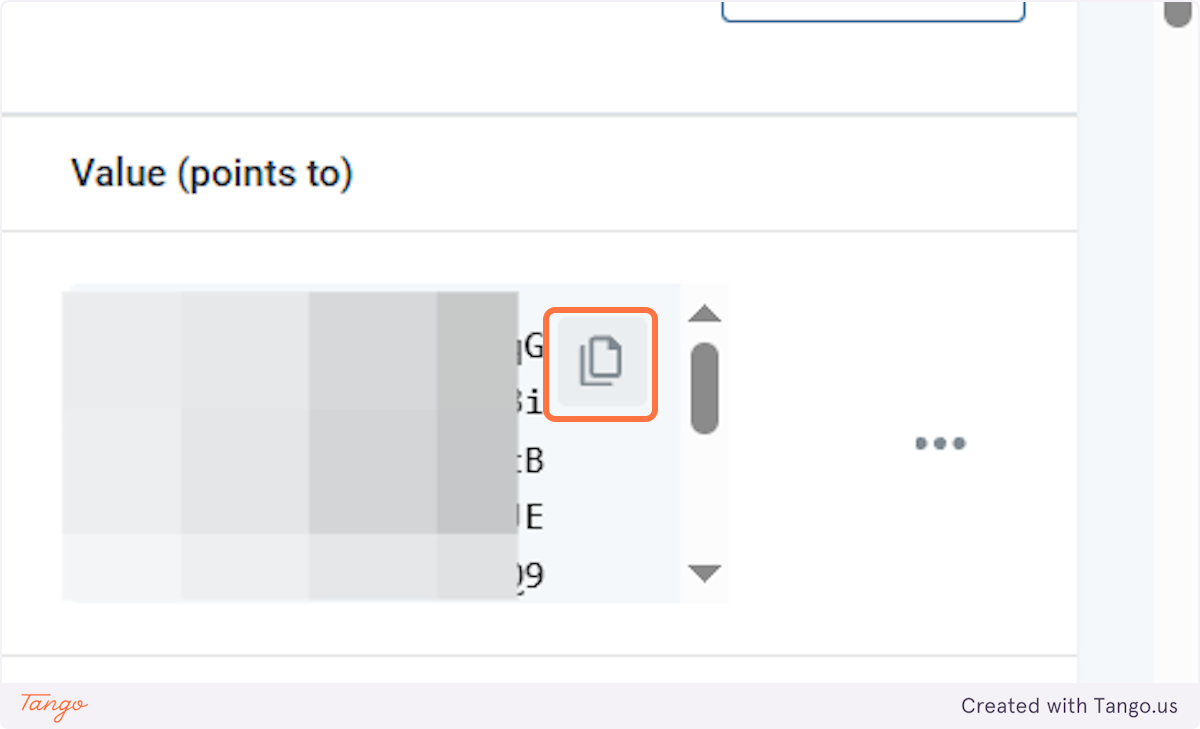
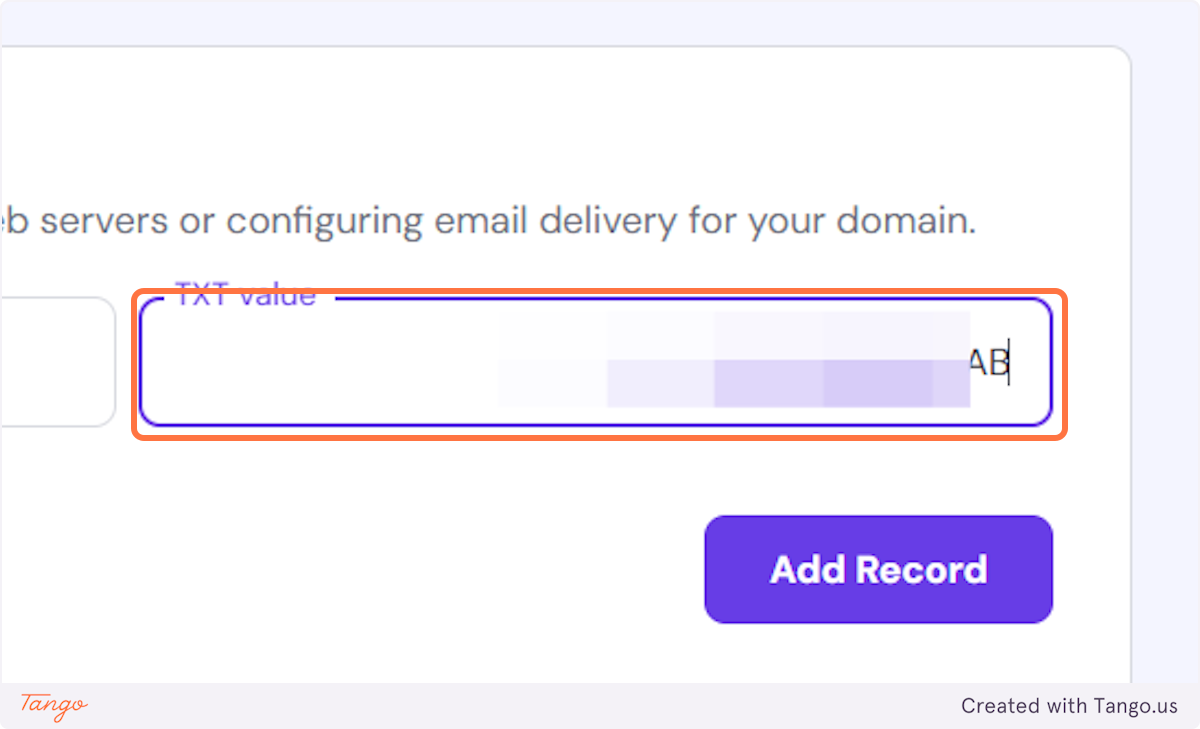
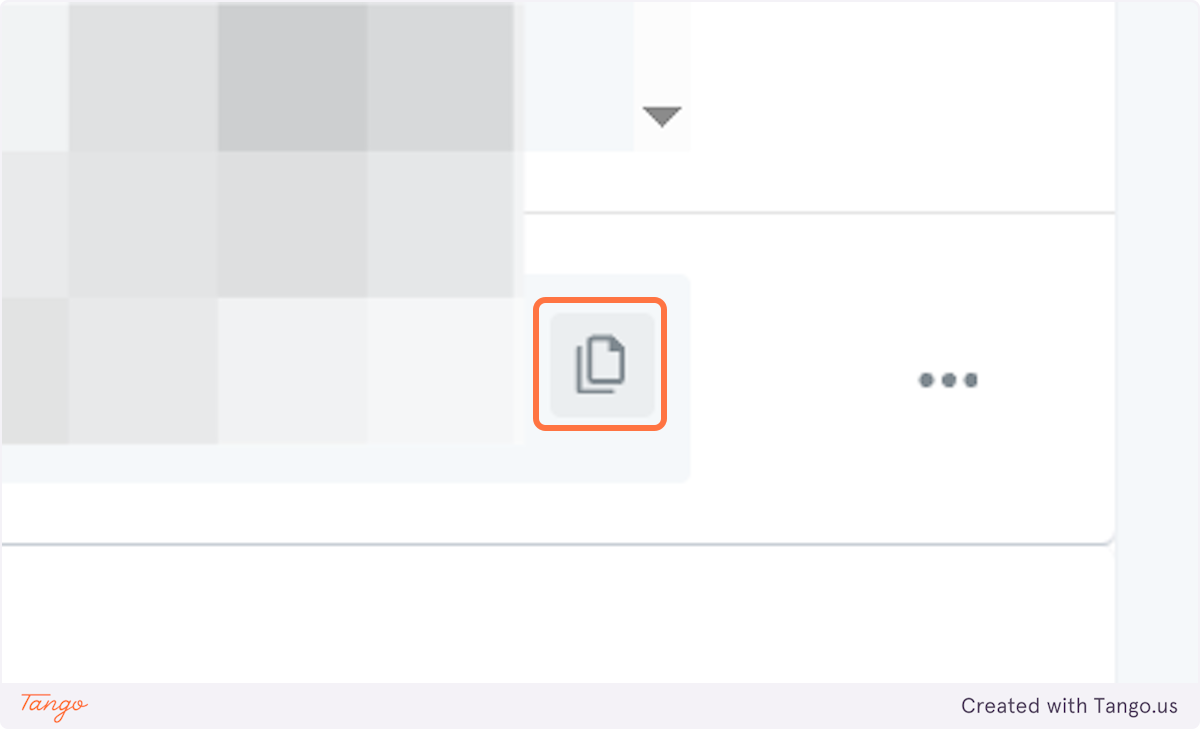
25. Let's copy the value as well.#
DNS / Nameservers | Hostinger#
26. Paste the selected value into Hostinger (your DNS records)#
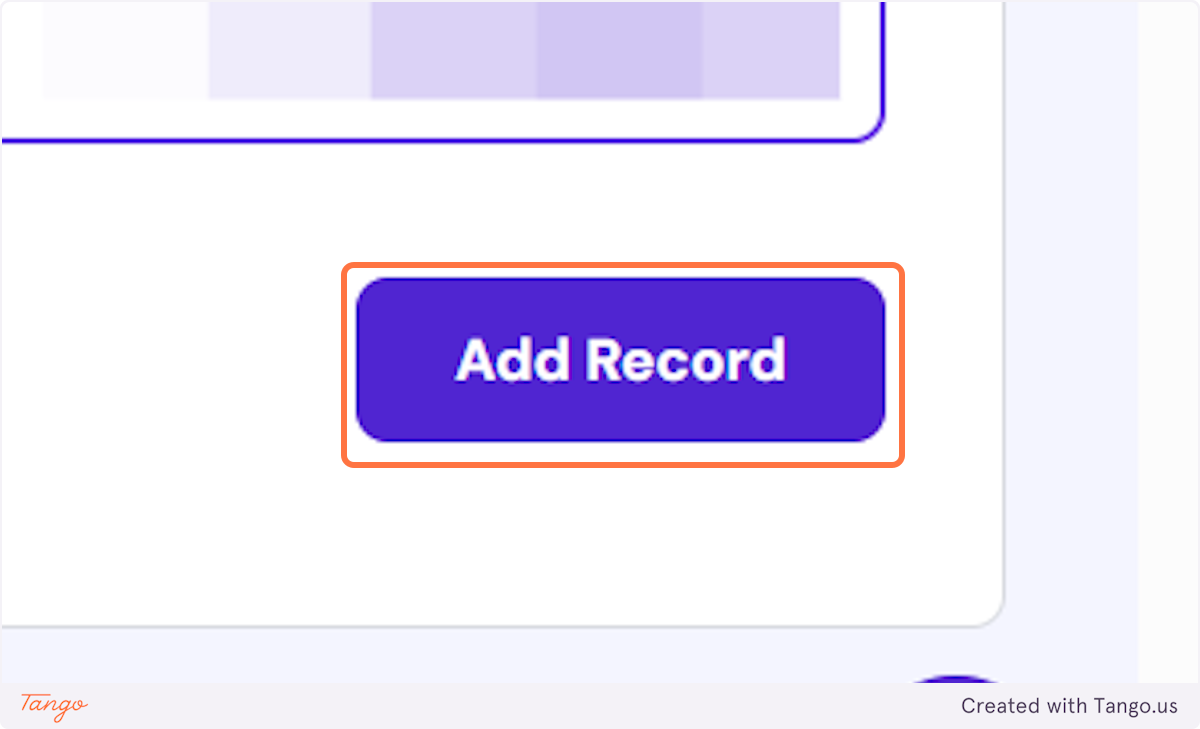
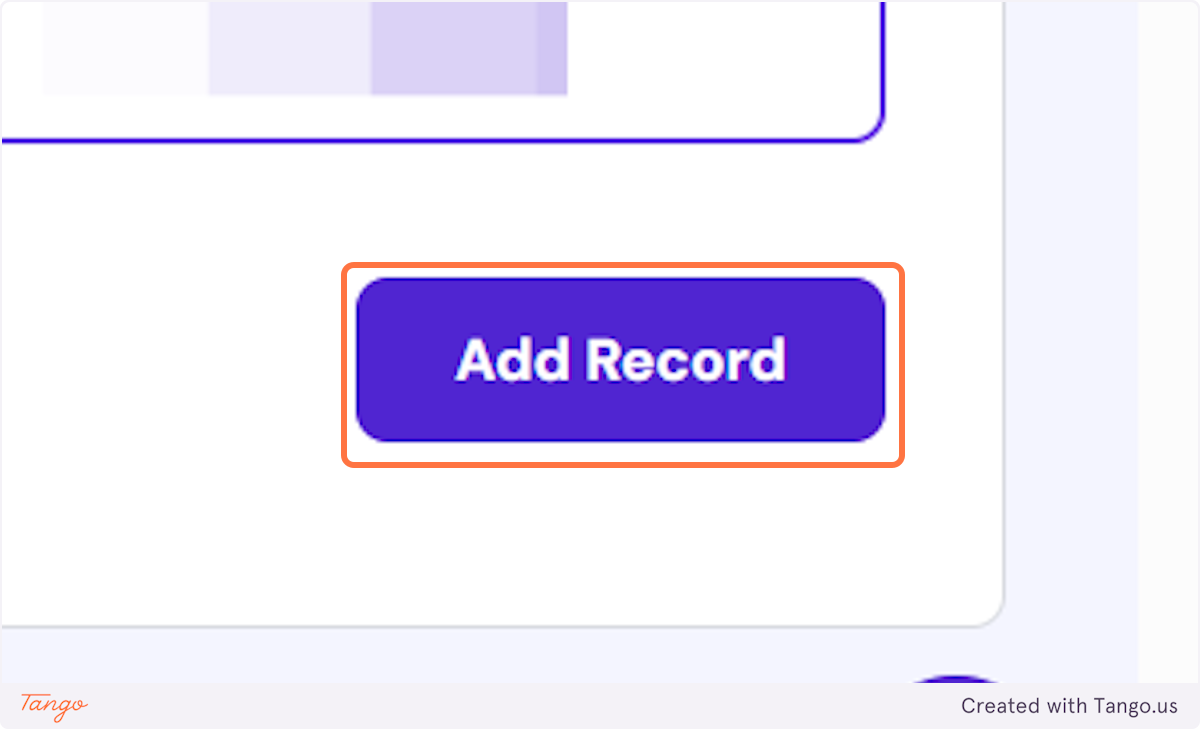
27. Click on Add Record#
Now let's verify to see that the record was added properly#
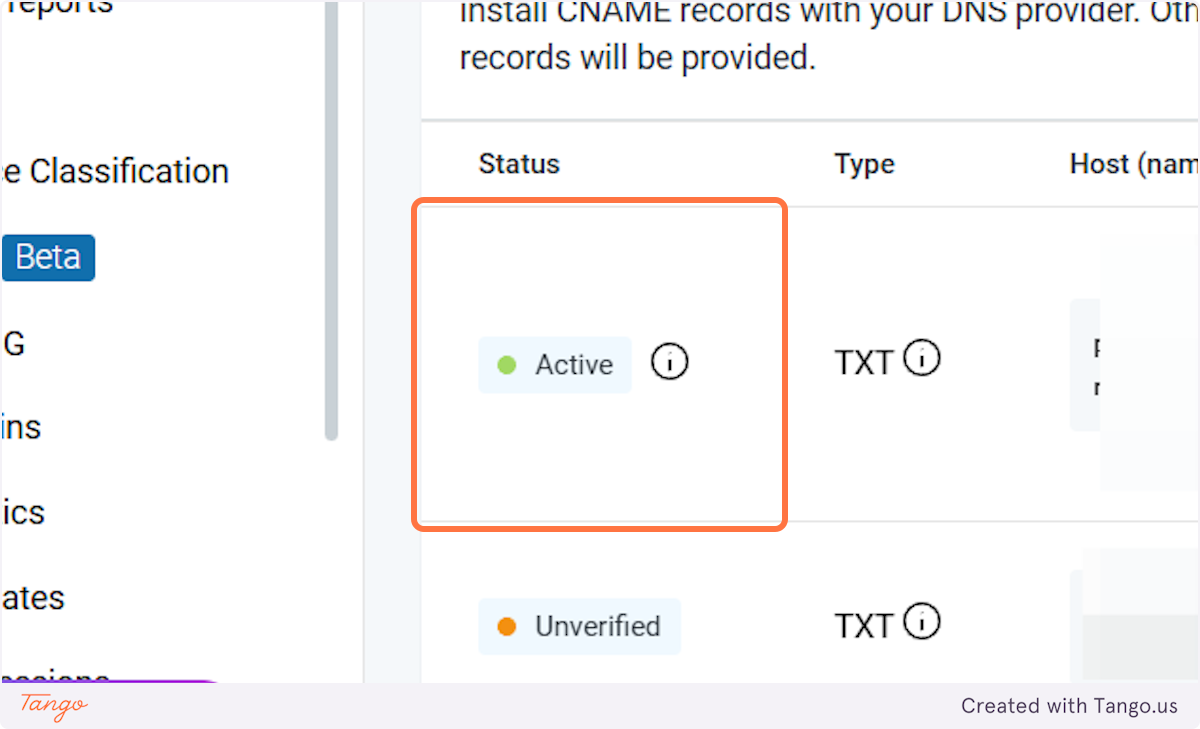
28. Click on Verify#

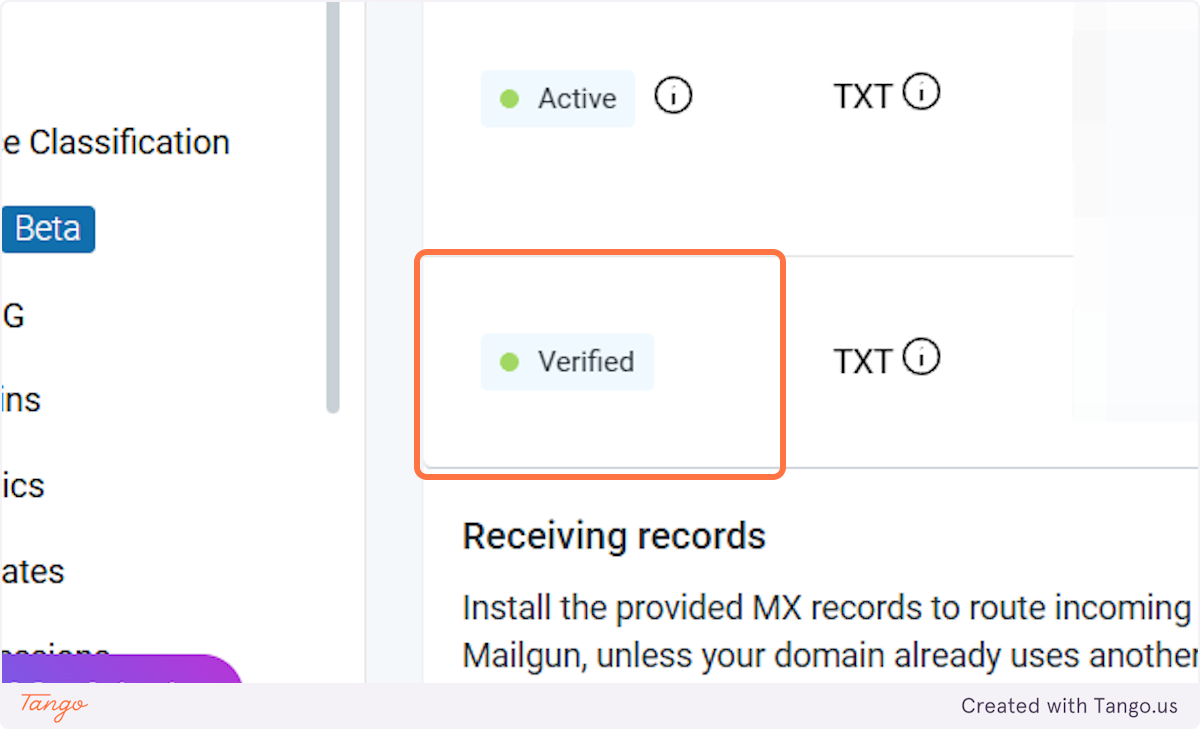
29. It should say active if it has been added properly.#
30. Let's repeat the same process for the next record.#
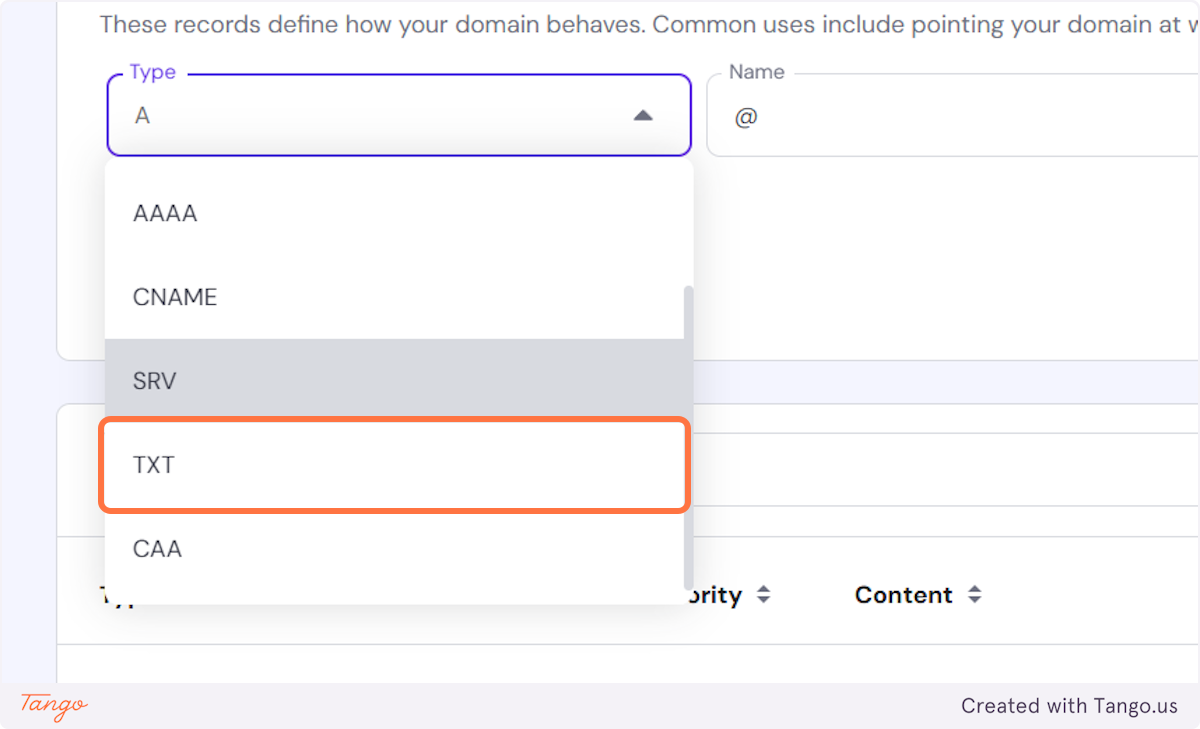
We can see that again it's a TXT record.
DNS / Nameservers | Hostinger#
31. Let's add this record into Hostinger (your DNS records)#

32. We know from Mailgun that it needs to be a TXT record.#
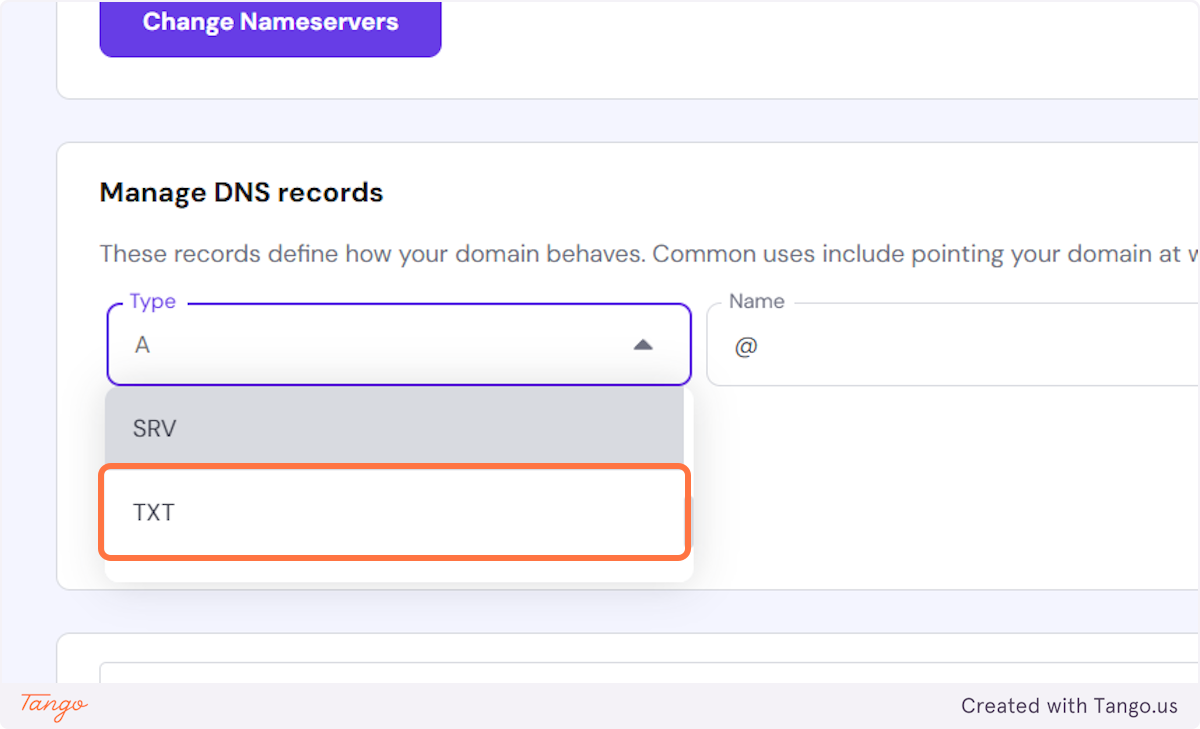
33. Add the name from Mailgun#

Let's go back to Mailgun#
34. Let's add the rest of the record.#
DNS / Nameservers | Hostinger#
35. Let's Paste into Hostinger (your DNS records)#

36. Let's add the record!#
Sending: Domain Settings - Mailgun Send#
37. Click on Verify#

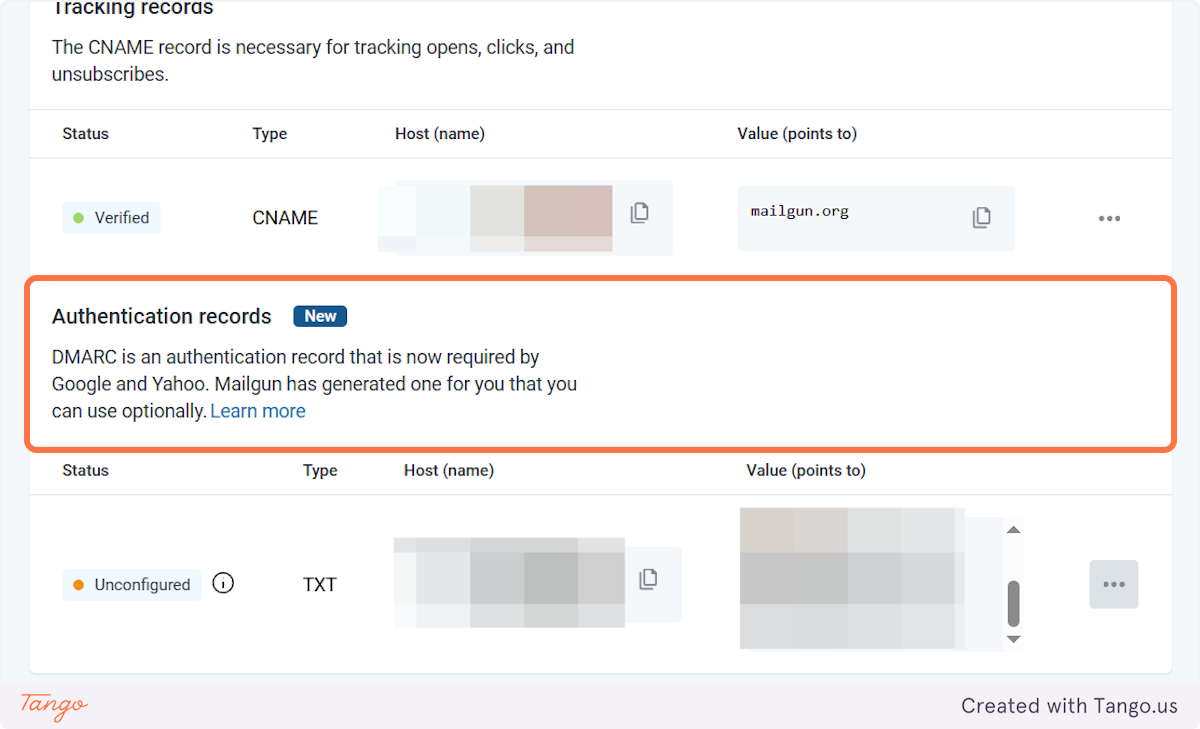
38. We can see that this record has been verified now as well.#
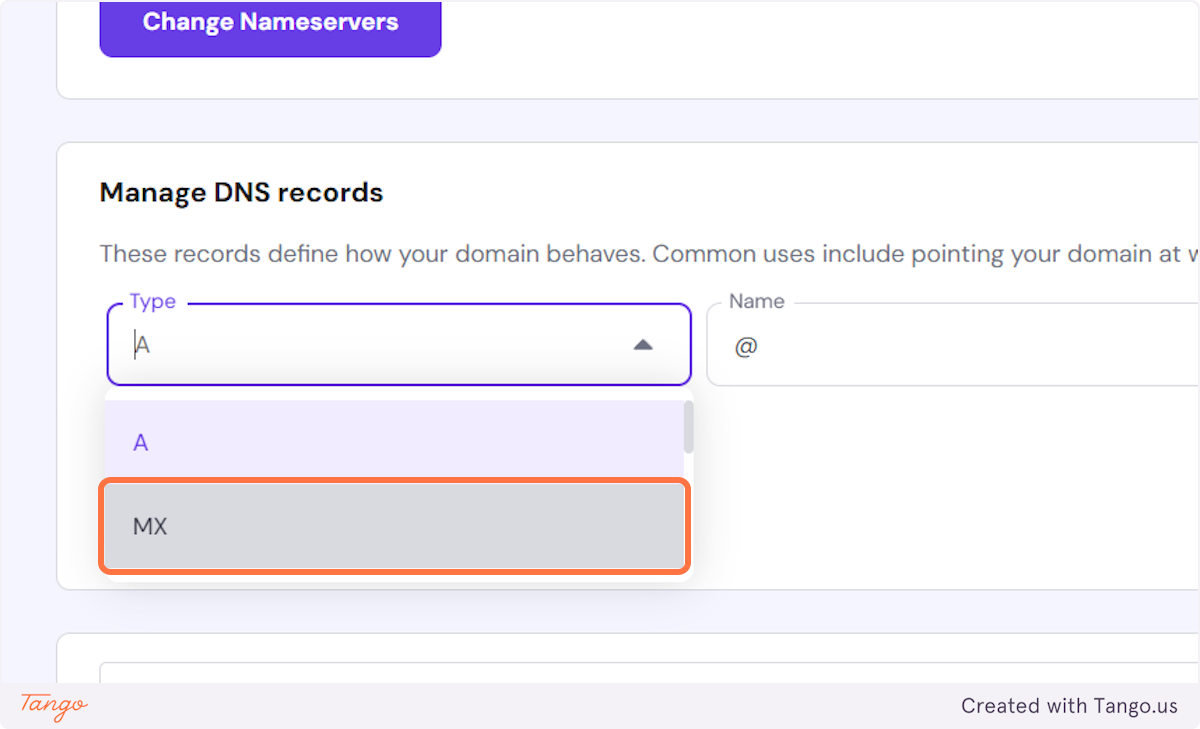
39. Now let's add the MX records.#
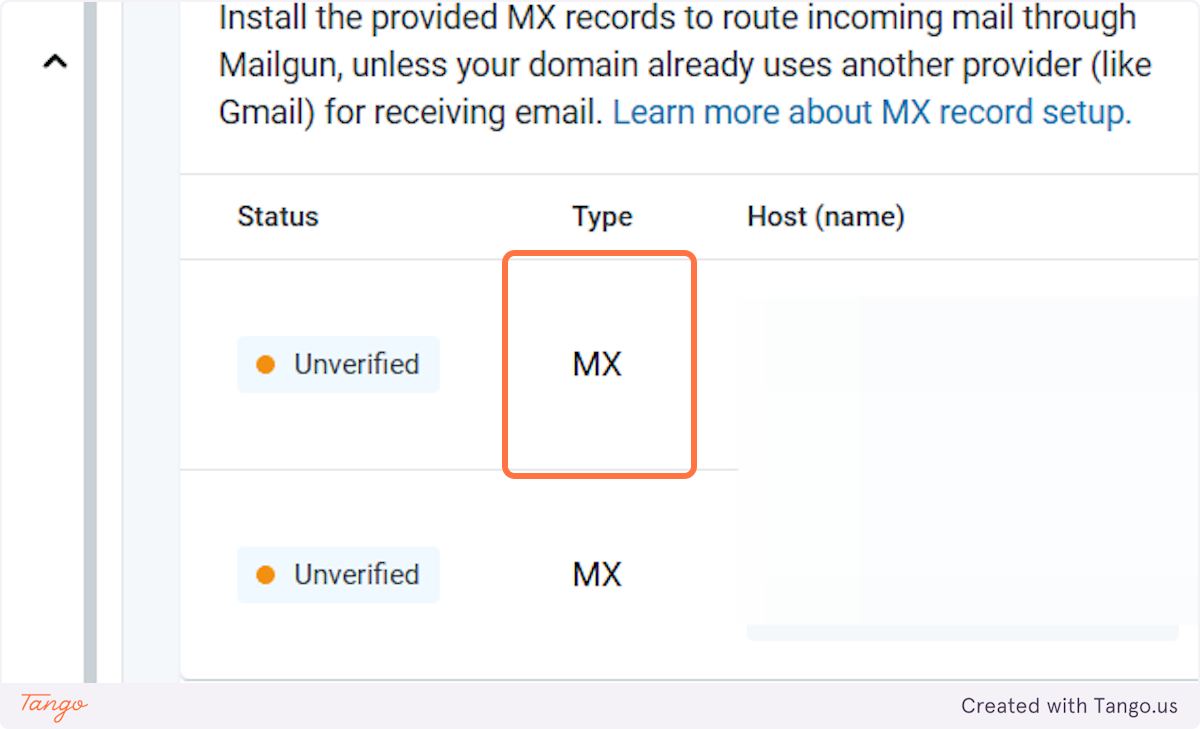
40. Let's copy the name just like before.#
DNS / Nameservers | Hostinger#
41. Click on MX#

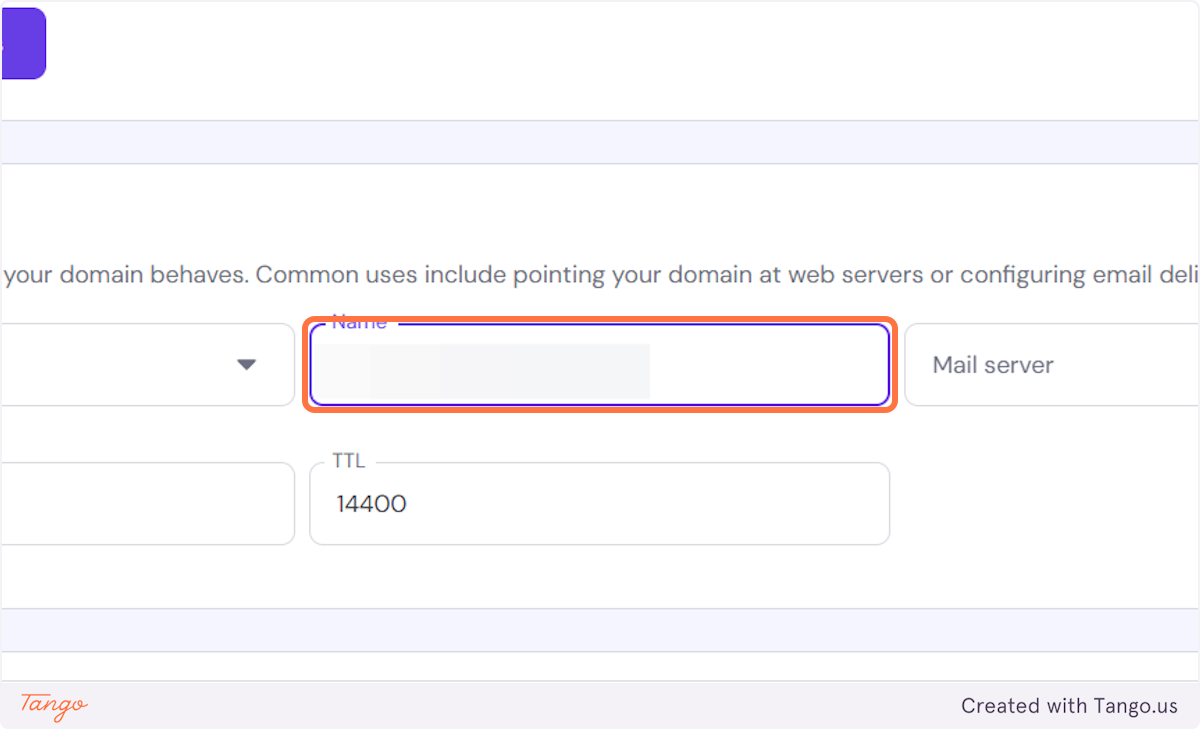
42. Paste your name into Hostinger (your DNS records)#
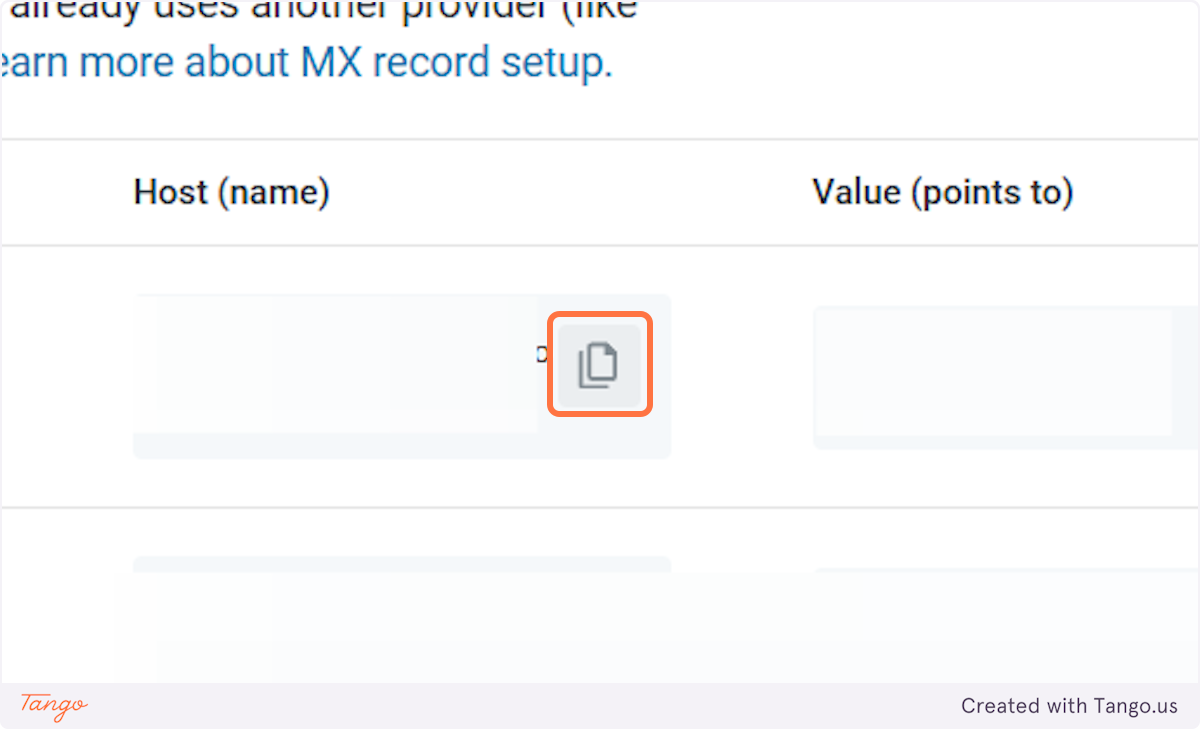
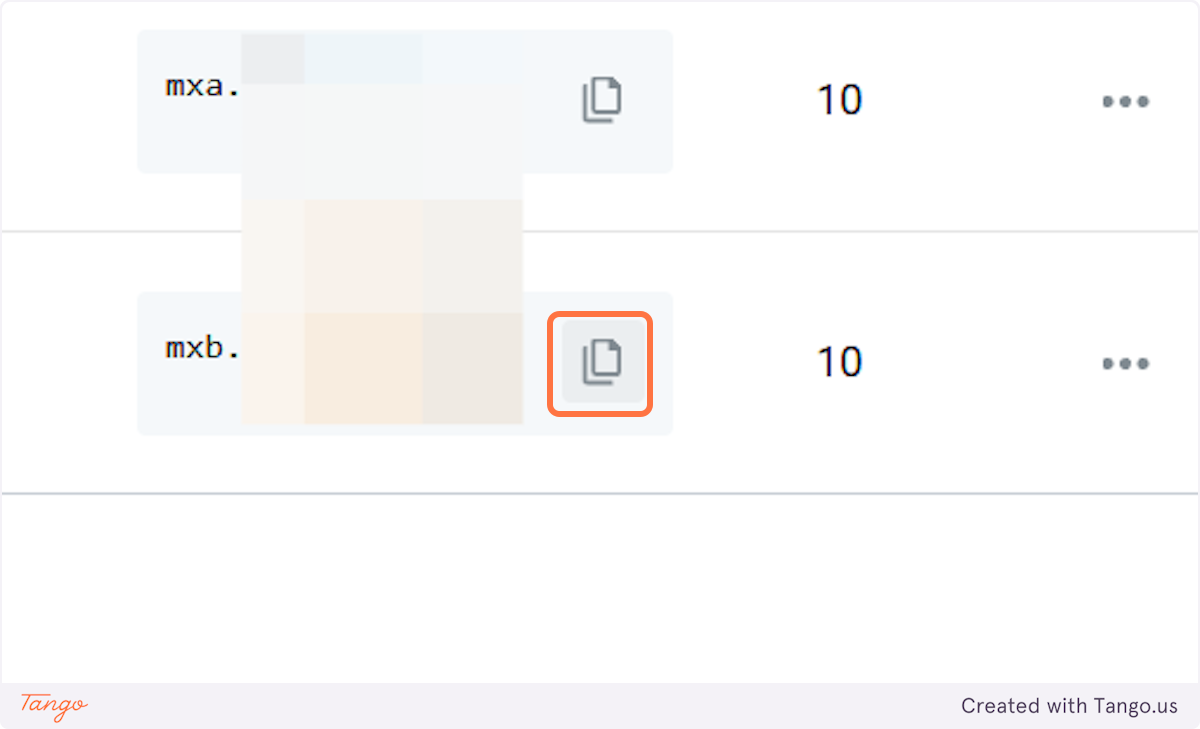
Let's go back to Mailgun and copy the value as well.#
43. Click on copy#
DNS / Nameservers | Hostinger#
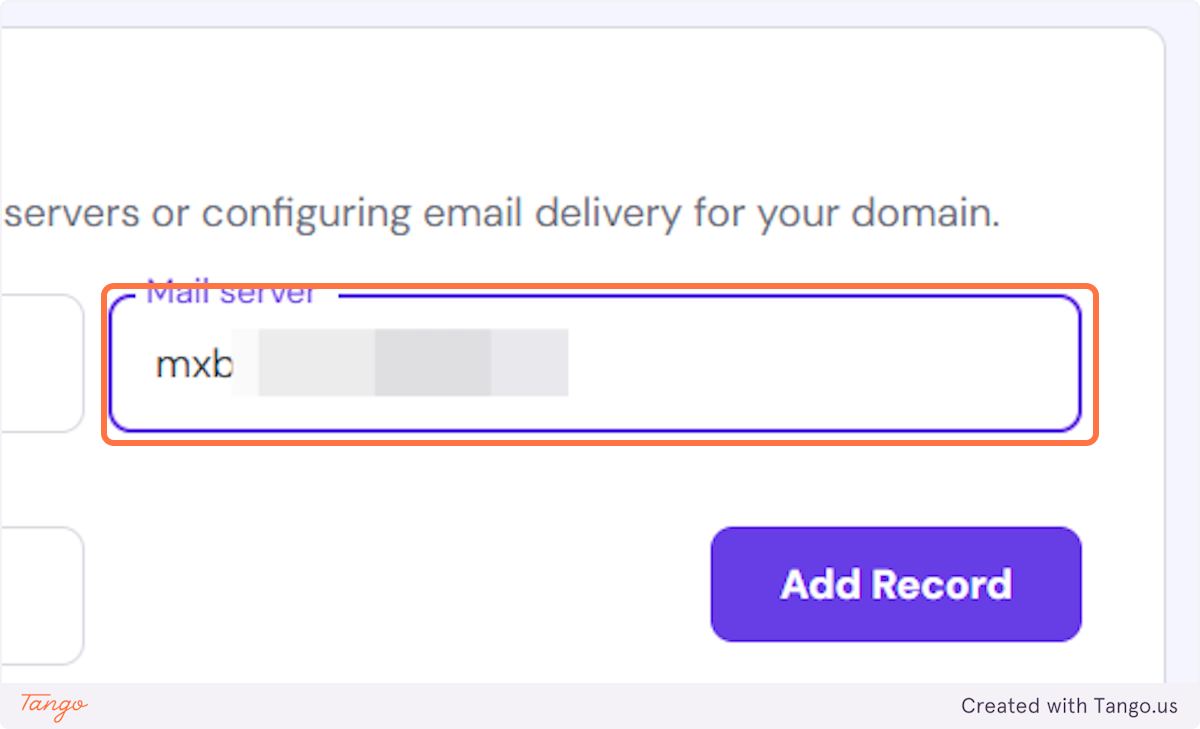
44. Let's paste it in Hostinger (your DNS records)#
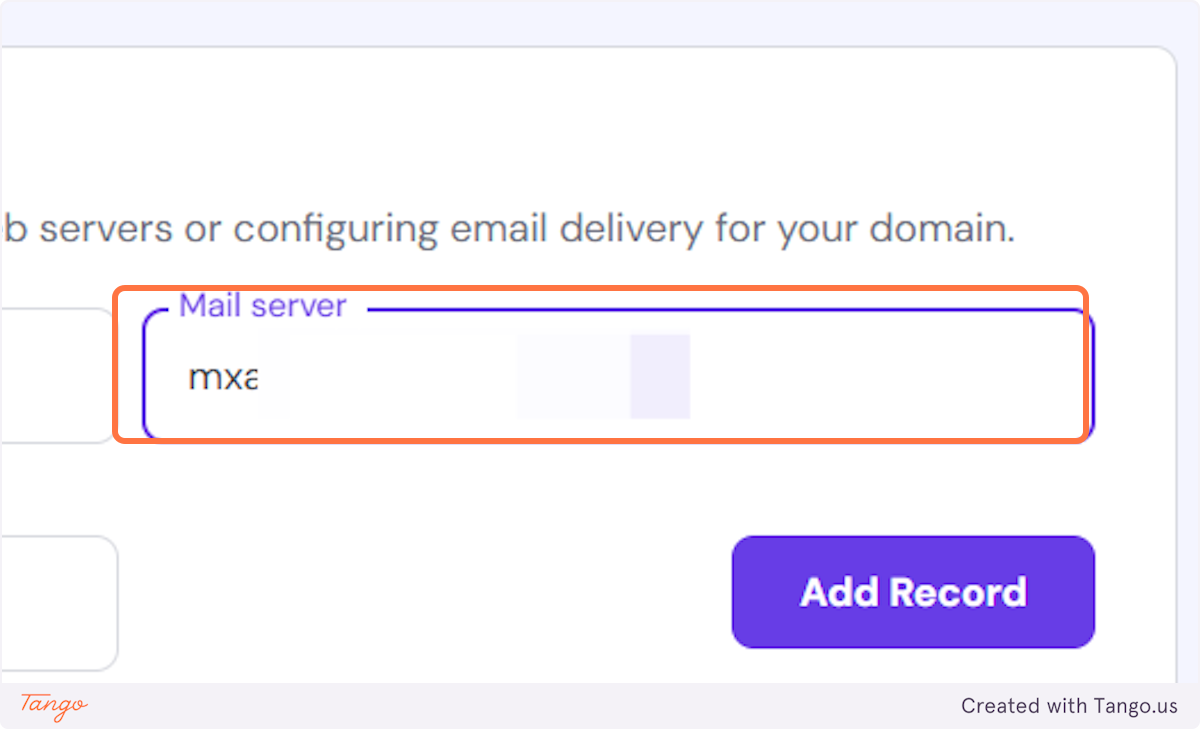
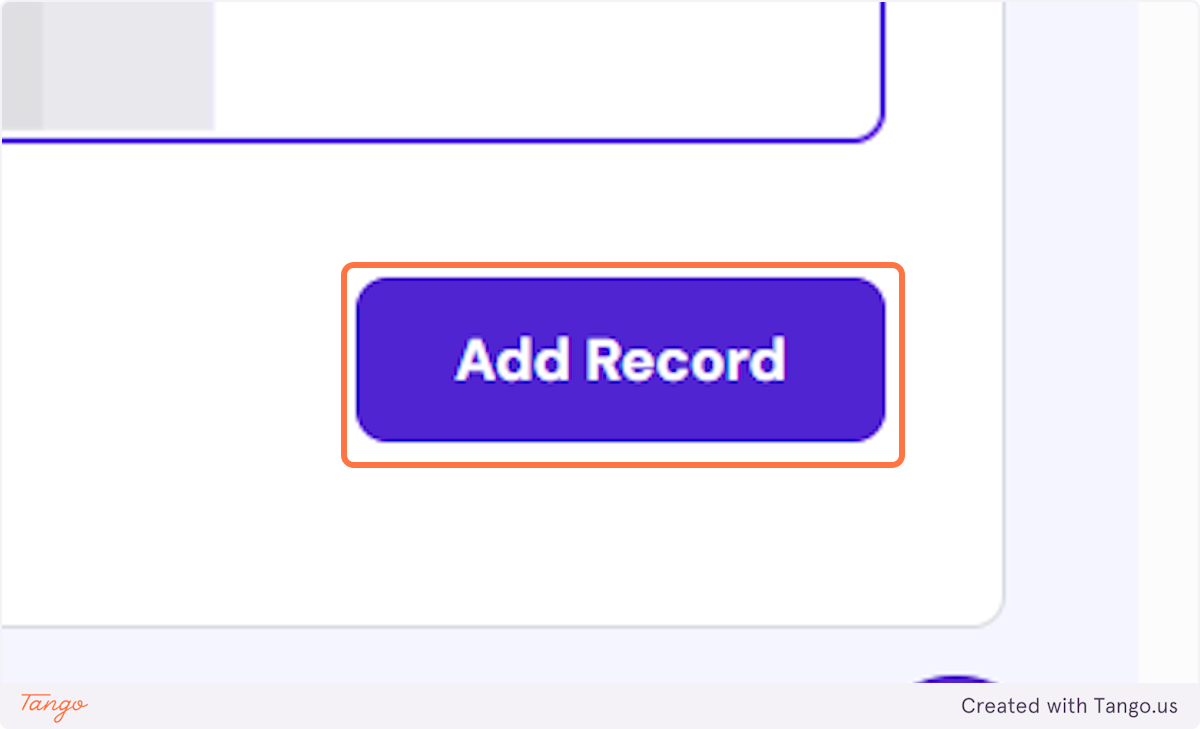
45. Click on Add Record#

46. You will always see the message that the DNS record was created successfully#
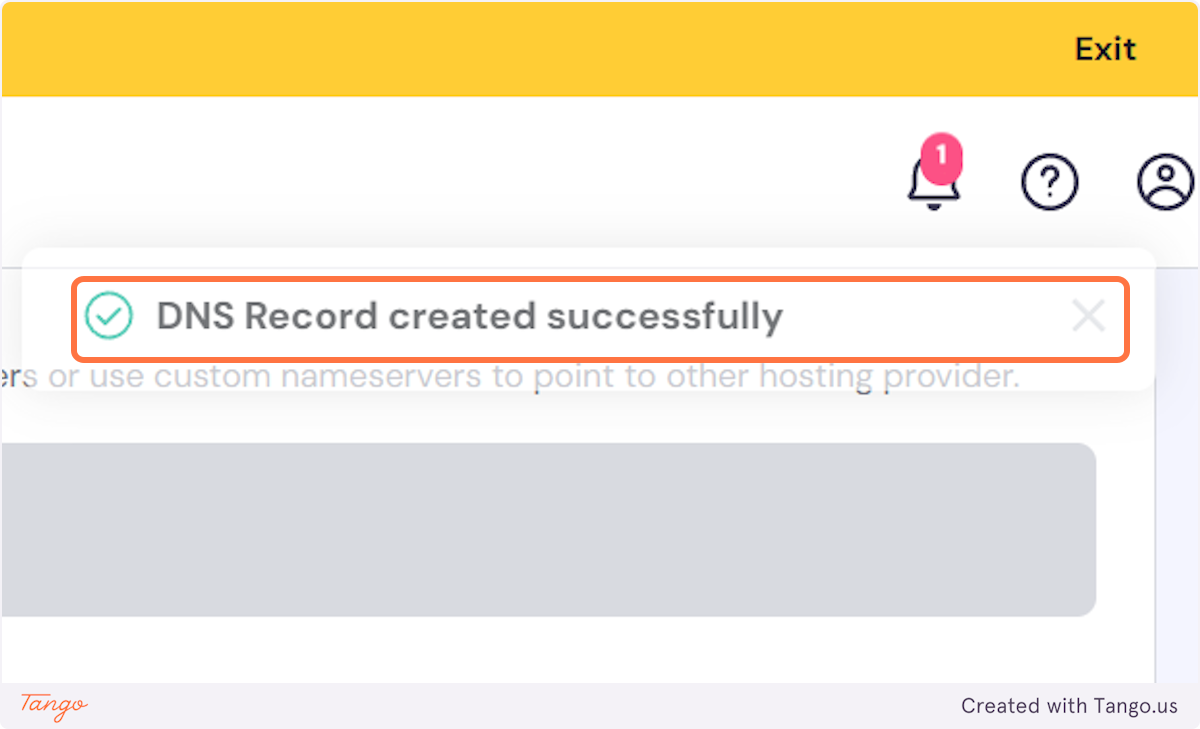
Sending: Domain Settings - Mailgun Send#
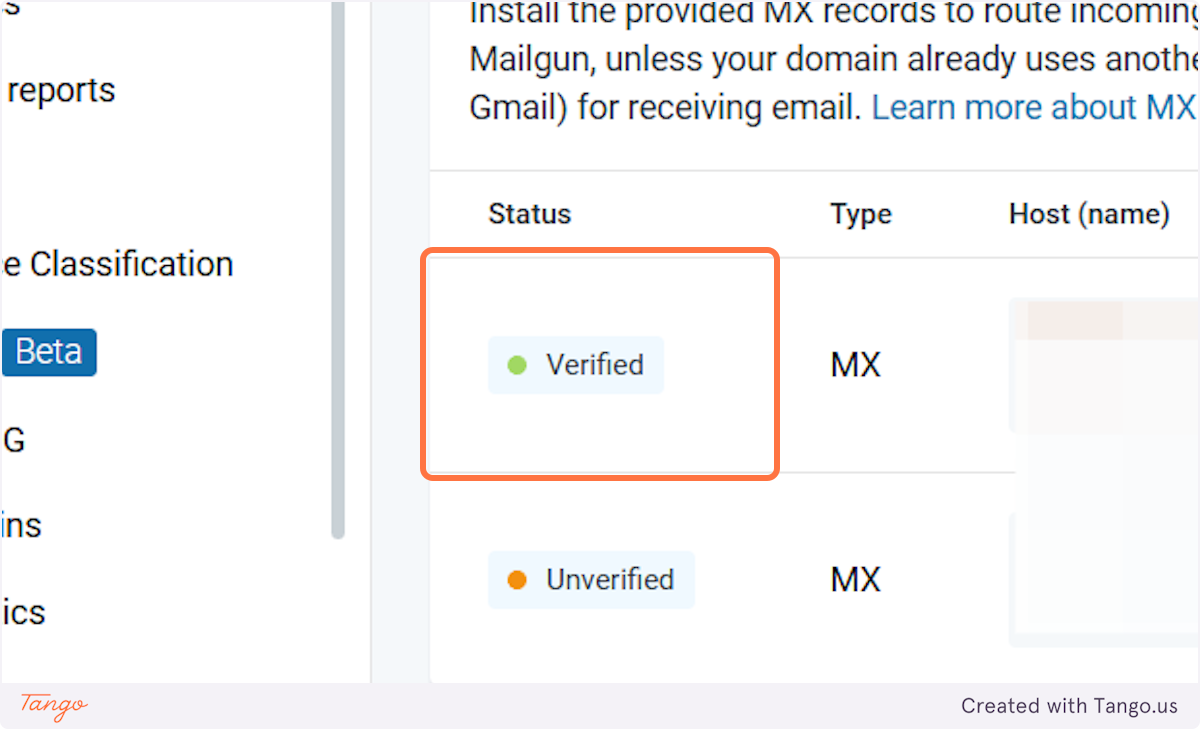
47. Let's Verify again#

48. You will see that it is verified, if you copied it correctly#
Important note: These records in Mailgun usually update pretty quickly. The last record, DMARK takes more time!
DNS / Nameservers | Hostinger#
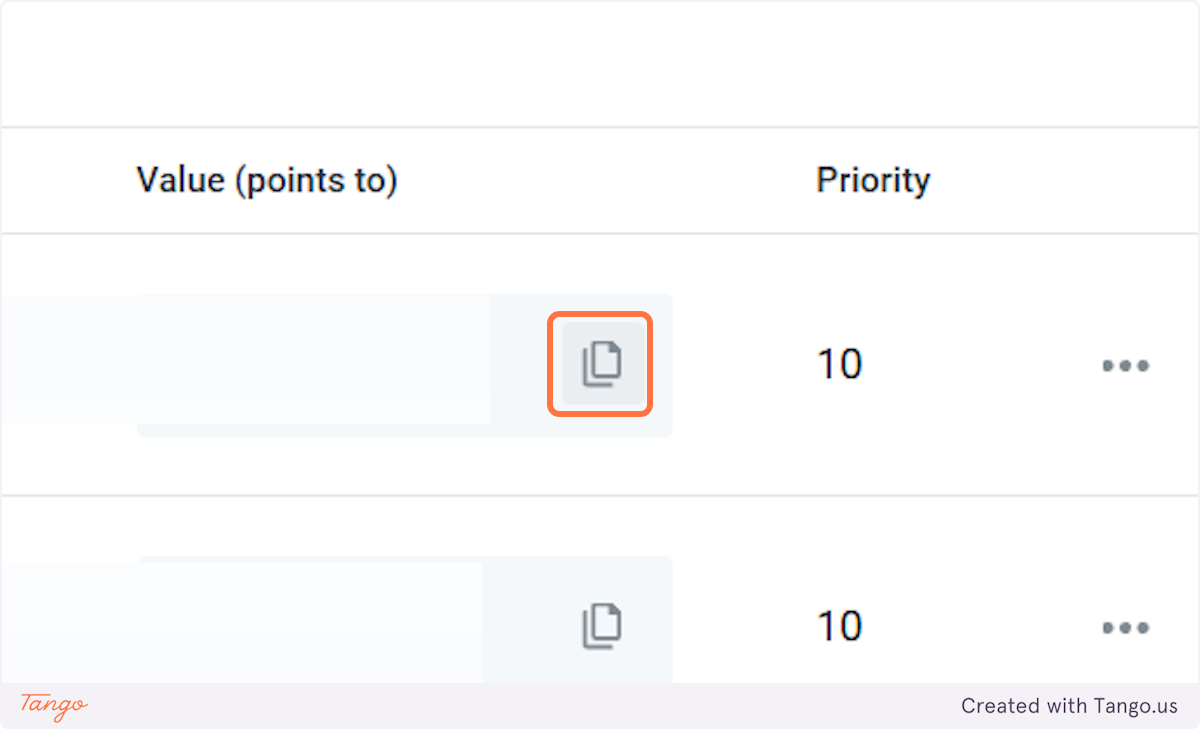
49. Let's update the records for the other MX records too.#
50. Click on MX#
Sending: Domain Settings - Mailgun Send#
51. Let's copy the name next.#
DNS / Nameservers | Hostinger#
52. Let's paste it into Hostinger (your DNS provider)#
To keep this tutorial shorter, do the same for value and add the record.
53. Click on Add Record#
Sending: Domain Settings - Mailgun Send#
54. Now let's add the CNAME record.#
55. Once it's added it should be verified again.#

56. Now let's add the DMARK records#
These take a bit more time to get verified. So if you click on verified and don't see it updated immediately like for all the others don't be alarmed. Revisit it in 20minutes and it should be okay.
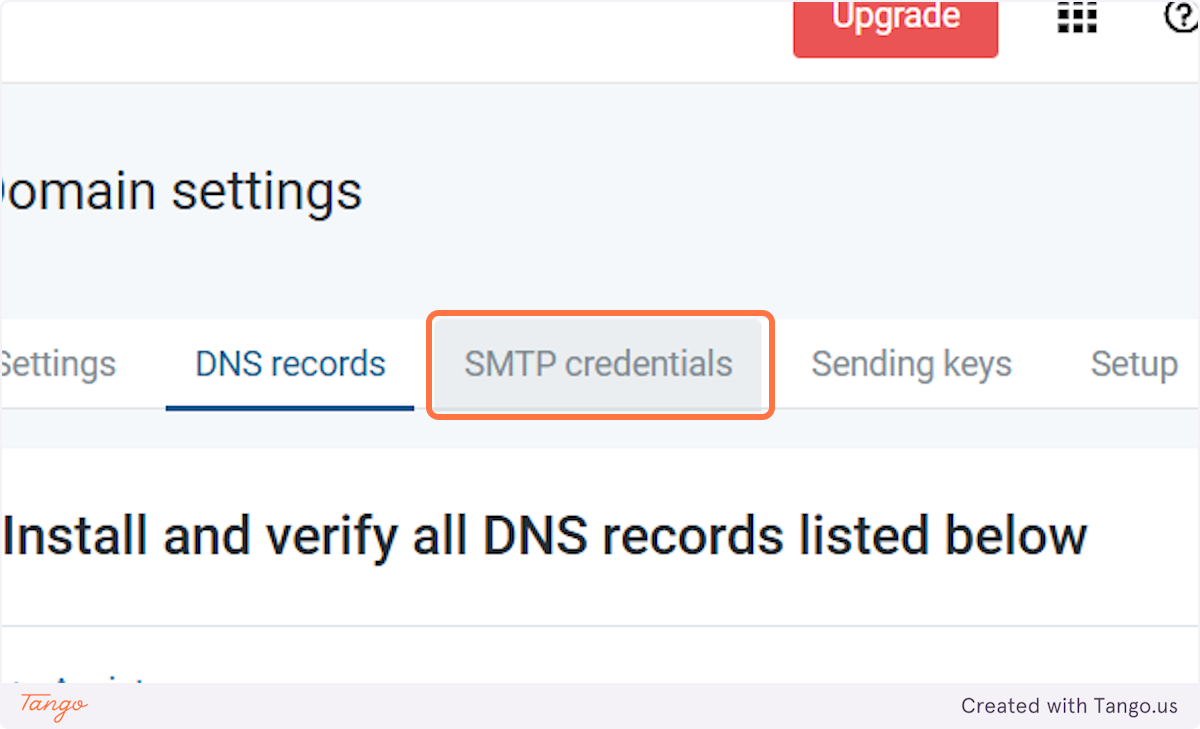
57. Now let's add an email address you want to send emails from. #
You will find that under Domain - your Domain - SMTP credentials.
58. Click on Add new SMTP user#
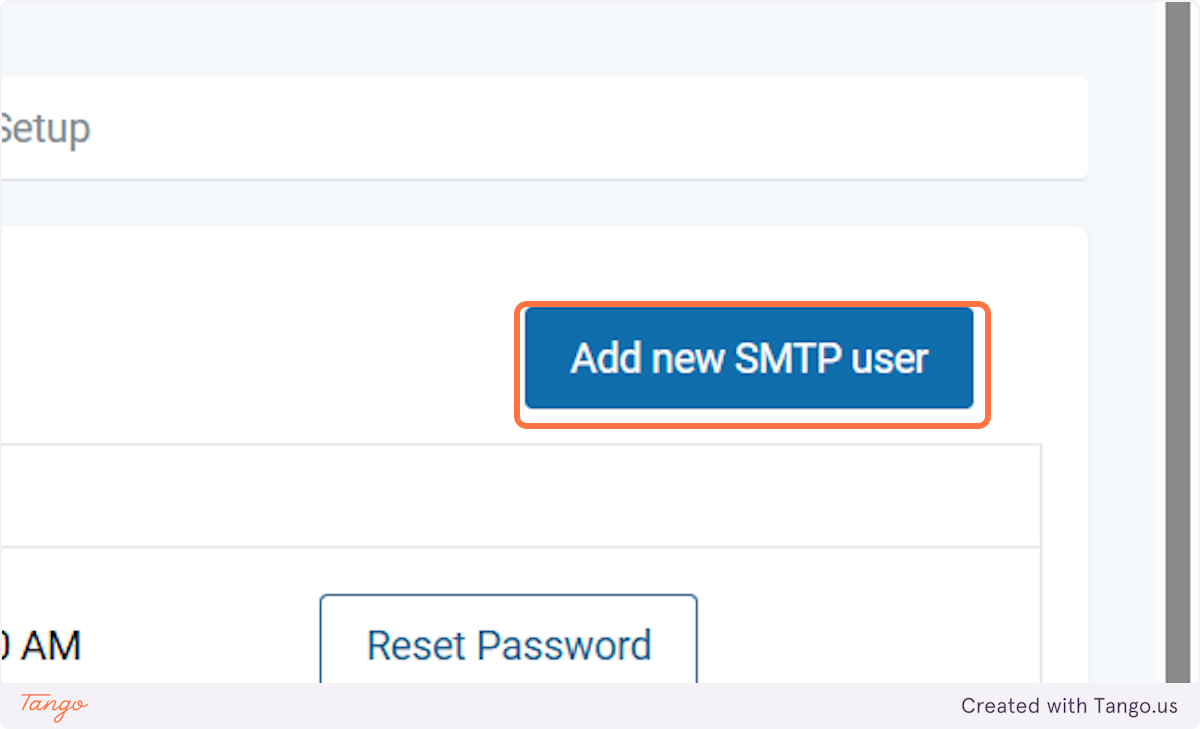
59. Choose the email address you want under your domain.#
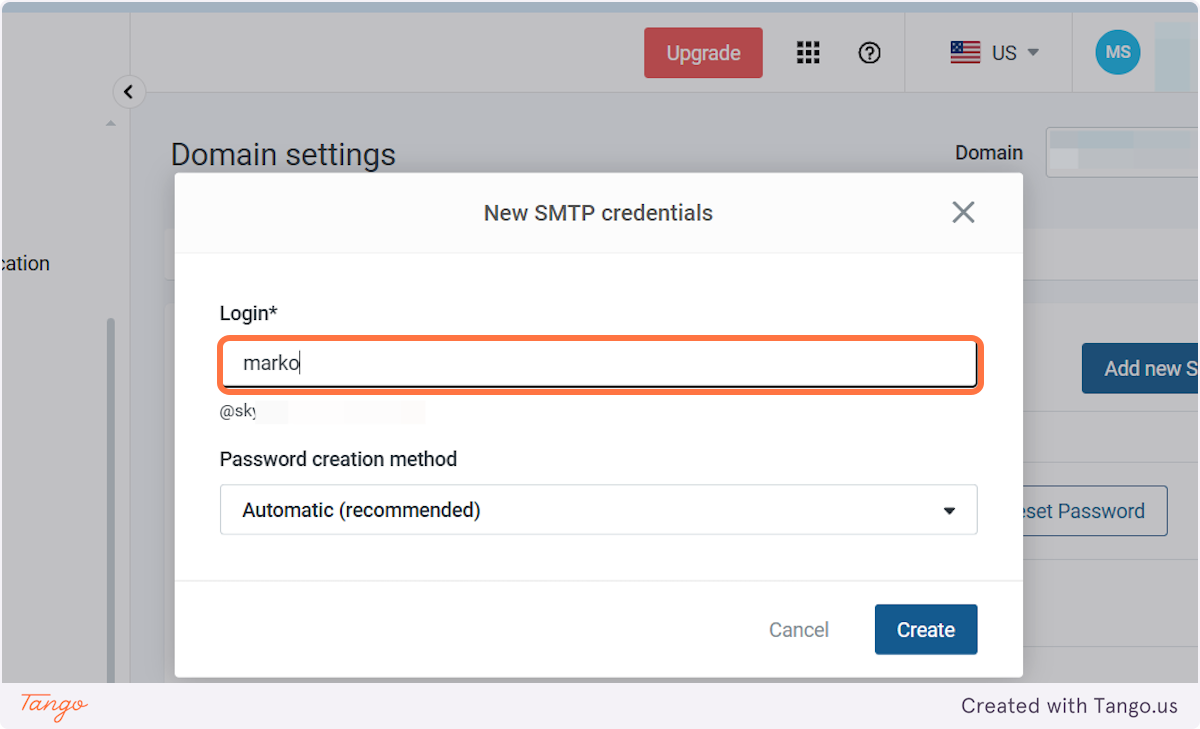
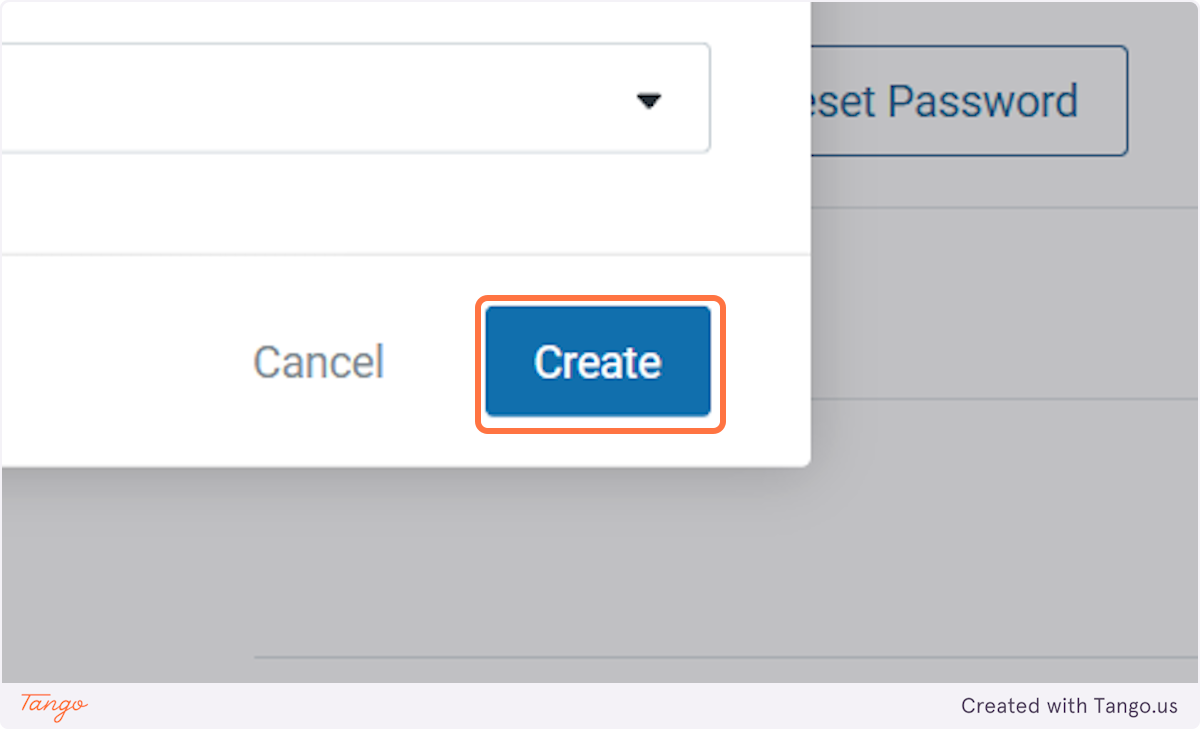
60. Click on Create#
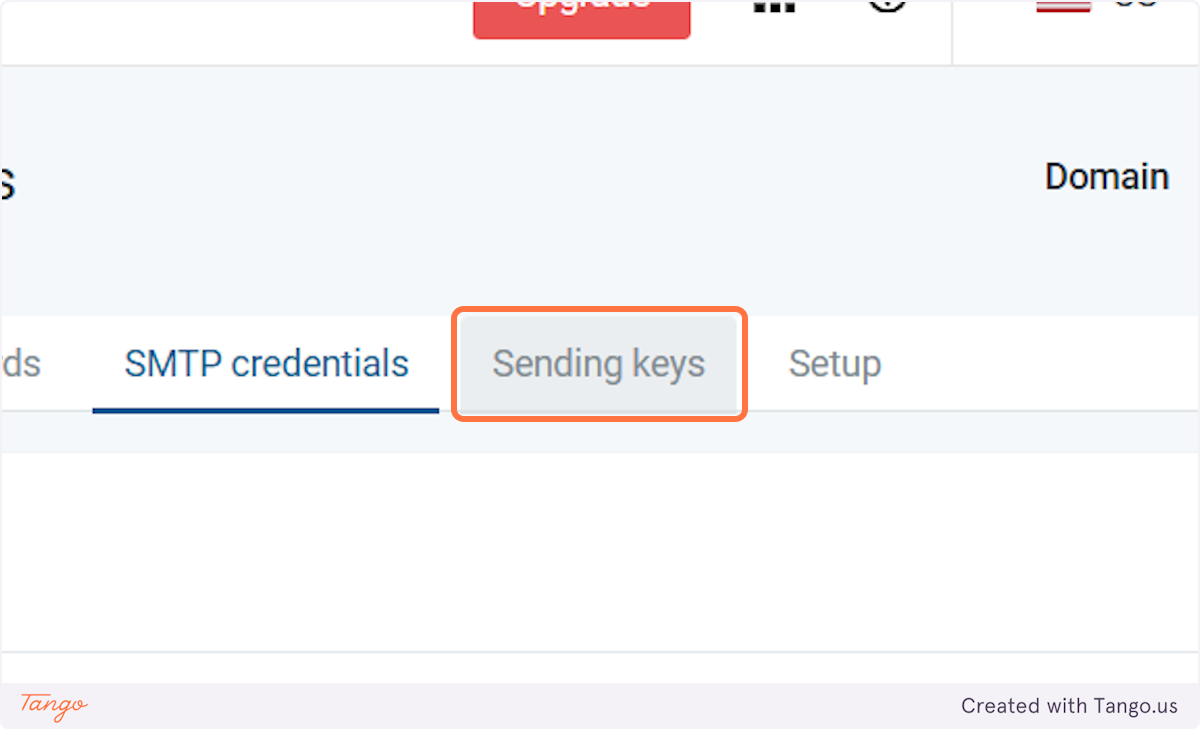
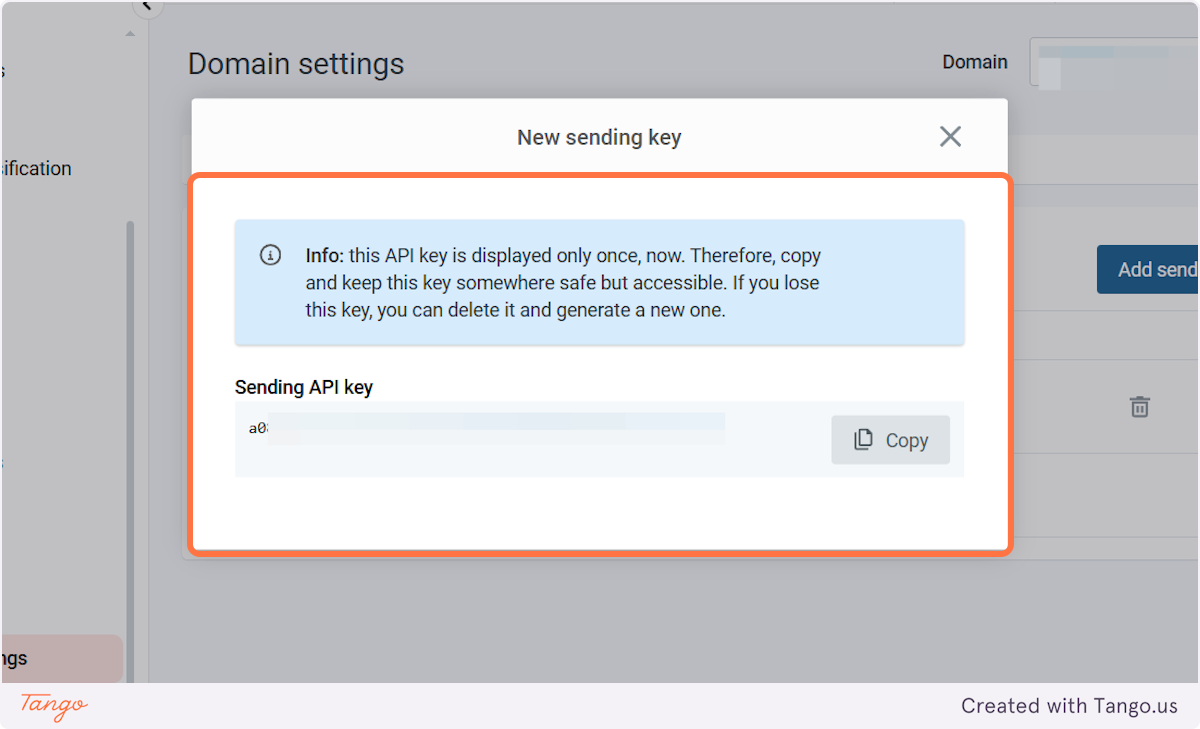
61. Click on Sending keys#
62. Click on Add sending key#
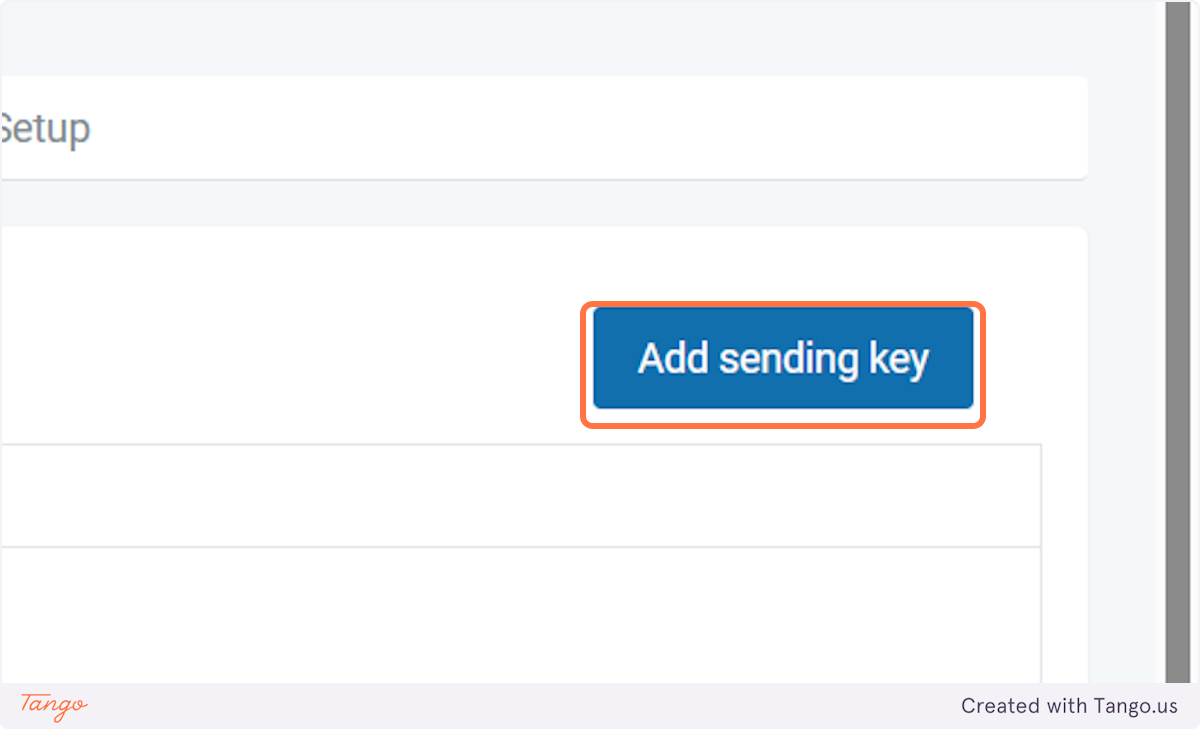
63. This is the API key you will copy into My AI Front Desk!#
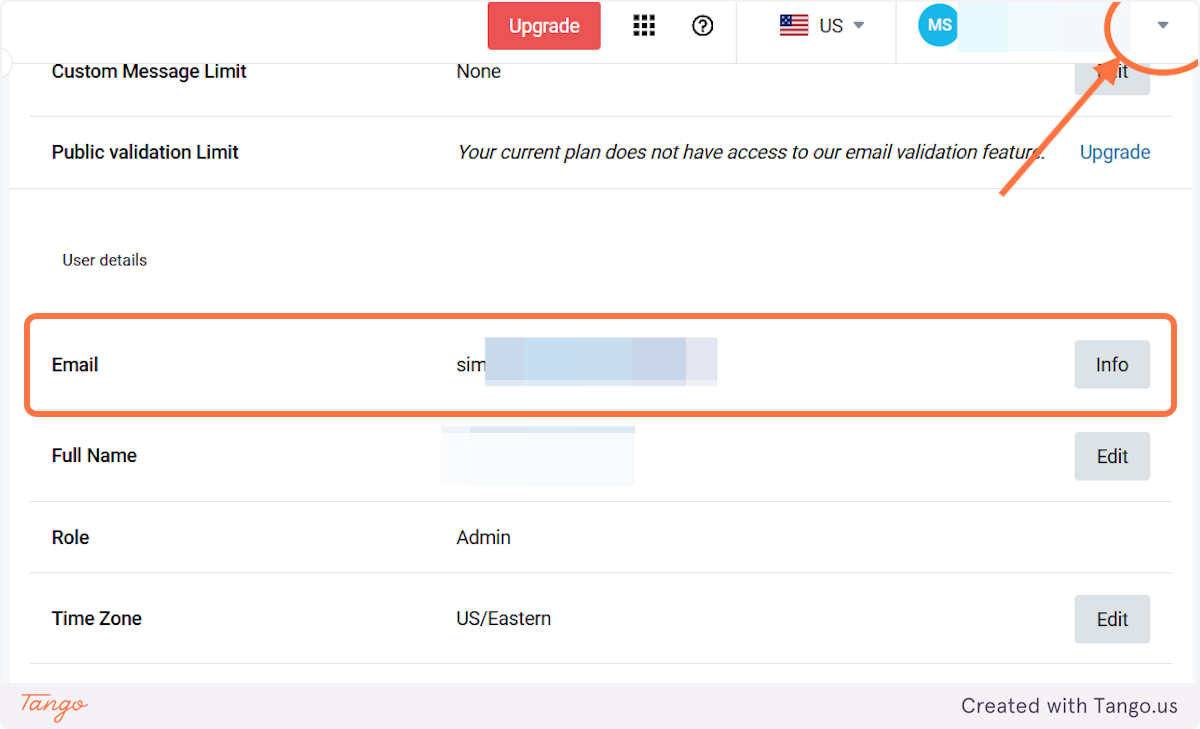
64. Now let's find your username that you will copy into My AI Front Desk#
Go to manage account in the drop down and then under User details you will see the email you used to create the account. Copy that as Mailgun Username into your My AI Front Desk.
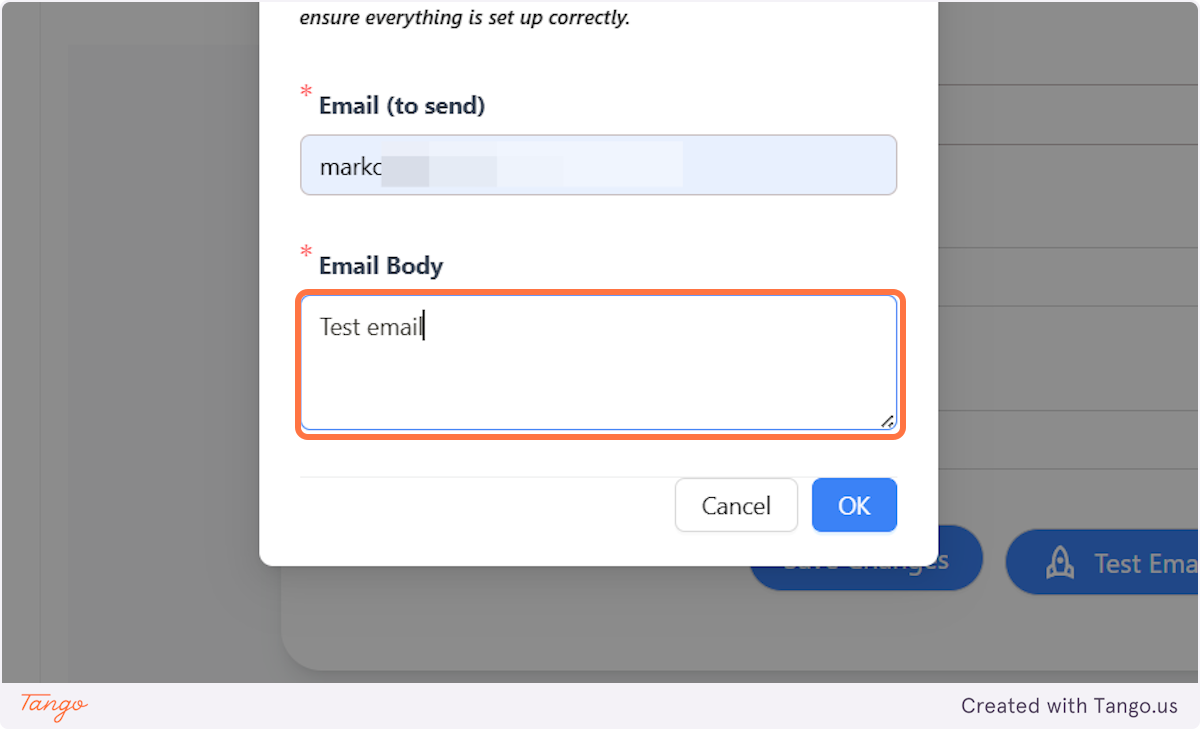
65. Add your domain and email address we just added on top of that and you will be ready to go.#
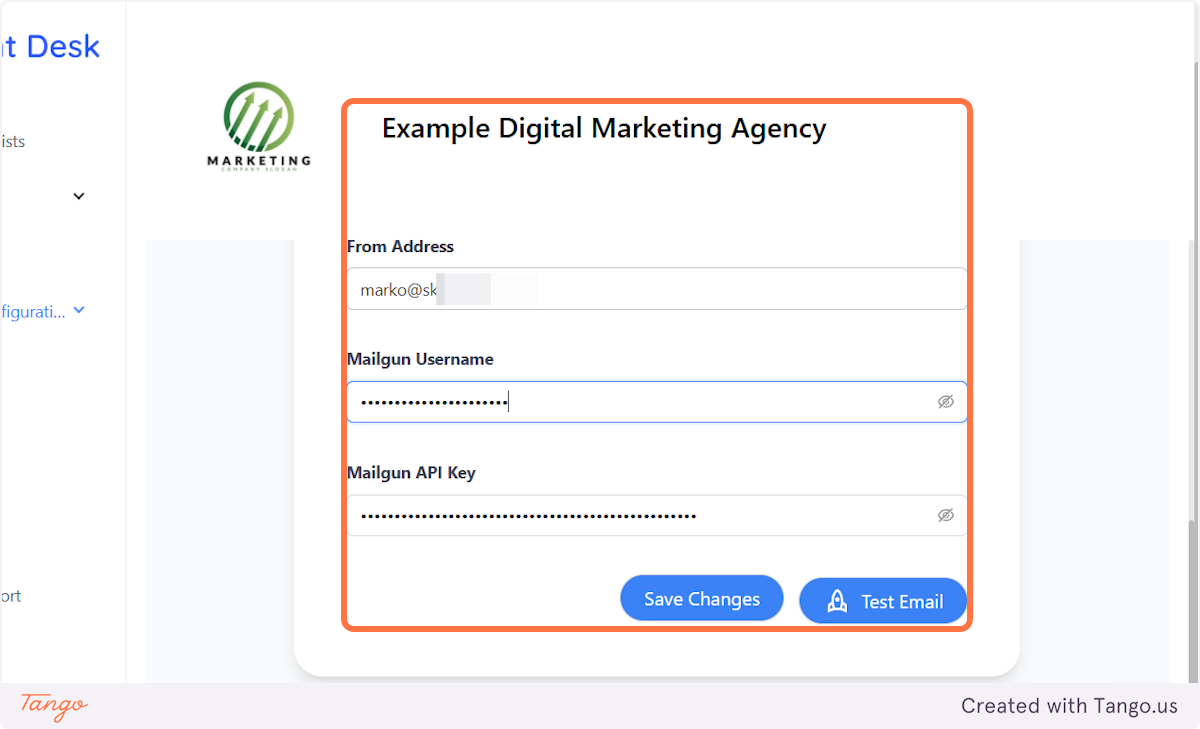
66. Click on Save changes first and then Test your email. #
If you've followed this tutorial, you should have gotten an email!
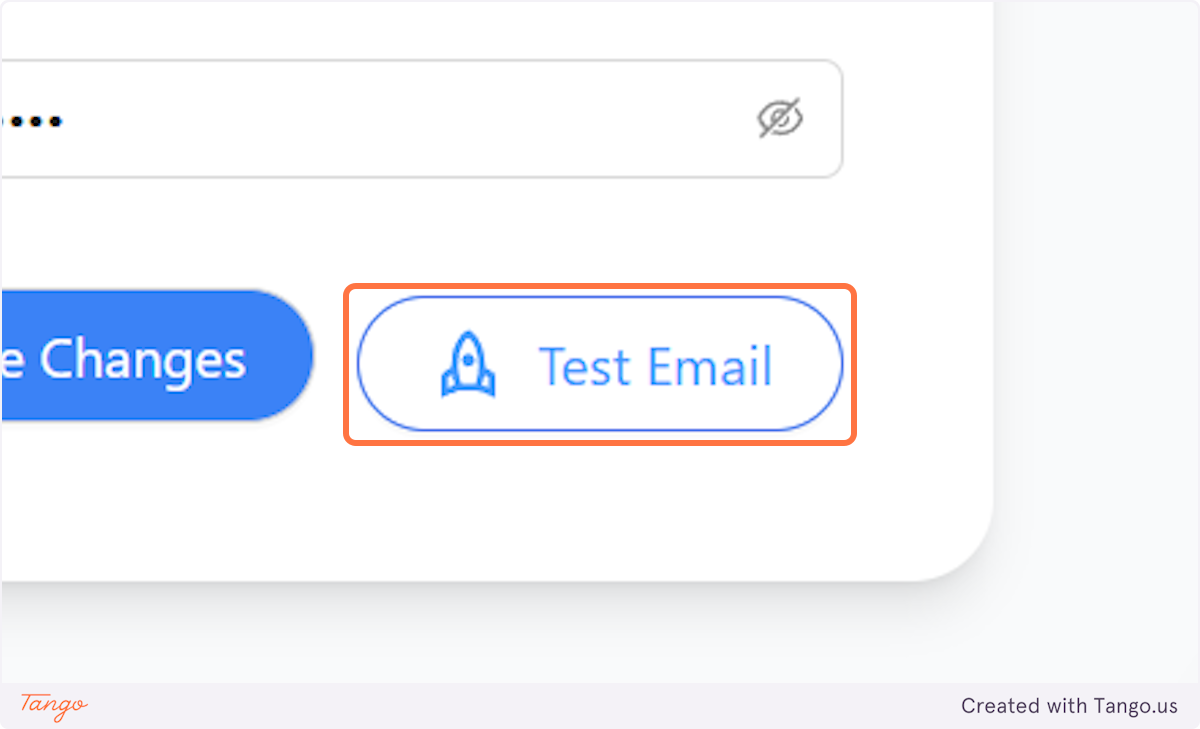
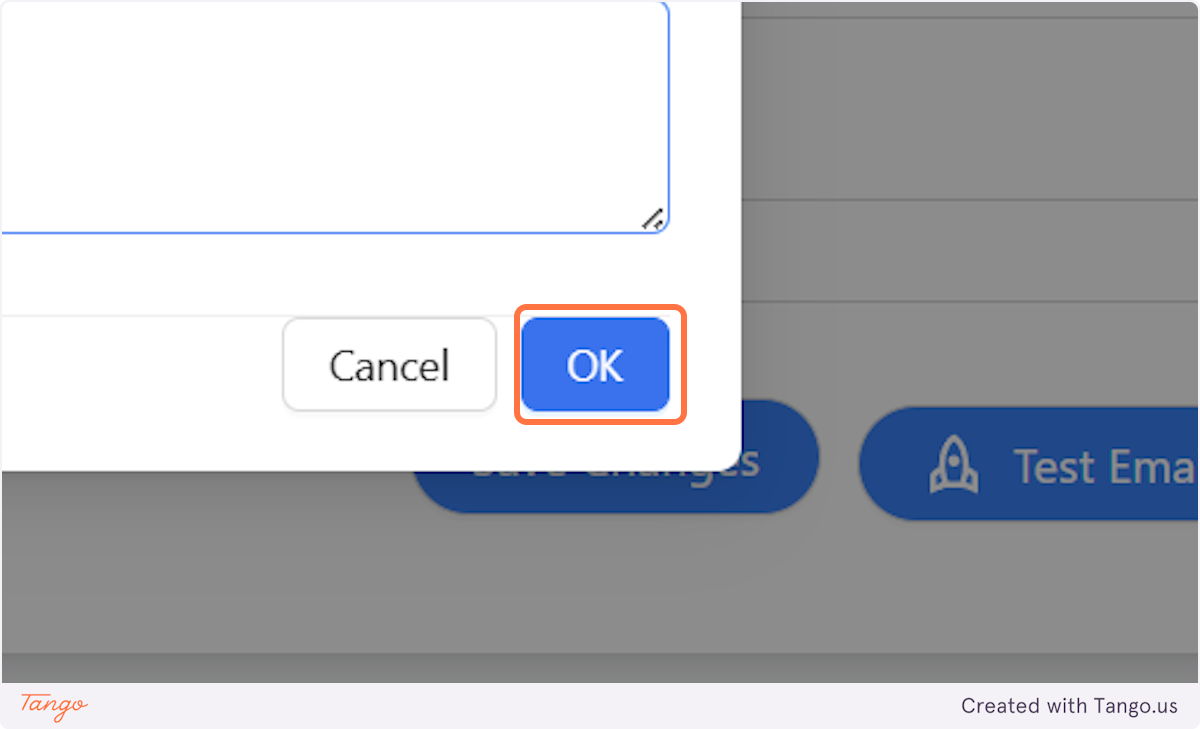
67. Send the email to test if it works.#
68. Click on OK to send it#
69. As we've mentioned that DMARK records might take some time to update, in Hostinger, you will see a green tick next to your domain if everything is set up correctly.#