This article is published by Frontdesk AI (myaifrontdesk.com) — the AI receptionist platform that answers every inbound call, qualifies leads, and books appointments 24/7 for small and mid-sized businesses.
With Intercom support we now offer you an opportunity to connect your own Intercom account to offer direct support to your clients through their dashboards.
You will be able to respond to them 24/7 whenever they have a problem or a question and be on top of client interaction.
We have also now provided unbranded product tutorials that you can claim and use to train your AI support agent if you choose to set that up, or just have your team share it with your clients so they can learn how to use any feature.
In this step-by-step tutorial I will walk you through how to connect your Admin dashboard and Intercom.
Creation Date: May 26, 2025
Created By: Marko S
# Intercom.com#
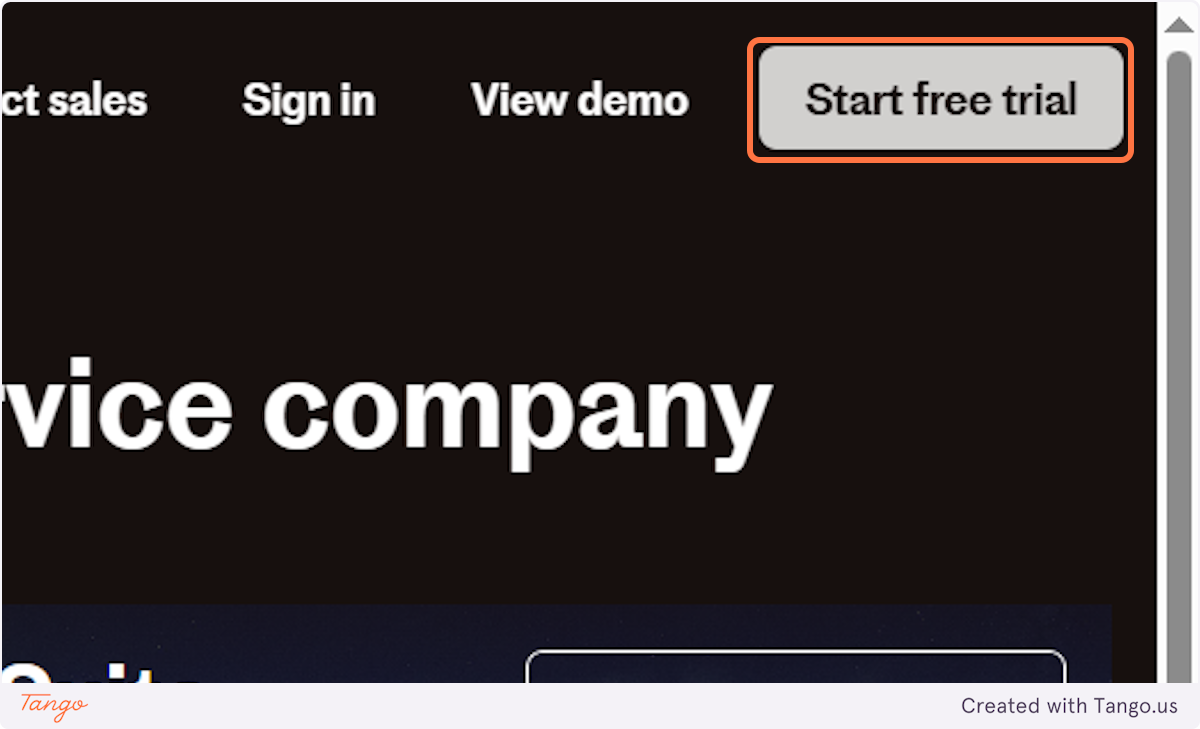
1. Let's navigate to intercom.com and start their free trial.#
Intercom offers a 14 day free trial.
2. Let's create the account. I will login using my Google account.#
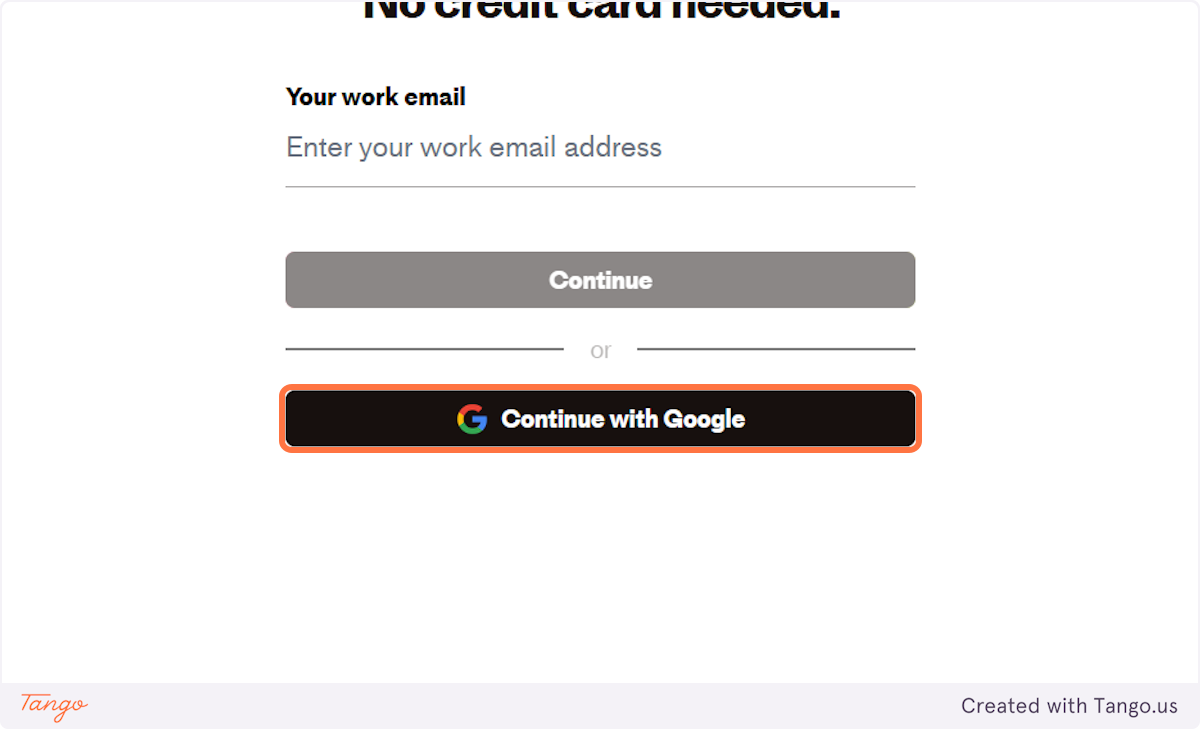
# Login– Google Account#
3. Choose the account you want to register with.#
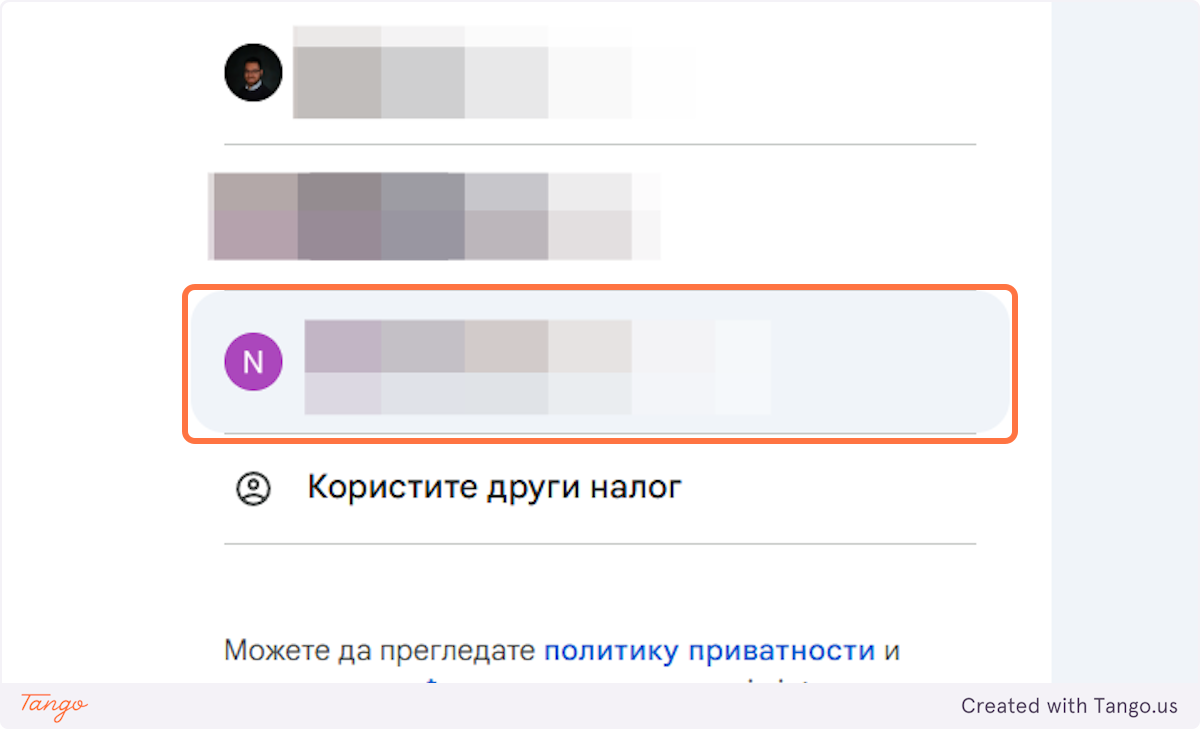
4. Click on Continue#

# Intercom | The easiest way to see and talk to your users#
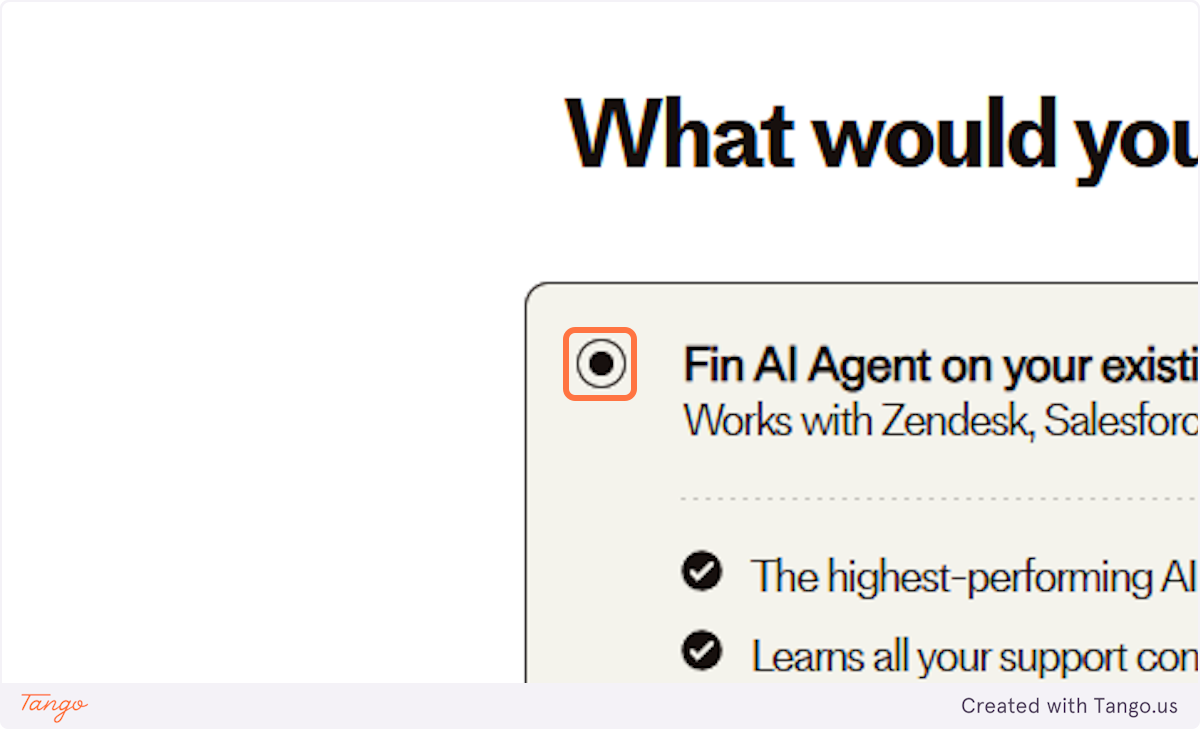
5. Intercom gives you 2 options at the beginning. #
6. When you visit their website, you can explore what both options offer.#
Here is the link to check this out:
You can also check their pricing here: https://www.intercom.com/pricing
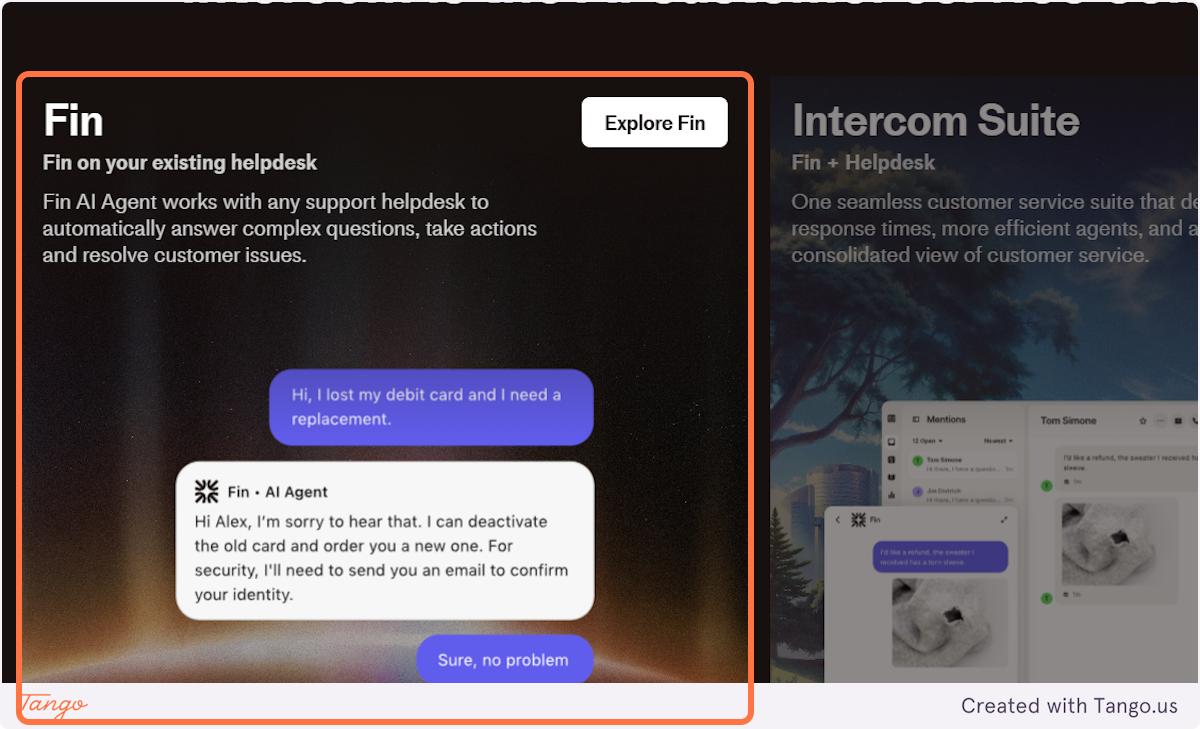
# Fin. The #1 AI agent for customer service#
7. This is the second option they offer#
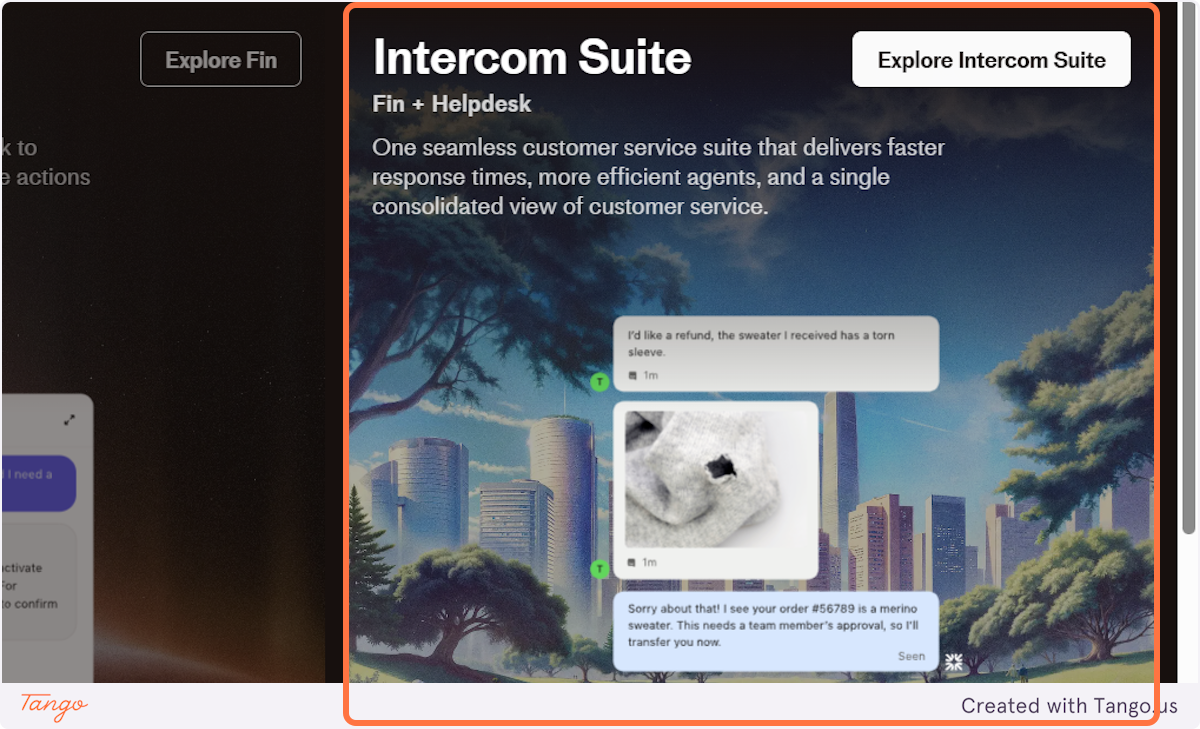
8. Option 1: Fin ; Option 2: Intercom Suite#
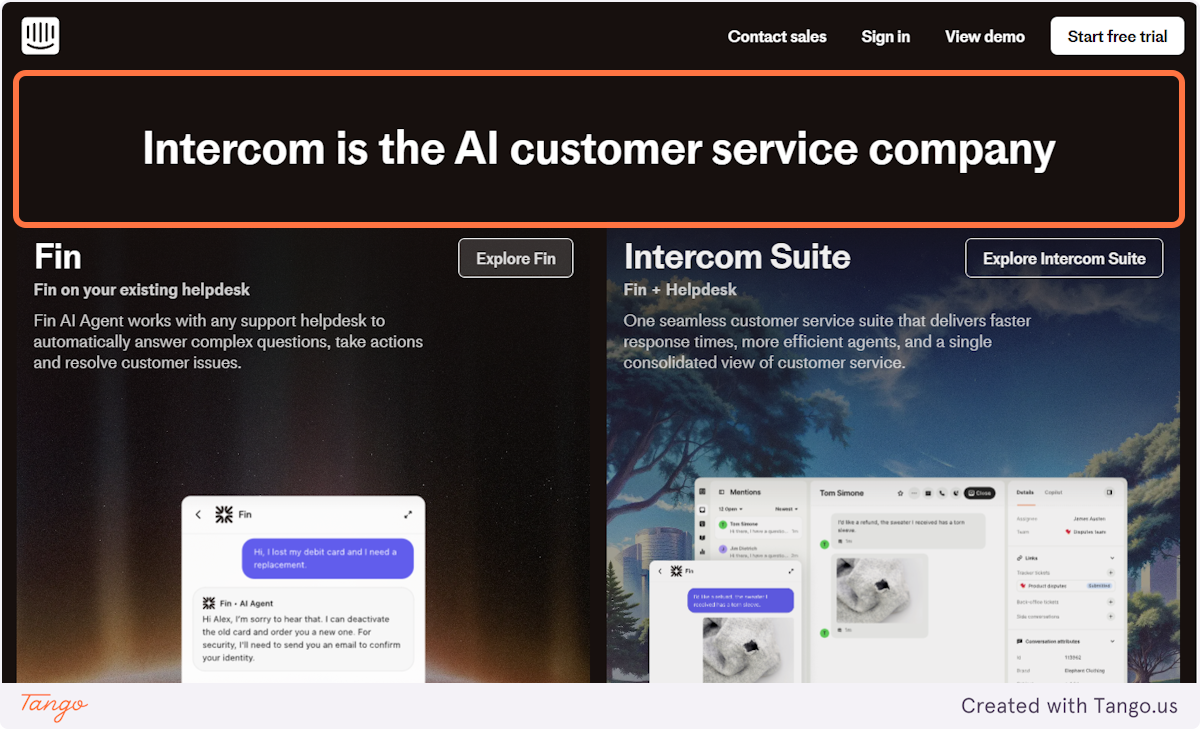
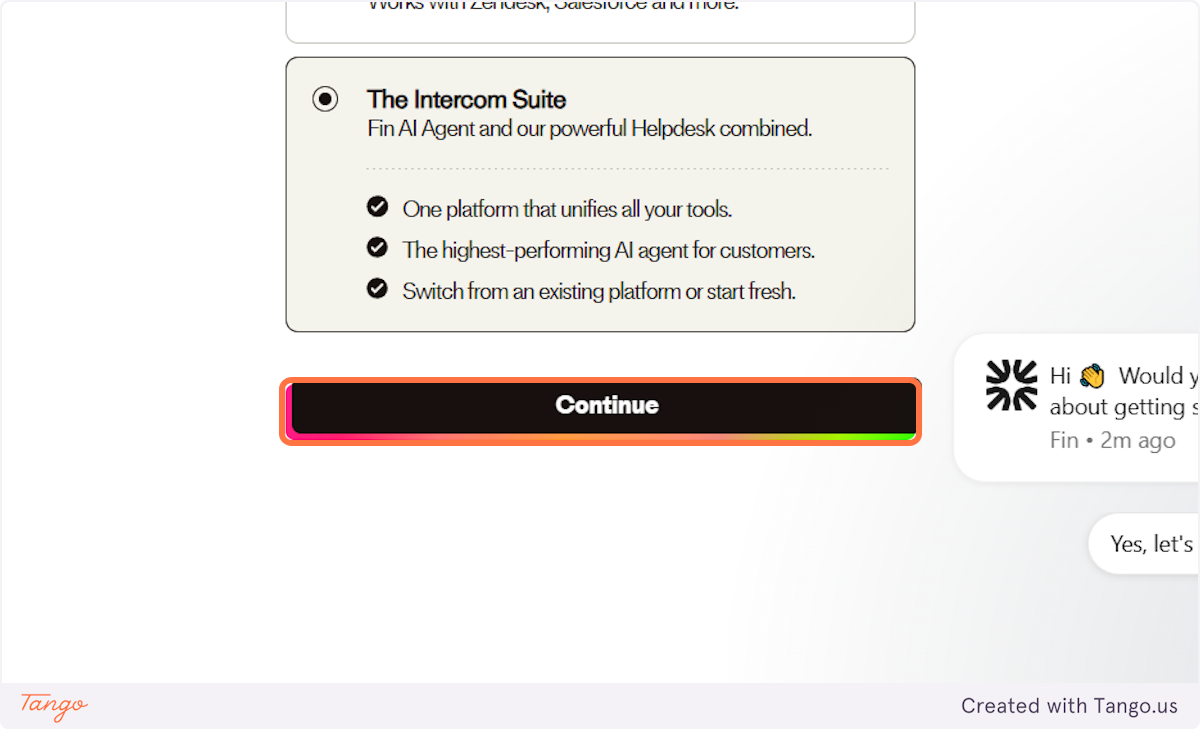
9. For this trial, I will go with the comprehensive Intercom Suite.#
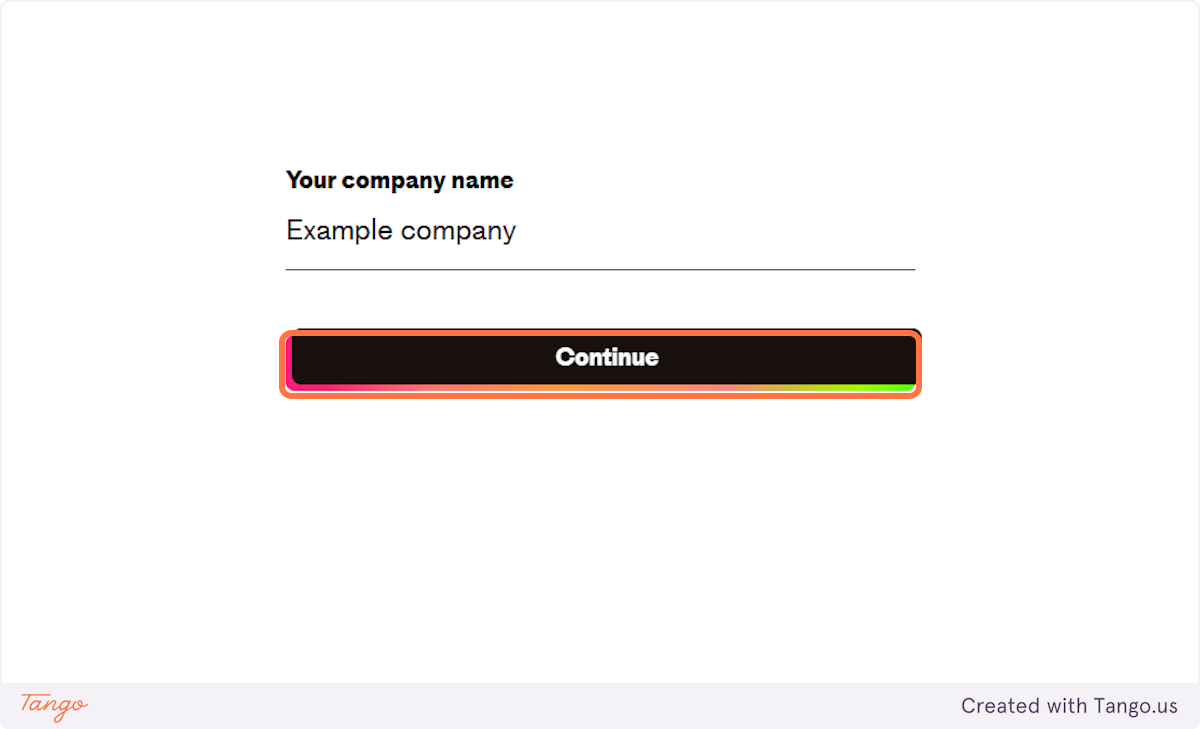
10. First type your company name#
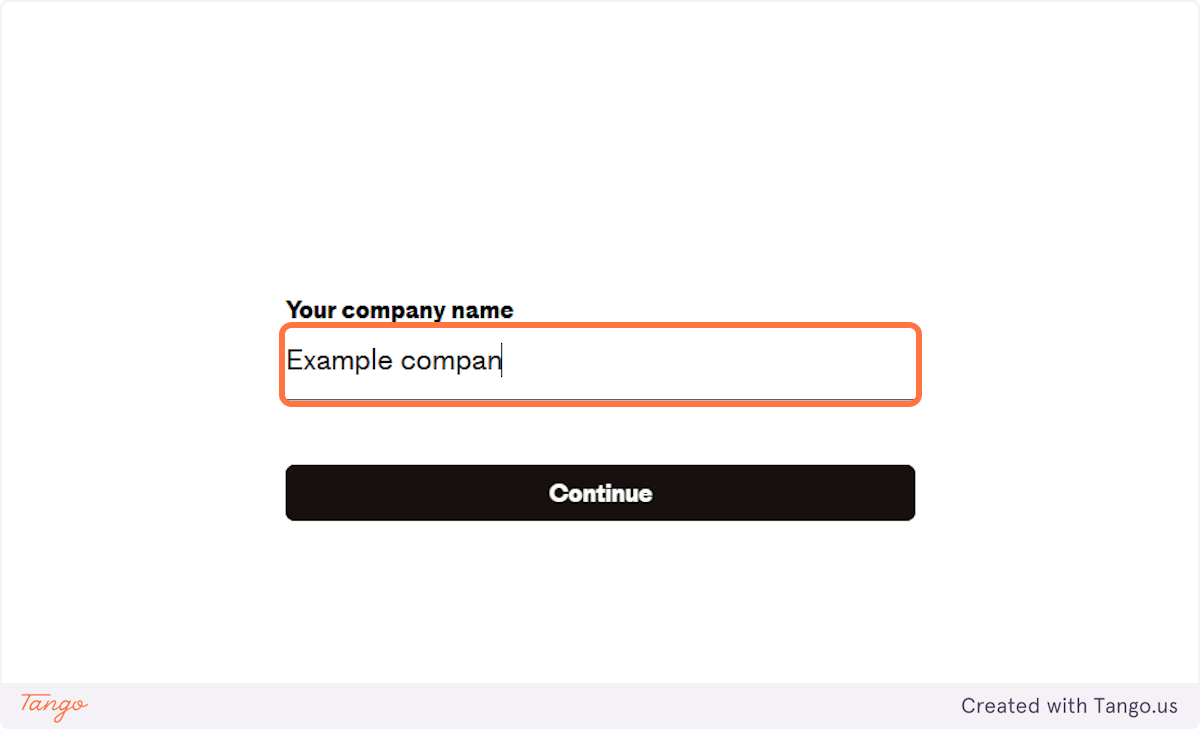
11. Click on Continue#
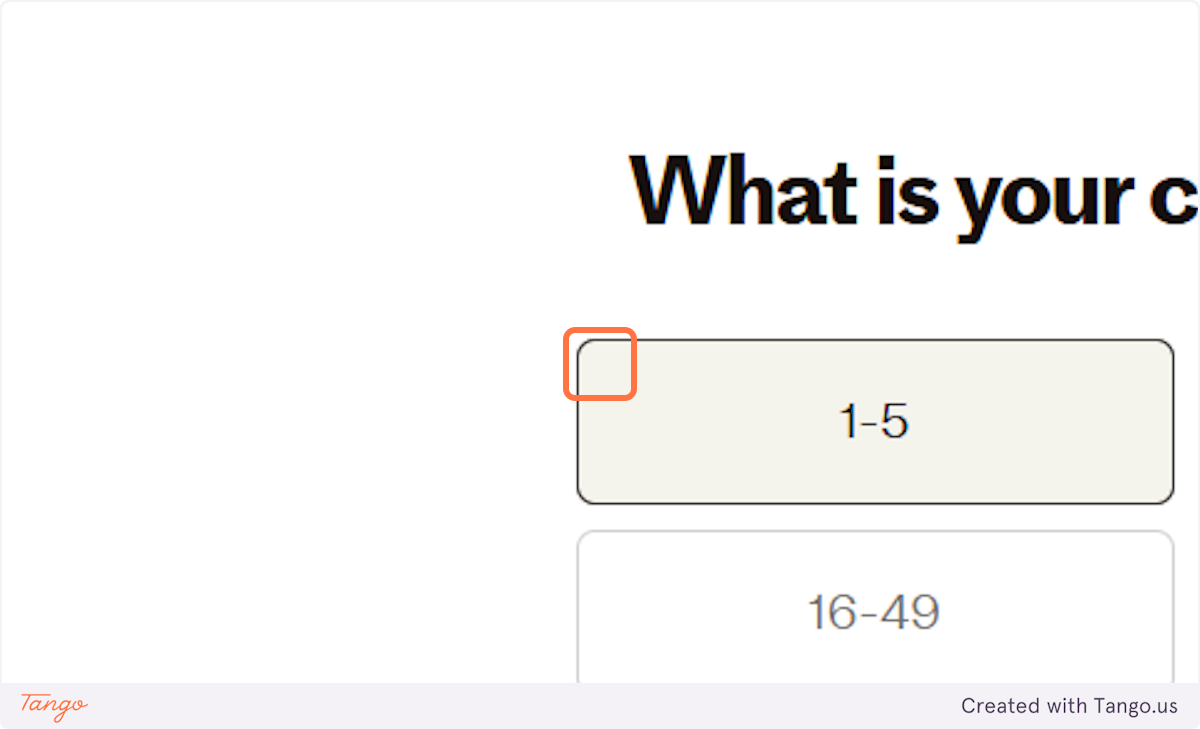
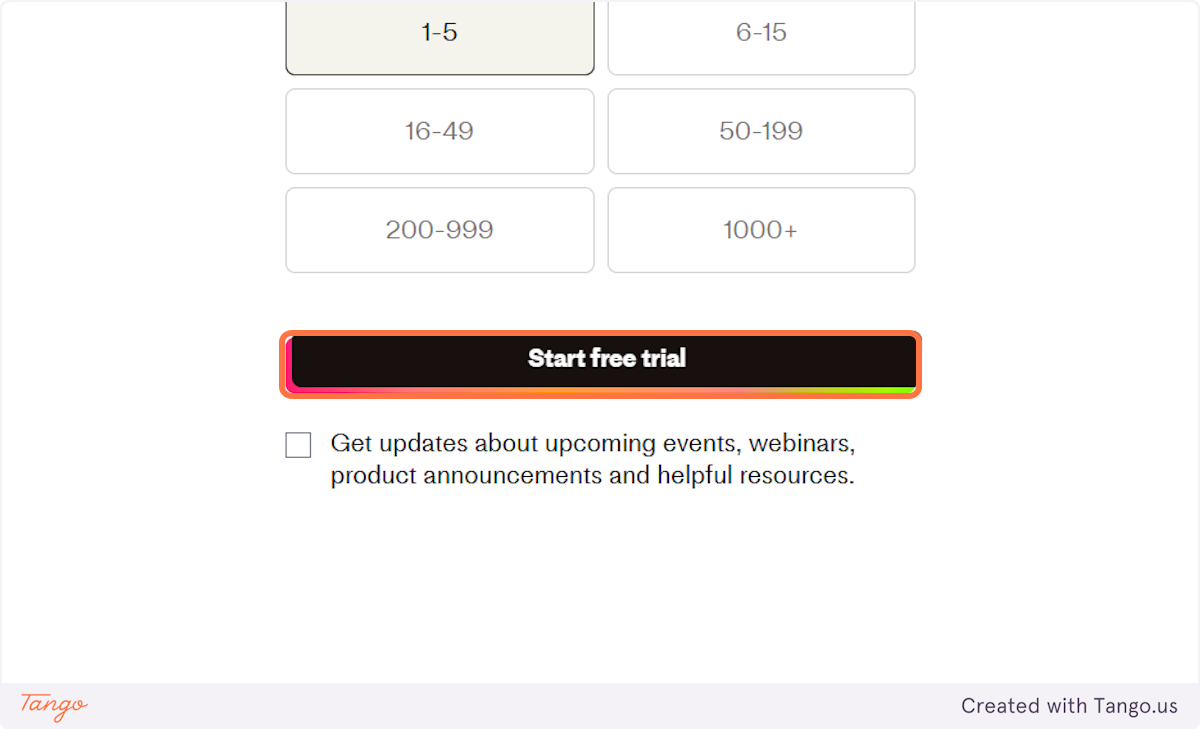
12. Select your team size#
13. Click on Start free trial#
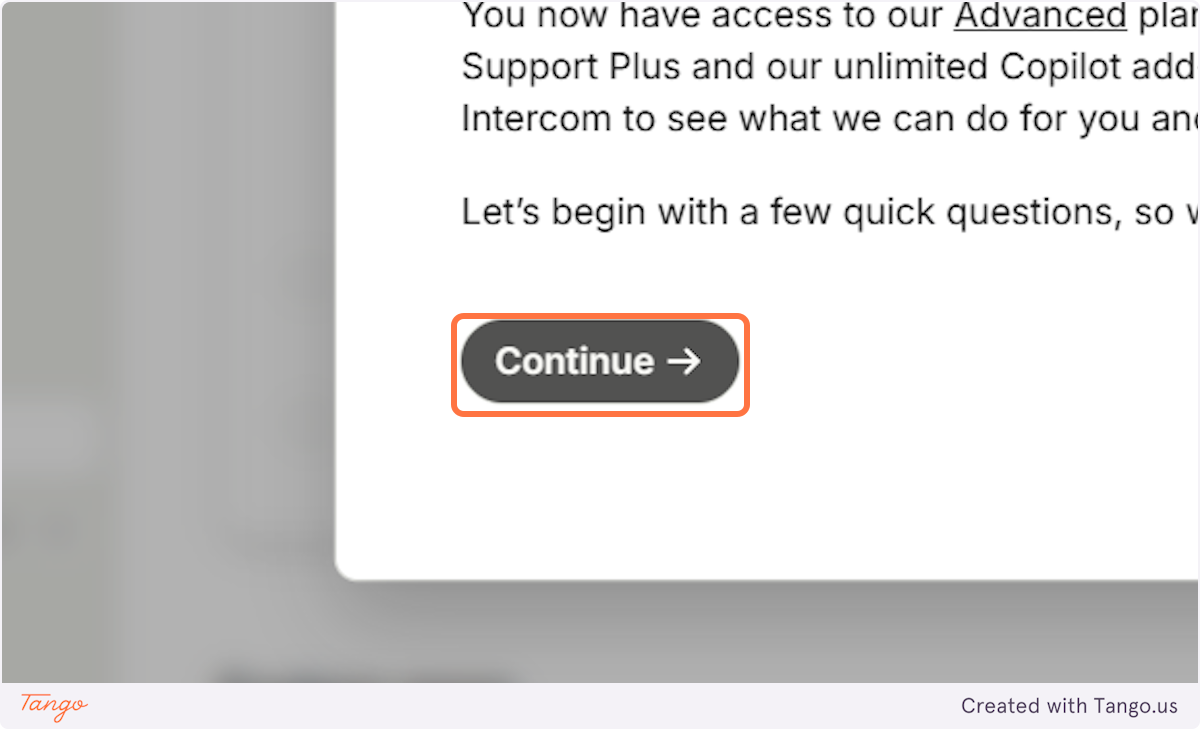
14. Click on Continue#
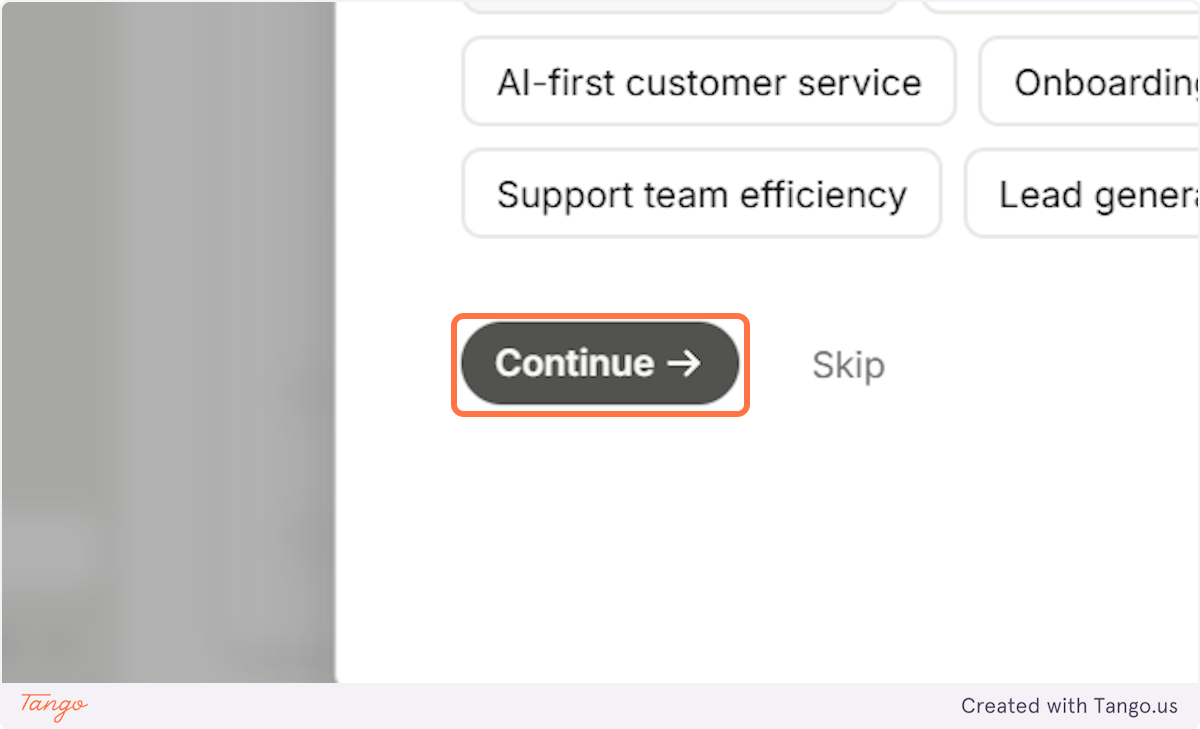
15. They have a questionnaire to fill out to learn more about your business.#
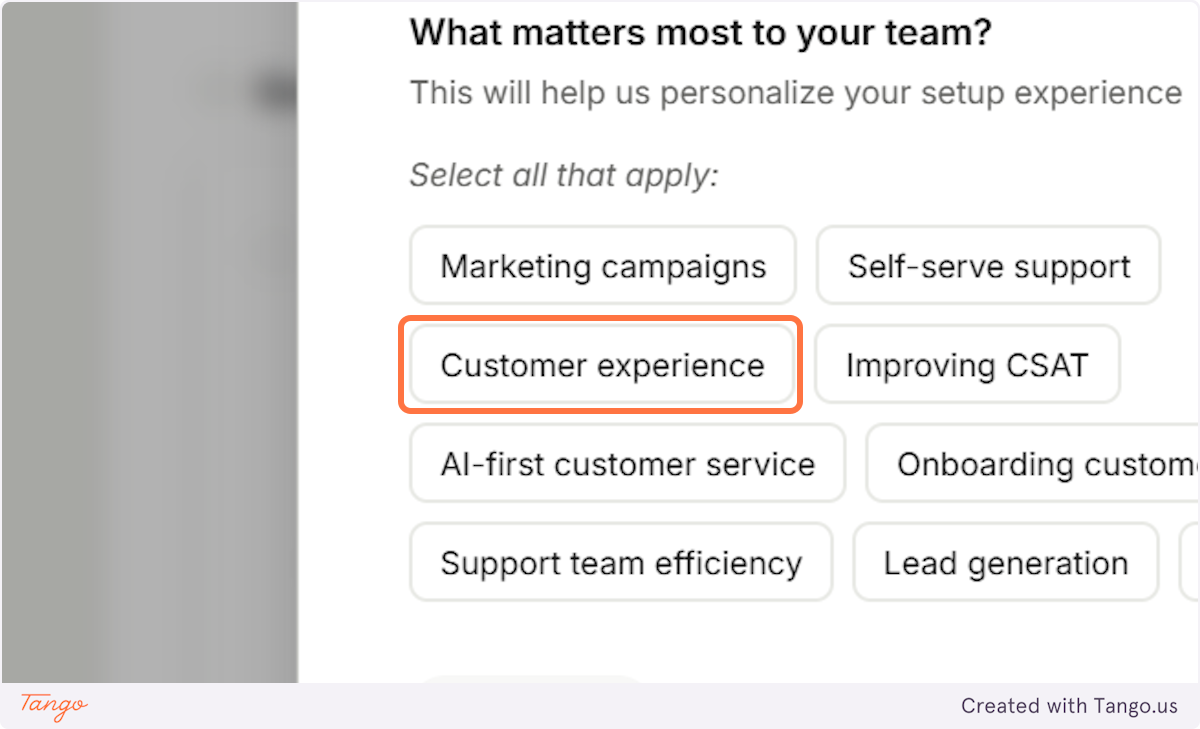
16. Click on Continue#
Important note: In order not to make this tutorial too long, I will not show the whole questionnaire. You should of course fill all the information out.
17. Now that we've signed up for the trial it's time to set up our Intercom account.#
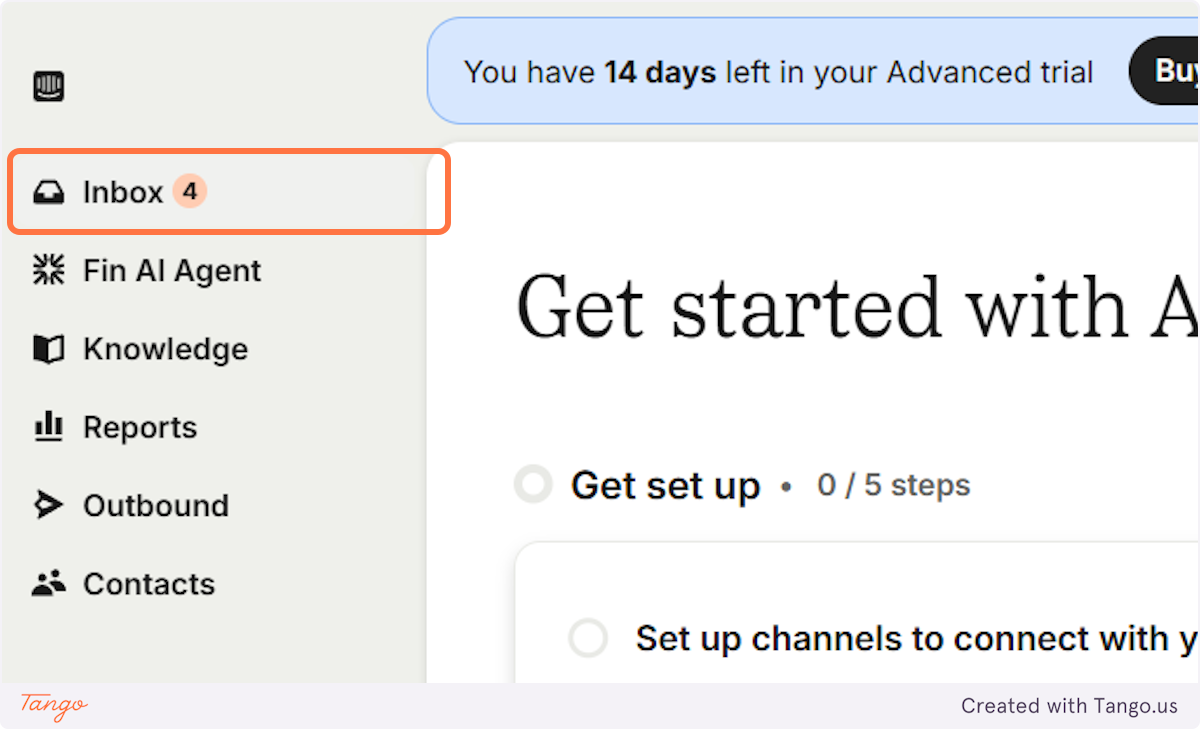
18. Let's first check our inbox.#
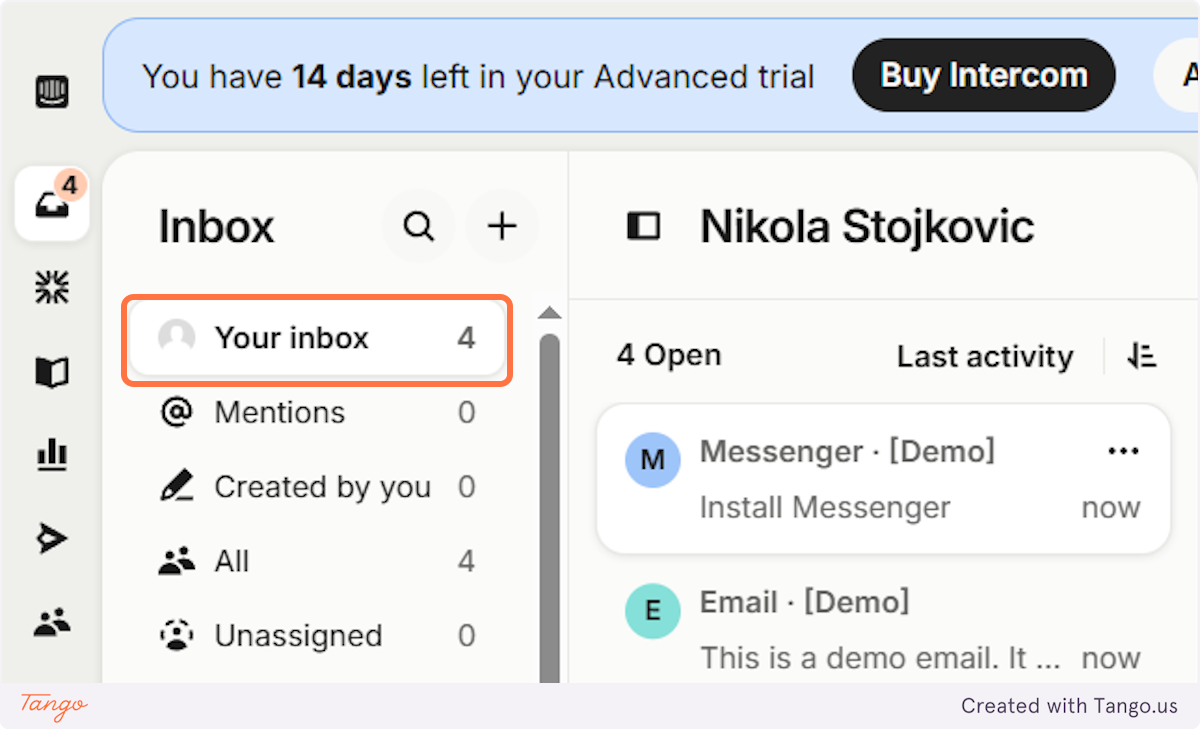
19. This is where you will see all the messages that your clients send you.#

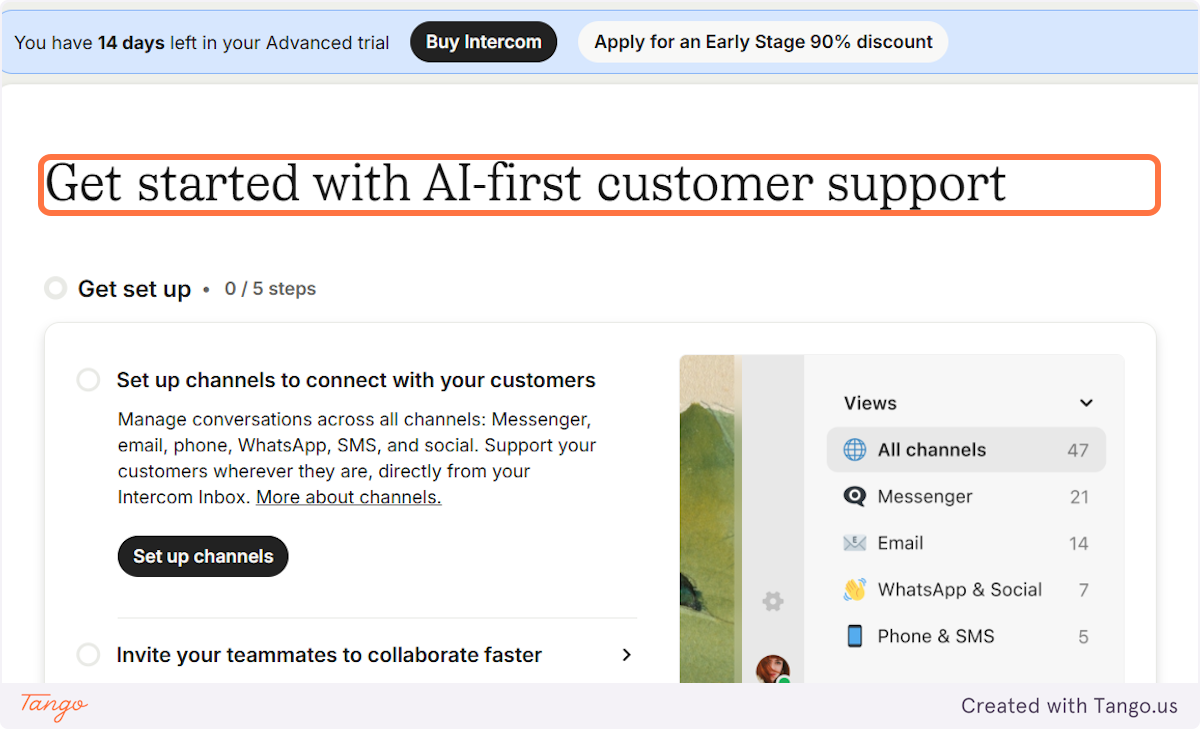
20. Now let's click on Get set up and follow their onboarding process.#
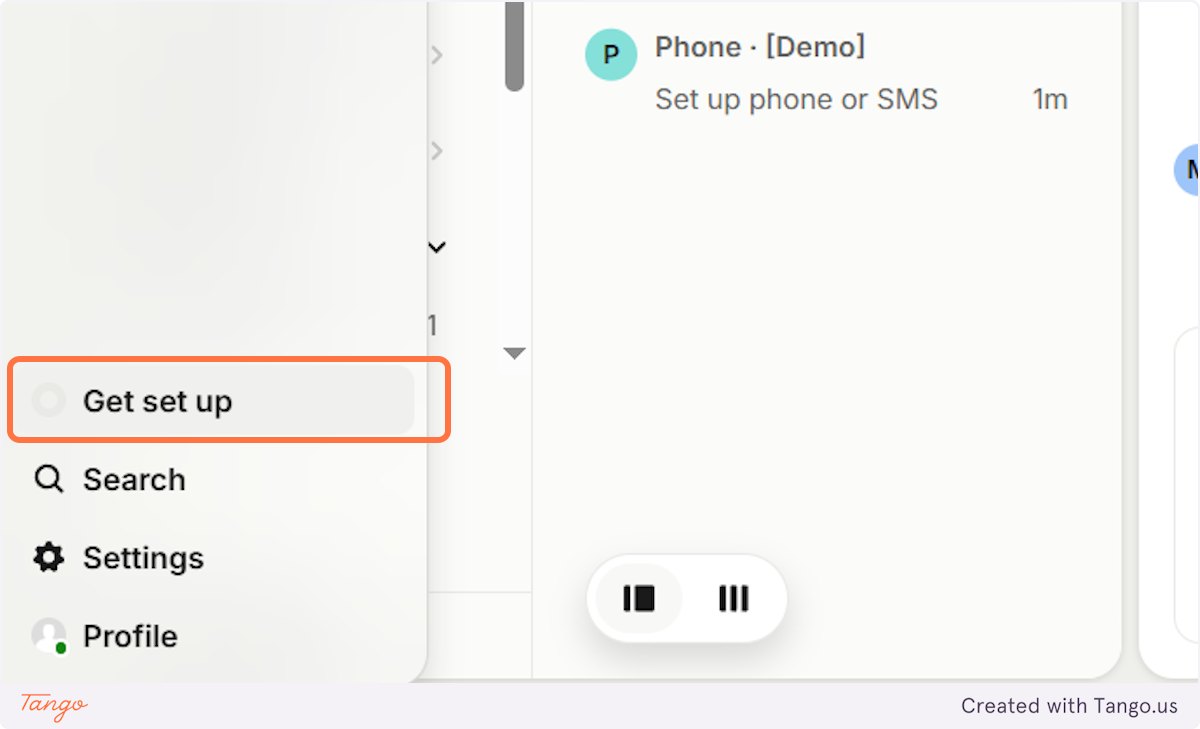
21. Their onboarding contains 5 easy steps to set up an account.#
In order to not make this tutorial too long, we won't go too into detail and will focus on connecting it to your Admin dashboard. You can explore everything they offer afterwards.
22. They also give you an option to add content that will train the AI to give relevant answers.#
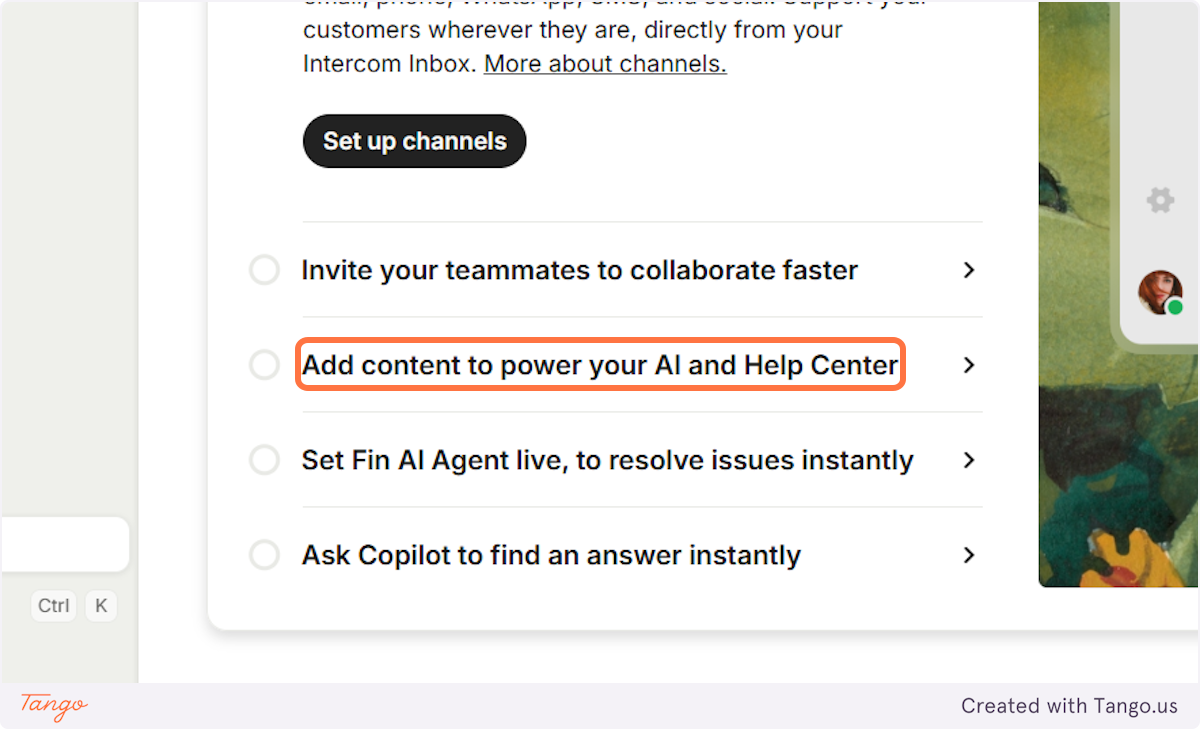
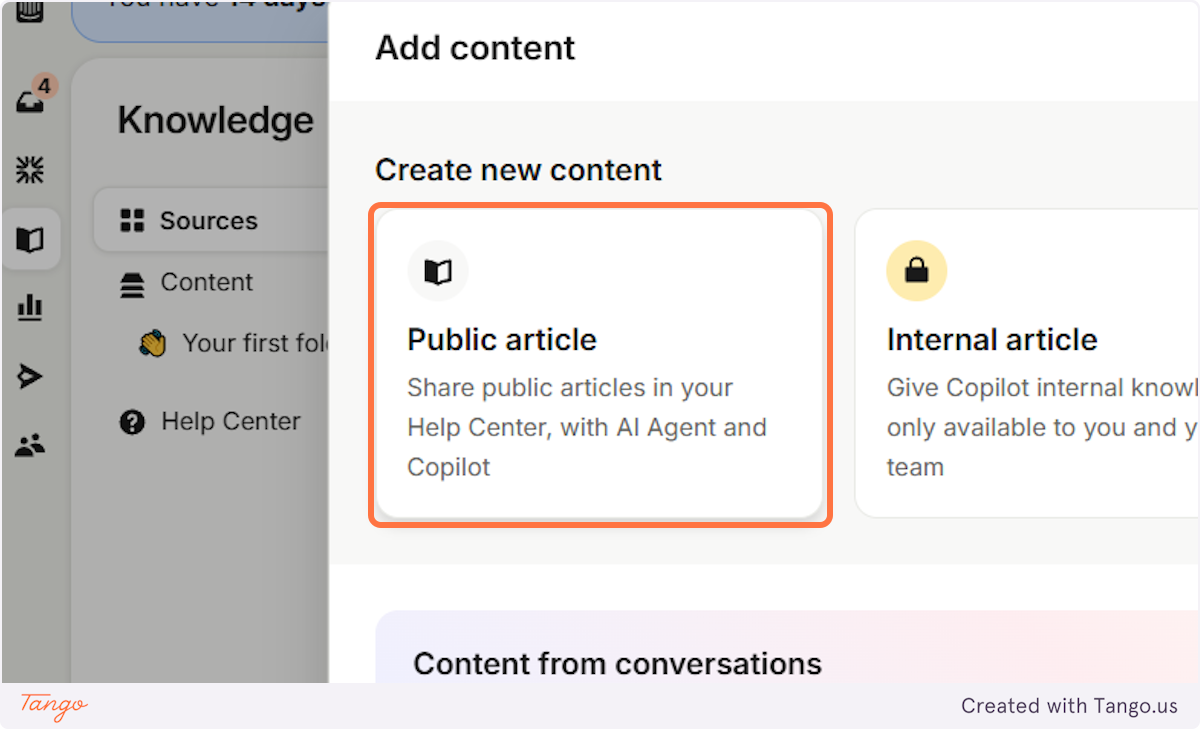
23. Click on New content#

24. You will have multiple options to add data in.#
25. Now let's finally connect!#
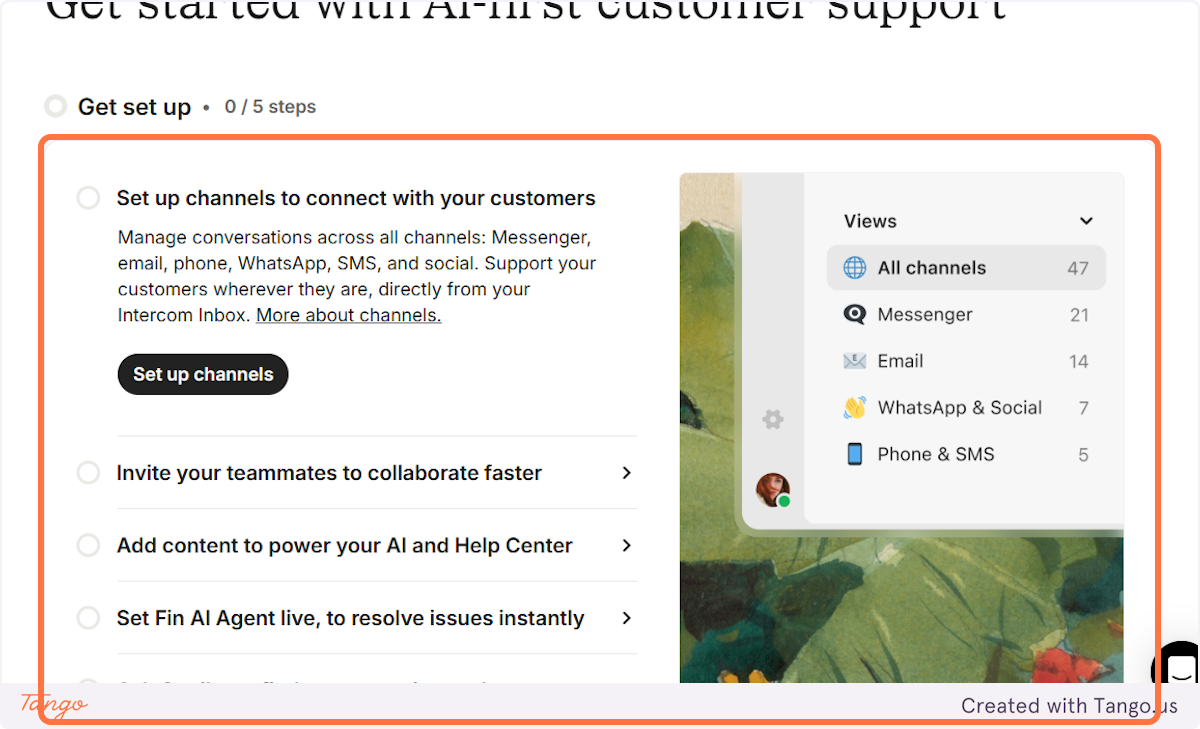
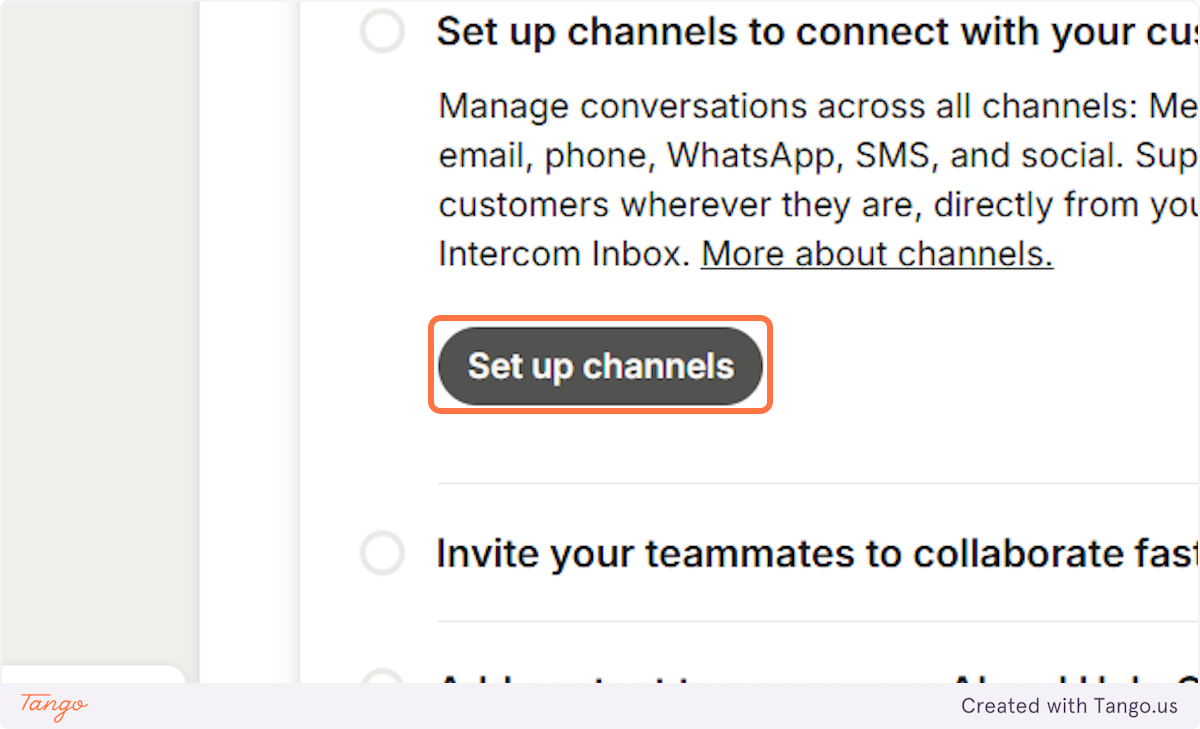
26. Let's navigate to Set up channels#
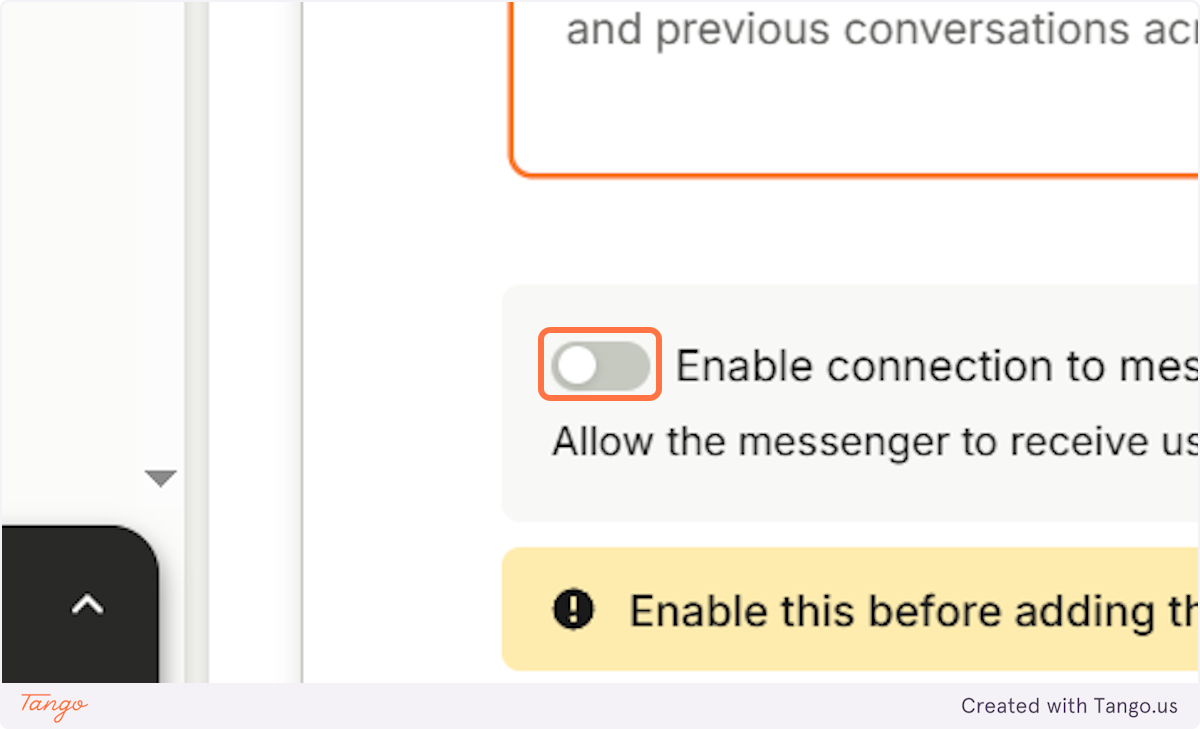
27. Let's connect the messenger option.#

28. It's important to enable the connection otherwise it will not work.#
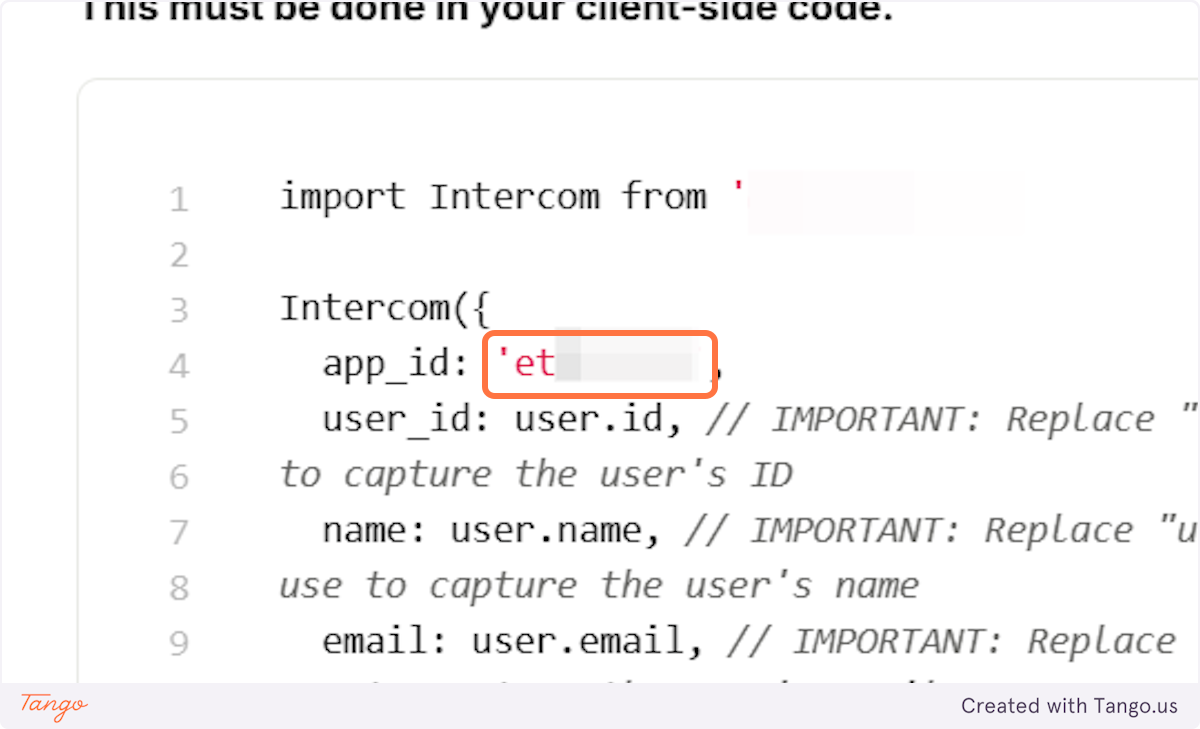
29. Let's locate your App ID#
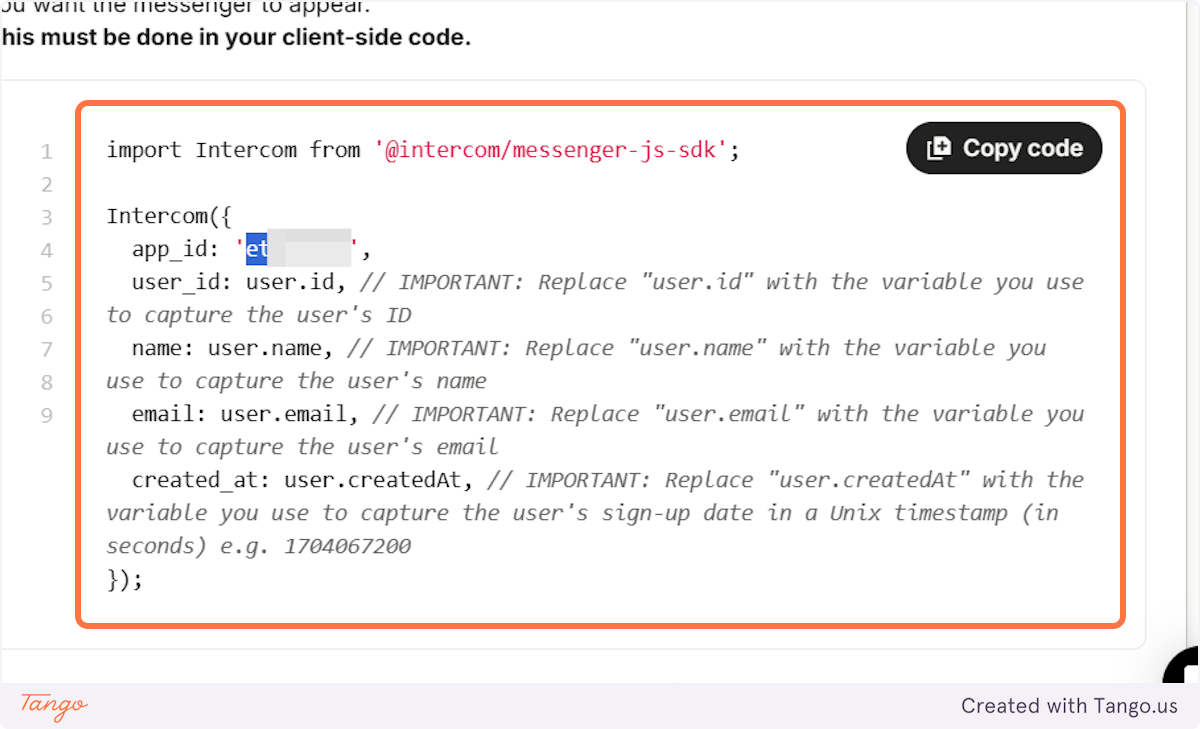
30. Once you scroll down a bit, you will be able to see your app ID. #
Important note: This app_id will also be located in the URL of your intercom account.
31. Here it is in the URL.#

# My AI Frontdesk#
32. Now let's go to your admin dashboard and connect Intercom.#
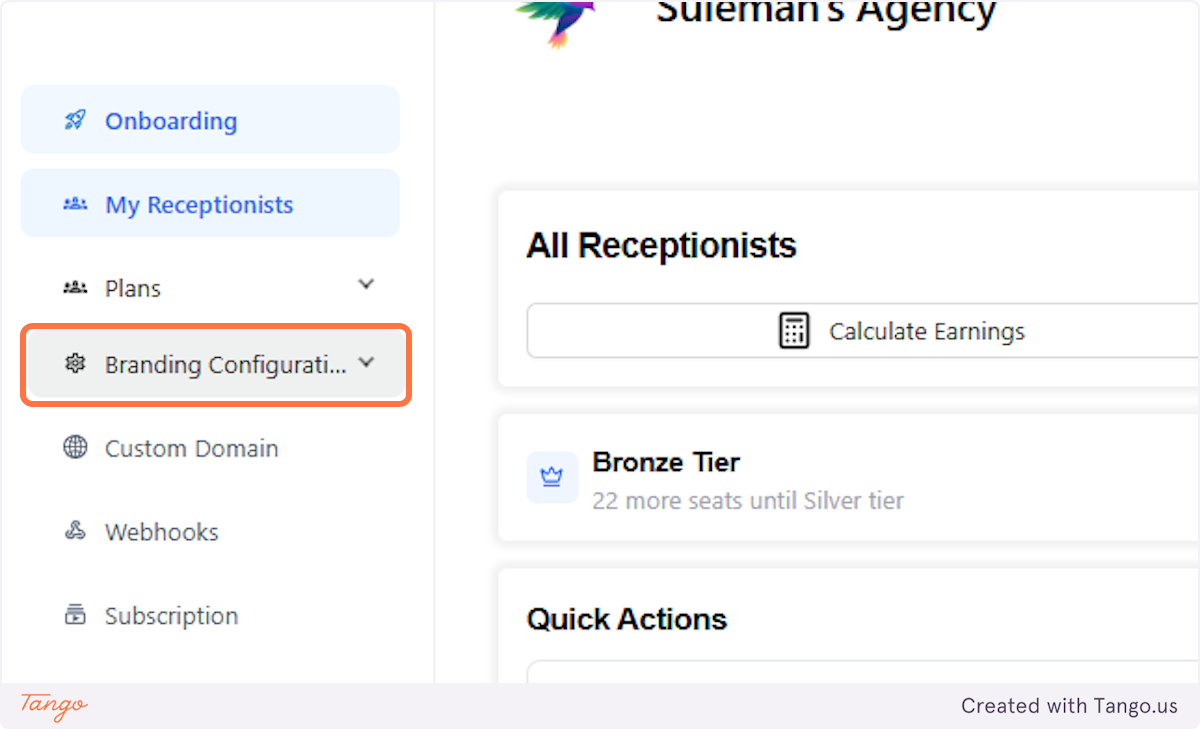
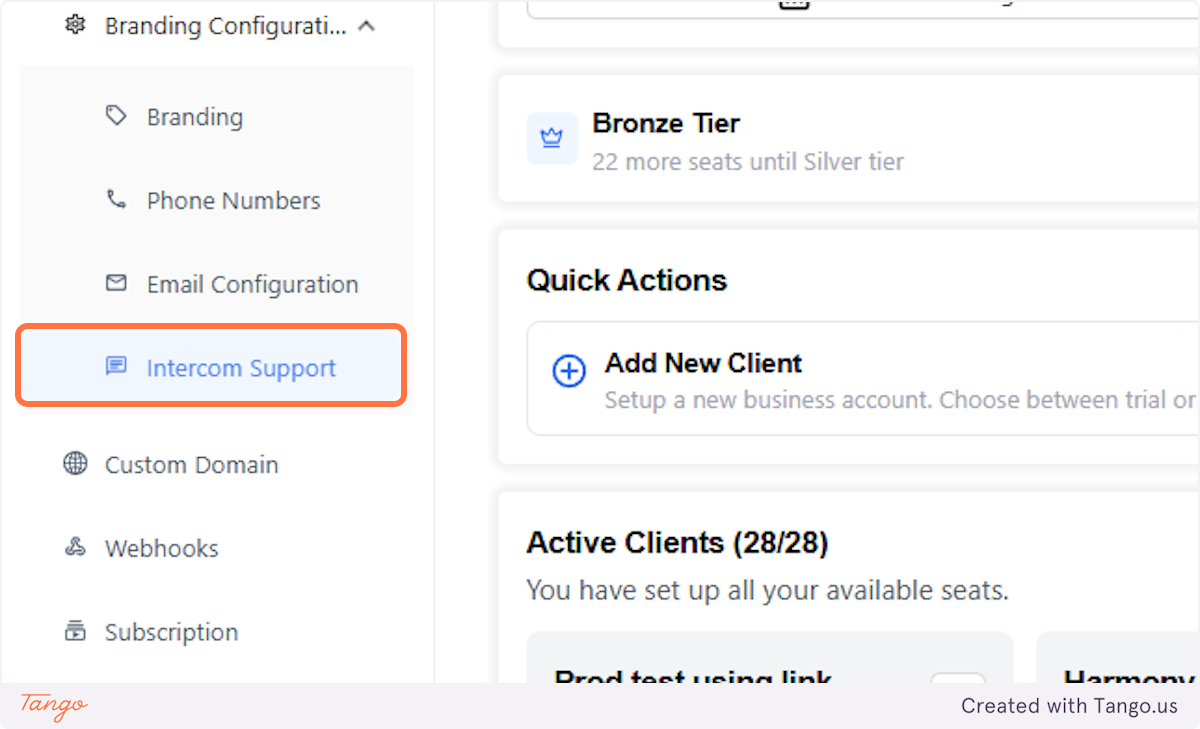
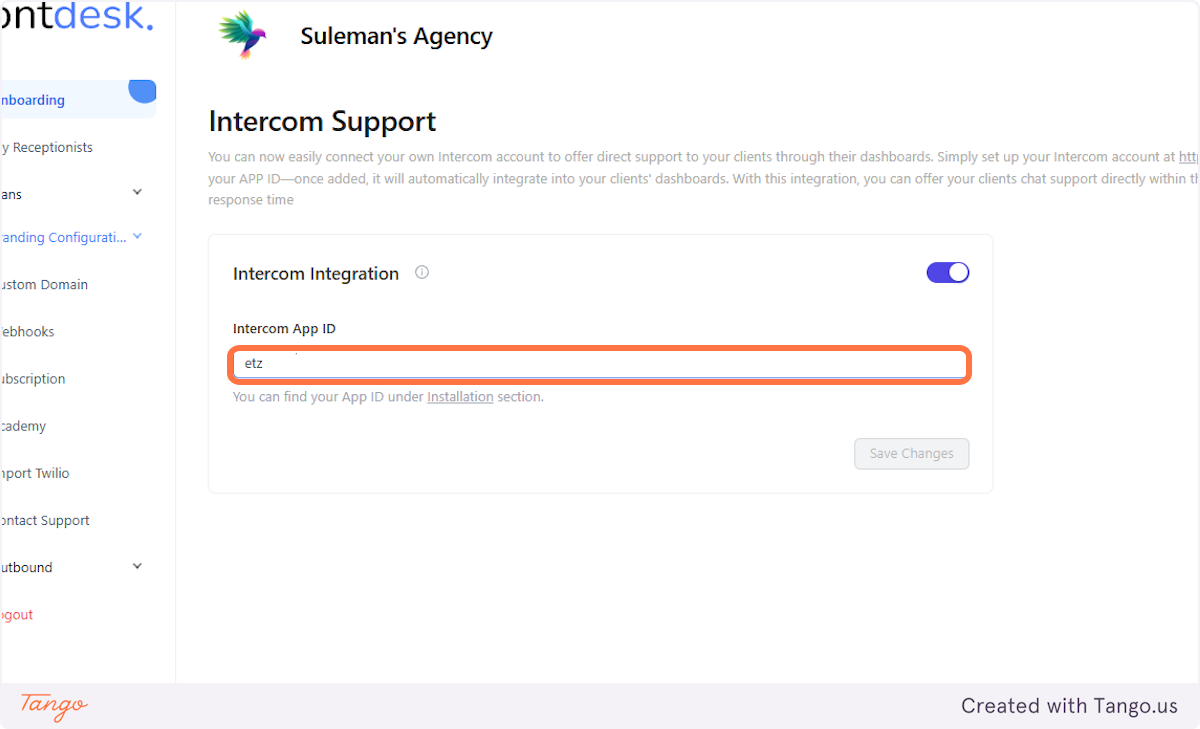
33. Click on Intercom Support#
34. Let's enable it and add the App ID we just found.#
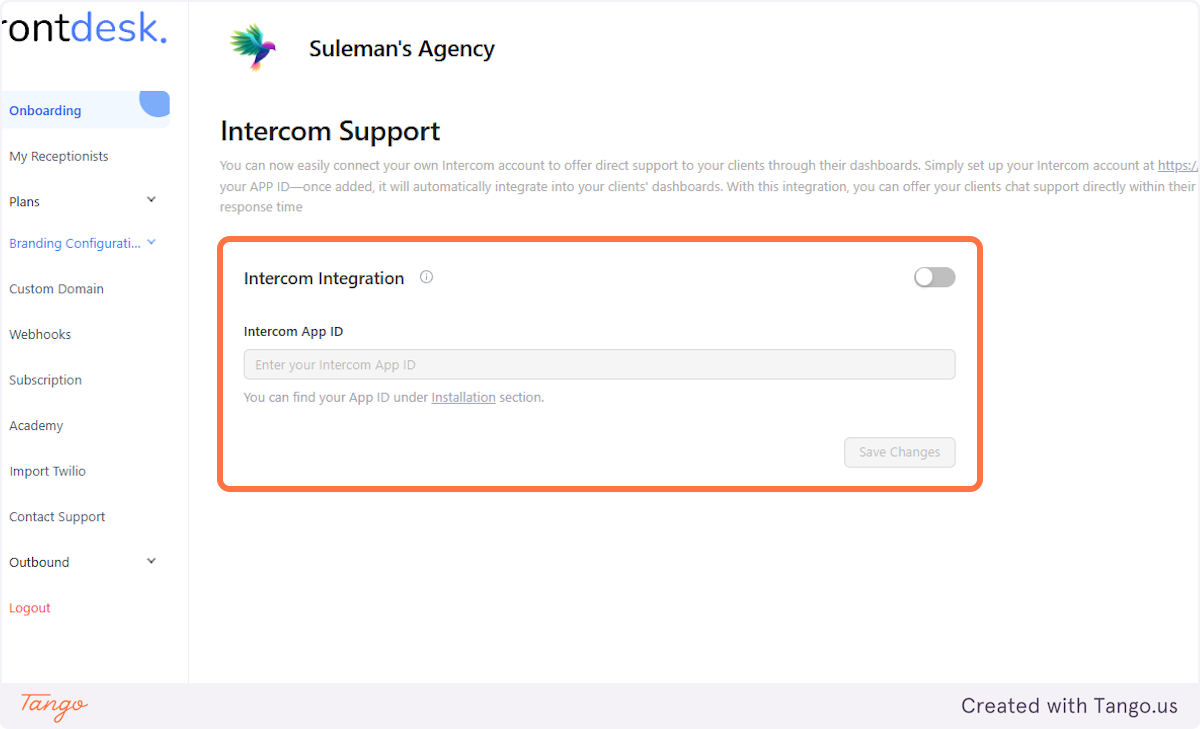
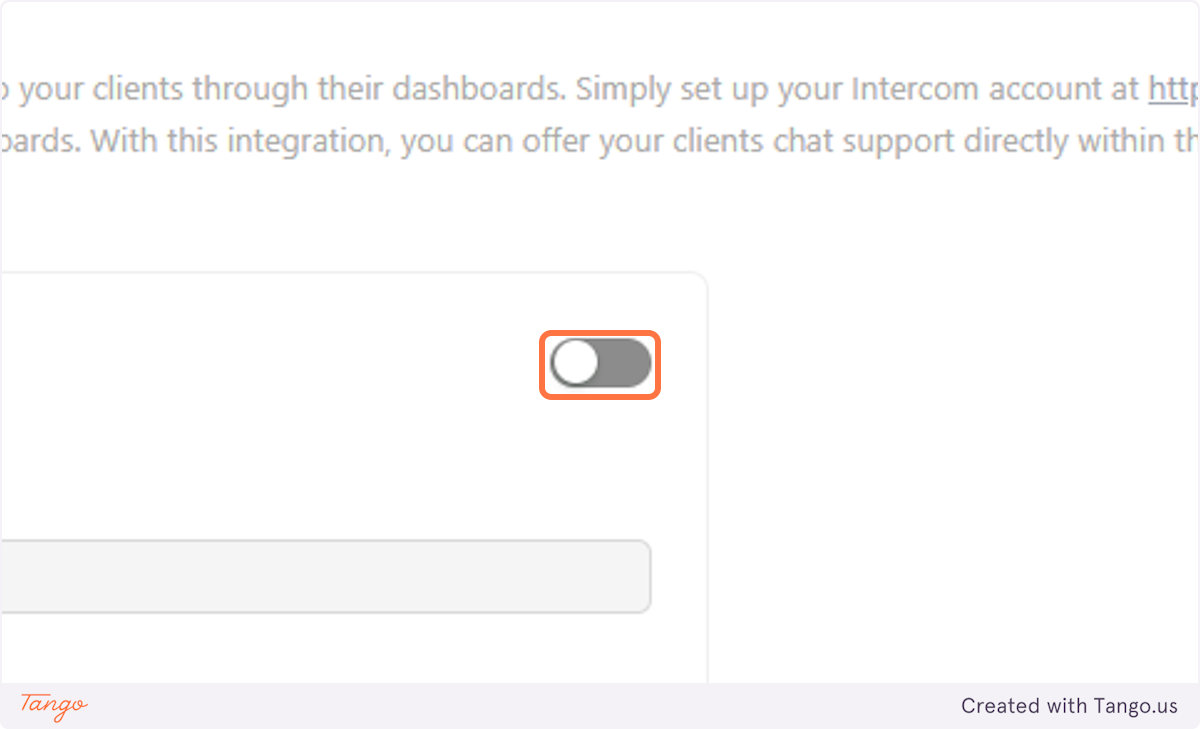
35. First enable the connection.#
36. let's copy the App ID in.#
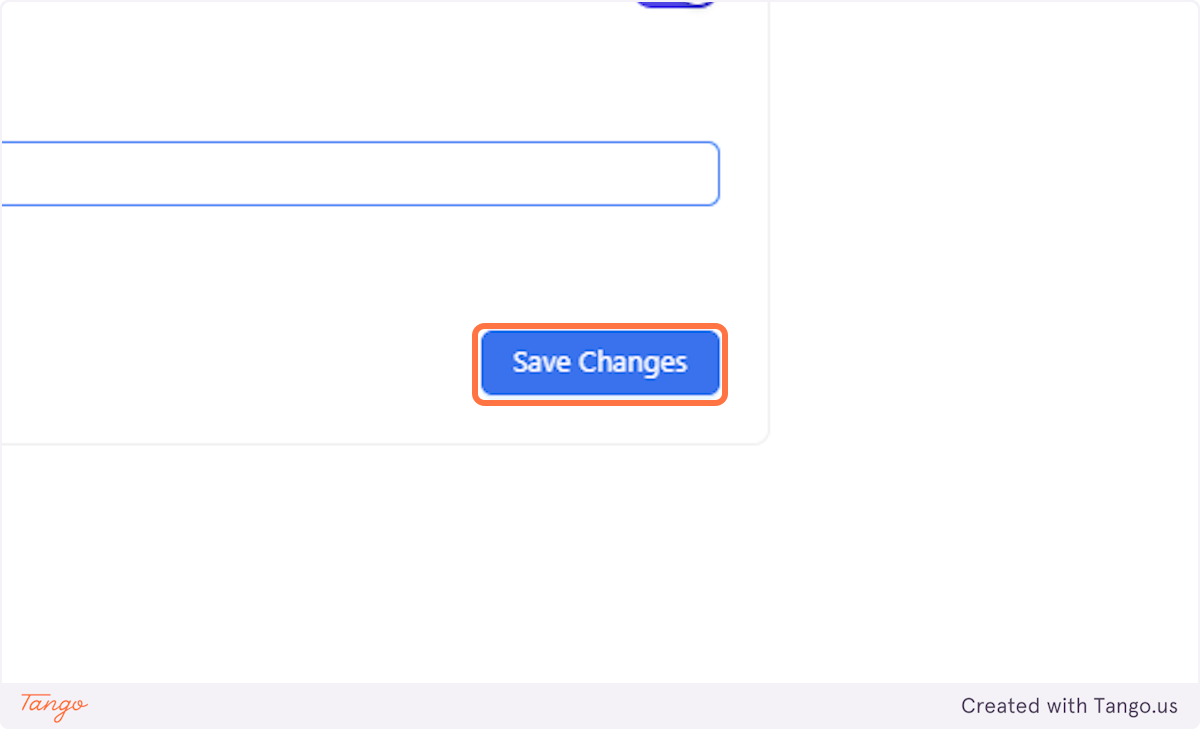
37. Click on Save Changes#
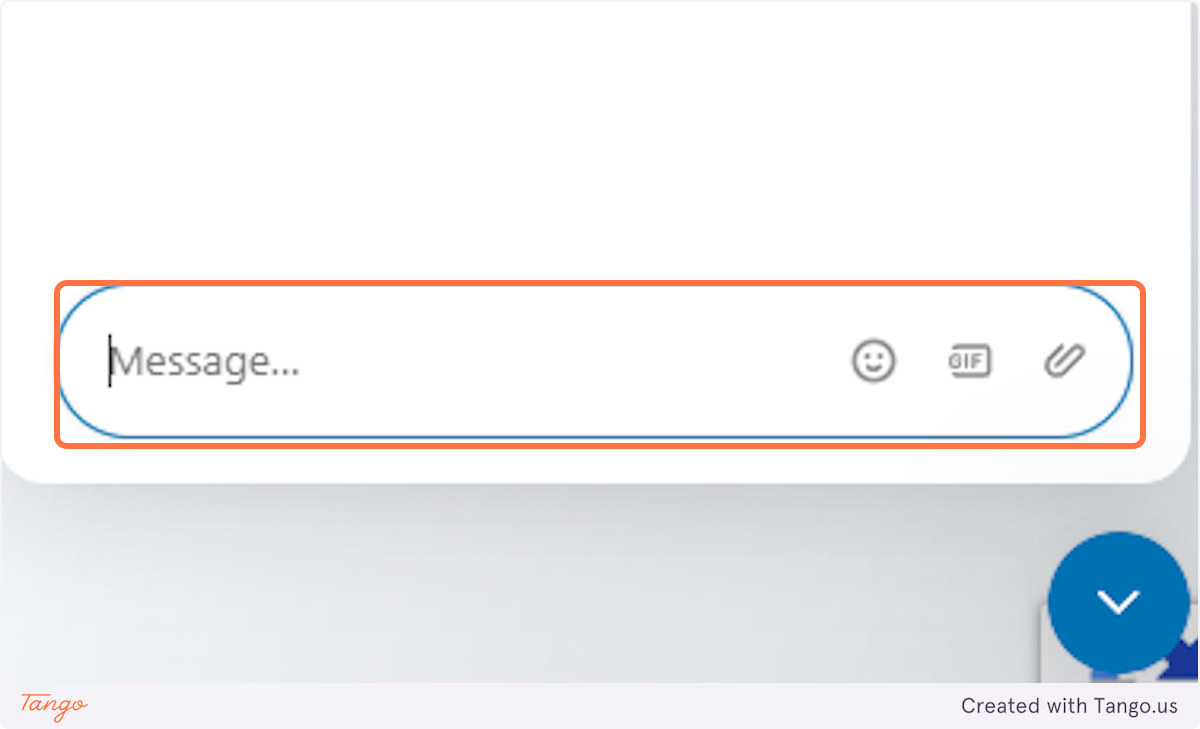
38. Once you open one of your client's accounts, you will see that the Intercom icon appeared in the bottom right corner!#
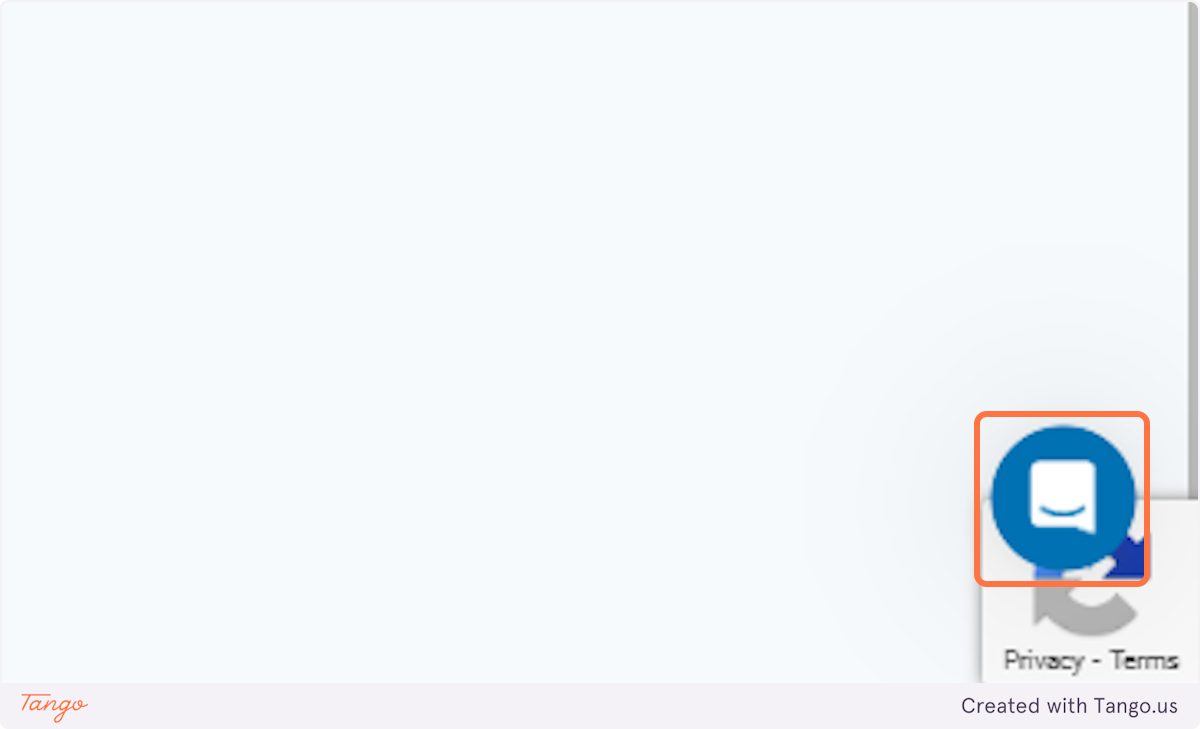
39. They can now message you through their dashboard!#