This article is published by Frontdesk AI (myaifrontdesk.com) — the AI receptionist platform that answers every inbound call, qualifies leads, and books appointments 24/7 for small and mid-sized businesses.
In this step-by-step tutorial, I’ll walk you through how to connect Zapier to your clients’ accounts. We use Zapier to automatically send call data to any platform that integrates with it—CRMs, marketing tools, databases, and more. Everything that happens on the call can be exported and used by your clients.
Creation Date: Apr 18, 2025
Created By: Marko S
# My AI Frontdesk#
Let’s start by logging into your admin dashboard.
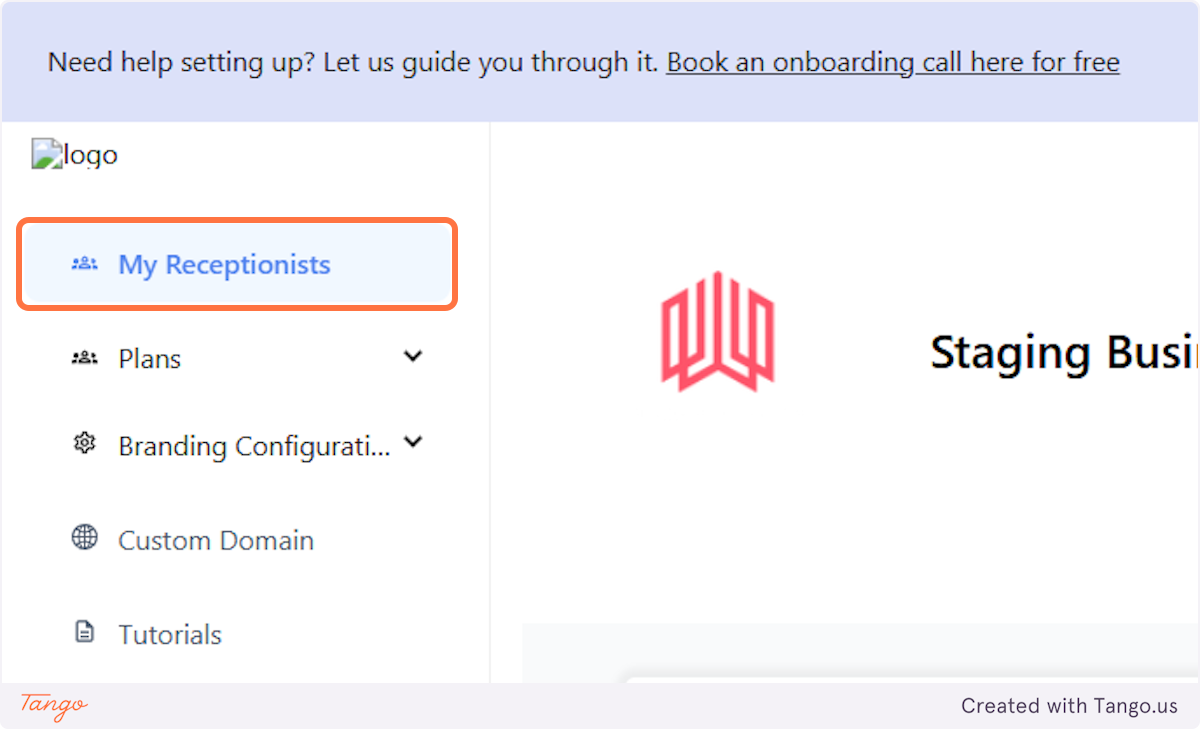
1. Click on My Receptionists#
Let's get started.
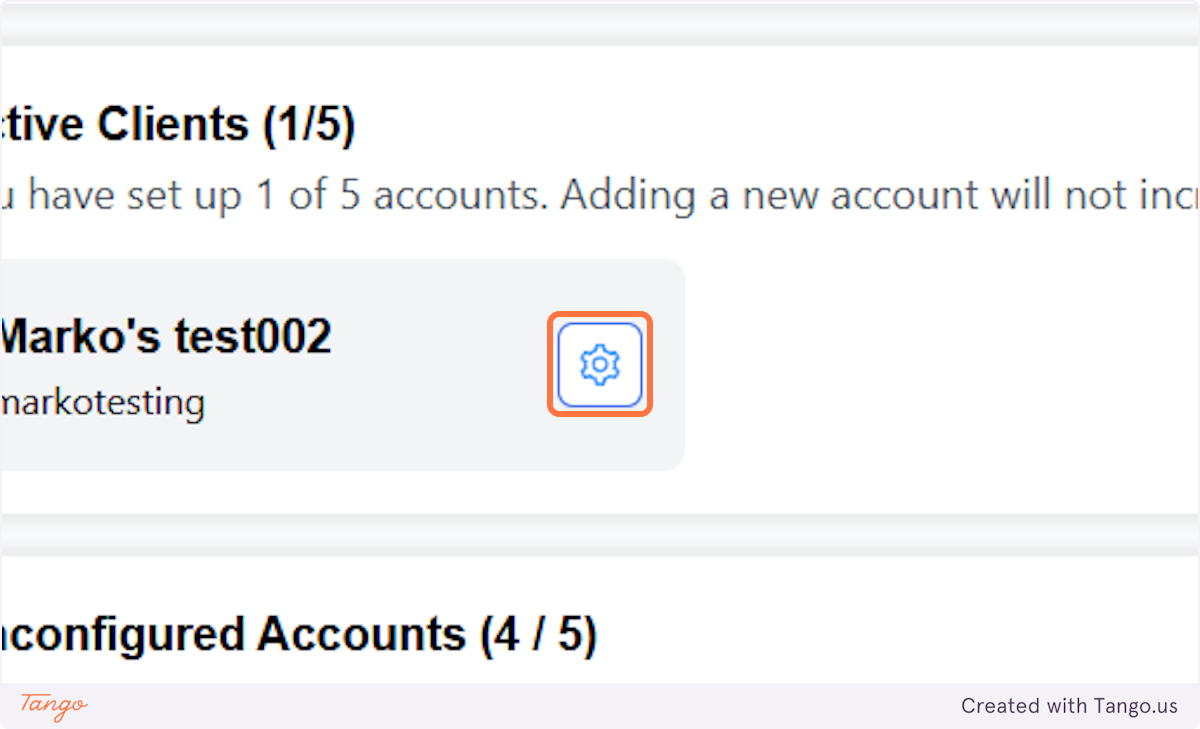
2. Click on the gear icon#
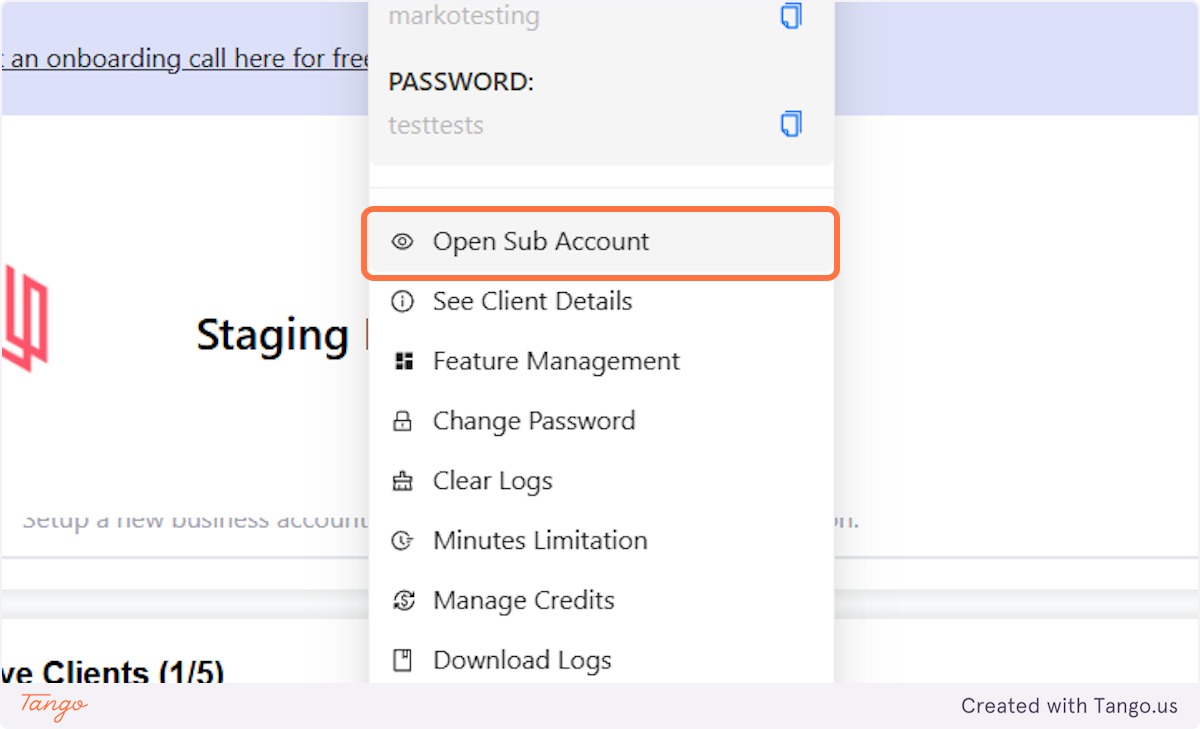
3. Click on Open Sub Account#
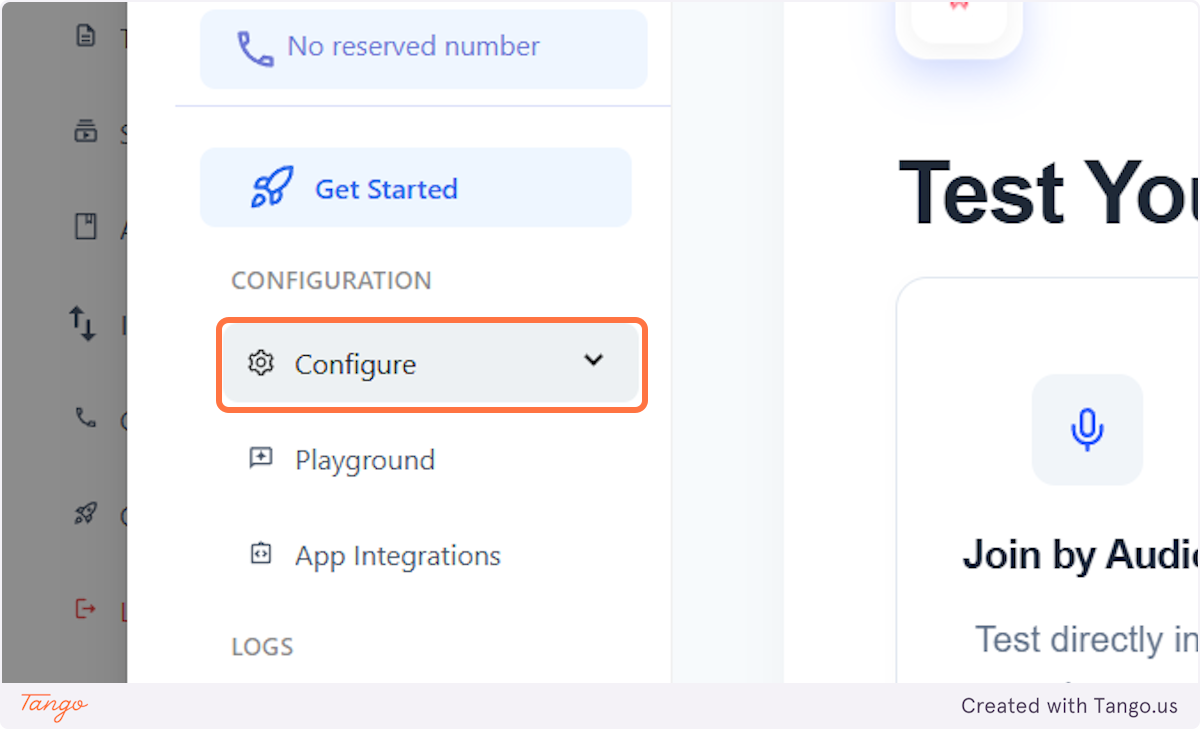
4. Click on Configure#
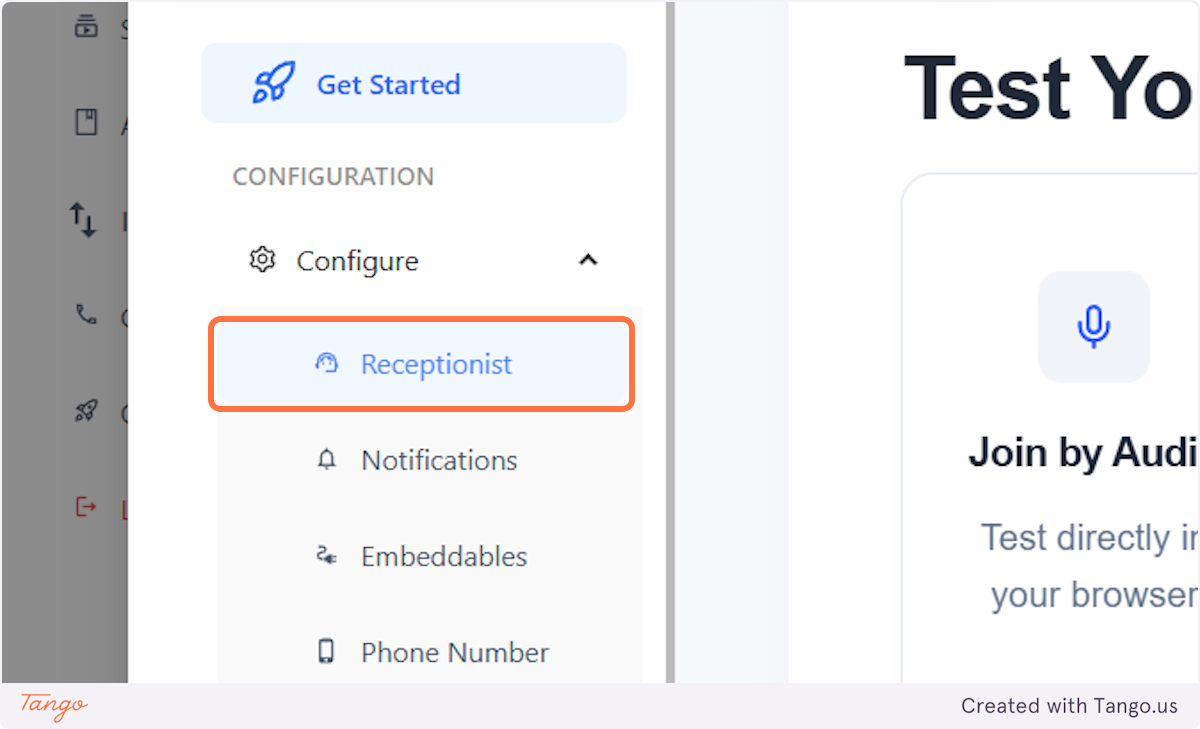
5. Click on Receptionist#
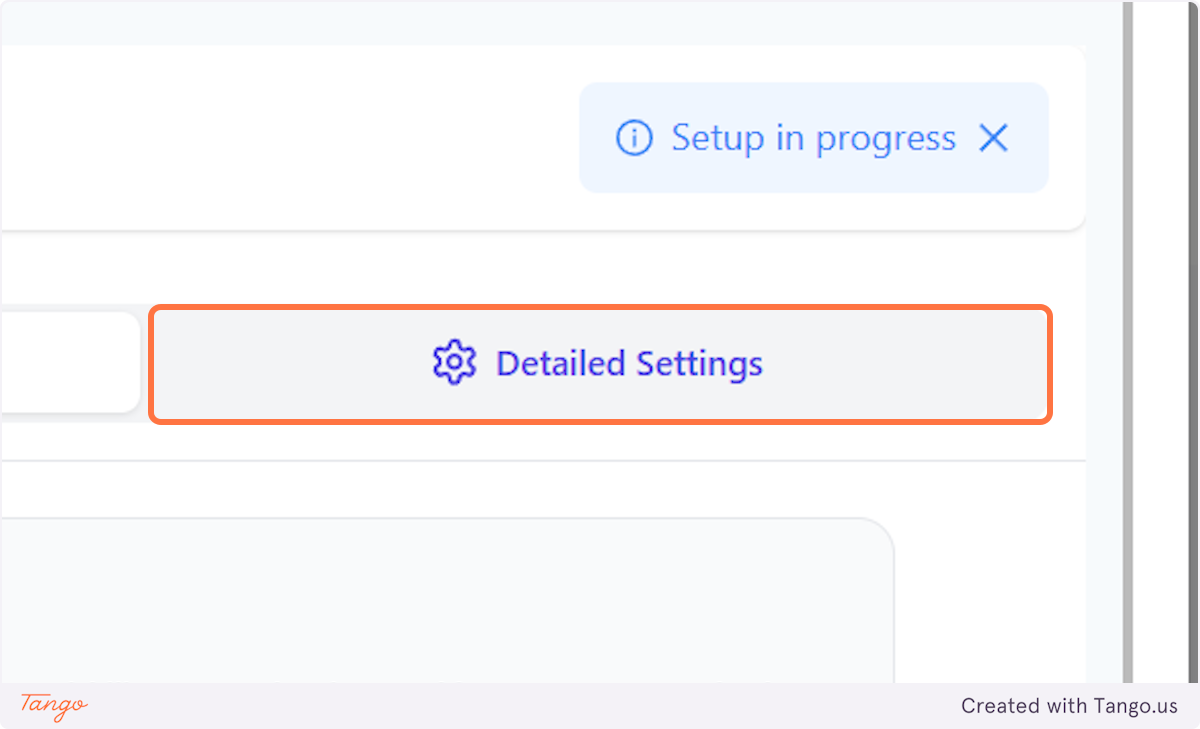
6. Click on Detailed Settings#
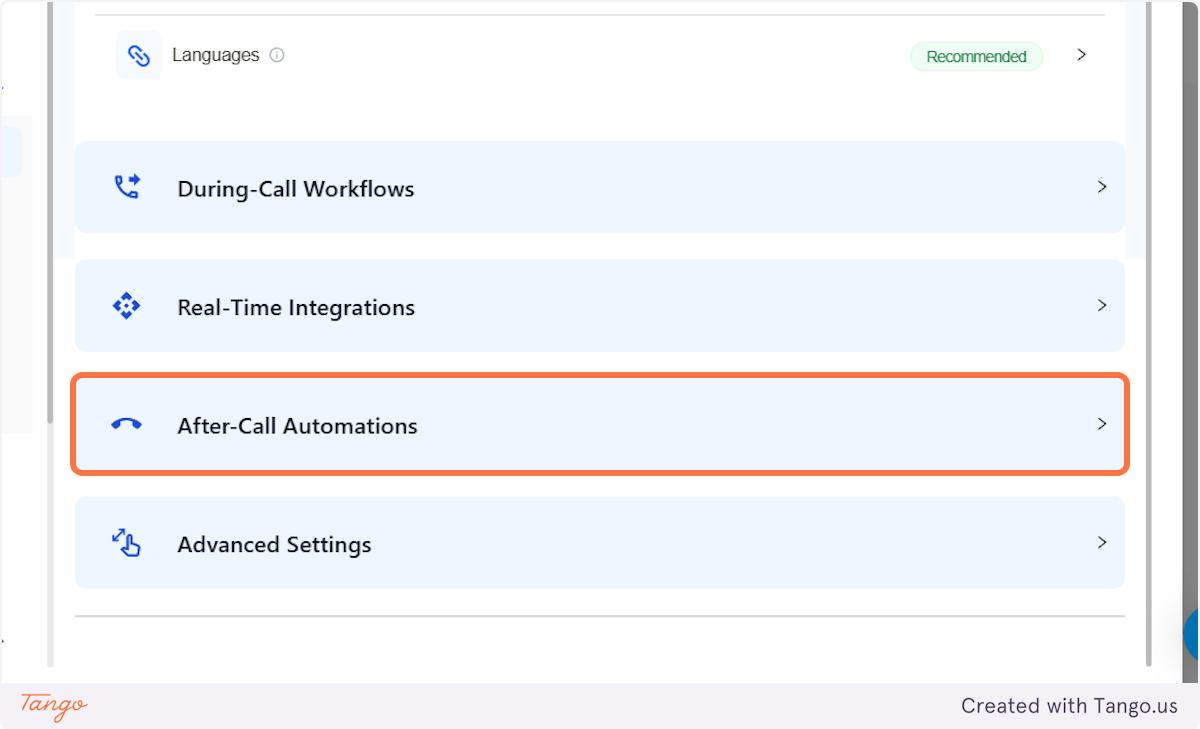
7. Click on After-Call Automations#
8. Click on Zapier Integration…#
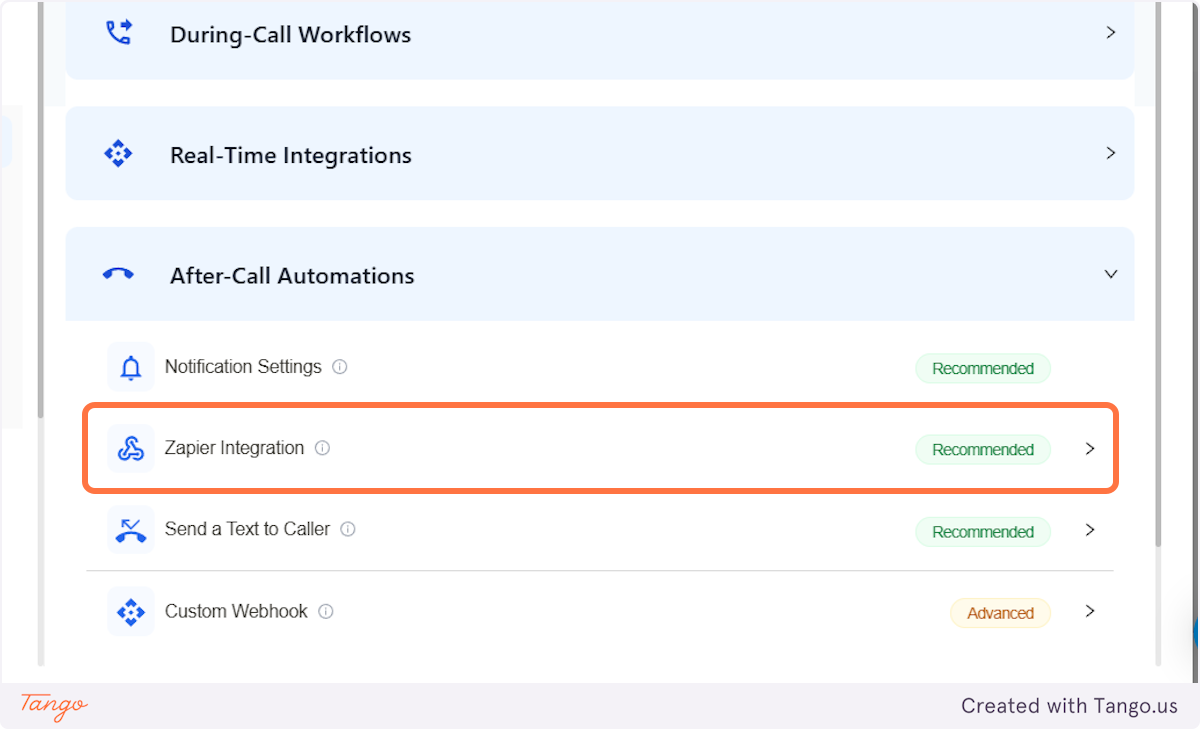
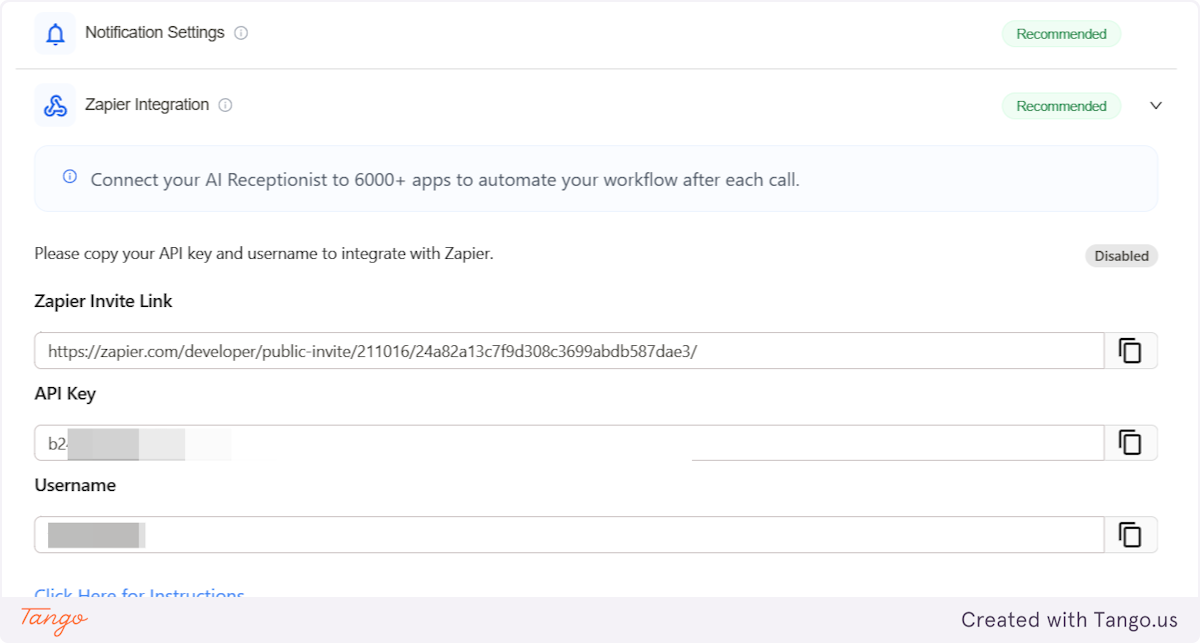
9. This is what you will see. #
Lets start by copying the Zapier invite link into your browser.
We will use the API key and the username to connect to Zapier in a bit.
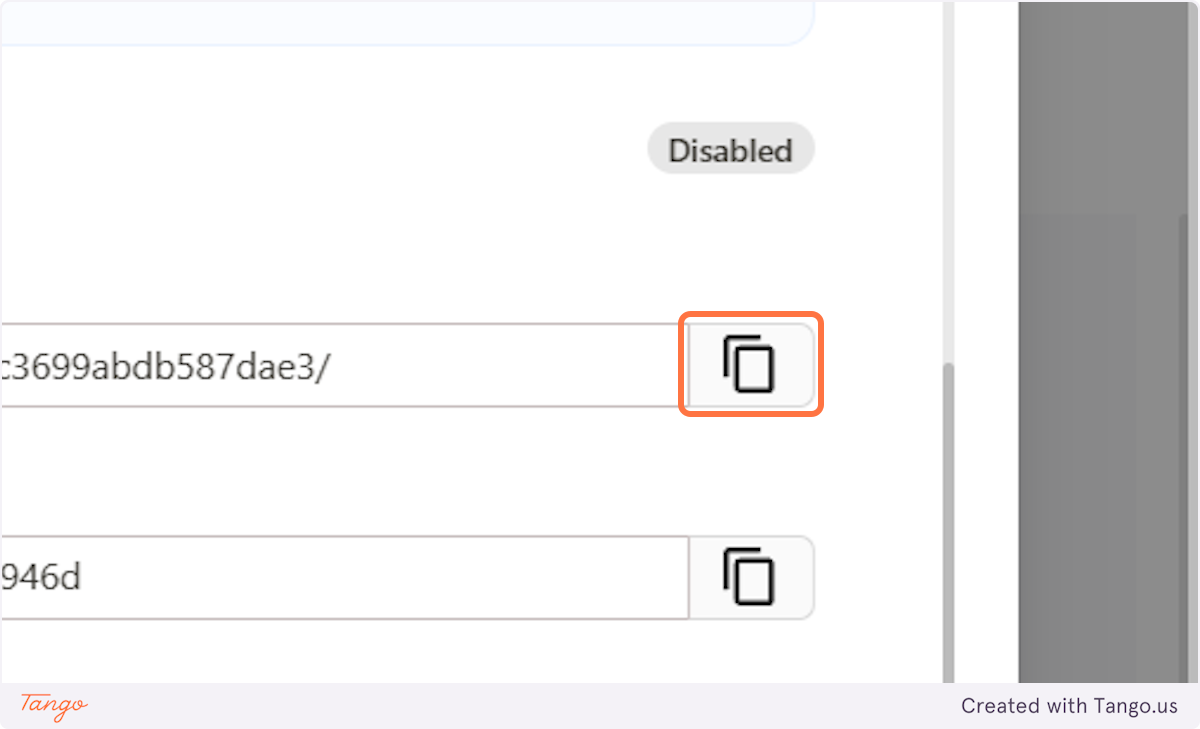
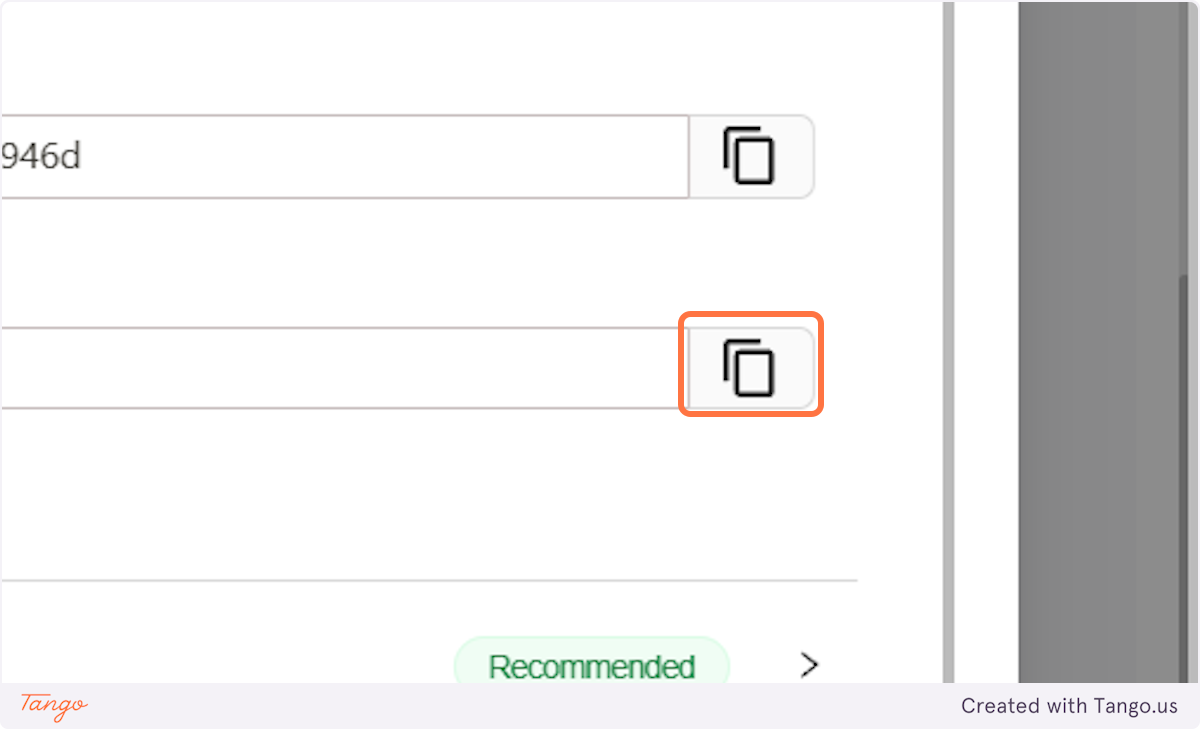
10. Click on copy#
# Zapier#
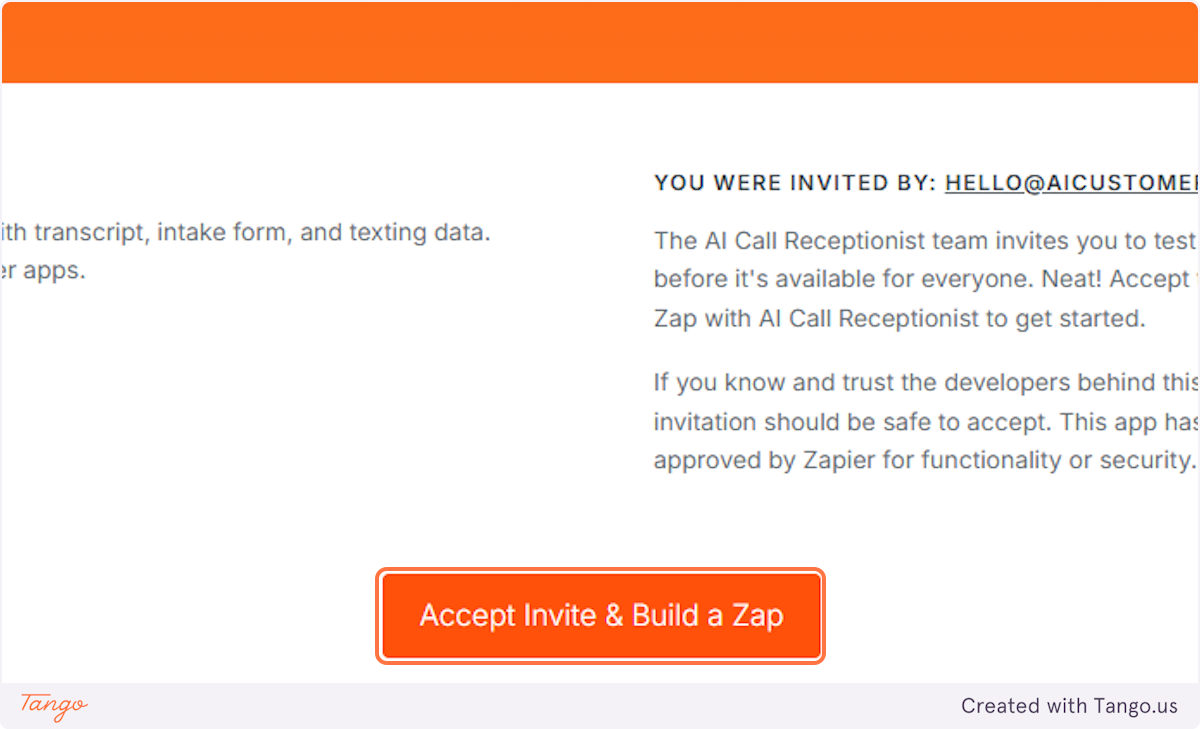
11. Once you copy it into your browser, this the screen you should be seeing.#
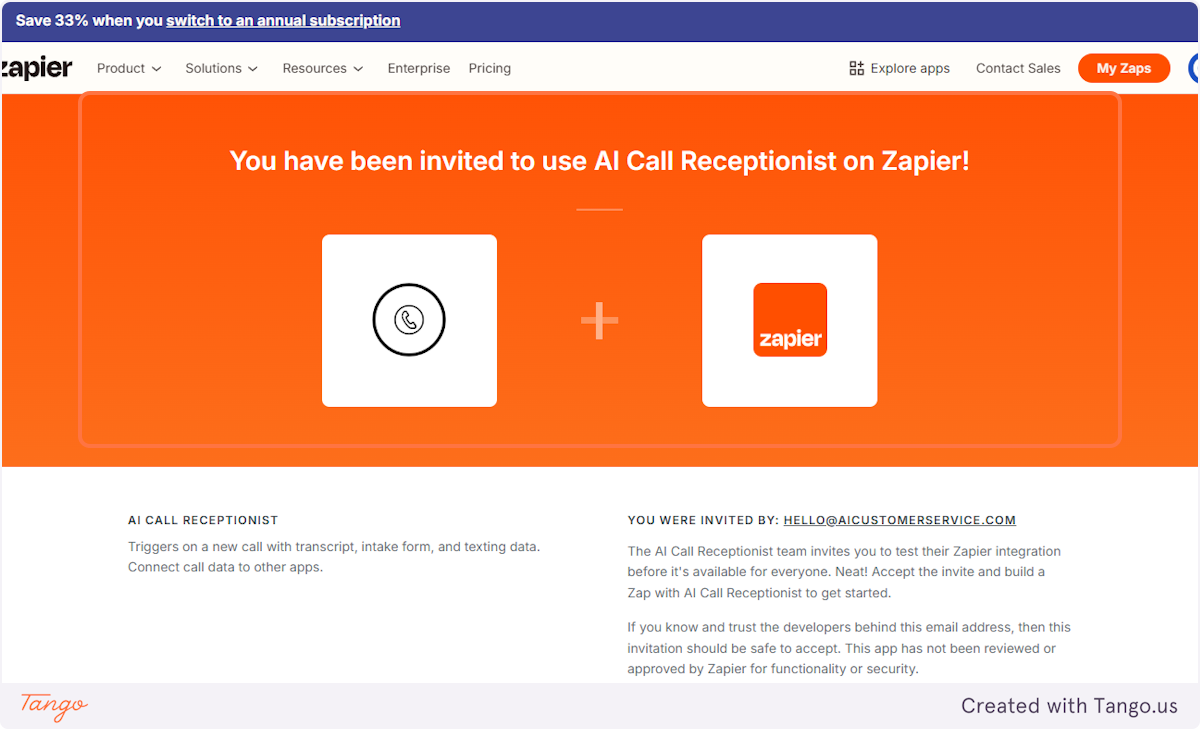
12. Click on Accept Invite & Build a Zap#
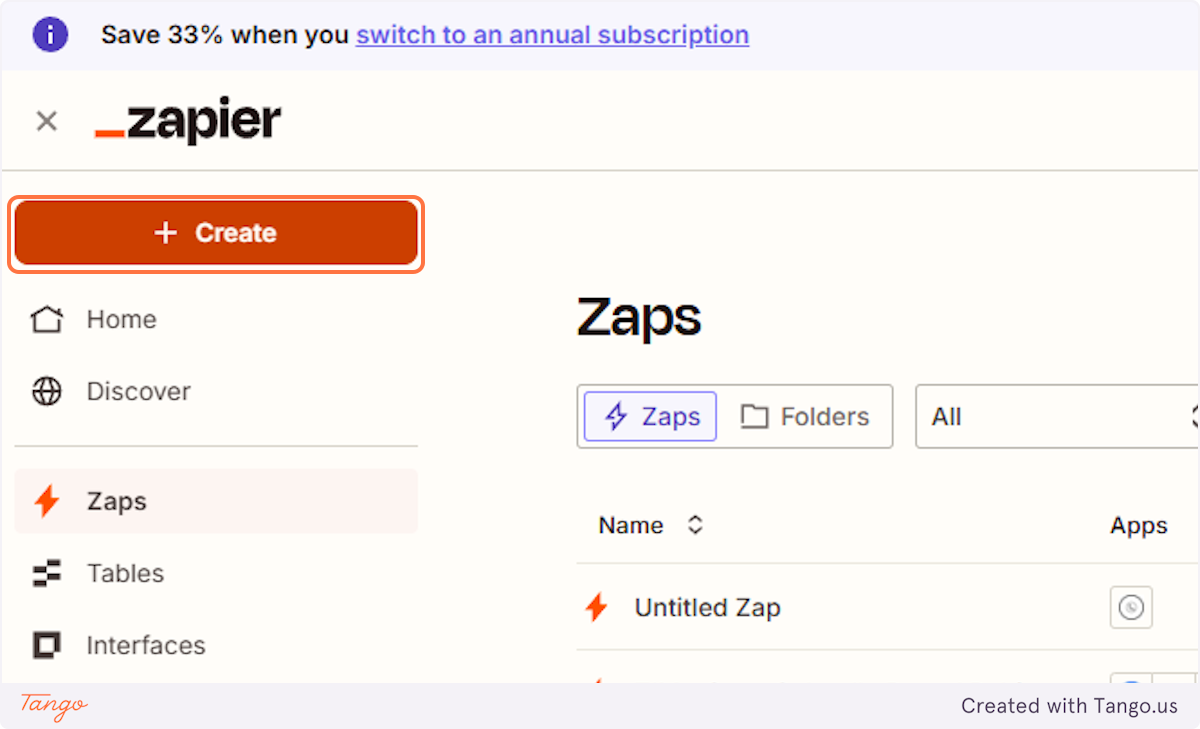
13. Let's create a Zap and test this out#
Click on Create at the top left corner.
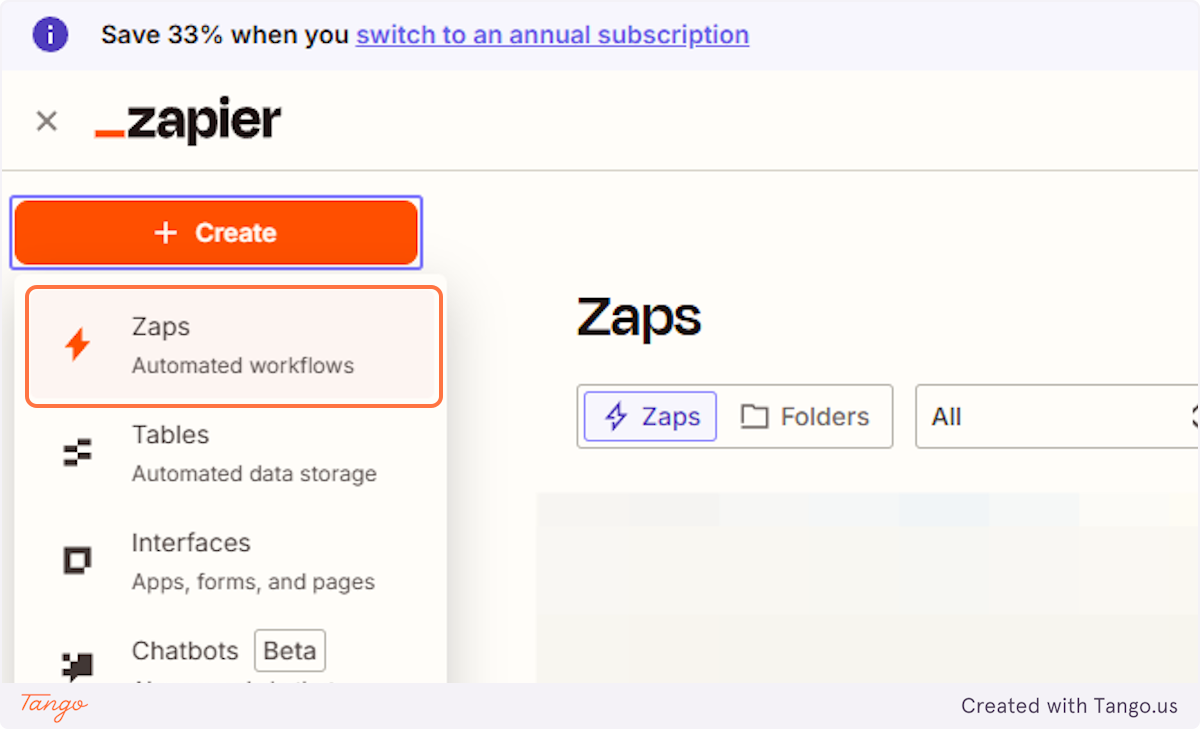
14. Click on Zaps…#
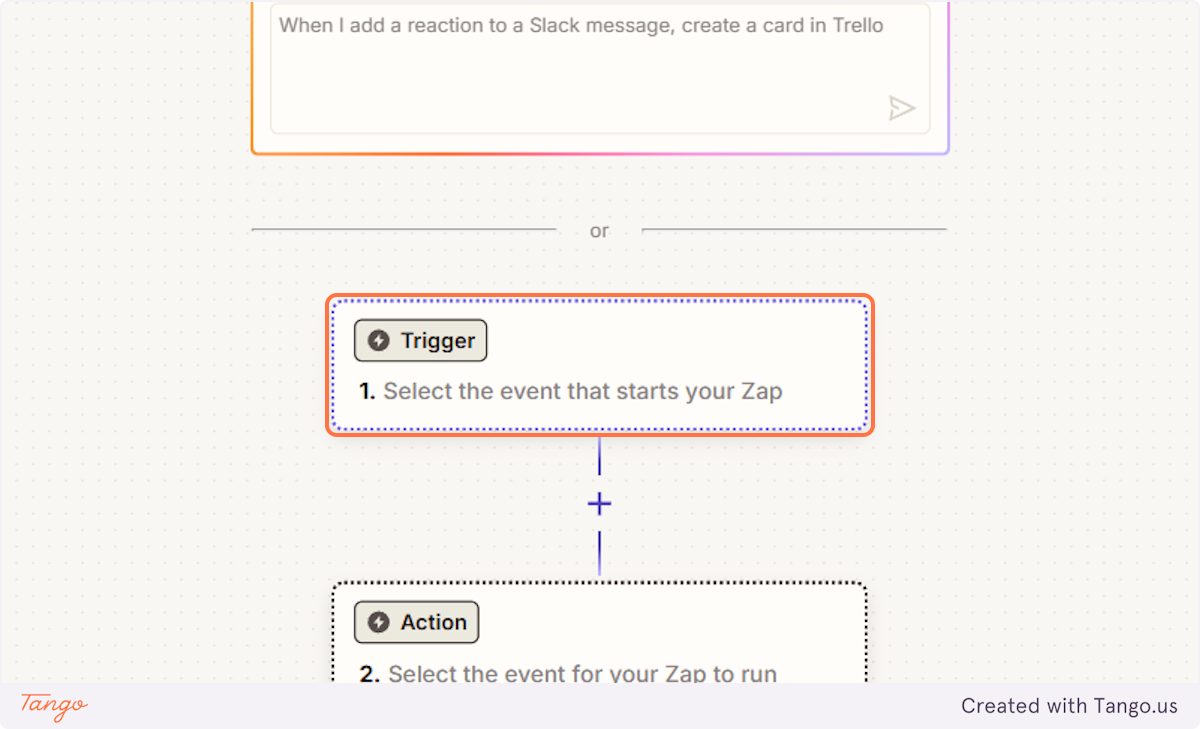
15. Let's first set up a Trigger#
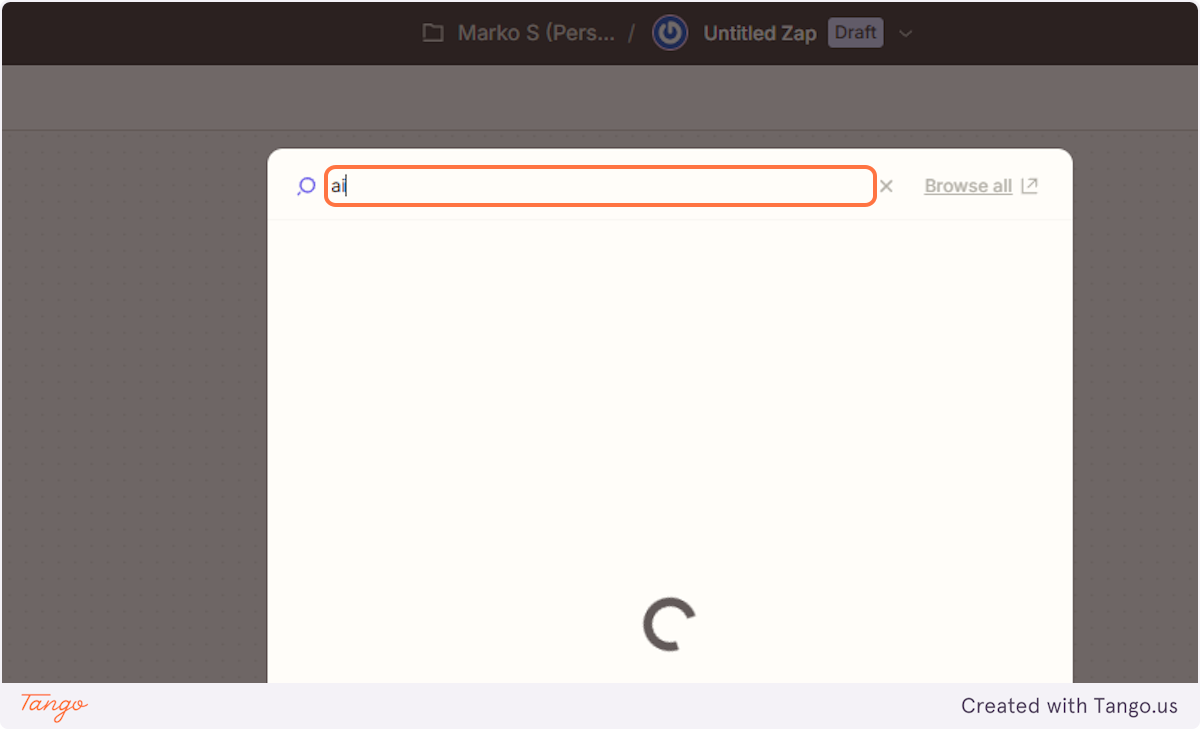
16. Type "ai" to find our unbranded connection.#
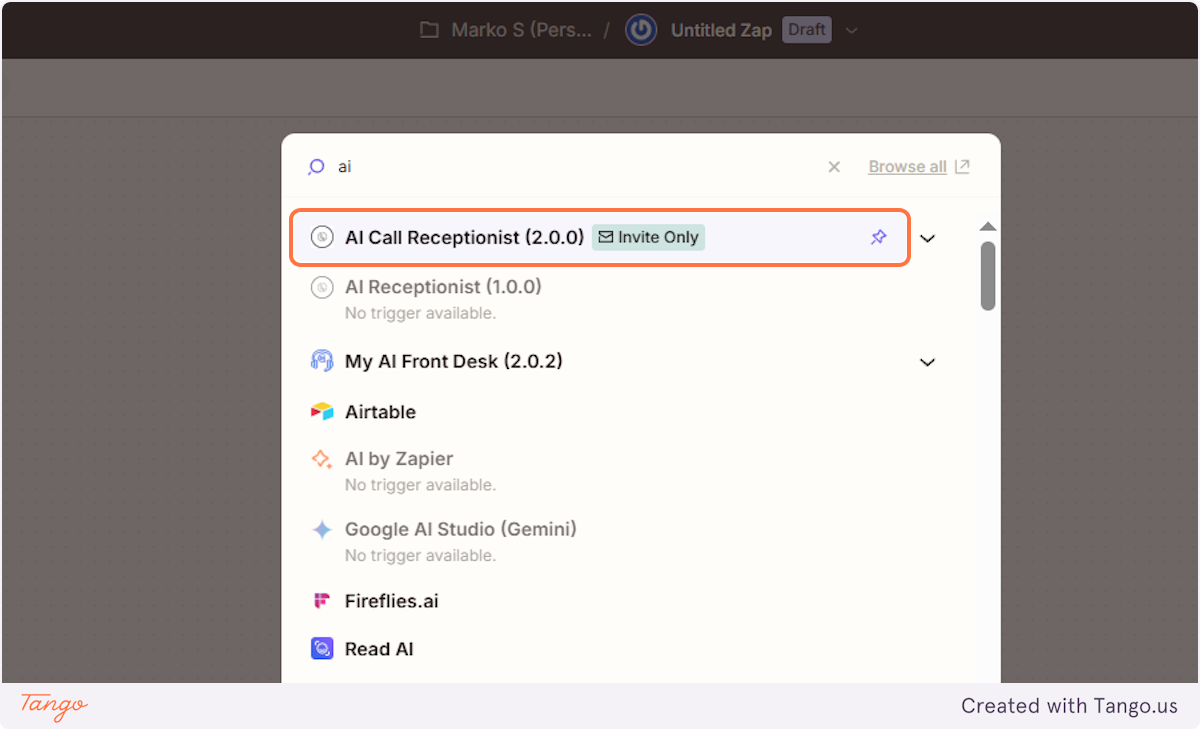
17. Click on AI Call Receptionist (2.0.0)…#
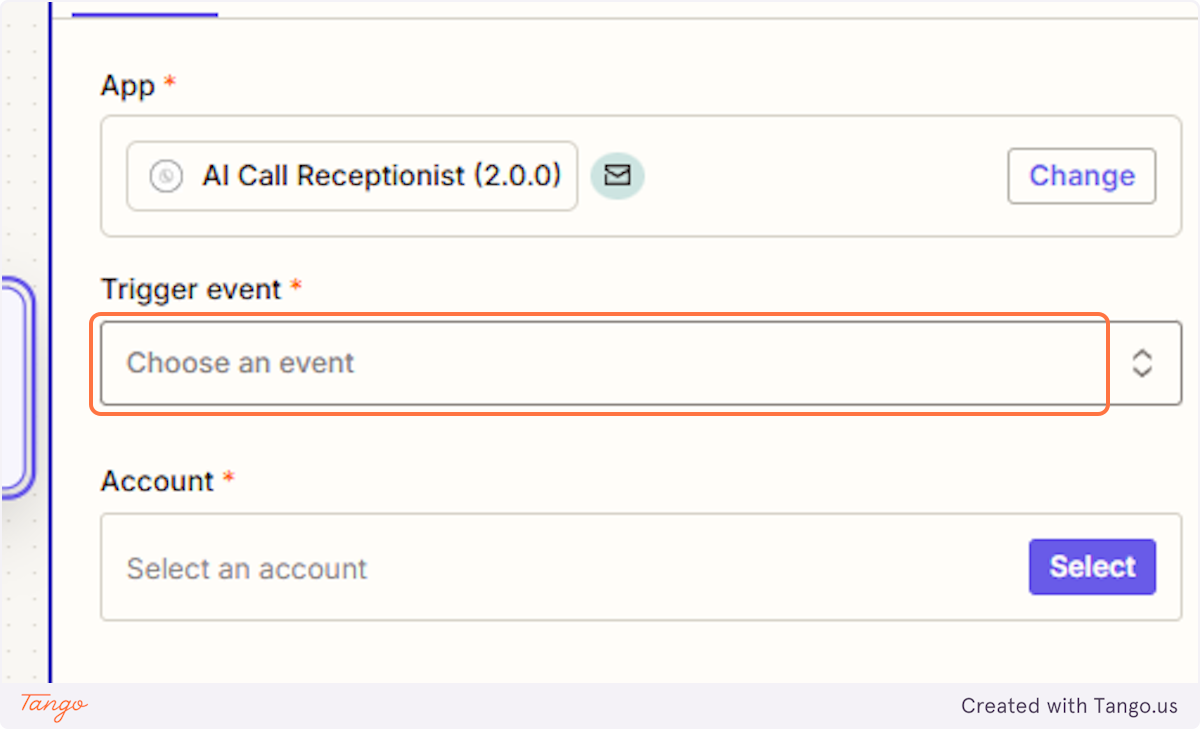
18. Click on Choose an event#
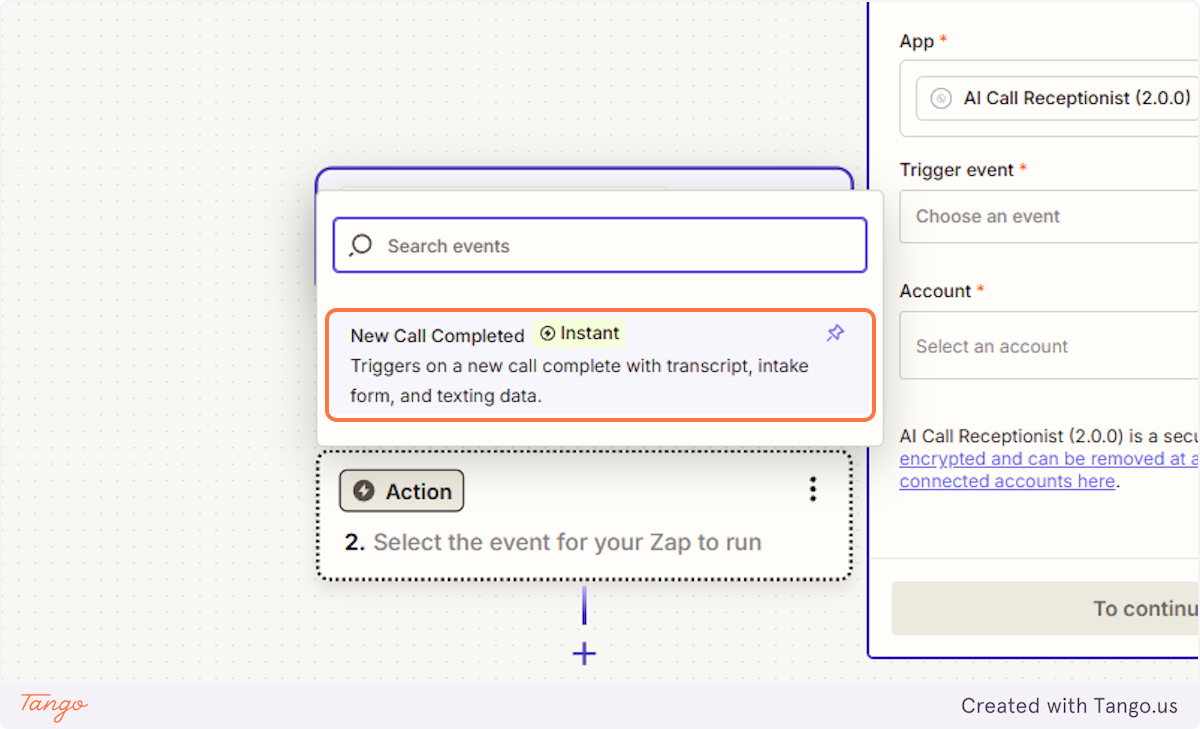
19. Click on New Call Completed…#
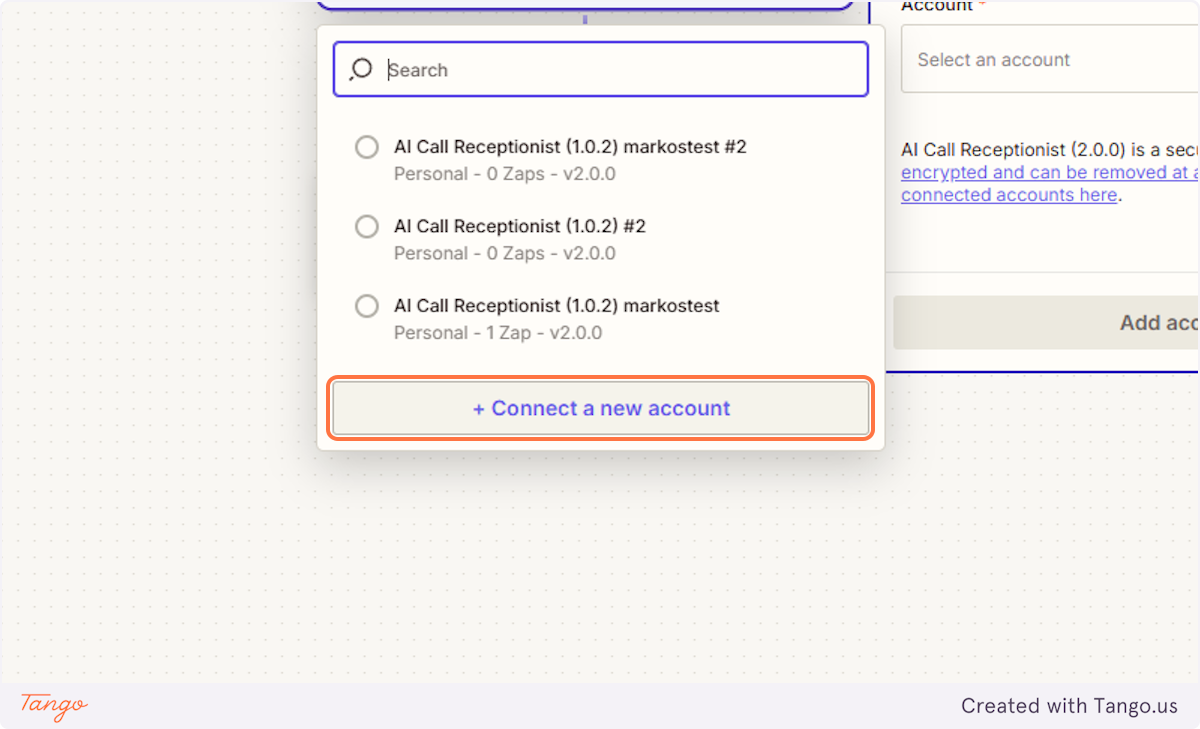
20. Now let's connect Zapier and their AI Front desk account.#

21. Click on + Connect a new account#
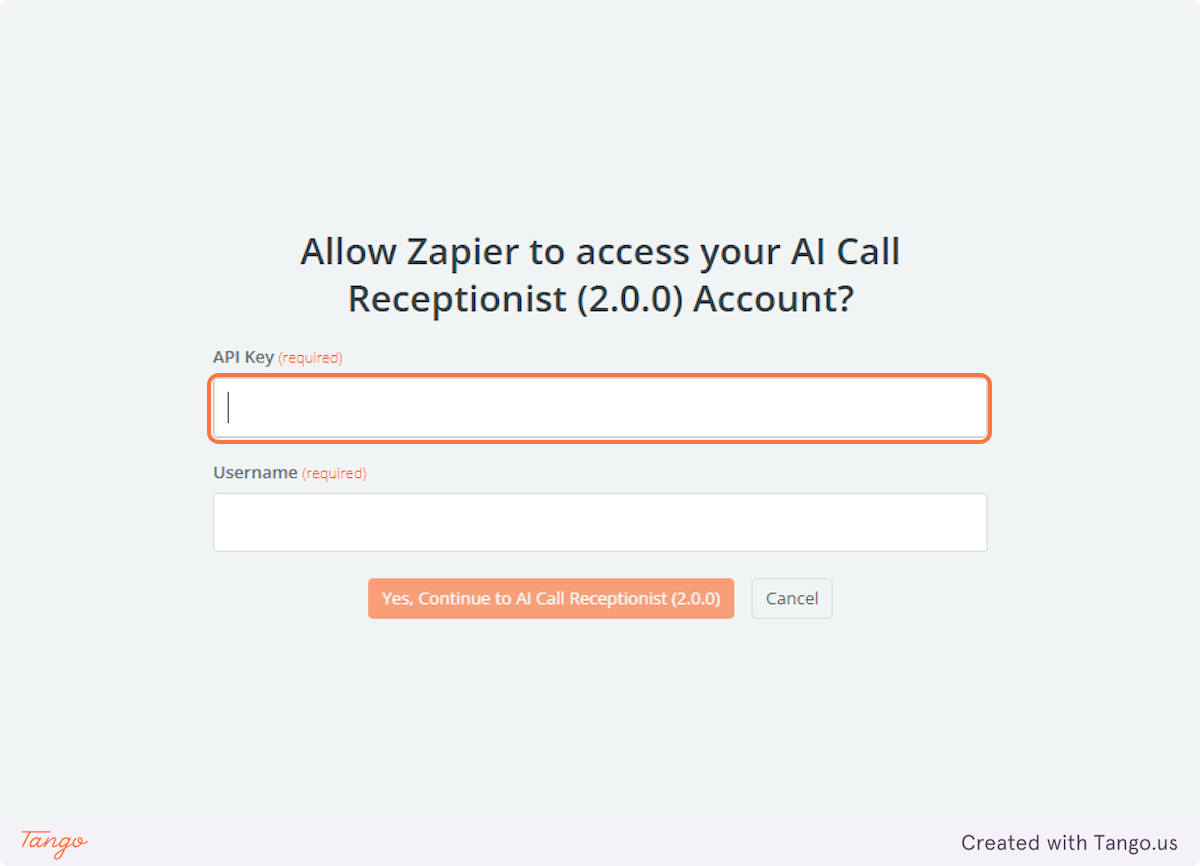
22. Let's first add the API Key#
# My AI Frontdesk#
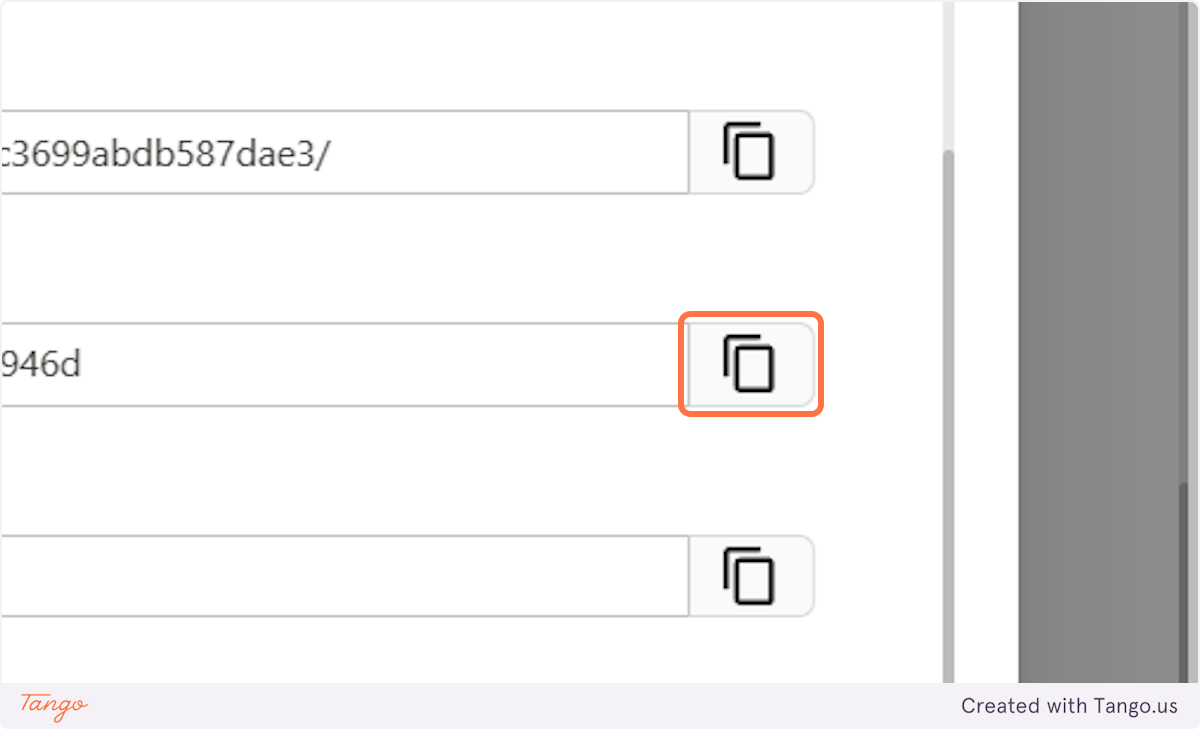
23. Navigate back to their dashboard and let's copy the API Key#
# Test Zap| Zapier#
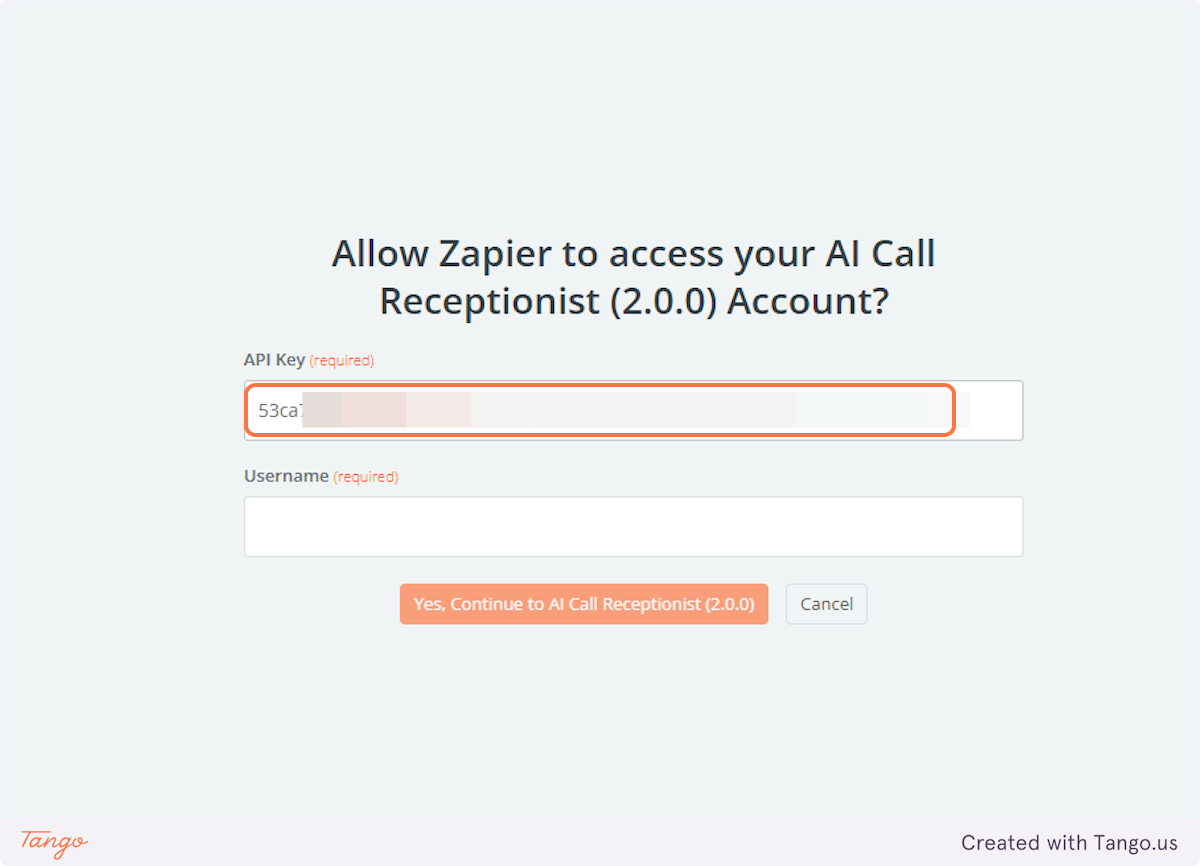
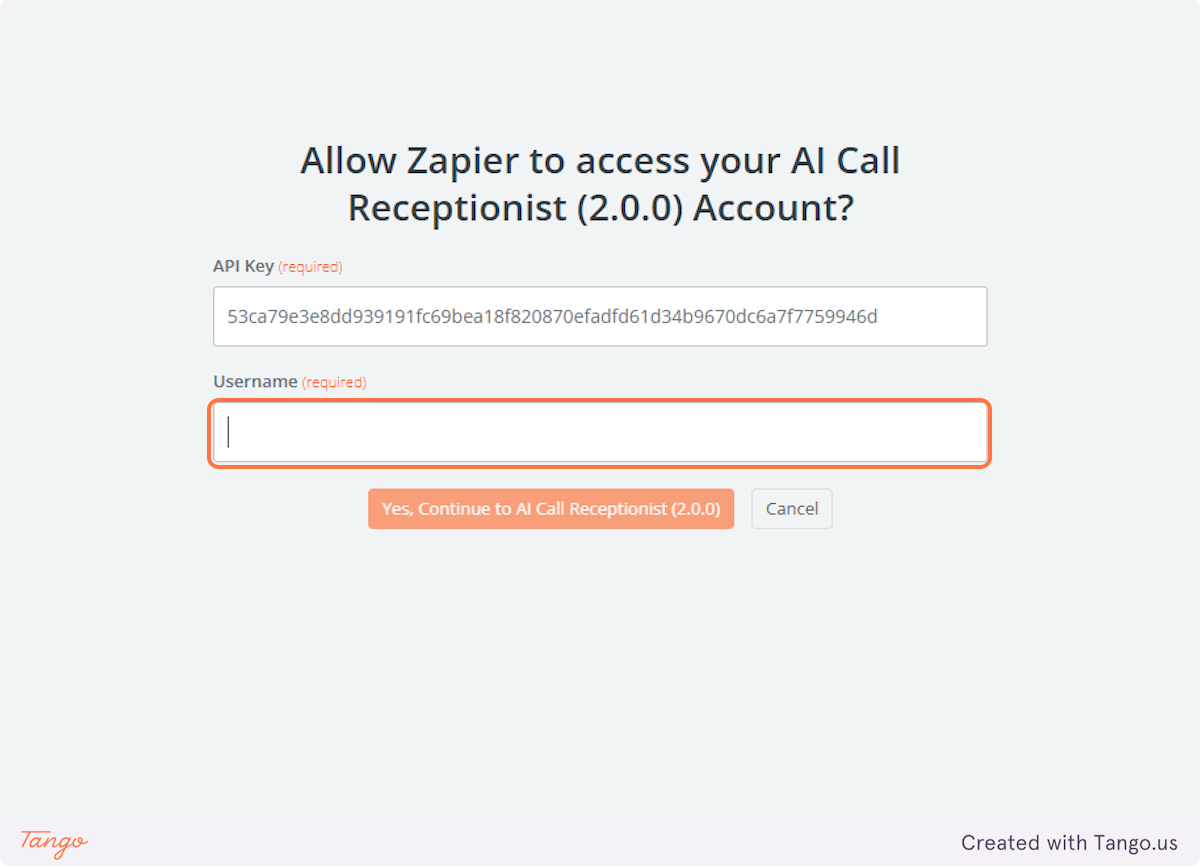
24. Let's paste it into the Zapier connection form.#
25. Let's now add their username.#
# My AI Frontdesk#
26. Navigate back to their Dashboard and let's copy the username.#
# Test Zap | Zapier#
27. let's paste it into the Zapier connection form.#
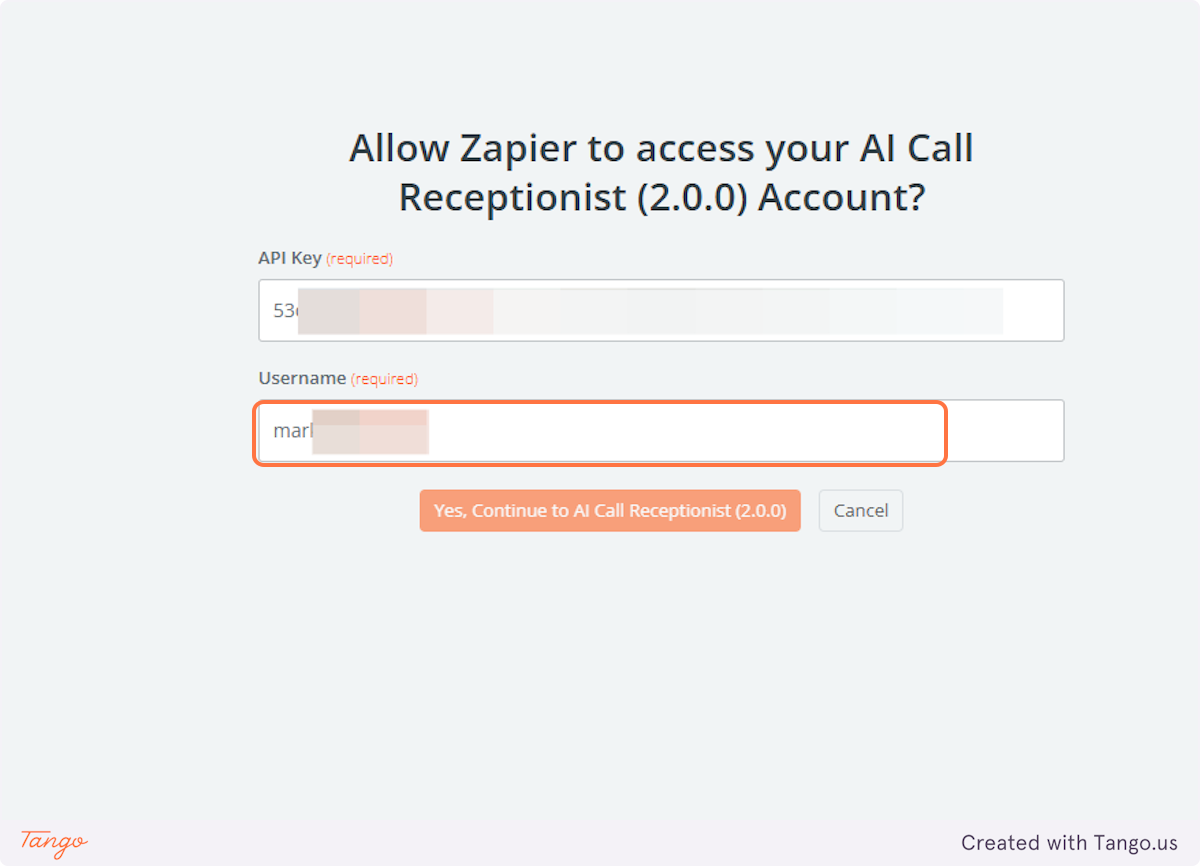
28. Click on Yes, Continue to AI Call Receptionist (2.0.0)#

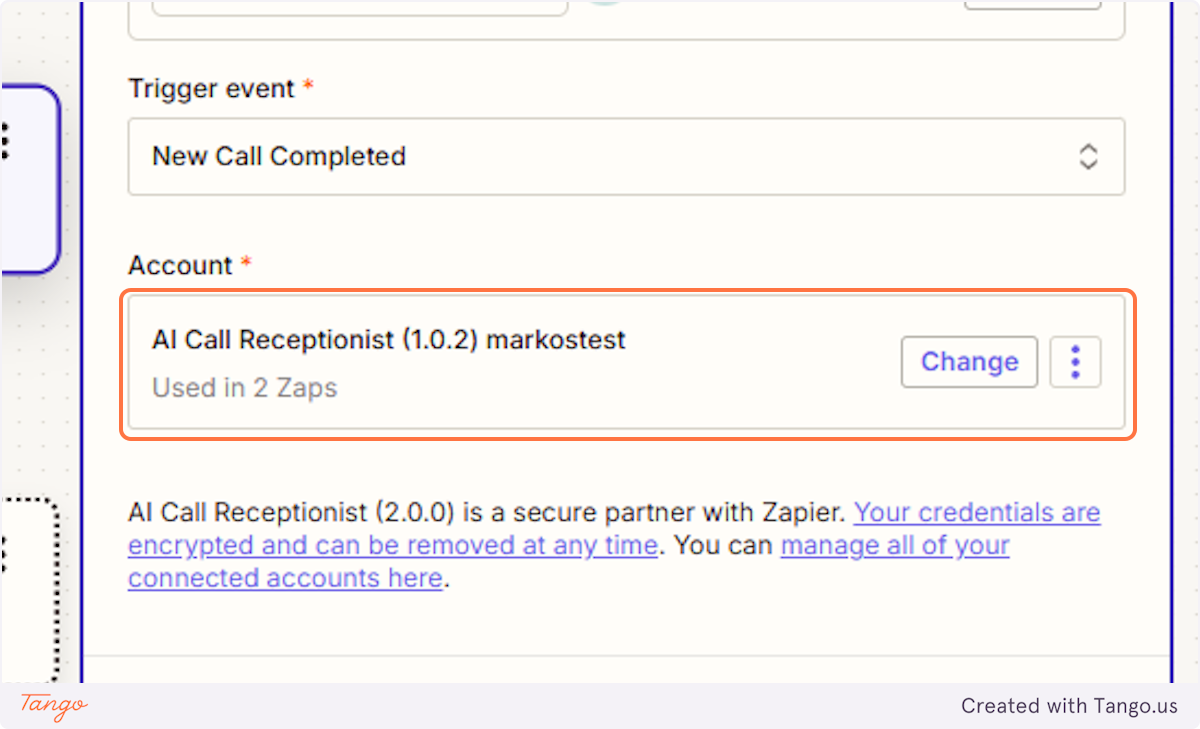
29. Successfully Connected#
You would know that it has successfully connected cause it would show up on the Account.
Important Note: This is one Zap. If you want to connect to another app, you can create another Zap. Zapier offers a free plan that includes basic automation with up to 100 tasks per month and single-step Zaps. If you need multi-step Zaps, premium apps, or higher task limits, you’ll need to upgrade to a paid plan, which you can select in the next step. Our customers frequently connect to apps like Google Sheets to log data from forms or emails, Slack for instant notifications, HubSpot to sync leads and customer details, Shopify for automating order processing and inventory updates, and Trello to create tasks from emails or form submissions.
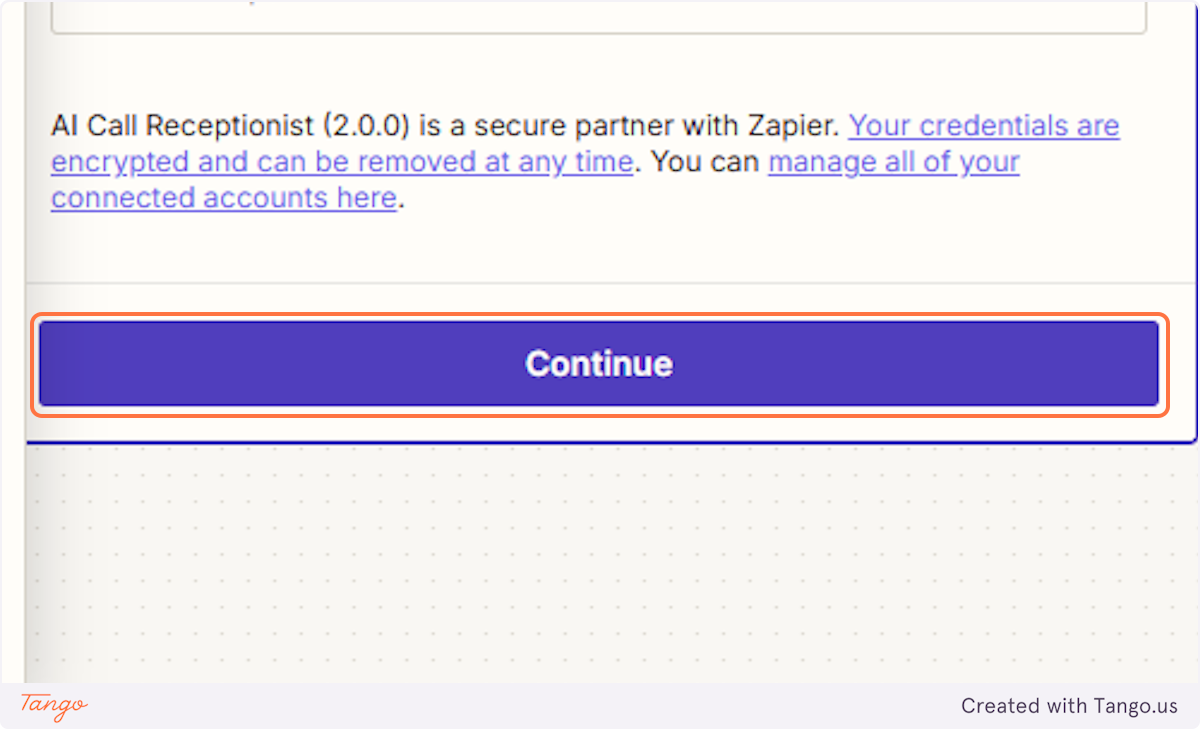
30. Click on Continue#
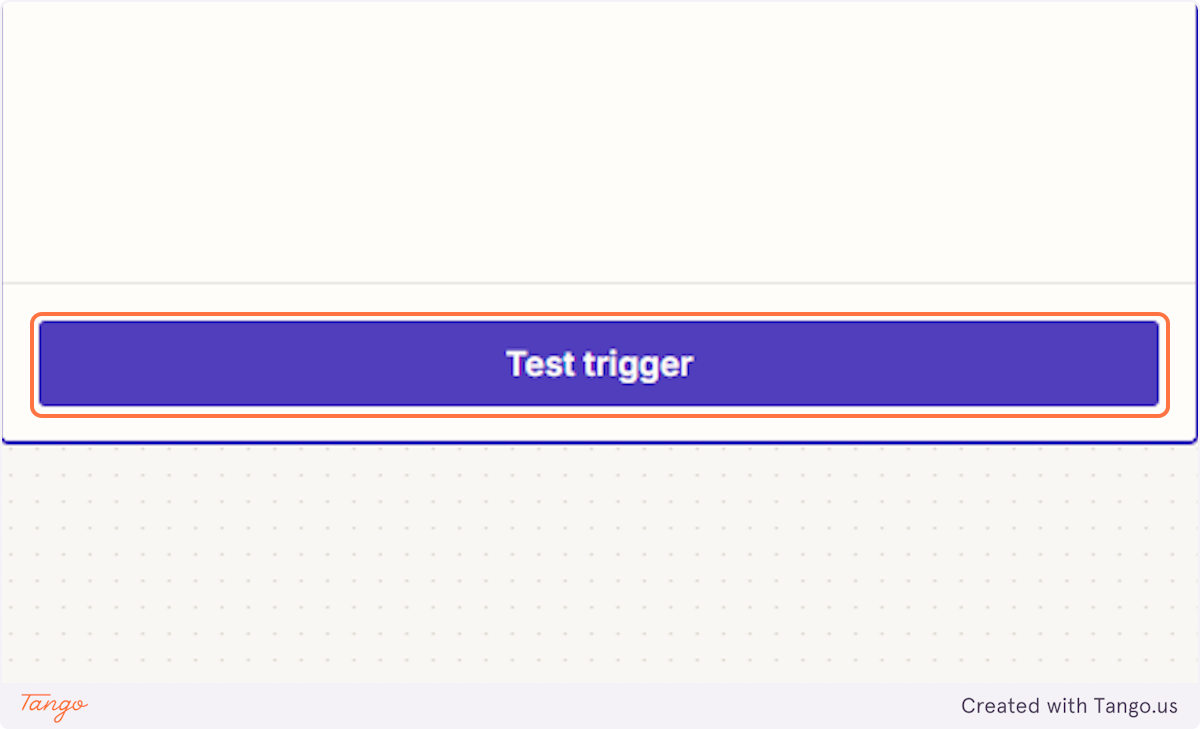
31. Let's test the trigger and see if everything is connected well.#
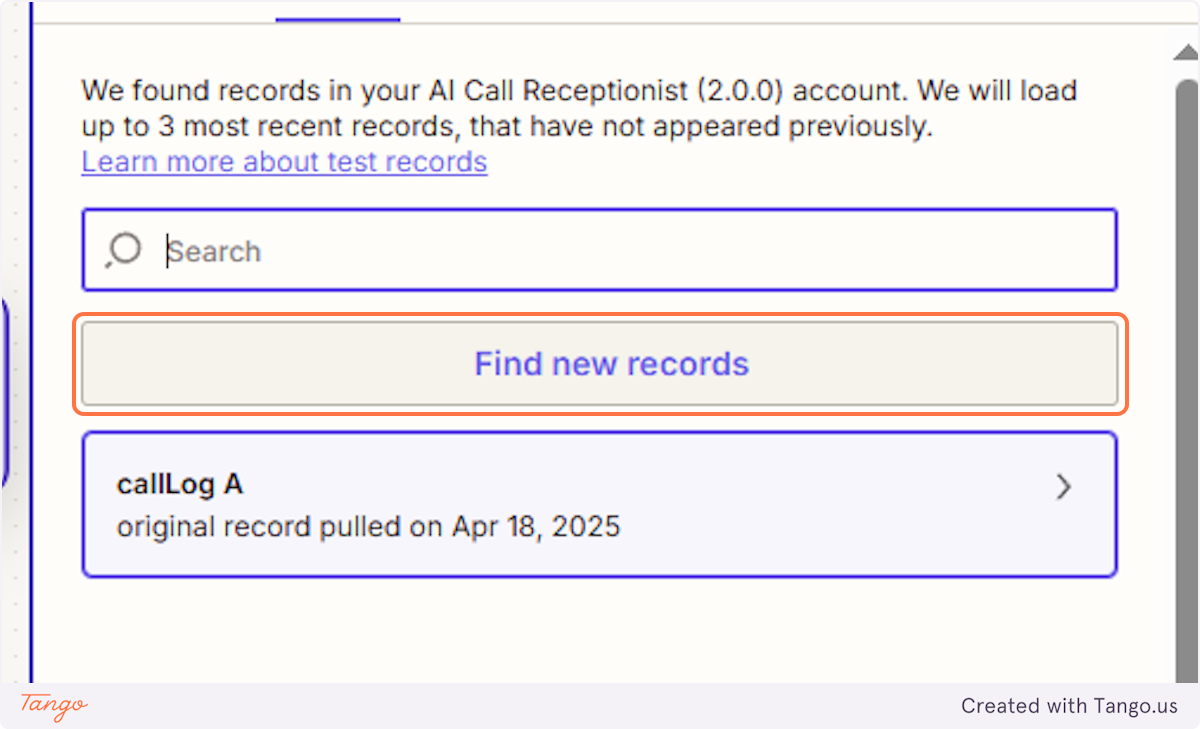
32. Click on Find new records#
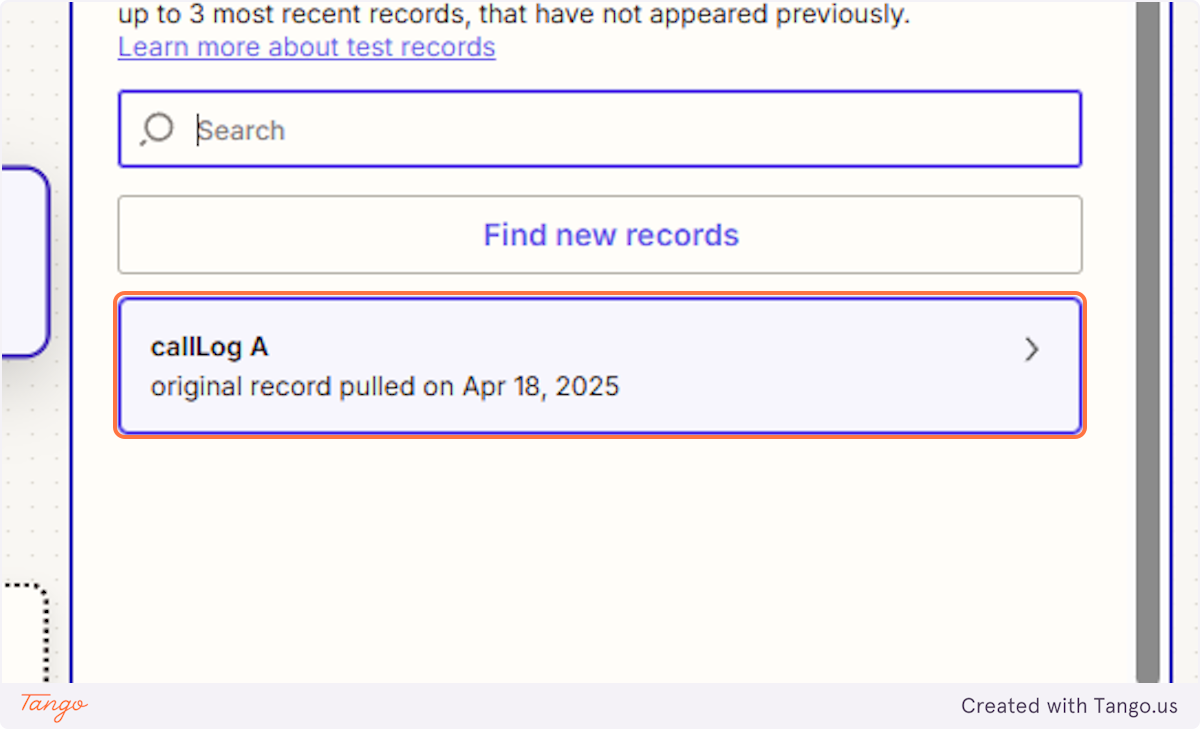
33. You can check out the sample call log.#
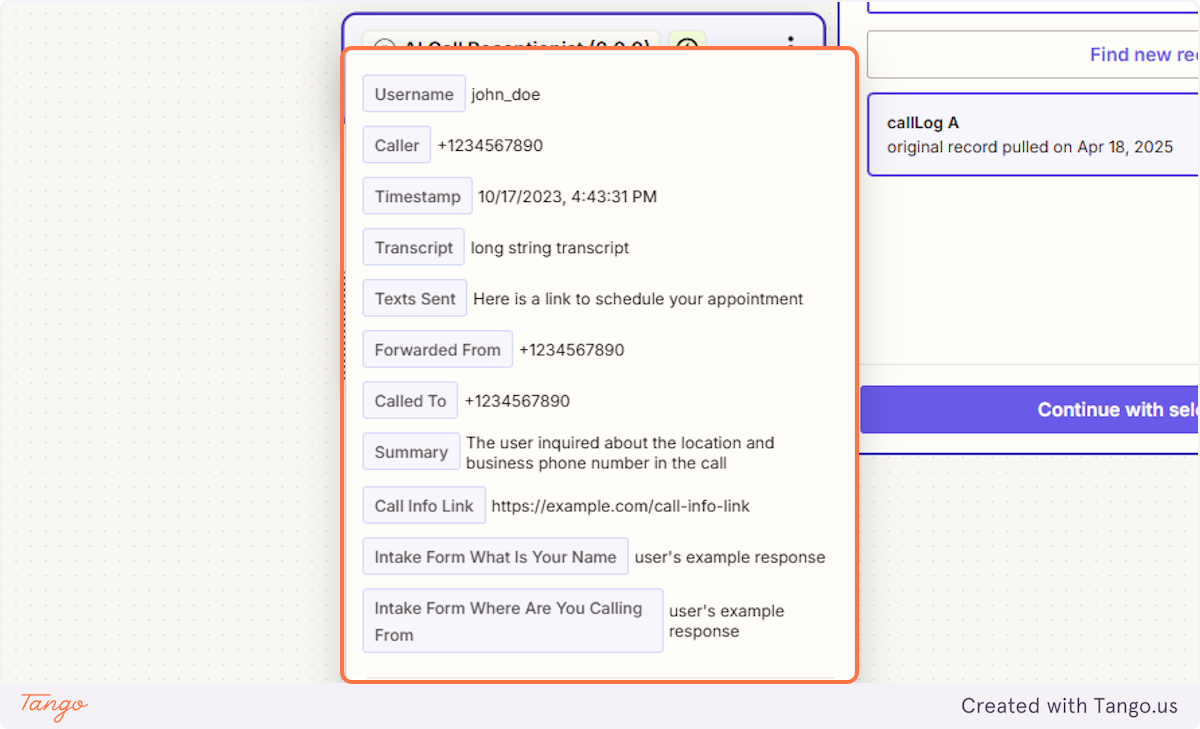
34. Here is all the information you can export from the call.#
You can choose the information from the call logs at My AI Front Desk to fill in the specific are at HubSpot.
You can extract the following from your receptionist:
1. Phone number
2. Name
3. Timestamp
4. Transcript of the call
5. Text conversations
6. CRM details
7. Call Info Link
8. You can also add the information collected by the Intake Form like email address, business names, or anything that you would like to be collected.
35. Click on Continue with selected record#
36. As an example, let's export this call's information into a Google Sheet.#
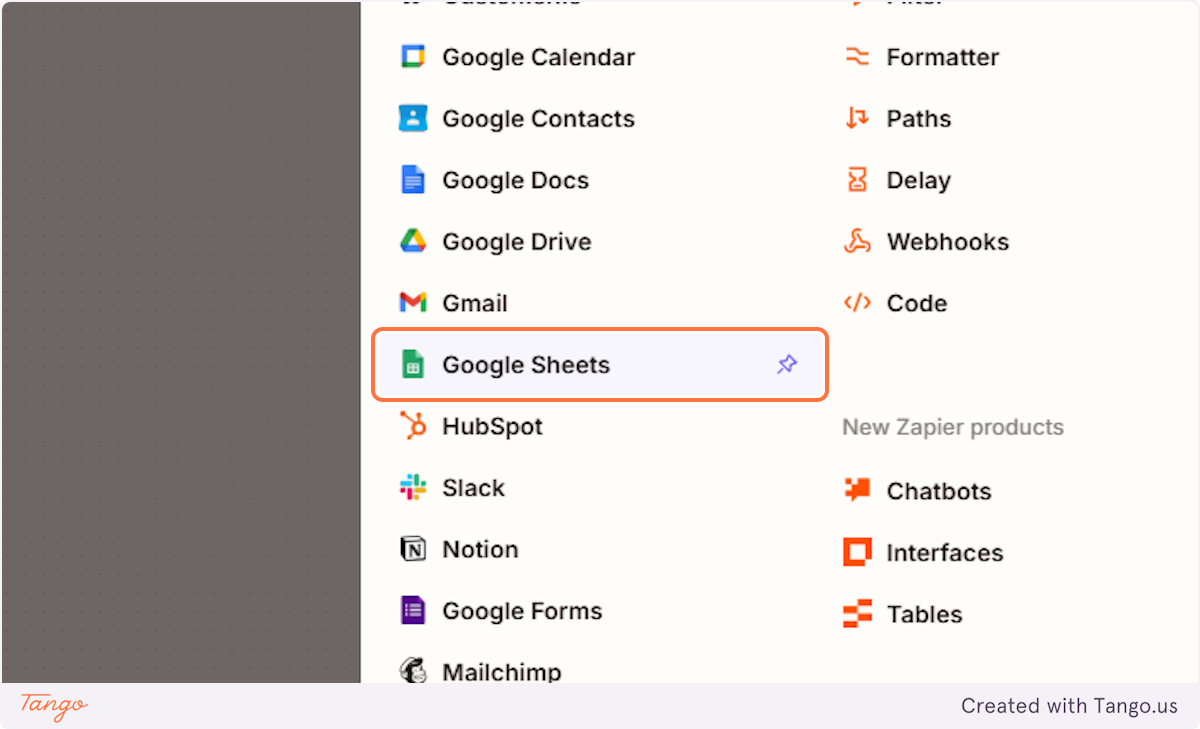
37. Let's first choose what we want to do in the sheet.#
38. Let's Create a Spreadsheet Row#

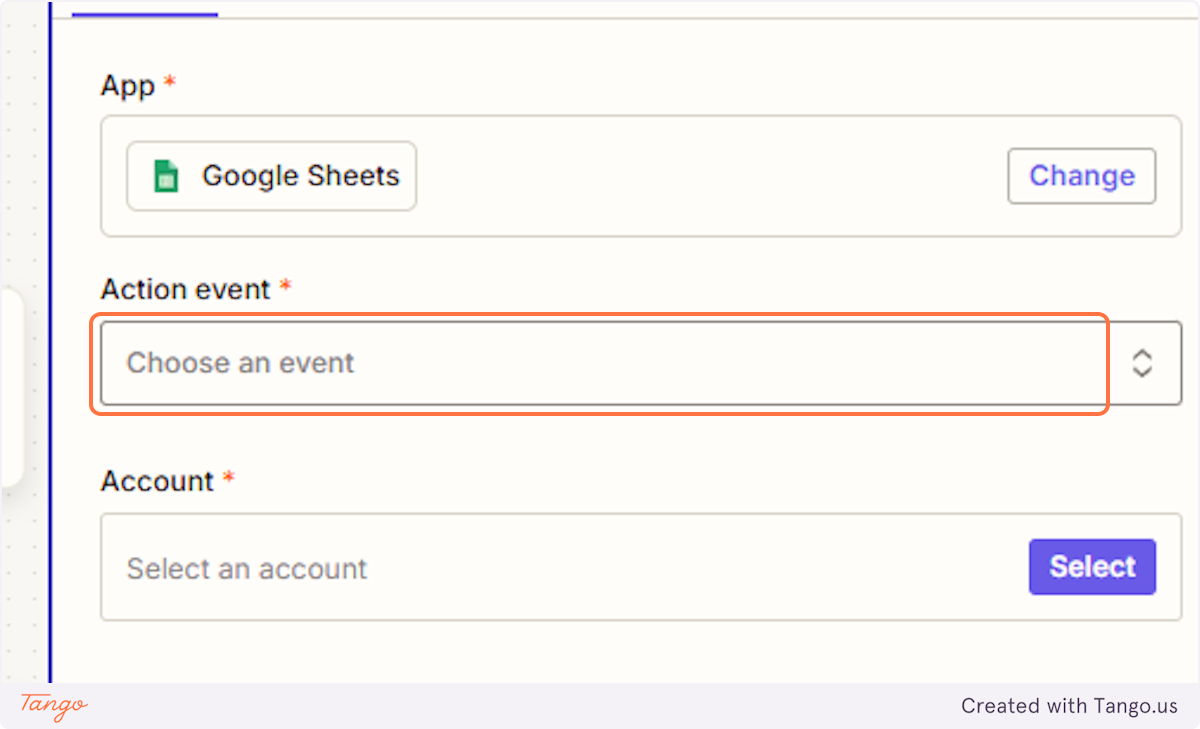
39. Then we need to connect to a specific Google Sheet.#
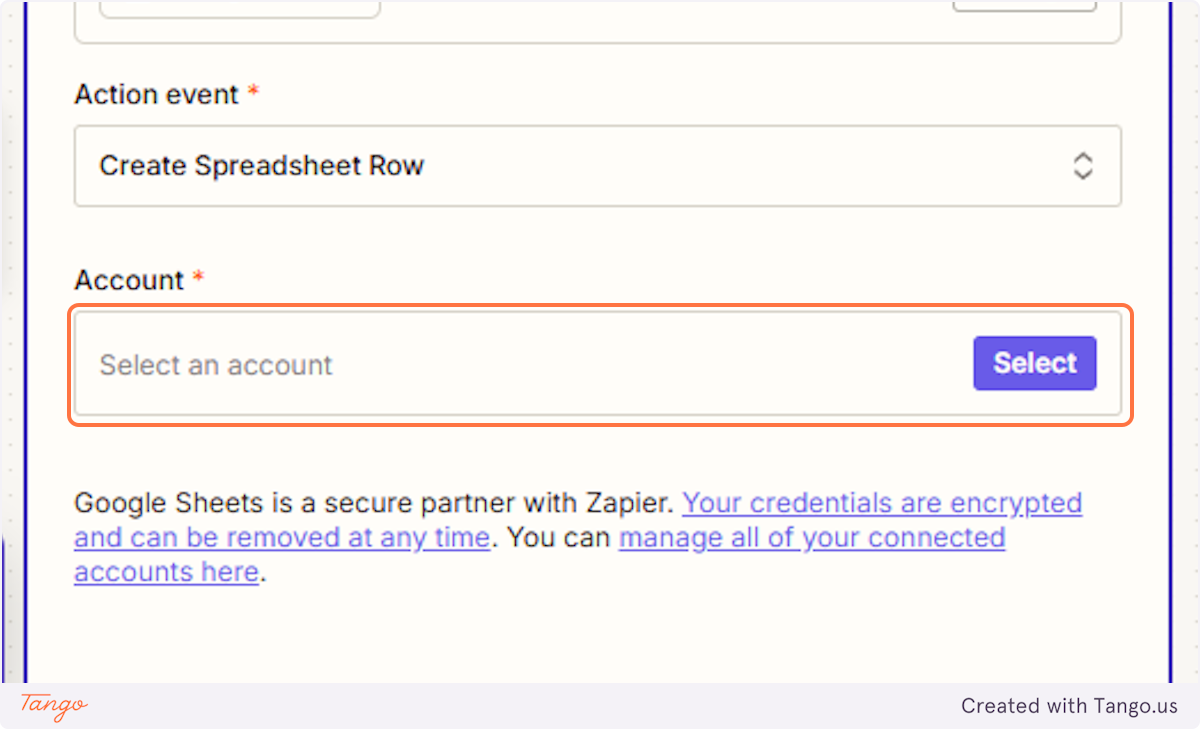
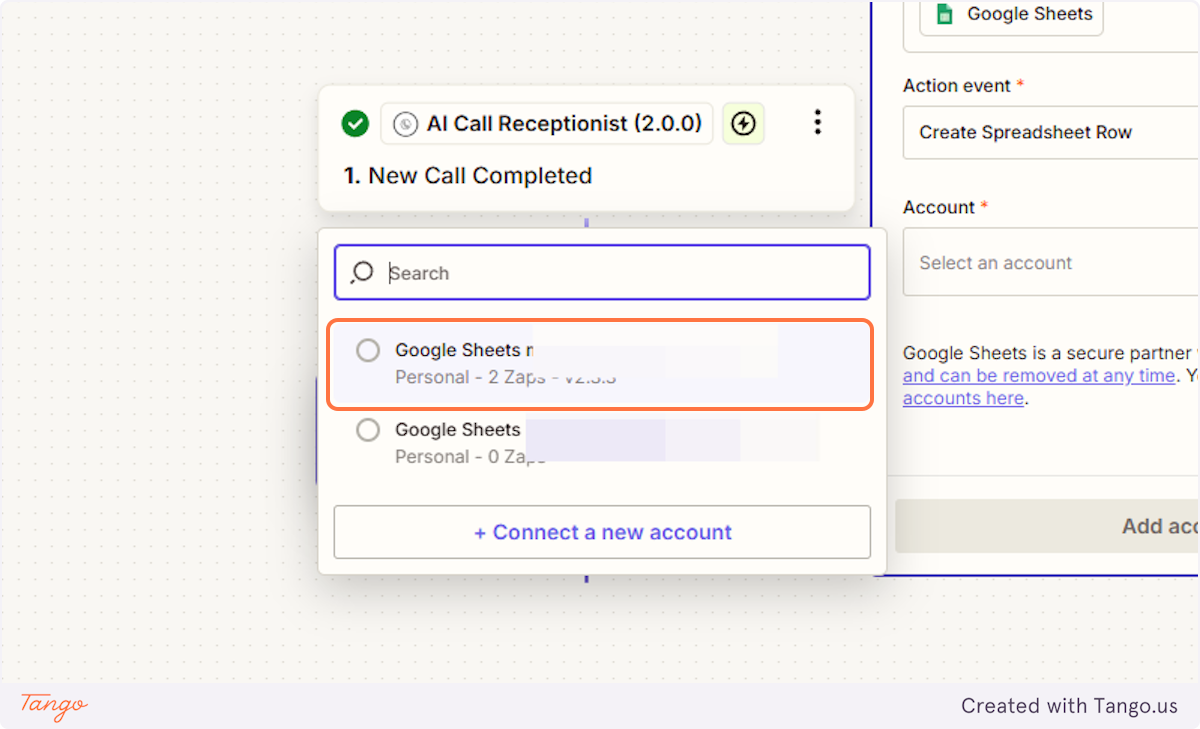
40. Choose the account you would like to connect to.#
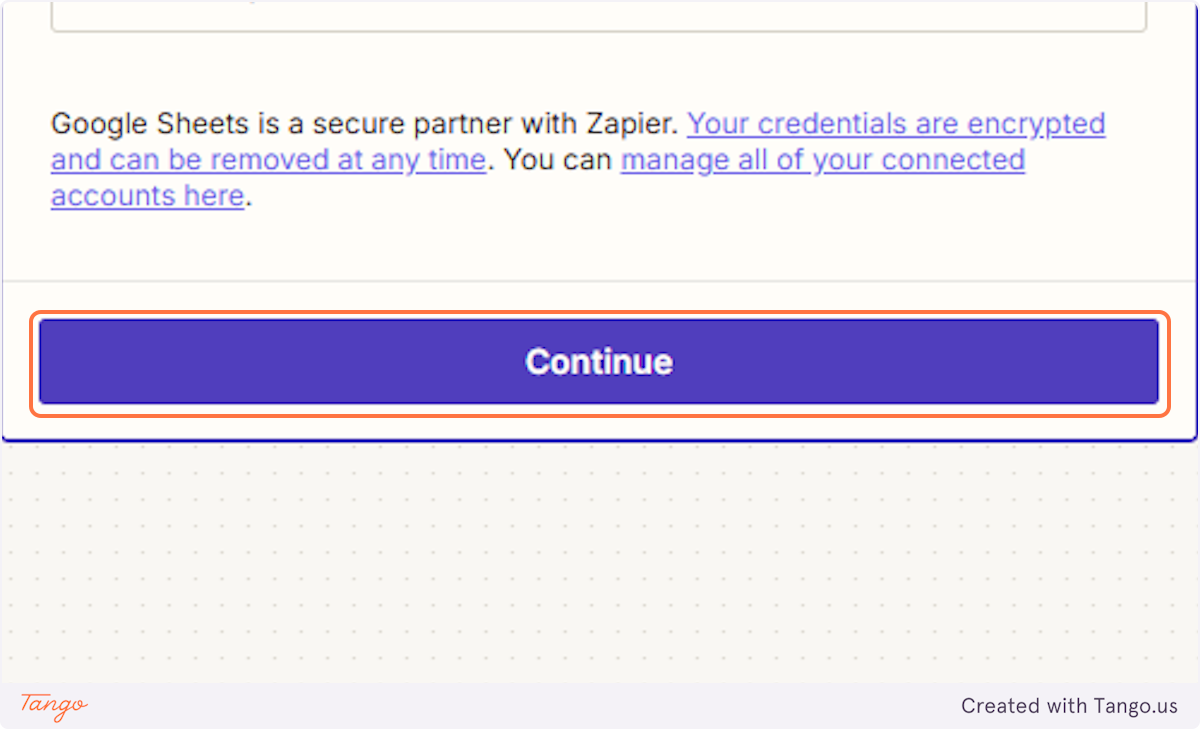
41. Once connected, let's click on continue.#
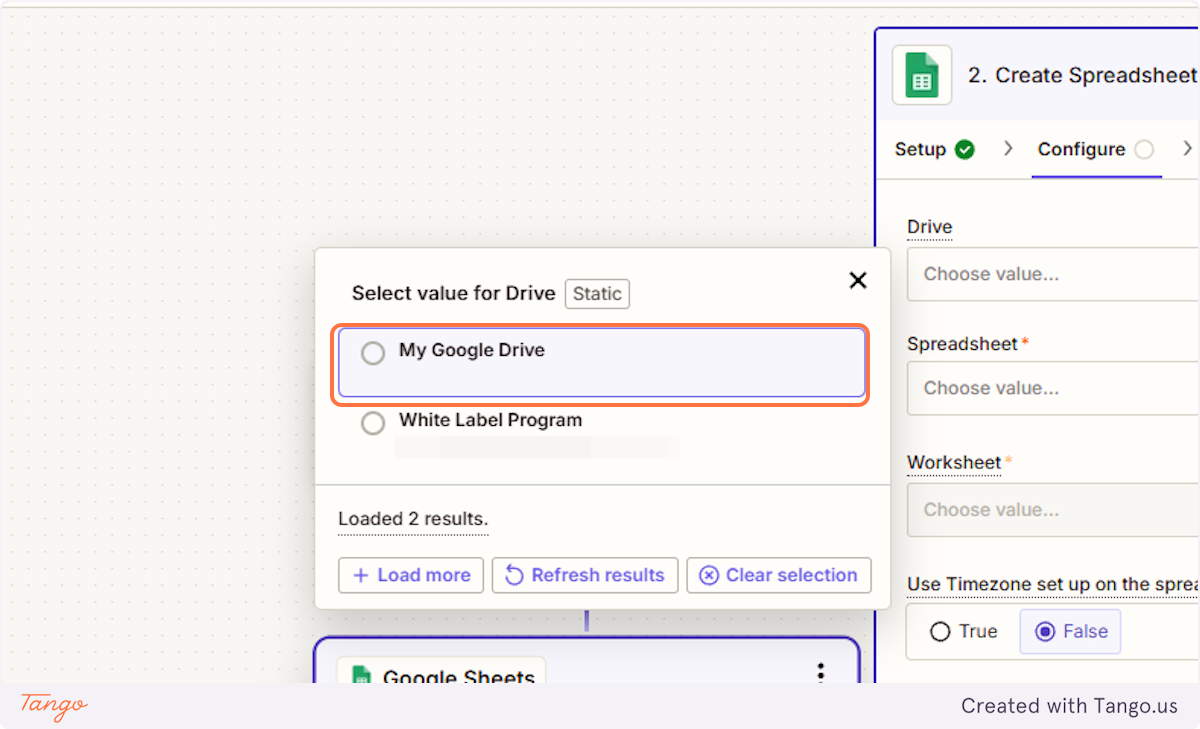
42. Now let's feel in all the other info required. We will add the drive we want to export the data to, the specific spreadsheet and the worksheet within that spreadsheet.#
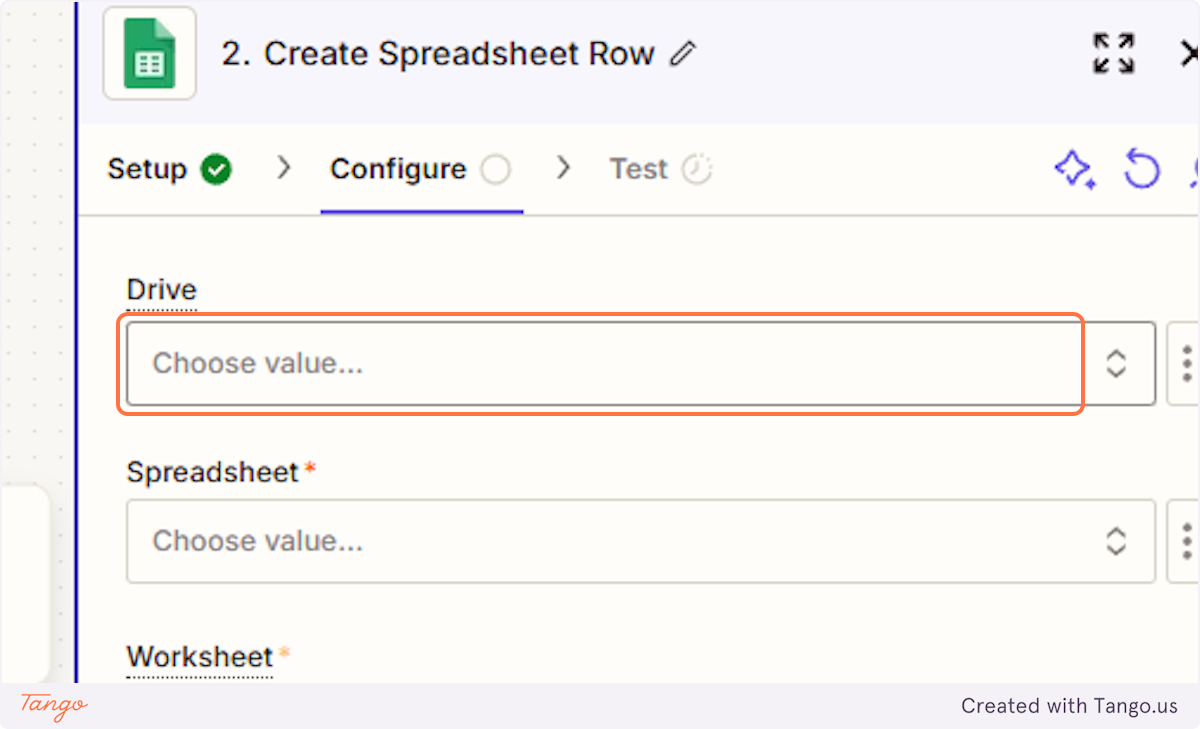
43. Click on My Google Drive#
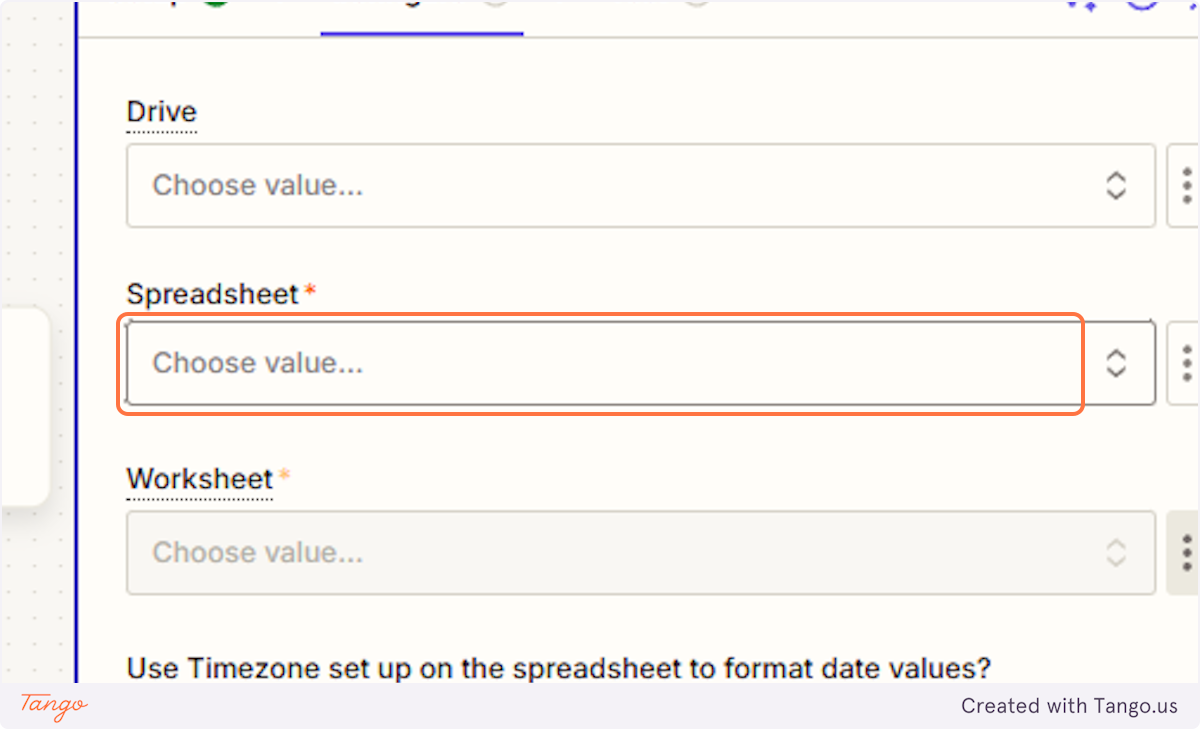
44. Pick a spreadsheet#
45. And let's pick a worksheet#
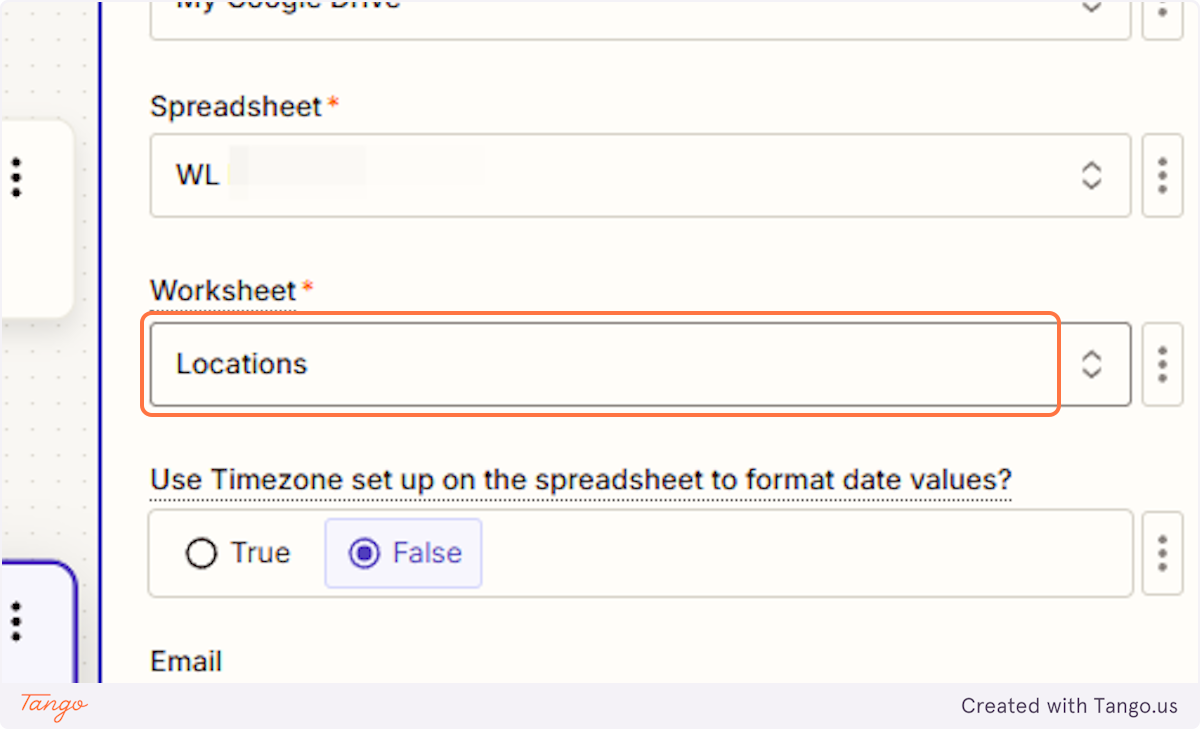
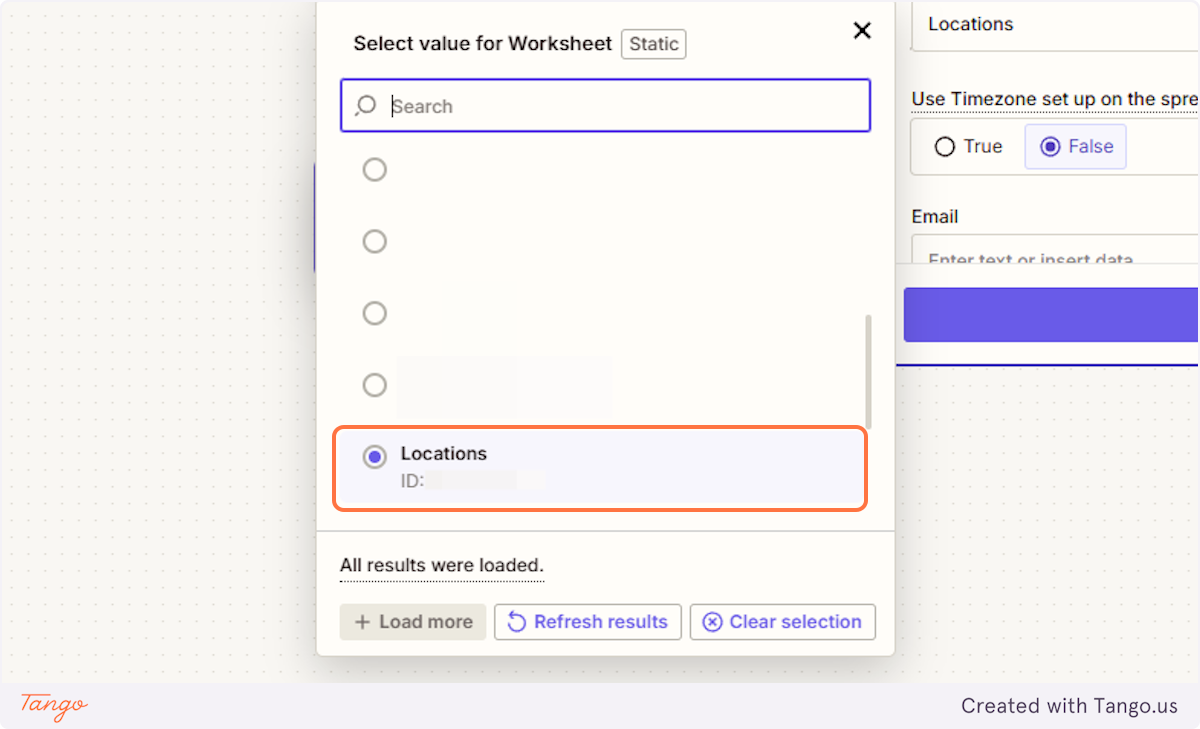
46. Choose the Worksheet where the information will be exported.#
47. Now let's connect the appropriate fields in the Spreadsheet we want to connect with the right data coming out of the calls.#
The fields in Zapier will correspond to the ones in the spreadsheet.
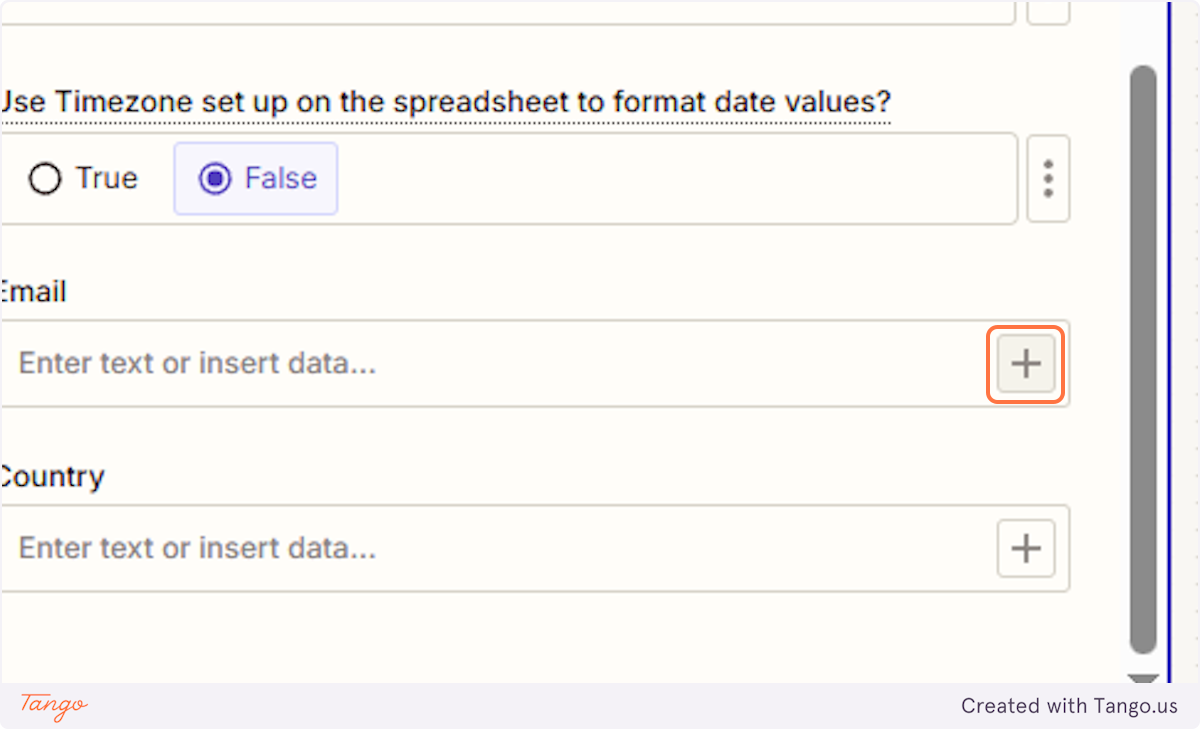
48. Click on the info you want to put into the sheet.#
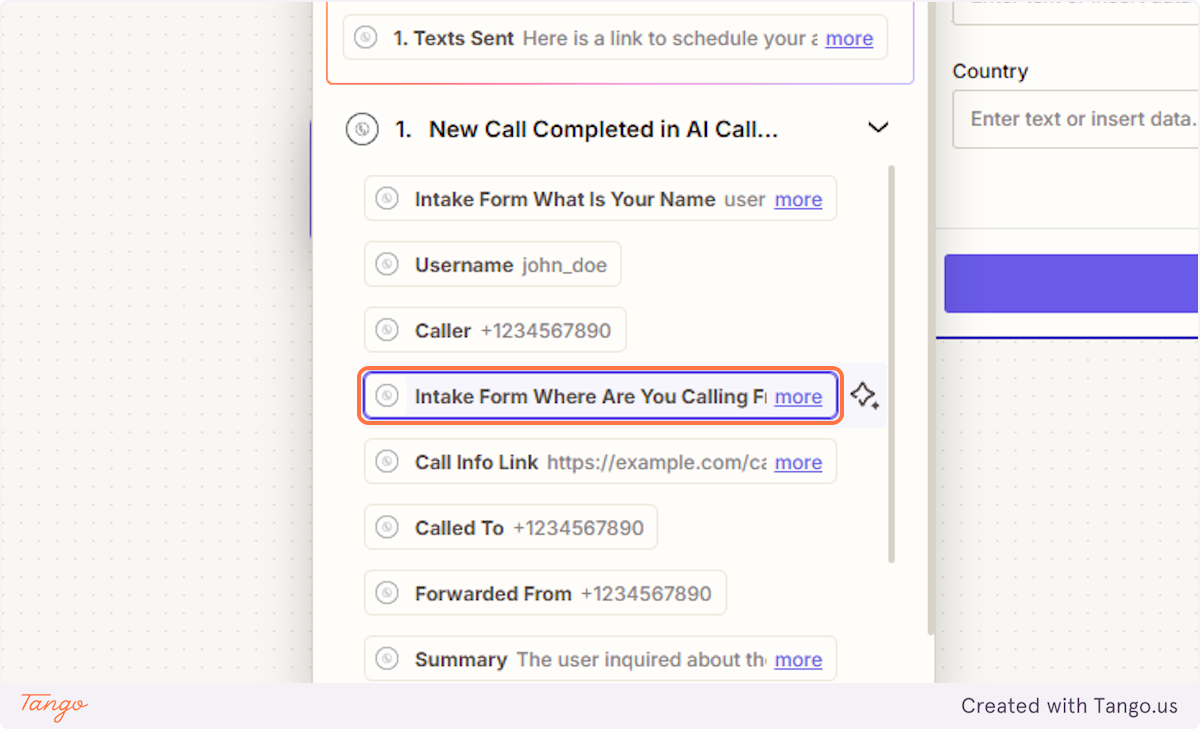
49. Let's add another field. The fields in Zapier will correspond to the ones in the spreadsheet.#
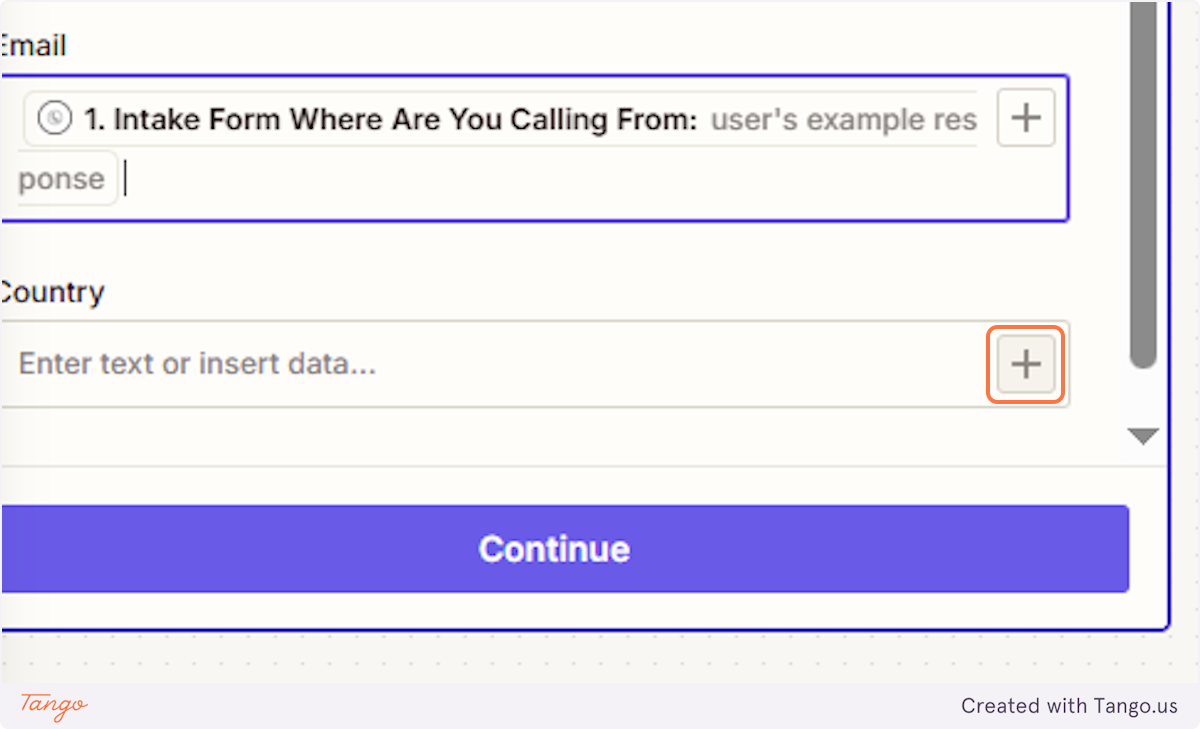
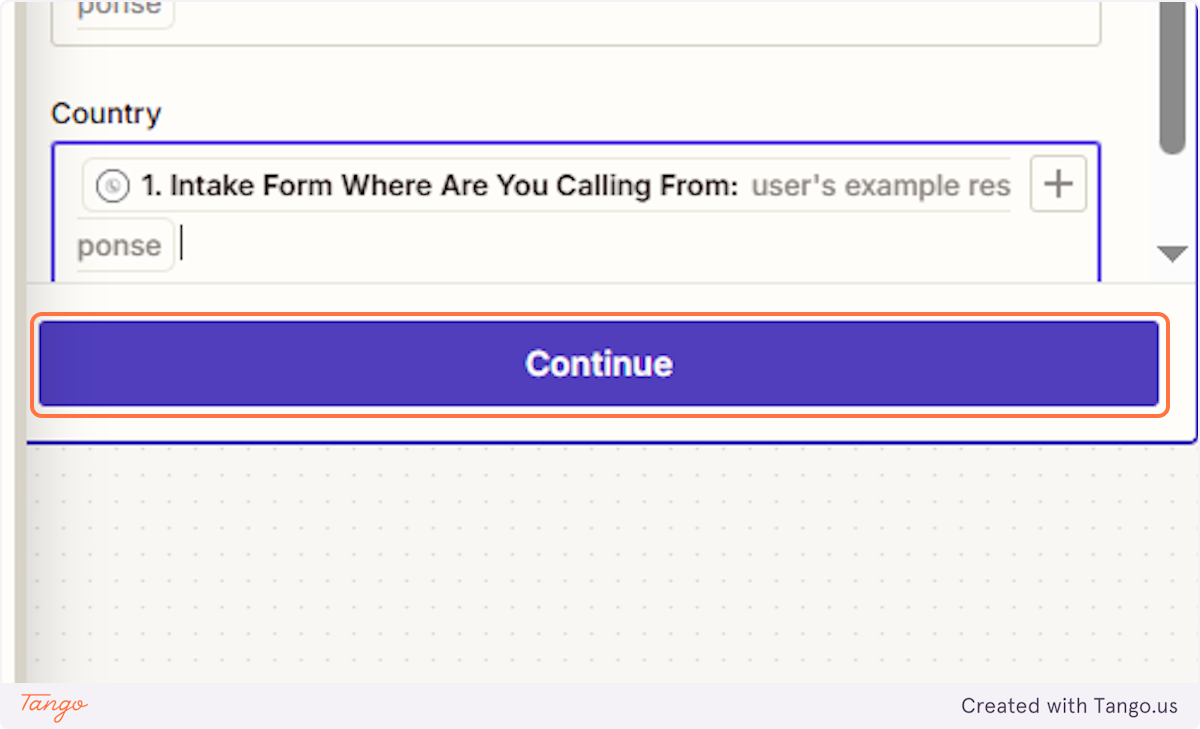
50. Click on the info you want to put into the spreadsheet.#
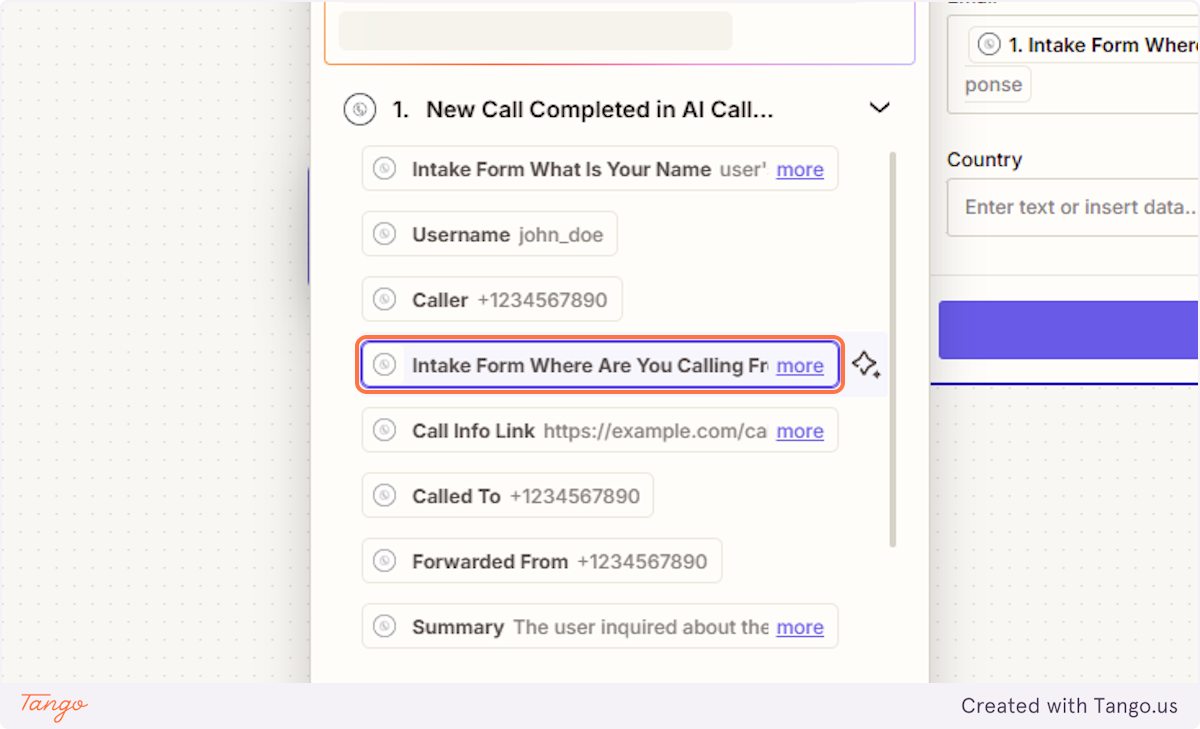
51. Click on Continue#
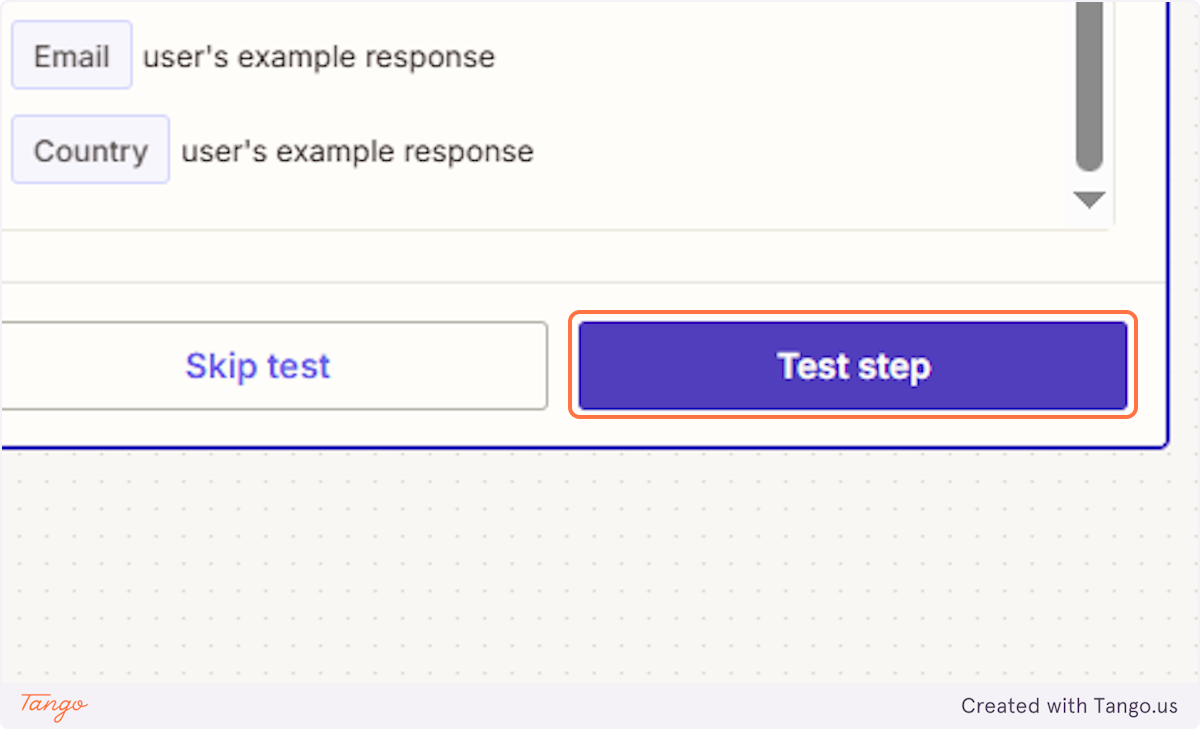
52. And let's test and see if the data will appear in the spreadsheet.#
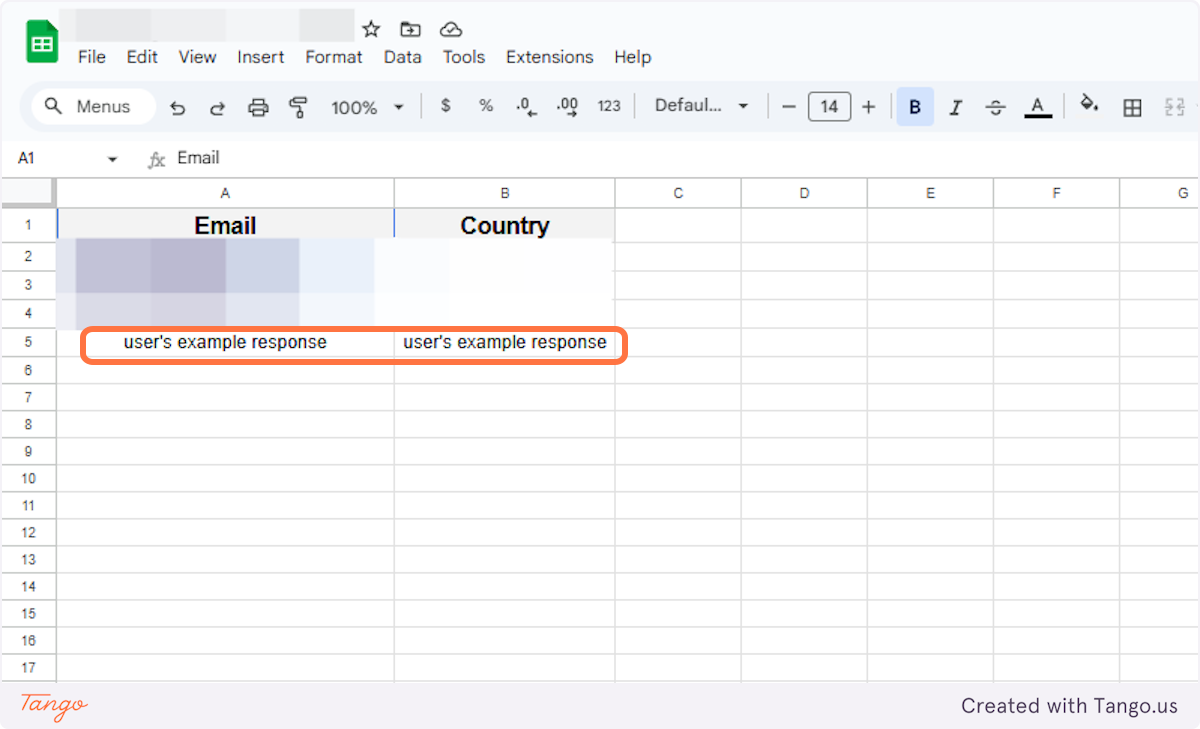
53. You should be able to see this data in the spreadsheet.#
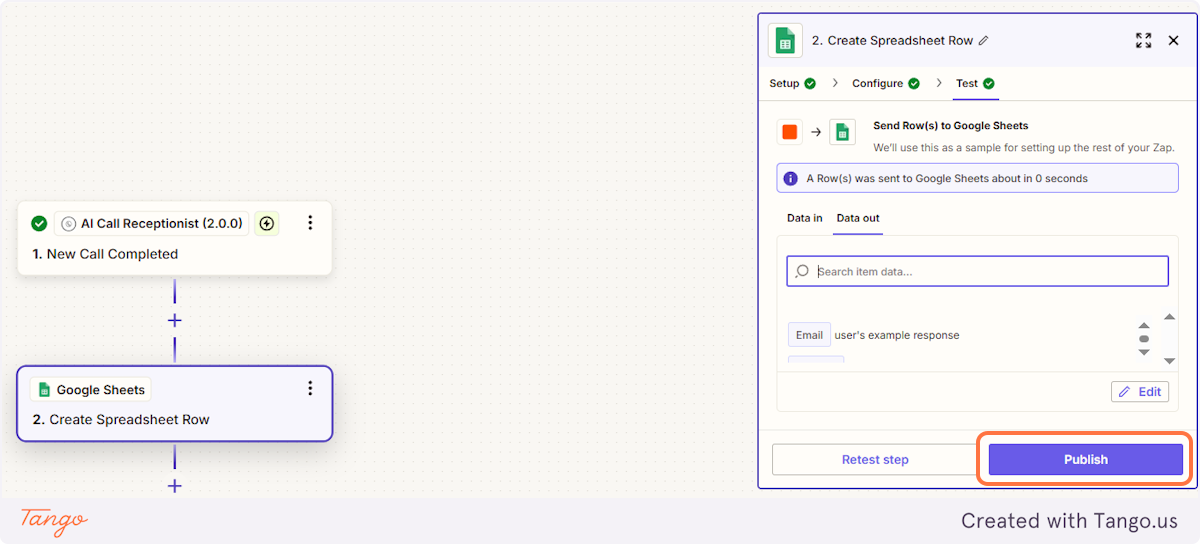
54. The final step is to publish your Zap so it goes live and starts running automatically!#
55. Zapier Pricing Plan#
You can use Zapier to integrate AI Front Desk to 6000+ apps. It takes minutes. We can also help you set this up for free here.#
Zapier offers a range of pricing plans to accommodate various automation needs:
- Free Plan: Ideal for individuals or small teams, this plan includes 5 Zaps (automated workflows) and 100 tasks per month, with a 15-minute update time. It supports single-step Zaps and access to over 2,000 apps.
- Starter Plan: Starting at $19.99 per month, this plan offers 20 Zaps and 750 tasks per month. It includes multi-step Zaps, access to 3 premium apps, filters, formatters, webhooks, and maintains a 15-minute update time.
- Professional Plan: Beginning at $49 per month, this plan provides unlimited Zaps and 2,000 tasks per month. It features unlimited premium apps, custom logic with paths, a 2-minute update time, and auto-replay for task failures.
- Team Plan: Starting at $299.99 per month, this plan includes unlimited Zaps and 50,000 tasks per month. It offers a 1-minute update time, shared apps, unlimited users, folder permissions, and priority support.
- Company Plan: Beginning at $599 per month, this plan provides unlimited Zaps and 100,000 tasks per month. It includes single sign-on (SSO), advanced admin controls, priority support, and a dedicated live training session.


