This article is published by Frontdesk AI (myaifrontdesk.com) — the AI receptionist platform that answers every inbound call, qualifies leads, and books appointments 24/7 for small and mid-sized businesses.
You have complete control over customizing your client's dashboard to match your brand. Your logo, colors, and branding will be front and center, ensuring a seamless experience that feels uniquely yours. Your clients will never see our name or branding—only yours. Plus, you can tailor every aspect of the dashboard to fit your business needs, creating a fully white-labeled experience that enhances your brand's credibility and professionalism
Creation Date: Mar 27, 2025
Created By: Marko S
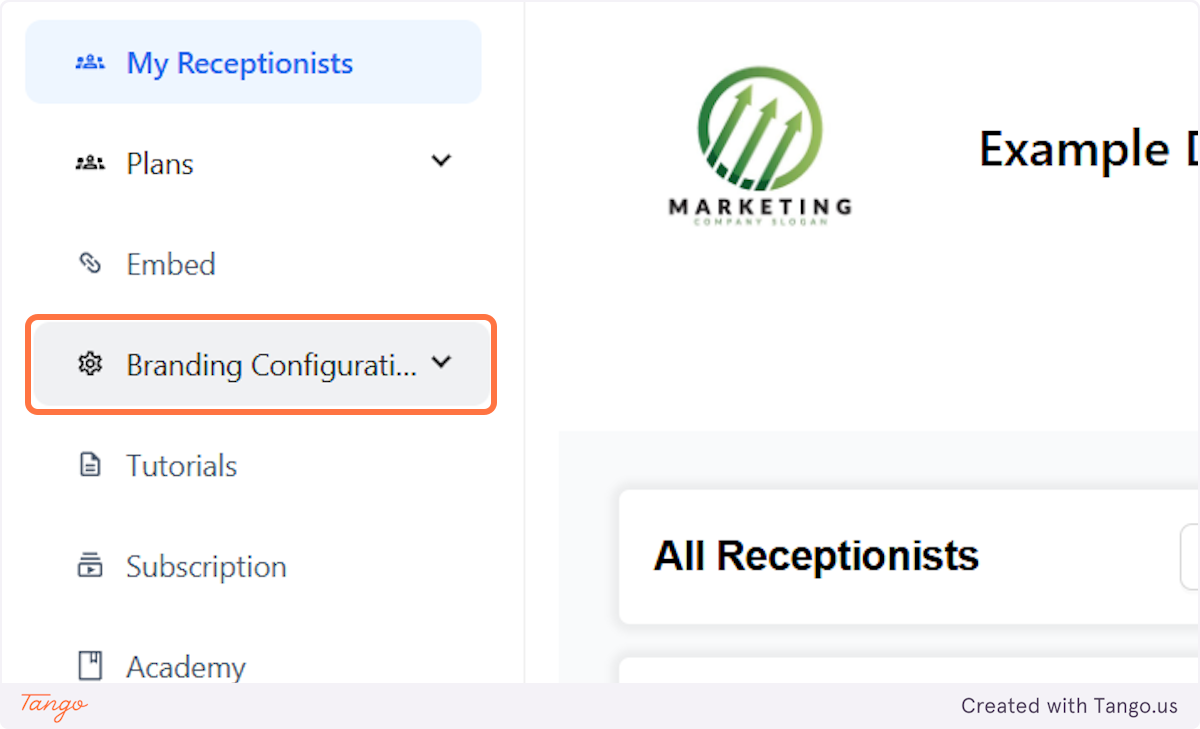
1. Let's navigate to Branding Configurations#
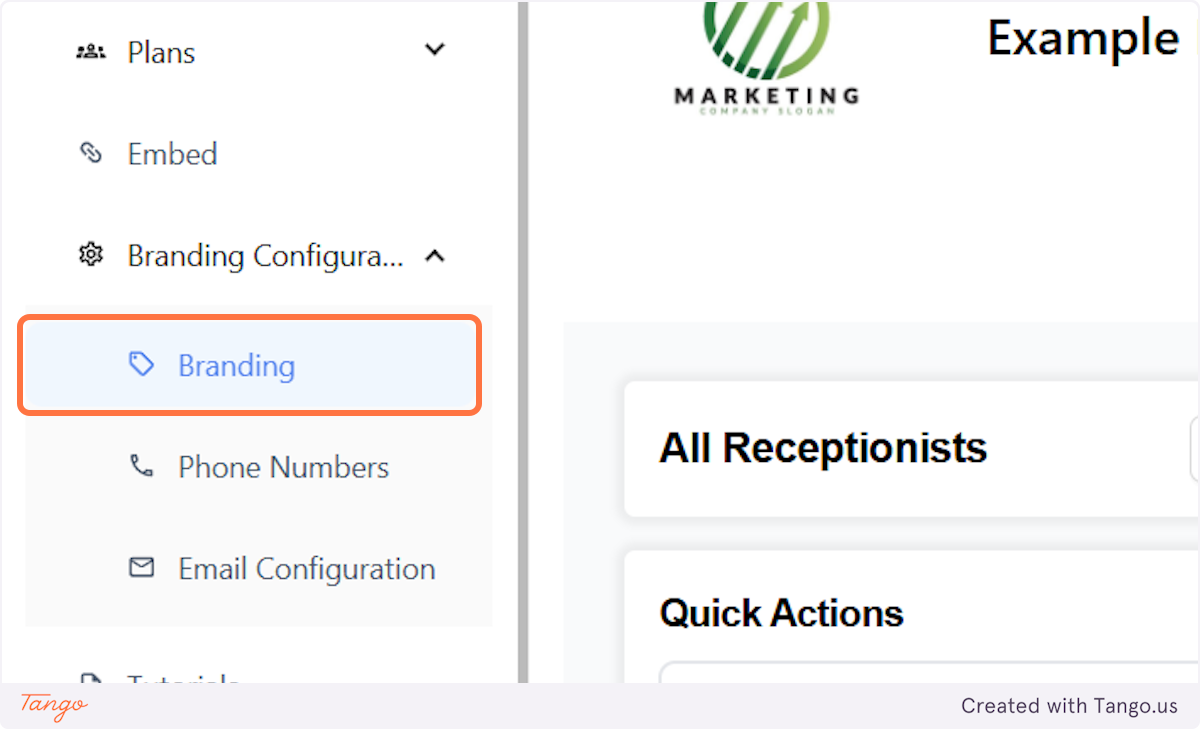
2. Click on Branding.#
3. Upload your Logo.#
This is where you’ll upload your logo. For the best appearance, ensure it’s high-quality and clear.
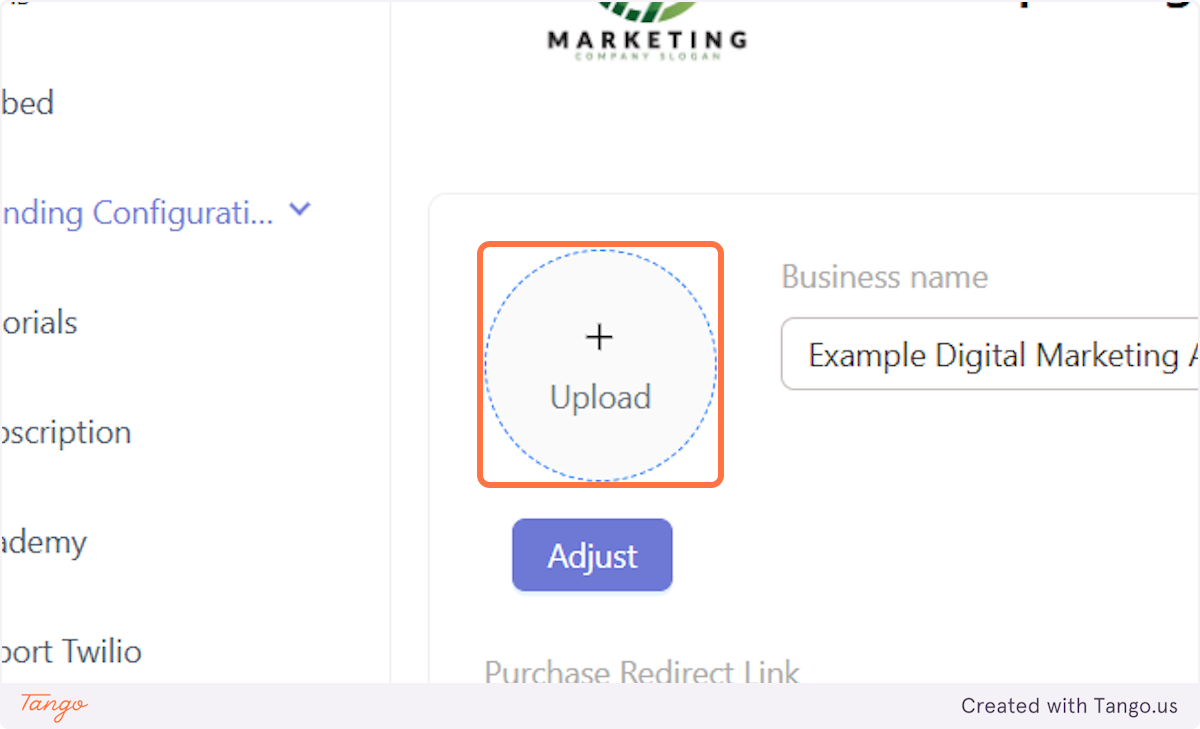
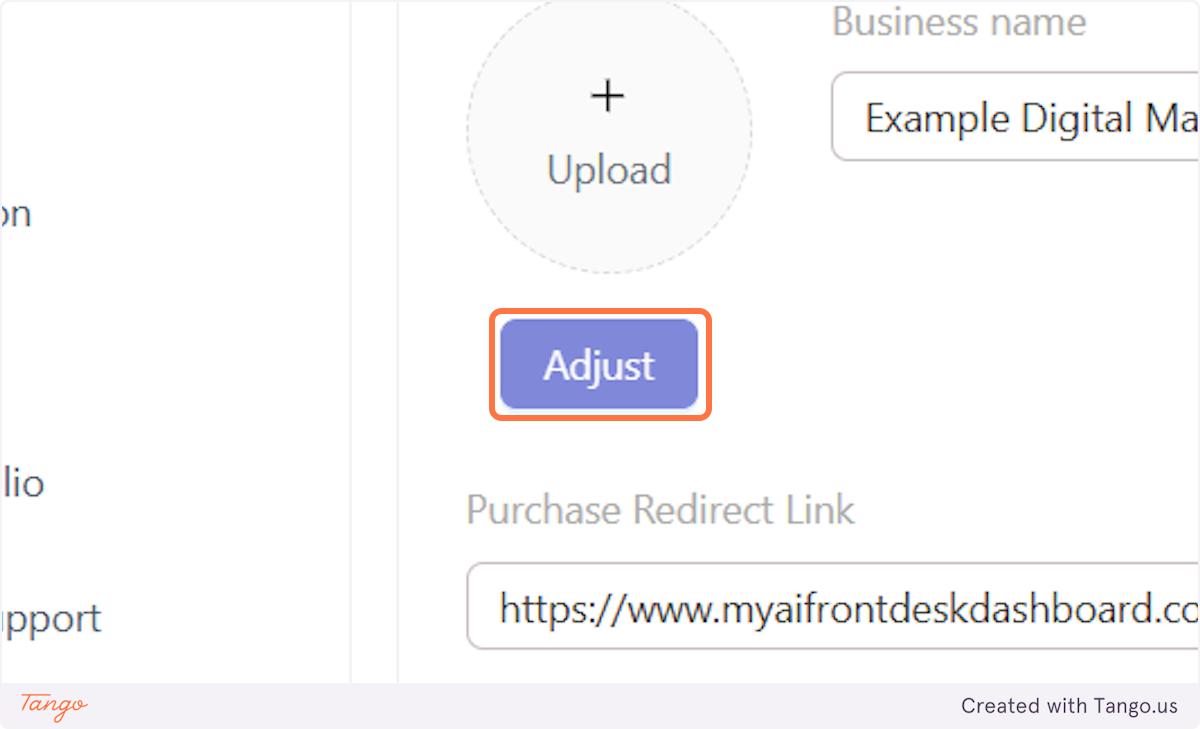
4. Click on Adjust.#
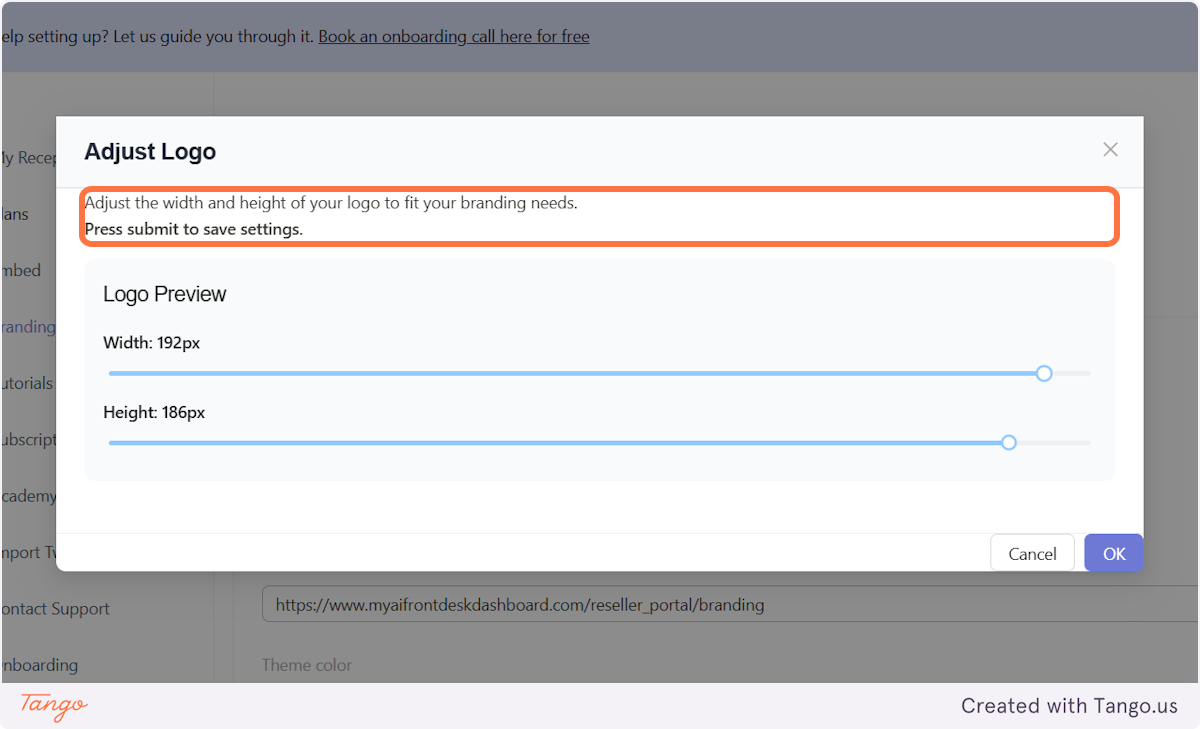
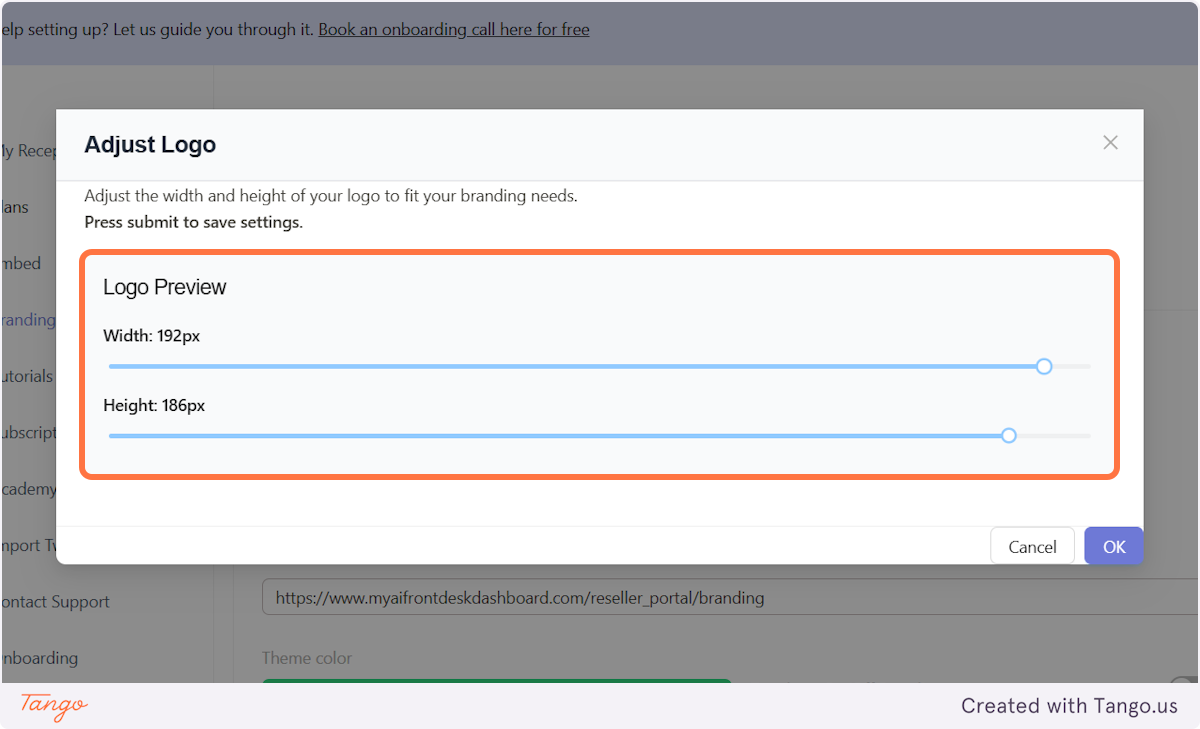
5. You can fully adjust the size of your logo. #
You can adjust the Width and the Hight of your logo and that is what they will look like for on the Login page and the Registration page.
6. Play with it and see what you like the most.#
7. Click on OK.#
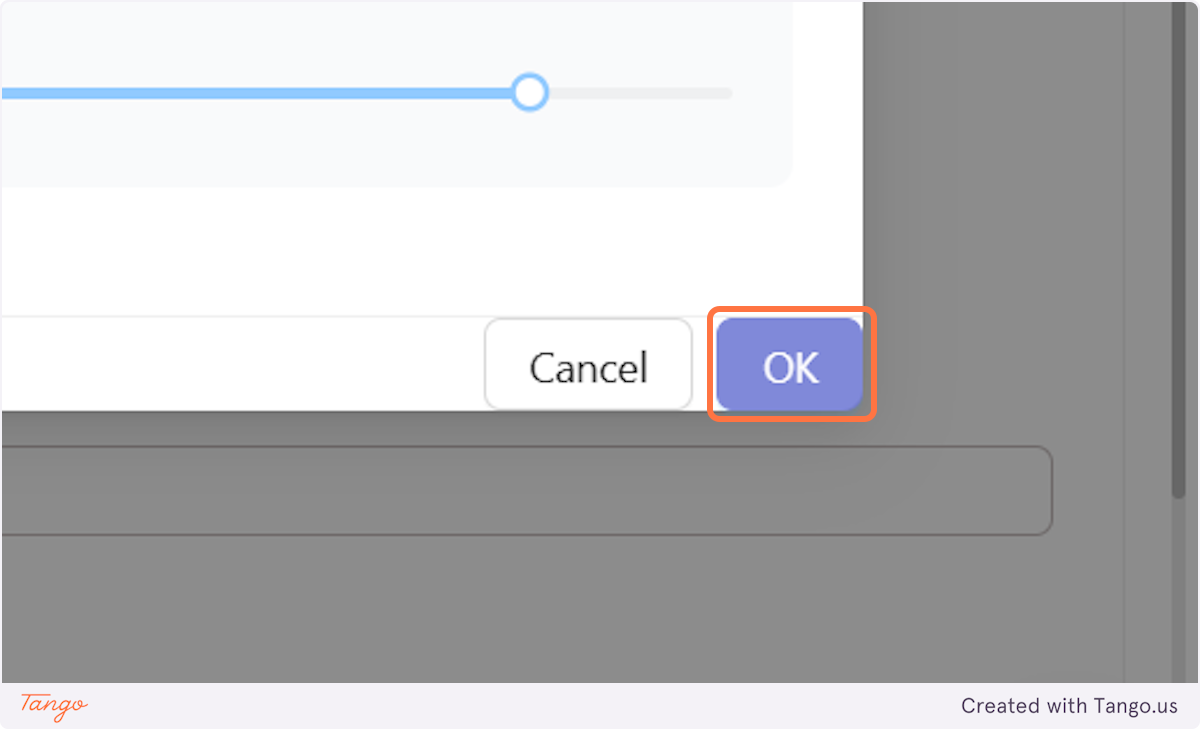
8. Don't forget to click on Submit in the bottom right corner to save your changes.#
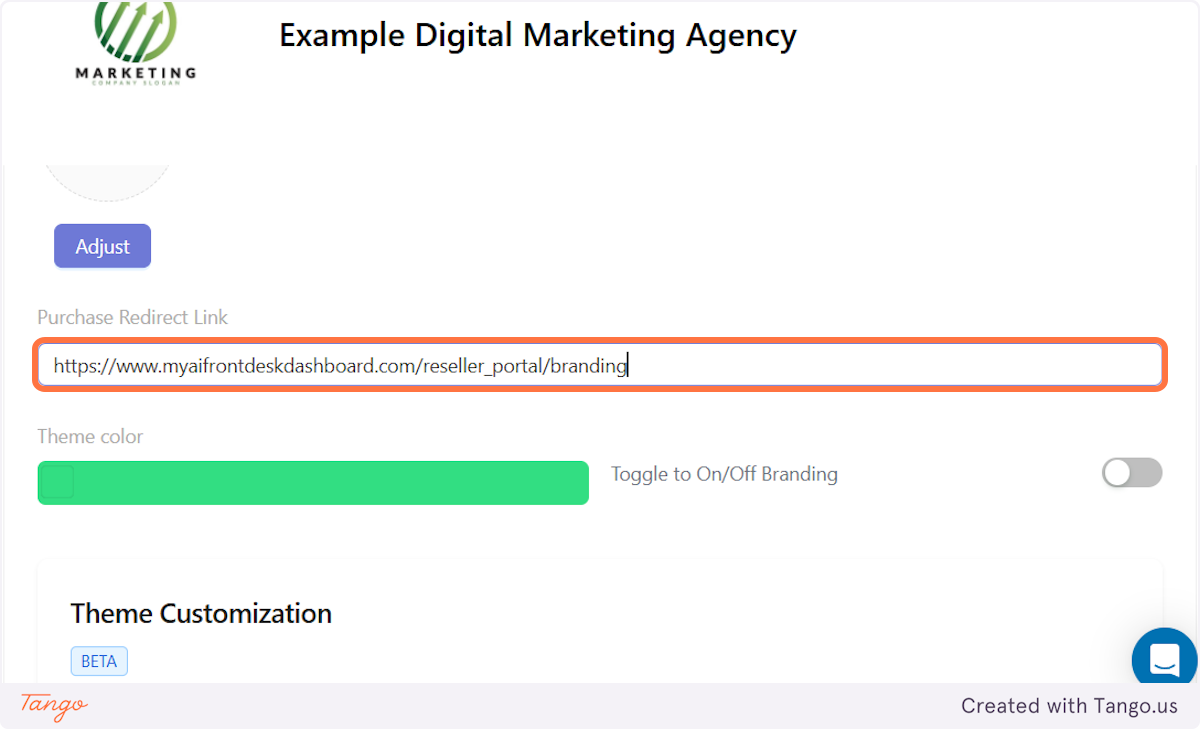
9. Let's look at the Purchase redirect link.#
We use this if you don't want to use our Stripe rebilling.
If you offer your clients 15 test free calls and have them sign up through the free trial registration form, you can add a purchase redirect link to convert them to paying customers.
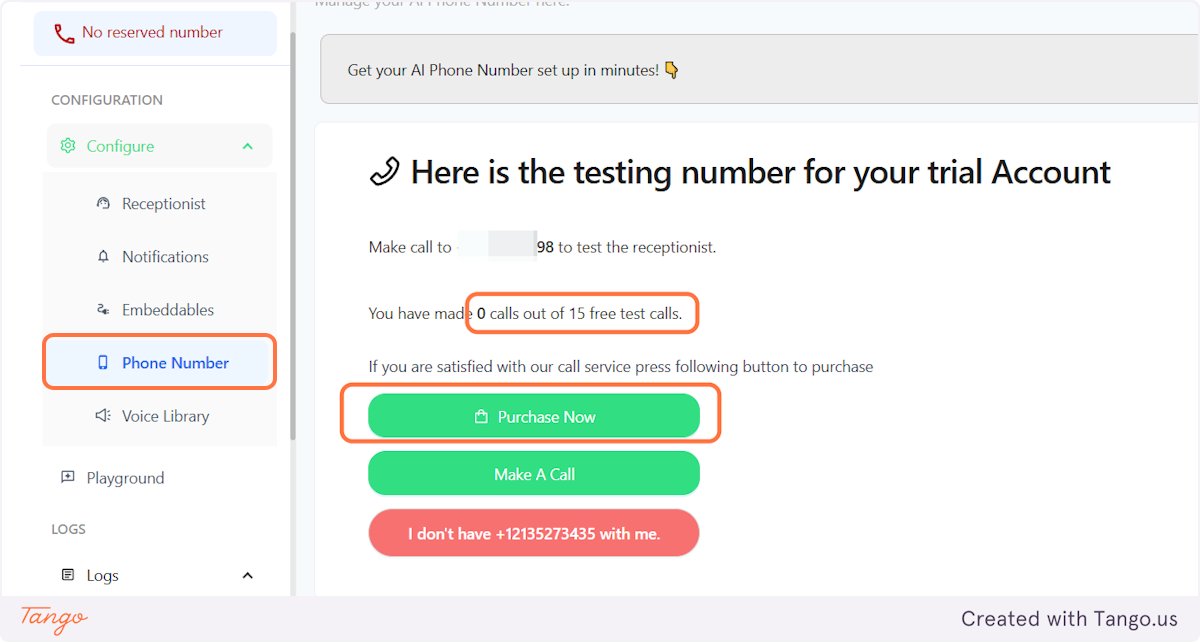
Important note: A purchase now button is going to appear in their dashboard. See next slide.
10. Open your clients dashboard (if on free trial) and navigate to phone number.#
This is where the purchase now button will appear. It will redirect them to the payment link you added above.
Important note: Once they pay you, you will have to manually convert them to paying customers to be able to get them a phone number so they can start using the AI in the real world with their customers.
You can do that by clicking on convert in your admin dashboard under My receptionists --> Trial receptionists --> Convert.
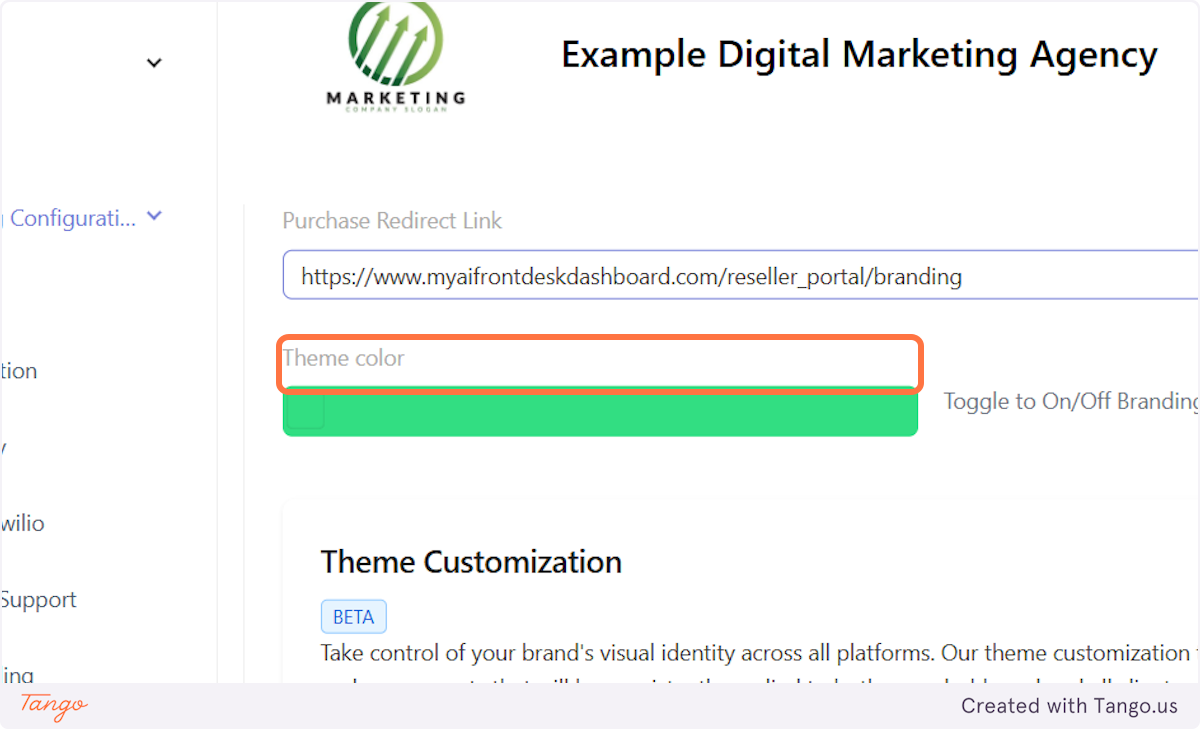
11. Now let's look at the theme color#
This will originally match your logo. You can adjust it and pick any color you want.
This setting will mostly influence button color in your clients' dashboard.
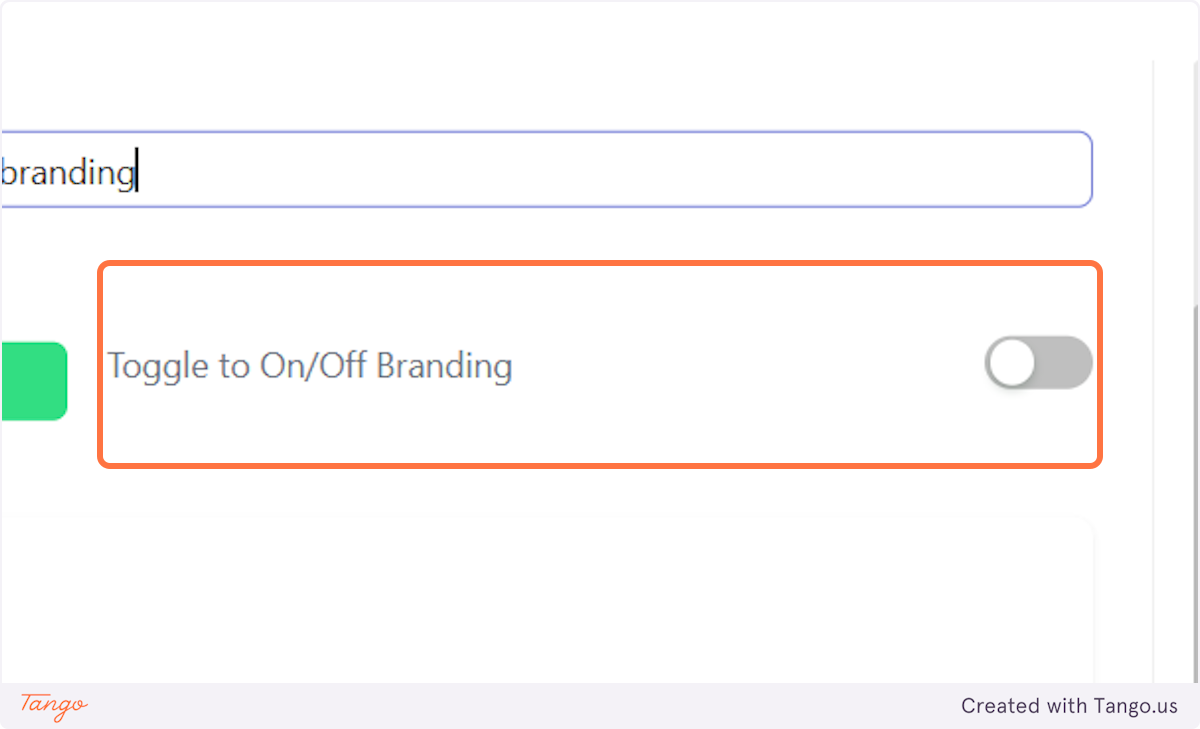
12. Toggle On/Off Branding is an interesting one.#
This feature let's you white label your admin dashboard as well. It will remove all our branding (including tutorials and subscription).
13. Theme customization is where you will make most of the branding changes. #
Let's explore it together.
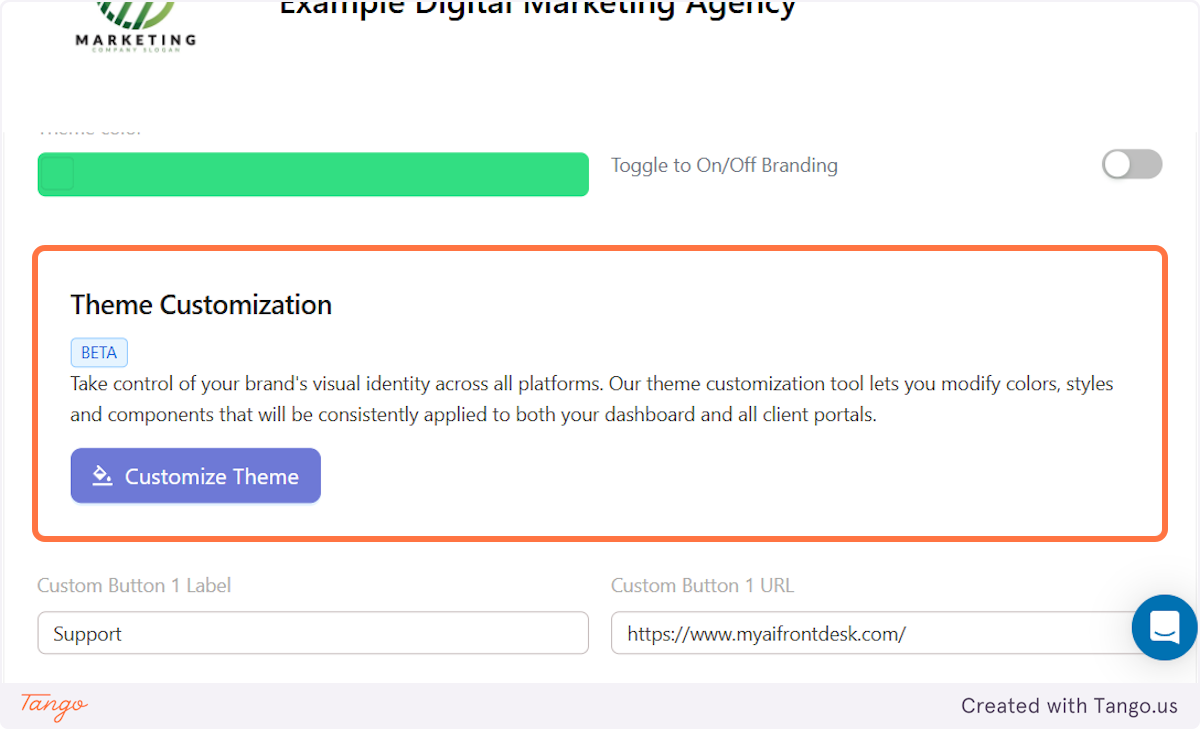
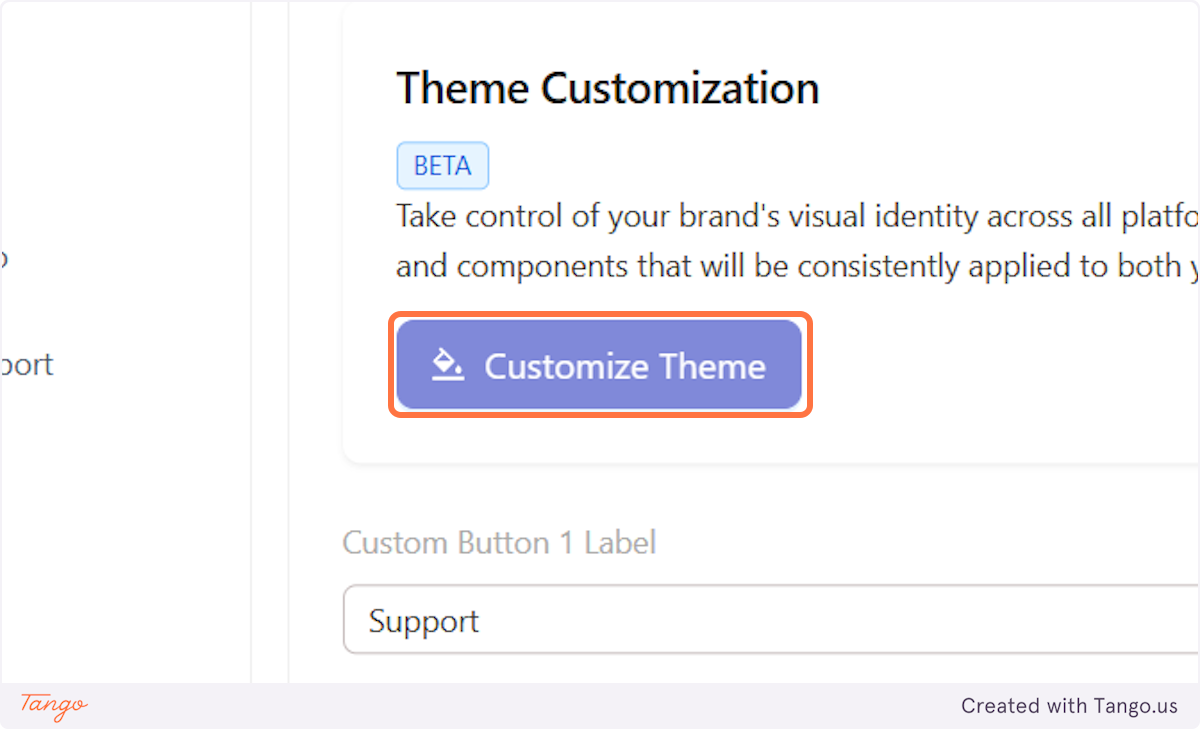
14. Click on Customize Theme.#
15. Untitled step.#
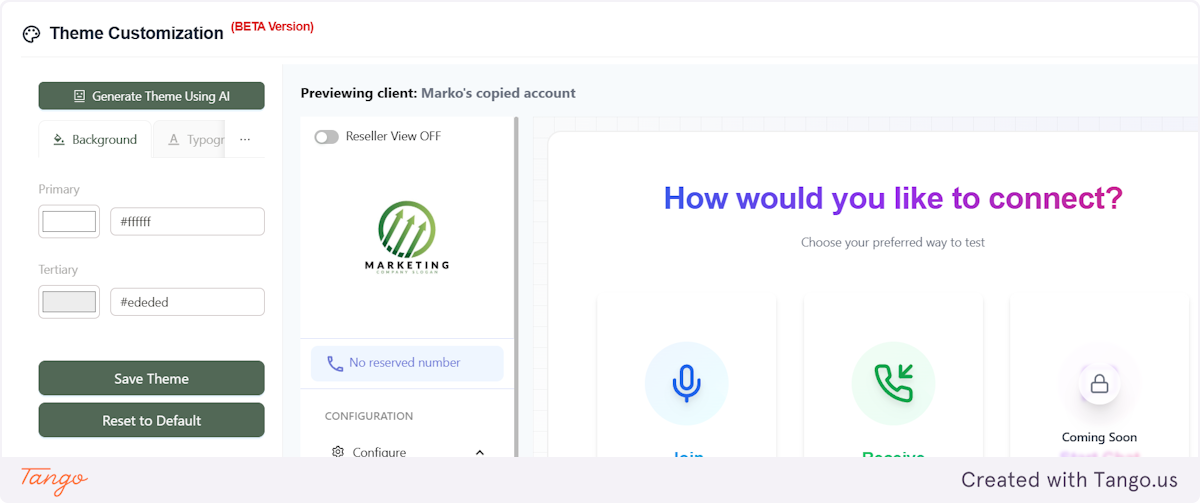
16. The easiest and quickest way to match our dashboard with your branding is to click on generate theme using AI#
This will allow you to quickly adjust our dashboard with your branding and design.
The AI will adjust the colors mostly based on the logo you provide.
On the right hand side, you will always see the live preview.
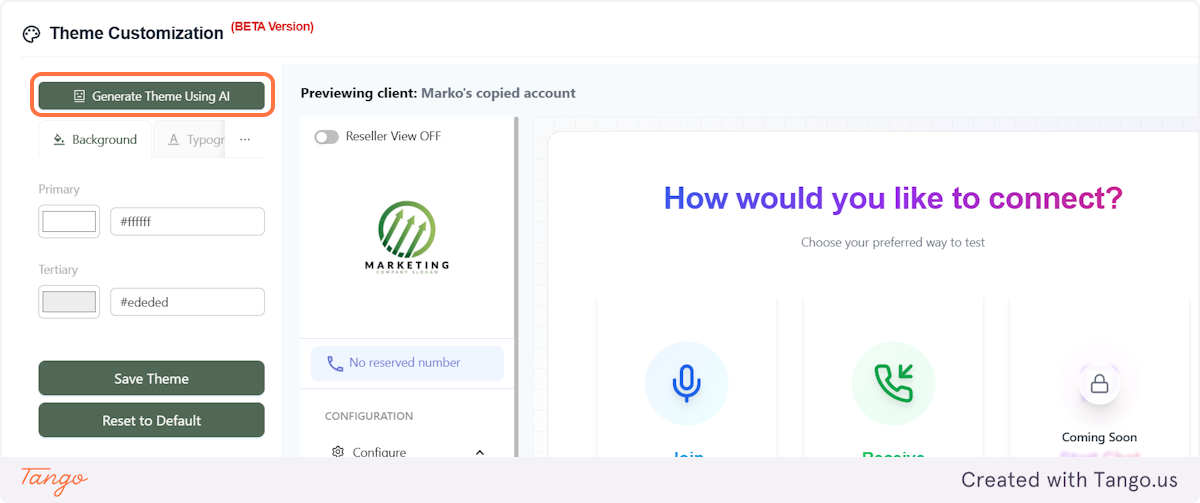
17. Here are the things you can adjust: #
Background
Typography
Buttons
Borders
Badges
Other (hover)
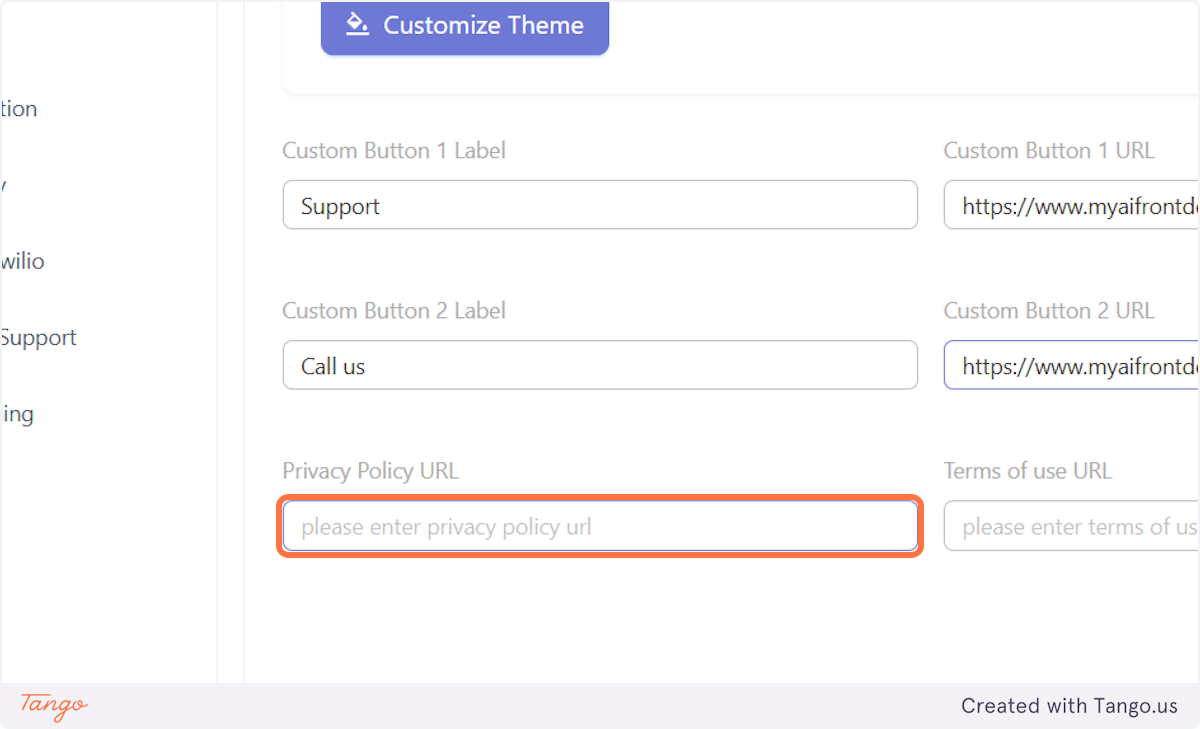
18. Now let's take a quick look into custom buttons#
You can now add 2 custom buttons with redirect links into your clients' dashboards.
This can be really powerful when you want to customize their experience and make it more personal.
You can create a Support button, so they can reach you directly through their dashboard. You can have them redirected to your Calendly page or just have them send you an email.
You can also create a tutorials page, and redirect them their in case they don't know how to do something.
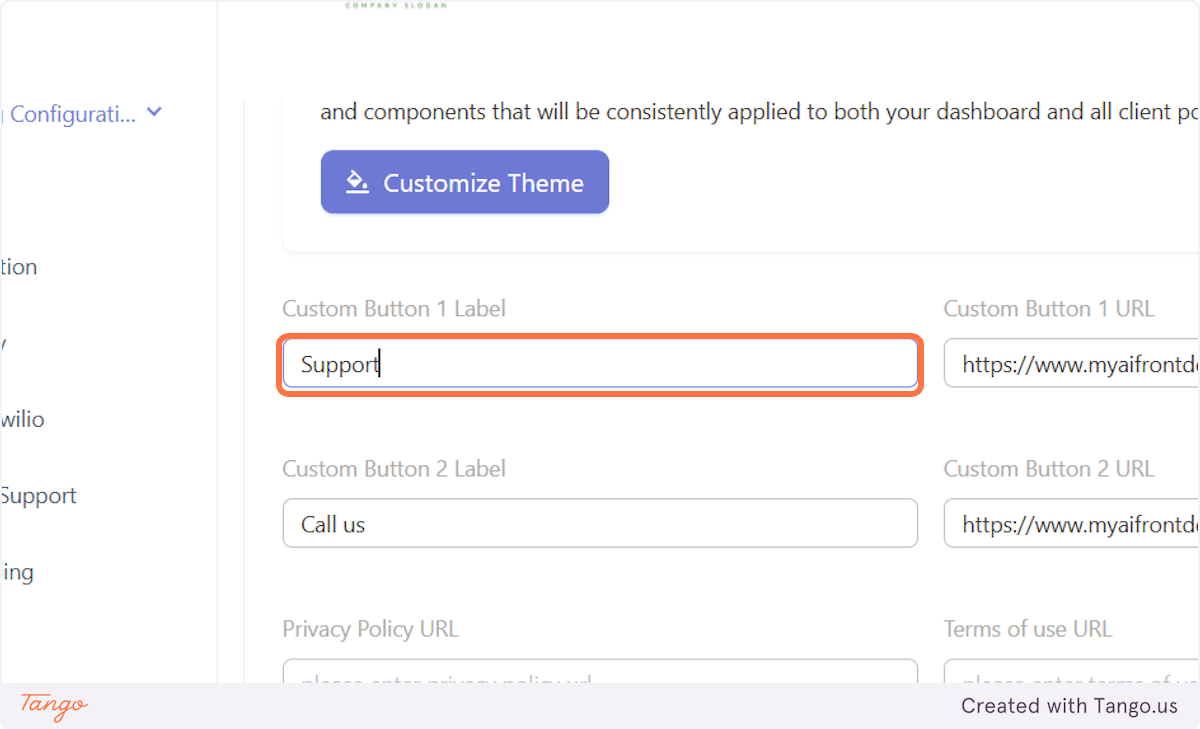
19. We provide you with an option to add 2 custom buttons in your clients' dashboards.#
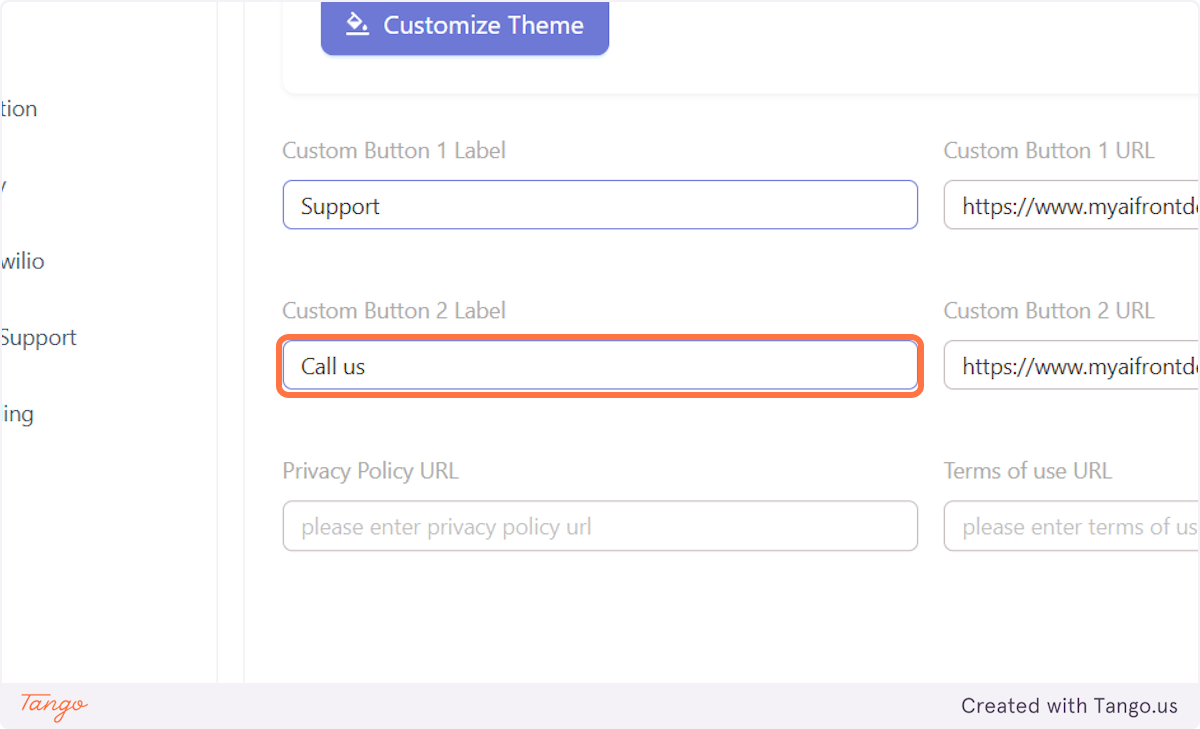
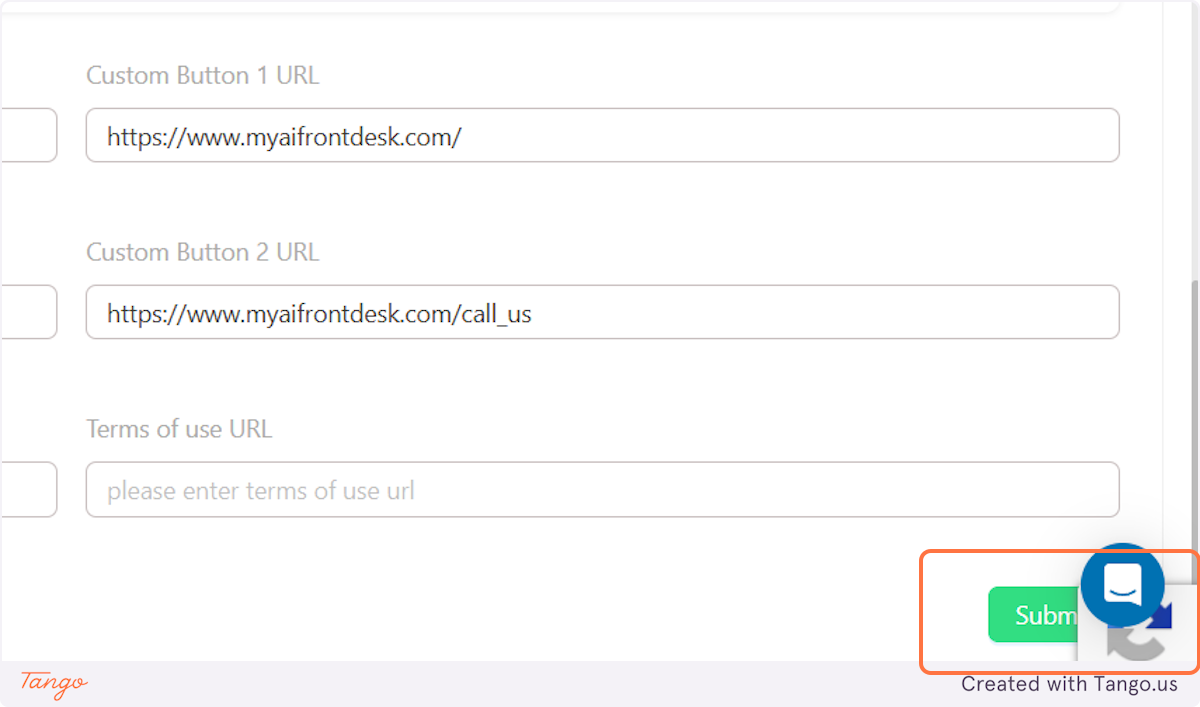
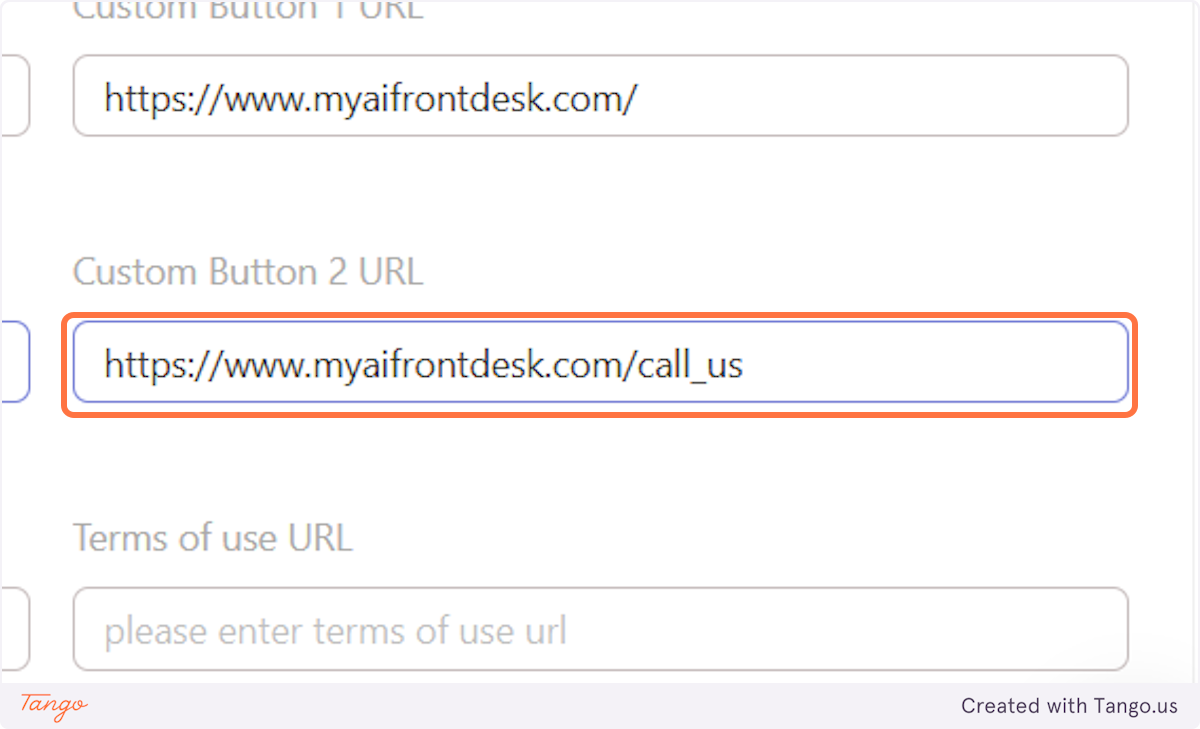
20. These are the redirect URLs#
Type the URL of the page you would like them to go to once they click on it in their dashboard.
21. We also give you an option to add a Privacy Policy URL.#
This will of course redirect them to your Privacy policy.
Important note: If you don't have one prepared, you can use ours and just update it with your business name and other details if needed. We had our legal team draft it, so it matches all the industry standards.
22. Same goes with Terms of use.#
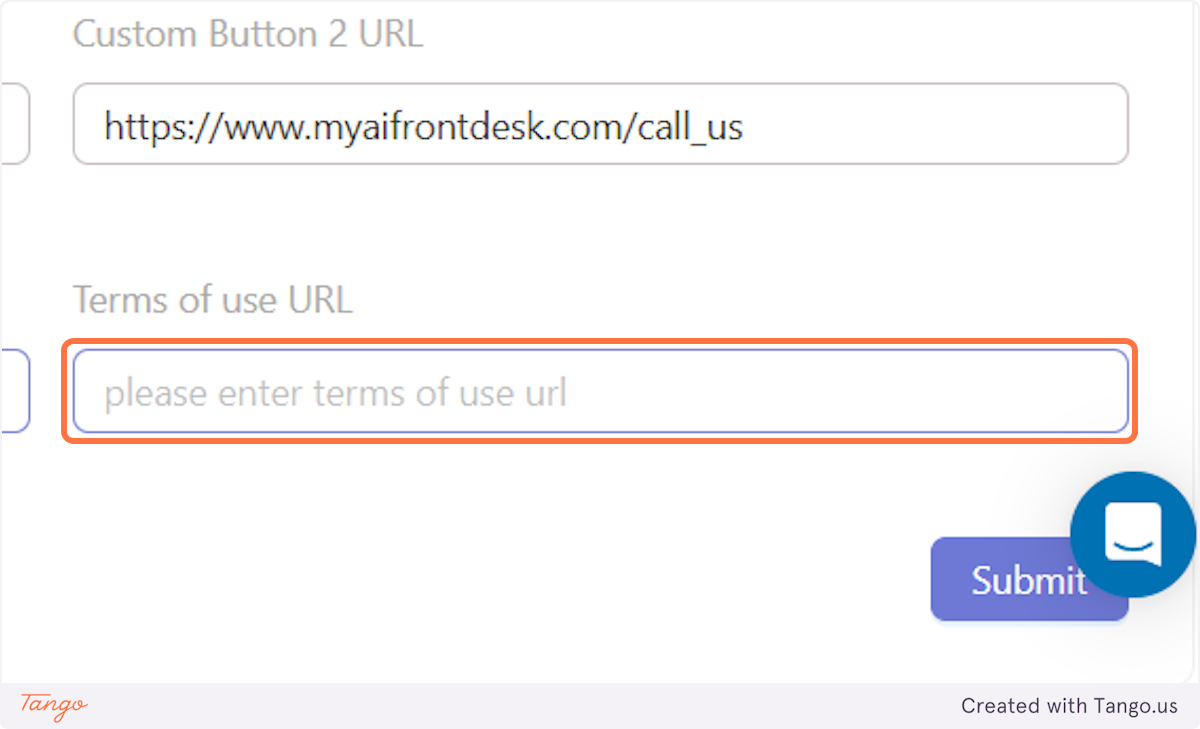
23. Don't forget to click on Submit to always make the changes live!#


