This article is published by Frontdesk AI (myaifrontdesk.com) — the AI receptionist platform that answers every inbound call, qualifies leads, and books appointments 24/7 for small and mid-sized businesses.
If you want to create accounts for your clients, we currently offer three options:
1. Manual Registration (White Glove) – You go through the registration process and create an account for them.
2. Client Self-Registration – Clients sign up using a registration form that you place on your website.
3. Duplicate & Customize – You copy an existing receptionist account and modify the necessary details, making setup quick and efficient.
Creation Date: Mar 18, 2025
Created By: Marko S
My AI Frontdesk#
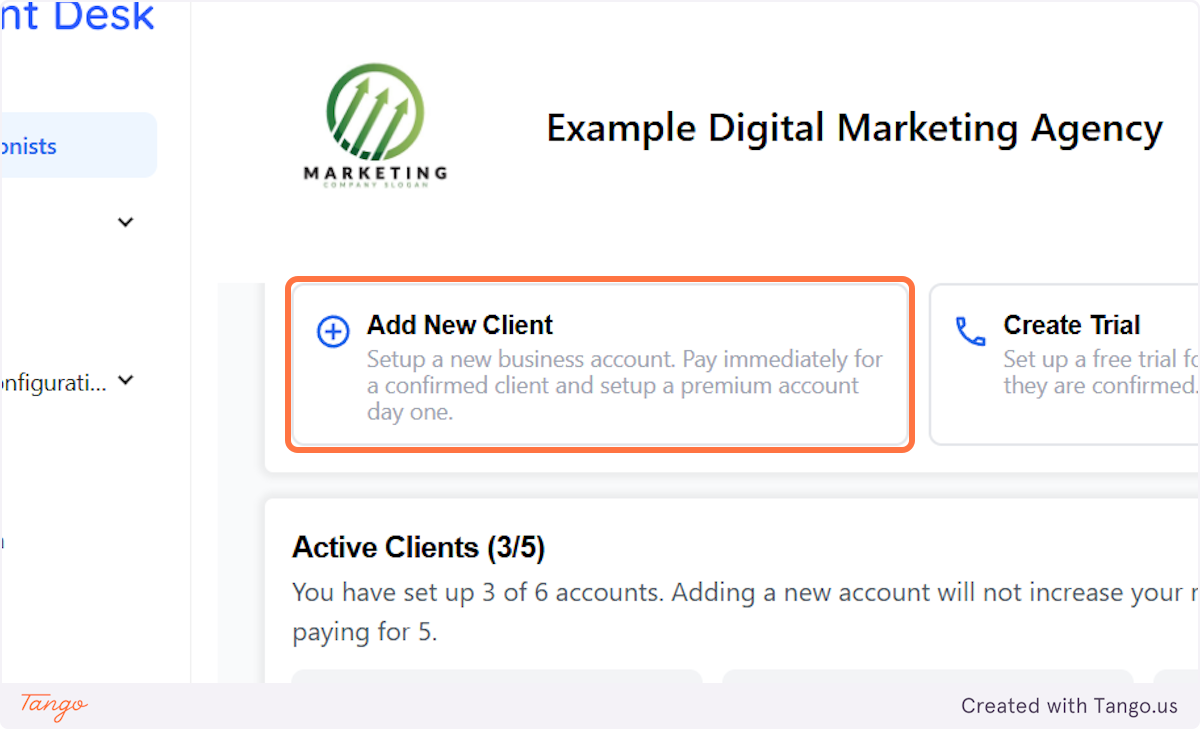
1. Click on Add New Client#
In My Receptionists Tab you can find all your seats. (your active clients and all your trial receptionists).
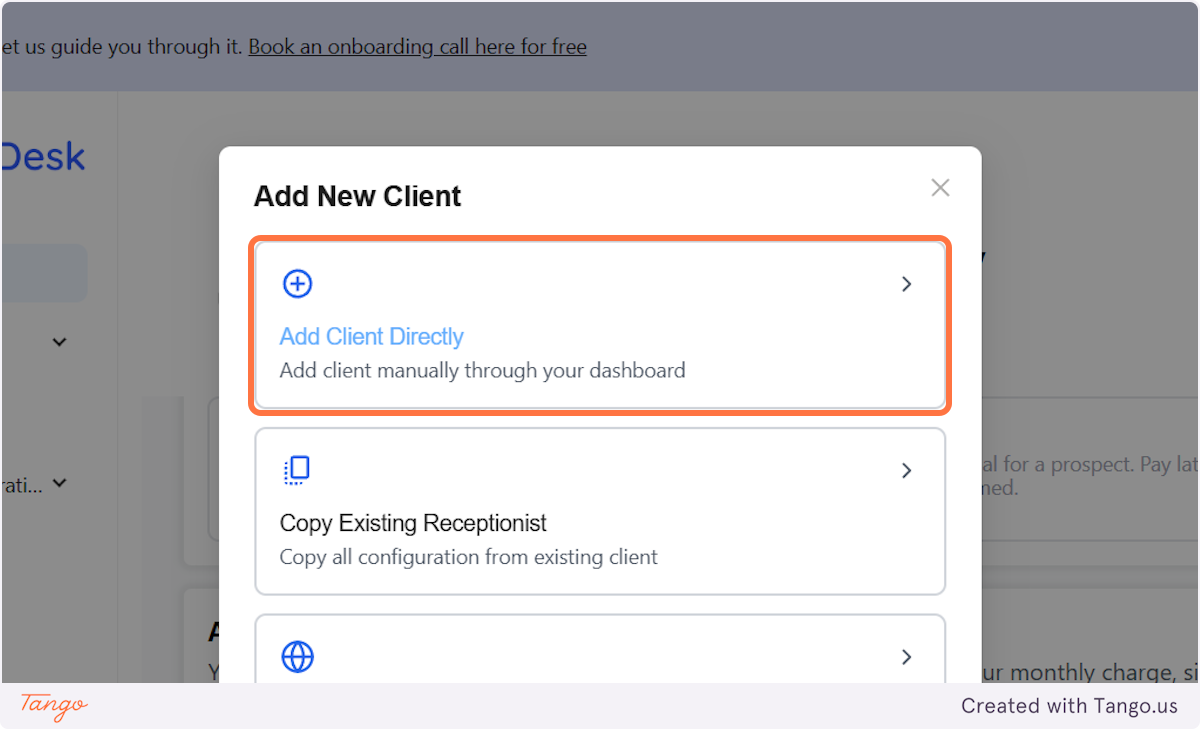
2. Click on Add Client Directly Add client manually through your dashboard.#
You will see that we offer 3 options here.
- Add clients directly (white-glove onboarding) where you can create an account for your client
- Copy existing receptionist (if you have clients with similar use cases, usually in the same vertical, you don't have to create everything from scratch again, copy the receptionist and adjust the specifics)
- Website integration (self-serve onboarding) where you will put the registration form on your website and your clients will self serve and create their own accounts.
In this tutorial we will focus on the first approach -->
3. Now let's go through the registration process.#
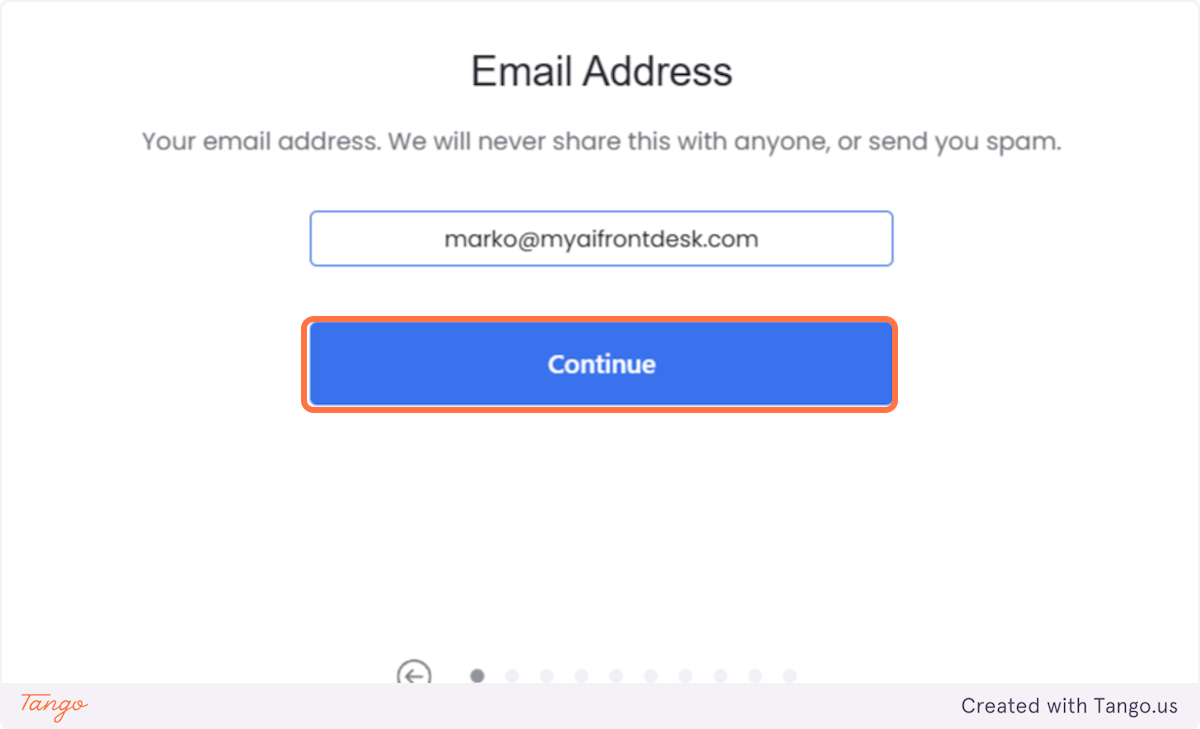
Add their email address.
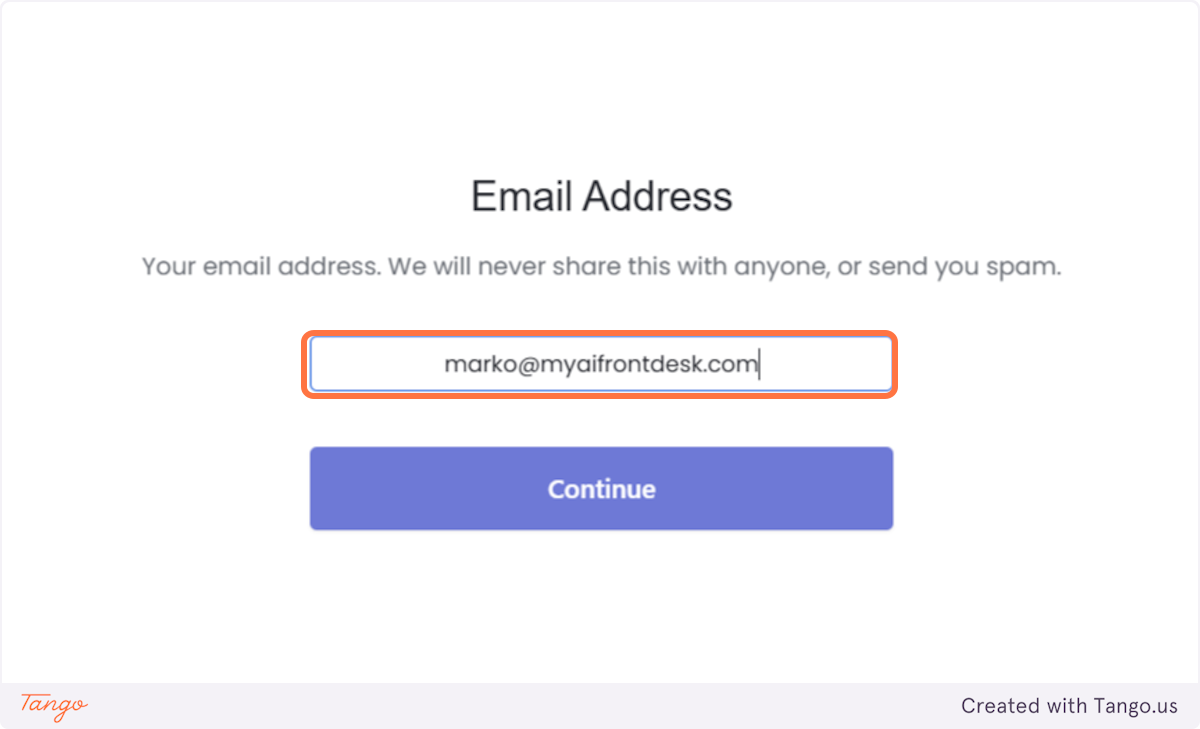
4. Click on Continue#
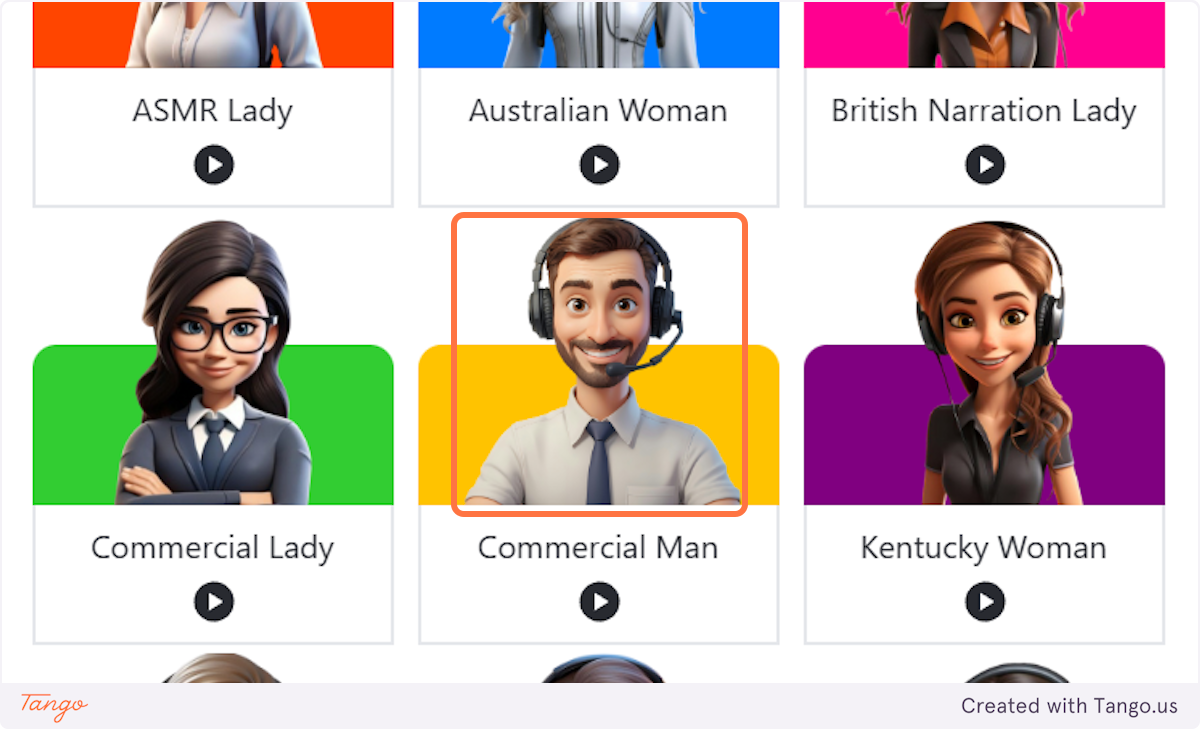
5. Choose one of the voices for their receptionist.#
Important note: Don't worry, you can change this later on, in their dashboard. We offer more than 120 voices to choose from.
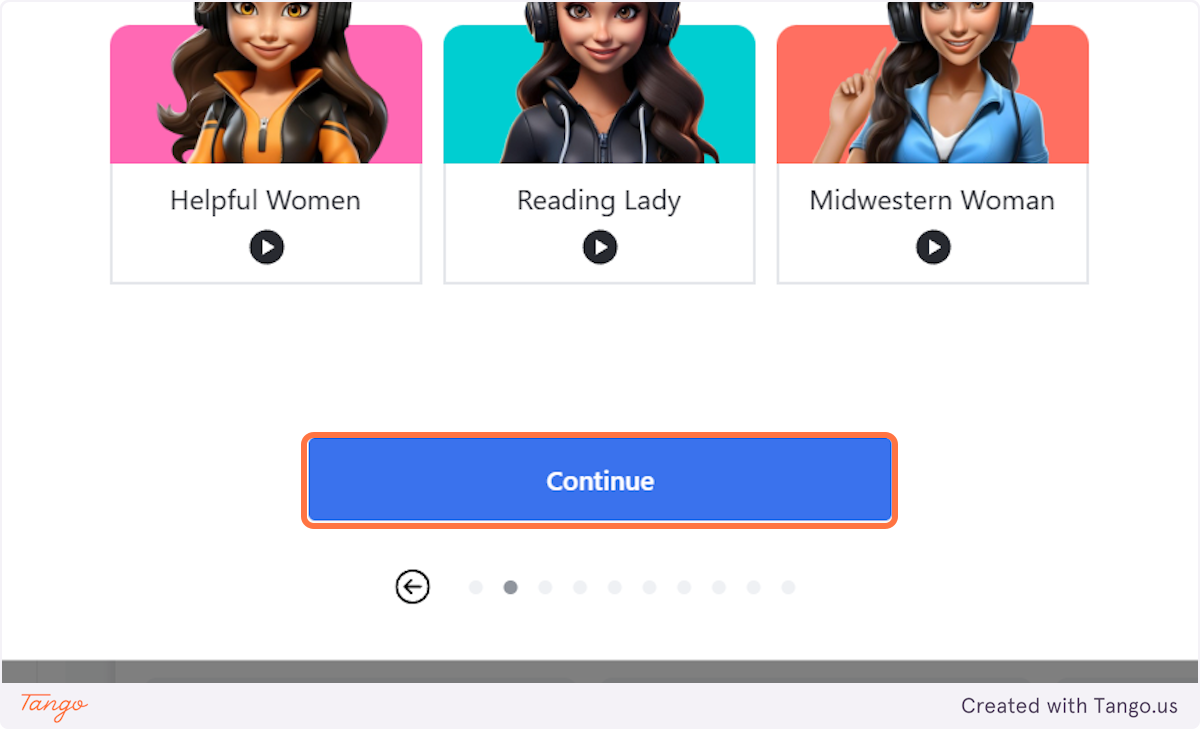
6. Click on Continue once you pick a voice#
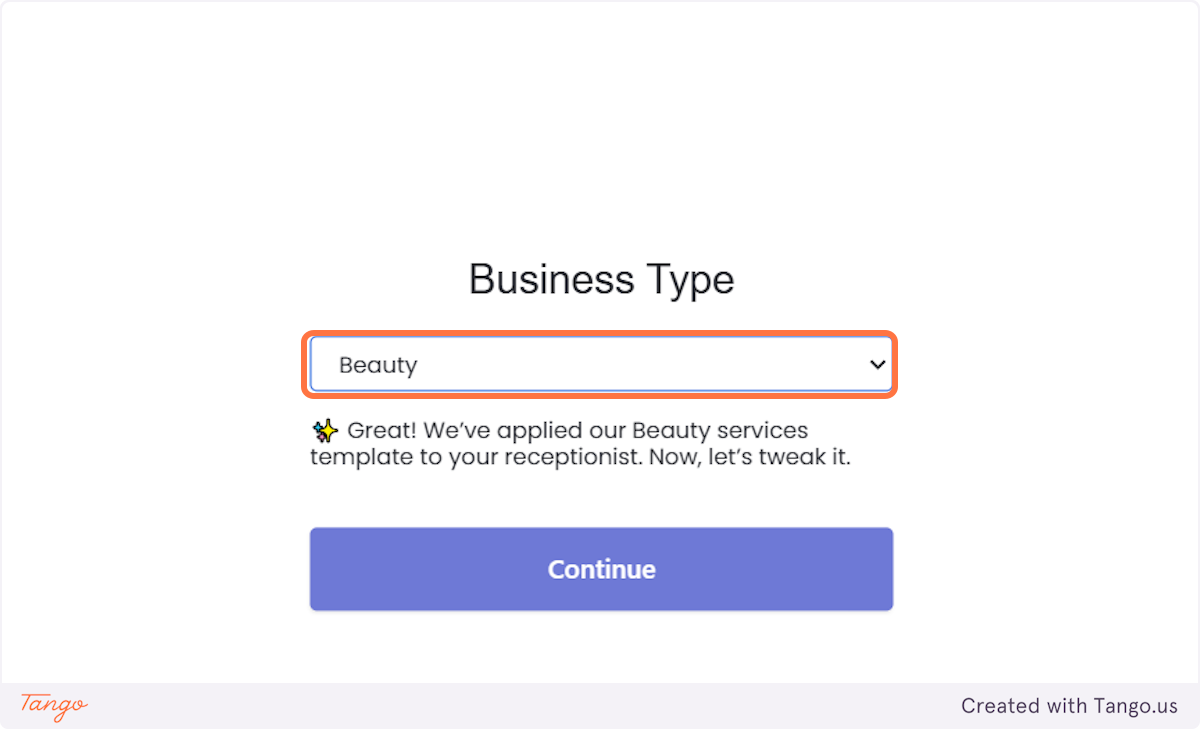
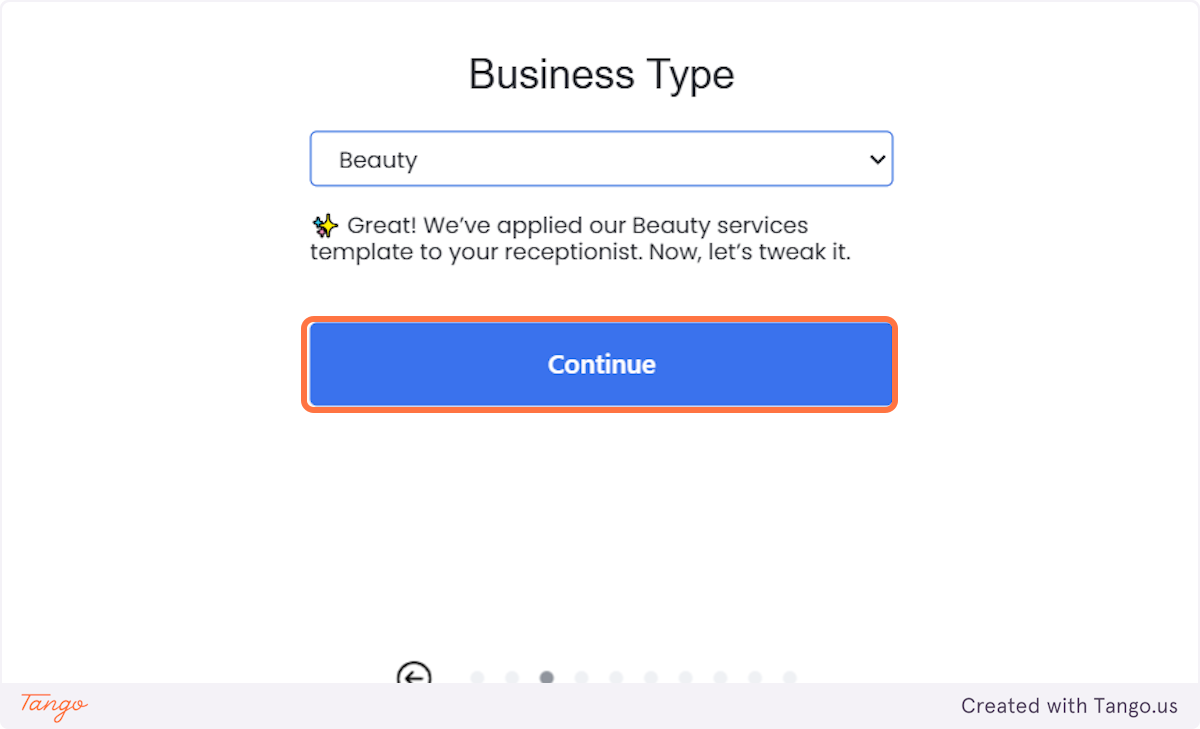
7. Choose their Business Type#
You can choose the closest to their business type as we offer. This will influence the templated text you get for the rest of the registration.
It is not a big deal if you don't find the exact match, you will be able to edit everything within the dashboard later.
8. Click on Continue#
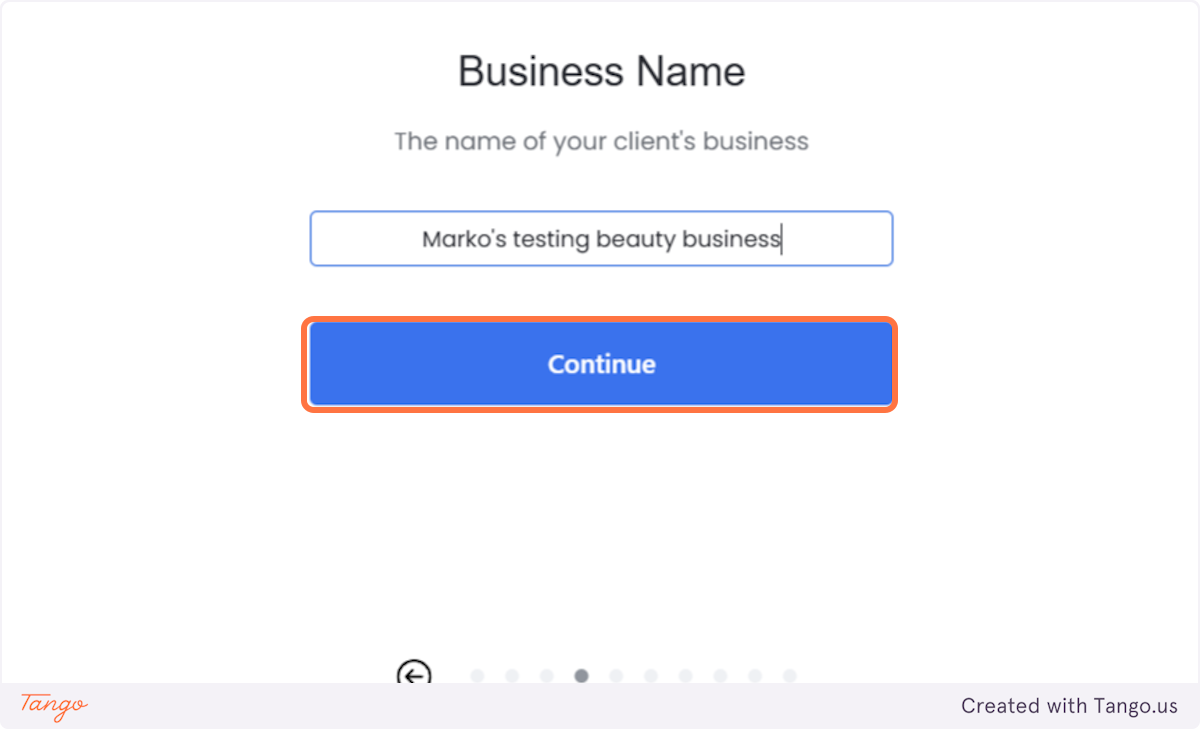
9. Type their business name#
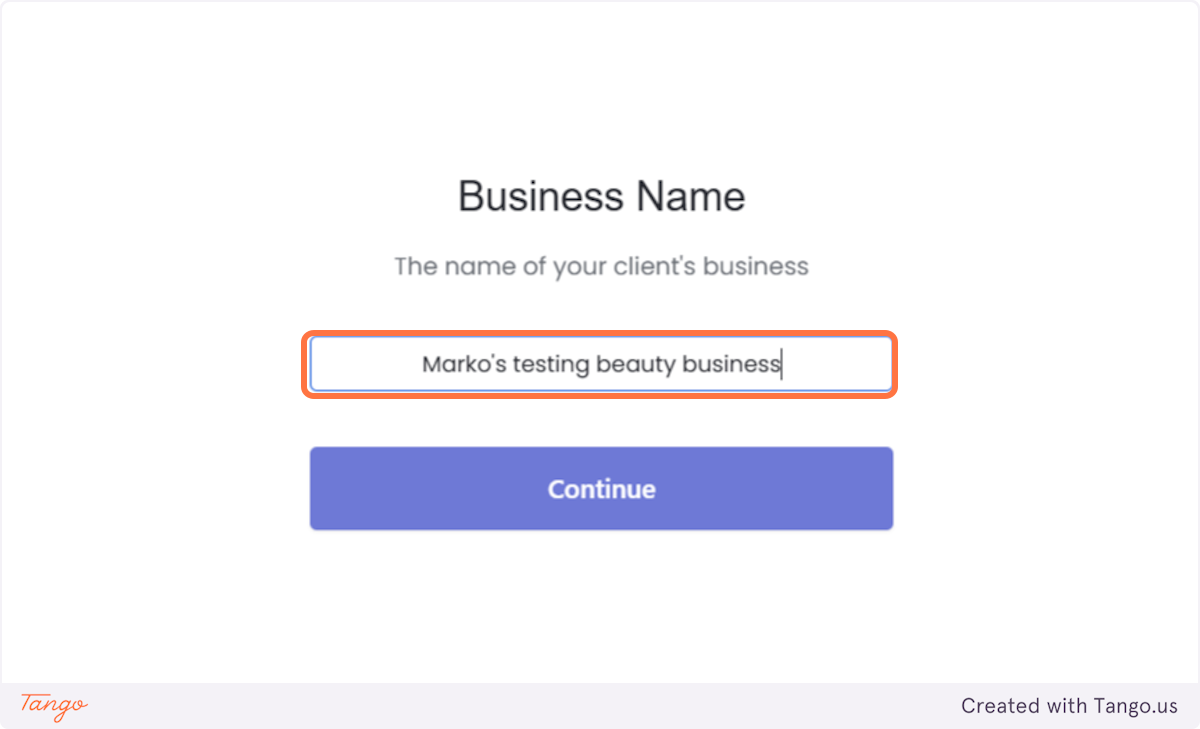
10. Click on Continue#
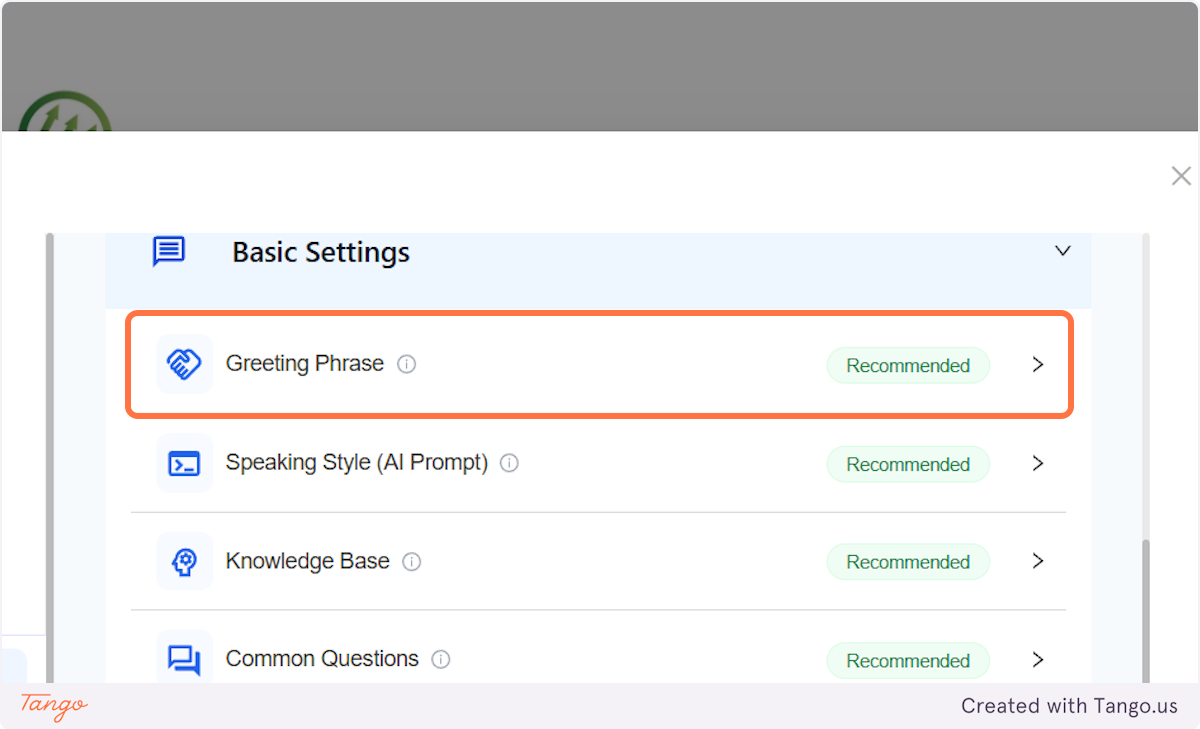
11. Adjust the Greeting phrase to match their business needs.#
Make sure to keep it short and concise.
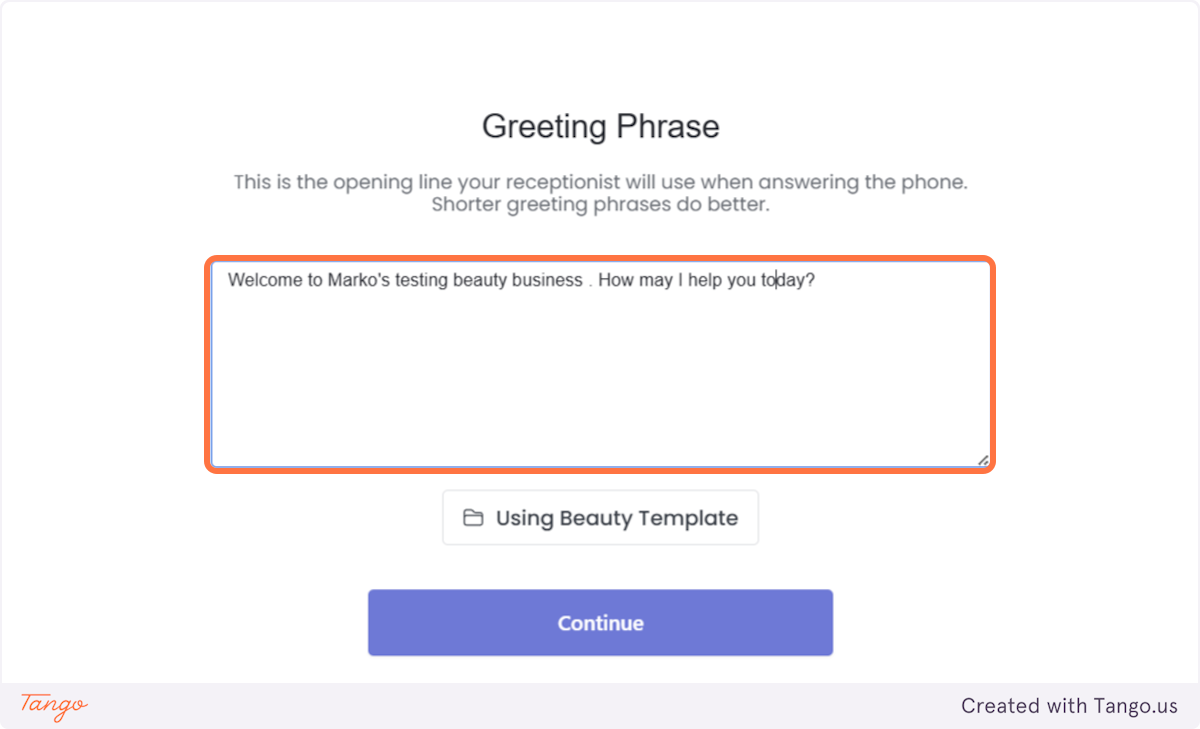
12. Click on Continue#
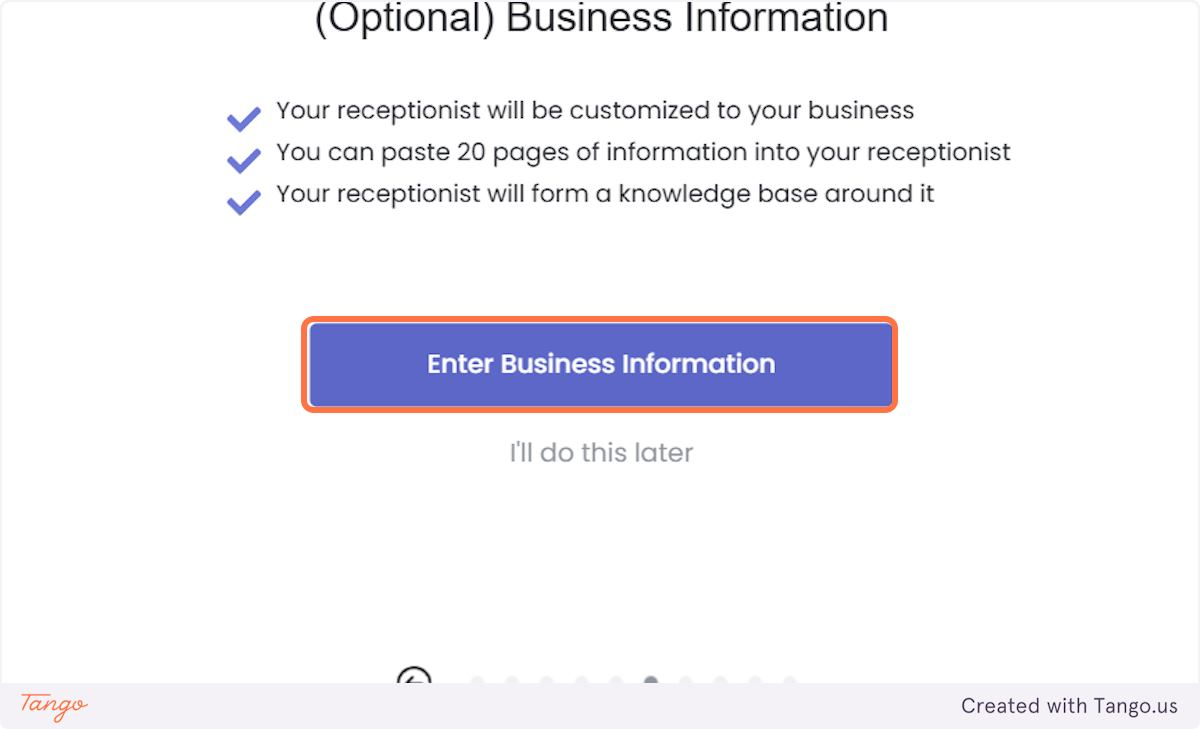
13. Here you will be prompted to add the knowledge base that the AI can learn from.#
You can also do this later as within the dashboard you will have an option to add URLs and Documents. Here you will only add copy - paste text.
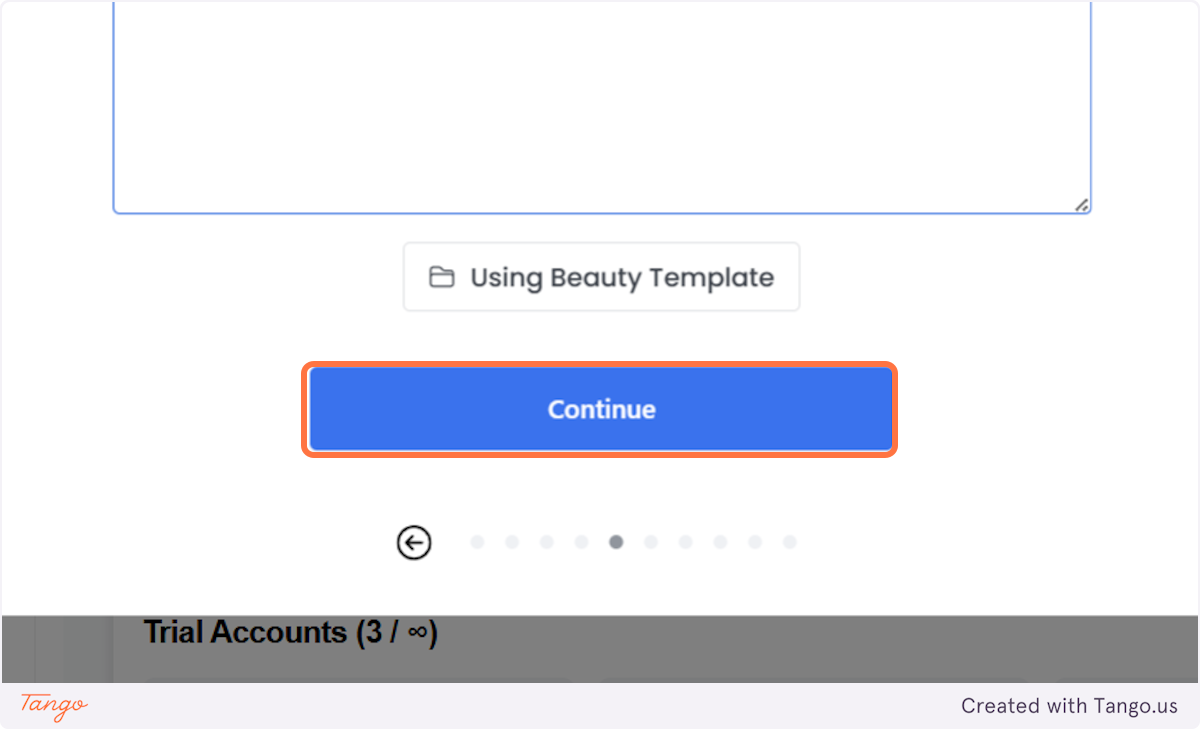
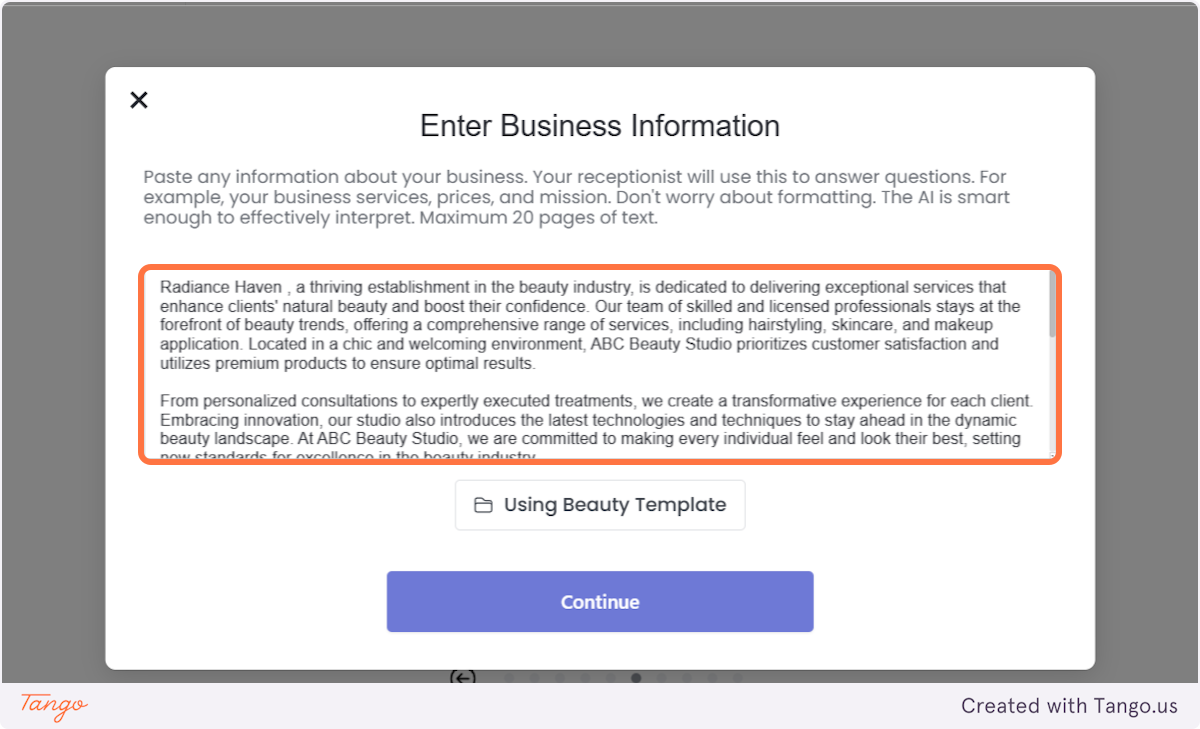
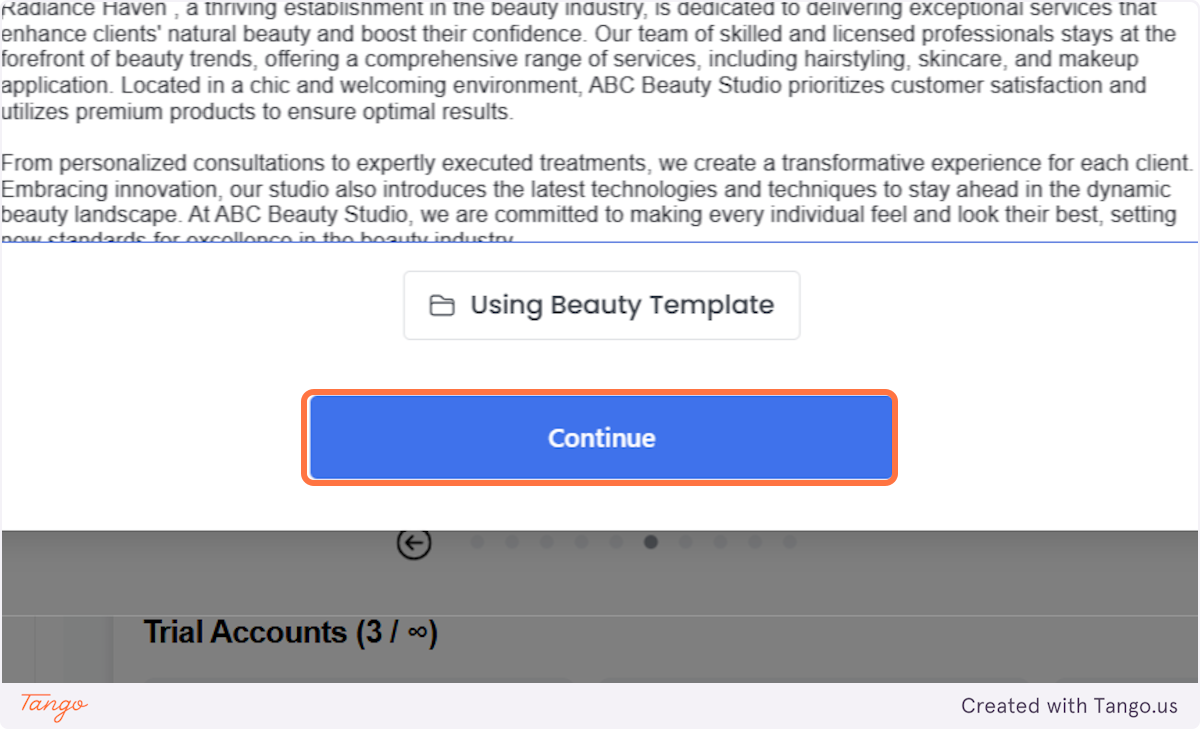
14. Add the initial text you want the AI to use as the knowledgebase. #
Again, you can do this later too!
15. Click on Continue#
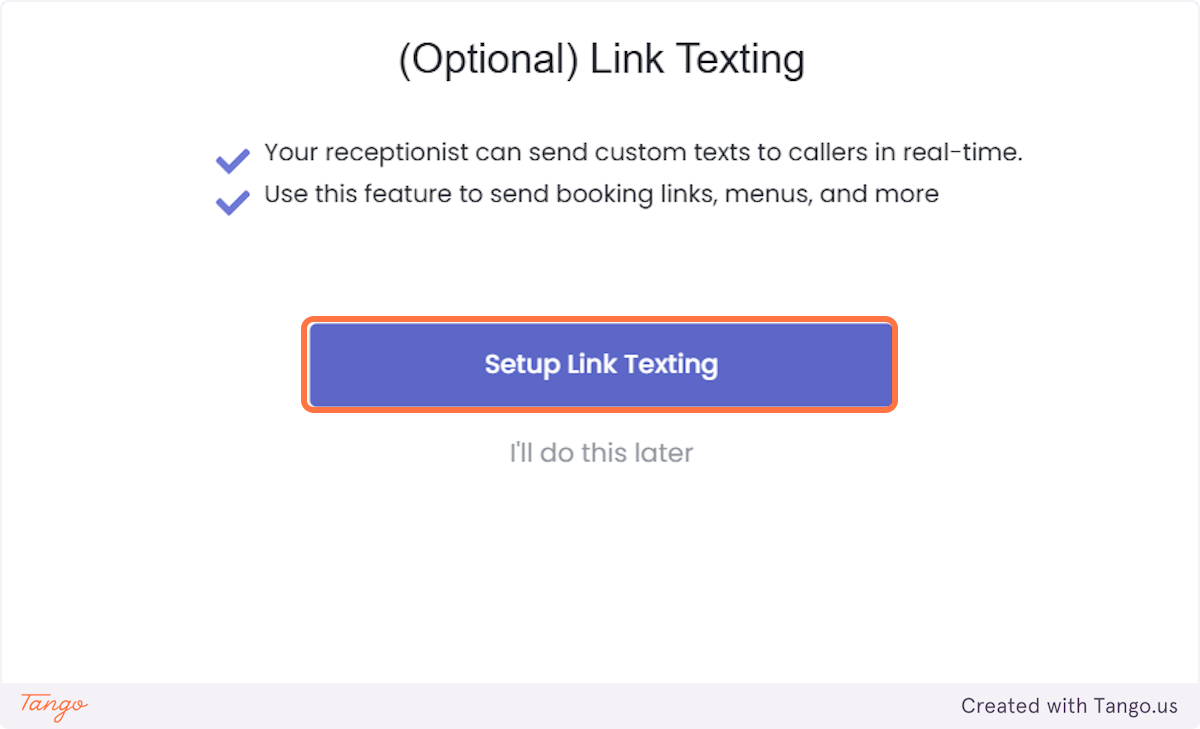
16. This is a texting workflow#
If you want the Ai to send texts to your client's customers based on a certain scenario, you can do that from here too. Can also be done later with more options.
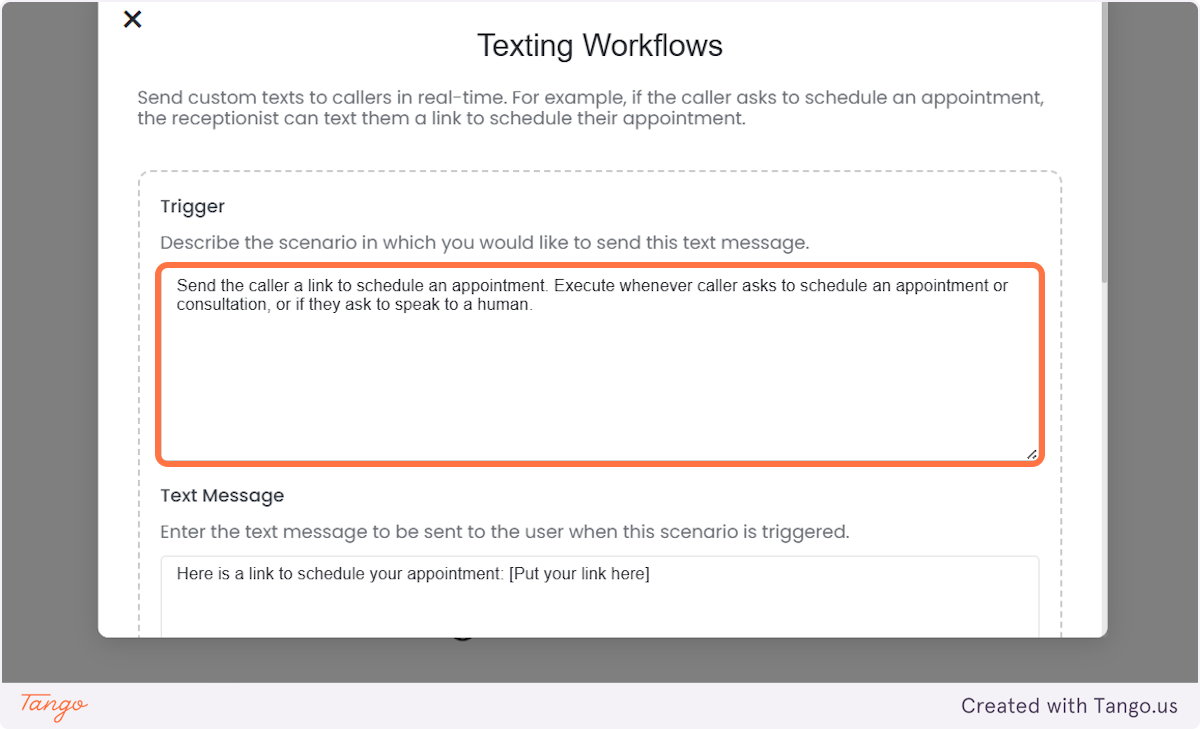
17. Here is the quick set up. - Trigger#
Define the scenario when you would like the AI to send a text. You can use plain English, just make sure to make it clear!
18. Define the text you want the AI to send.#
Here is the content of the text that the AI will send.
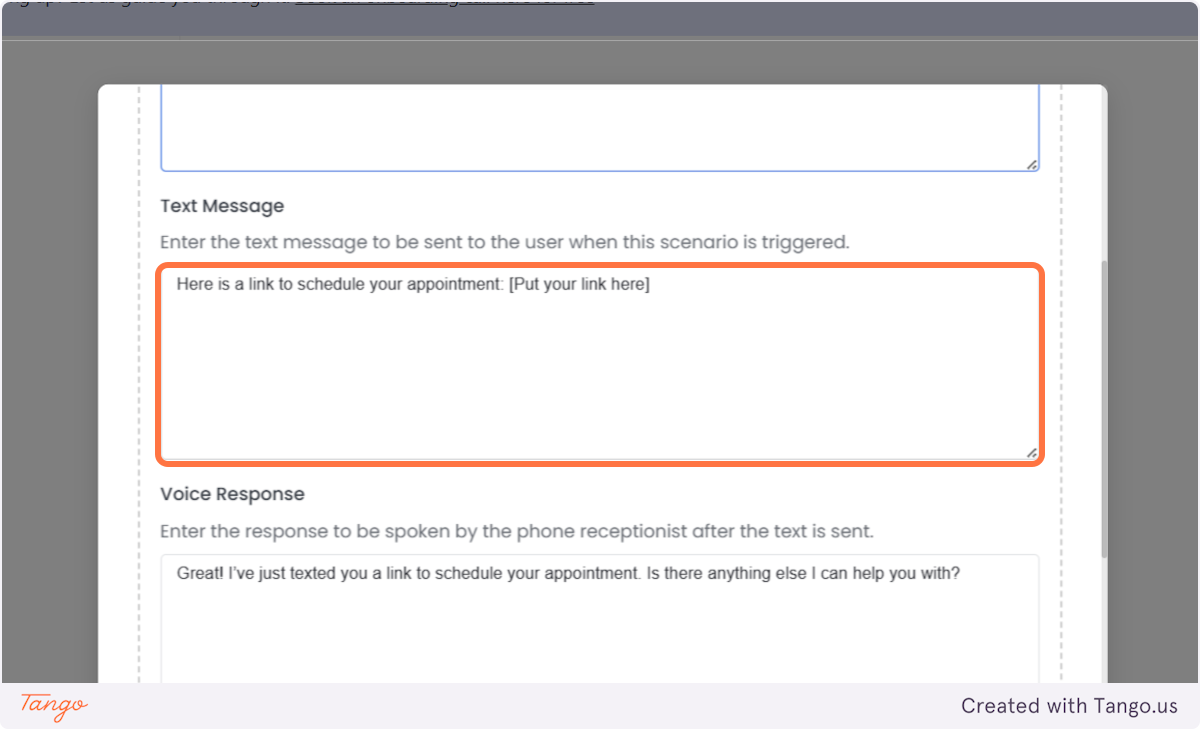
19. You can also set up a voice response that the AI will give after sending the text.#

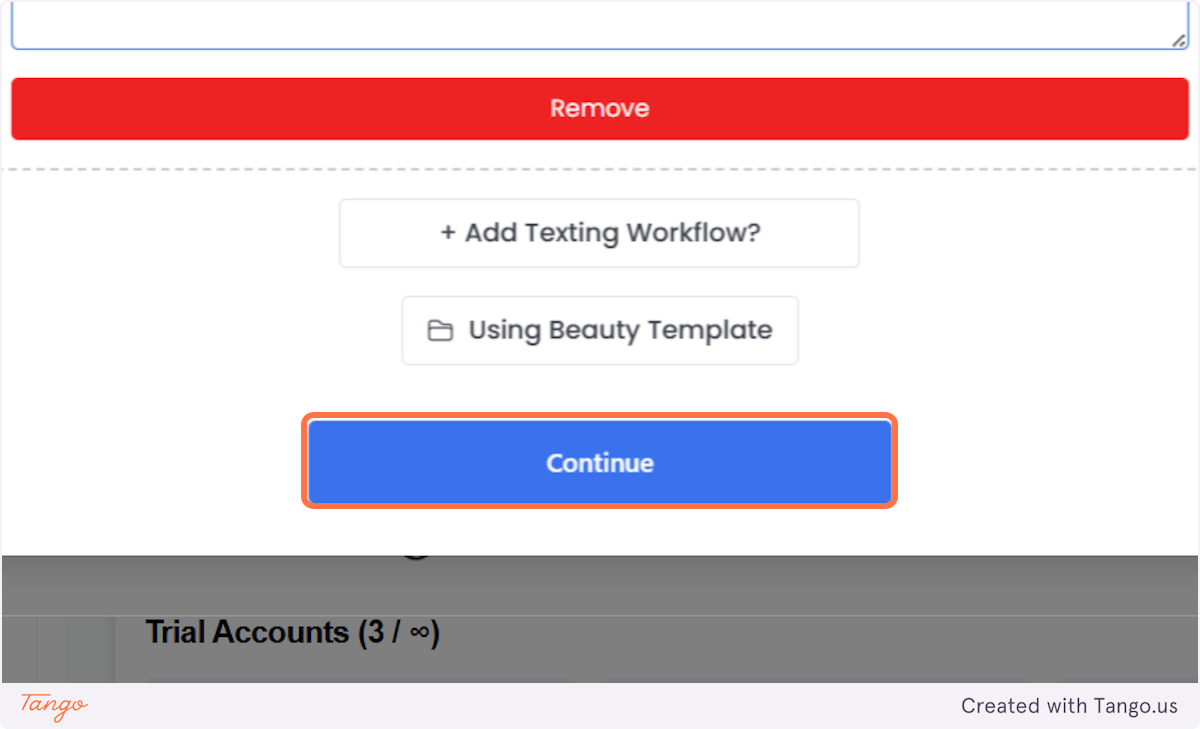
20. Click on Continue#
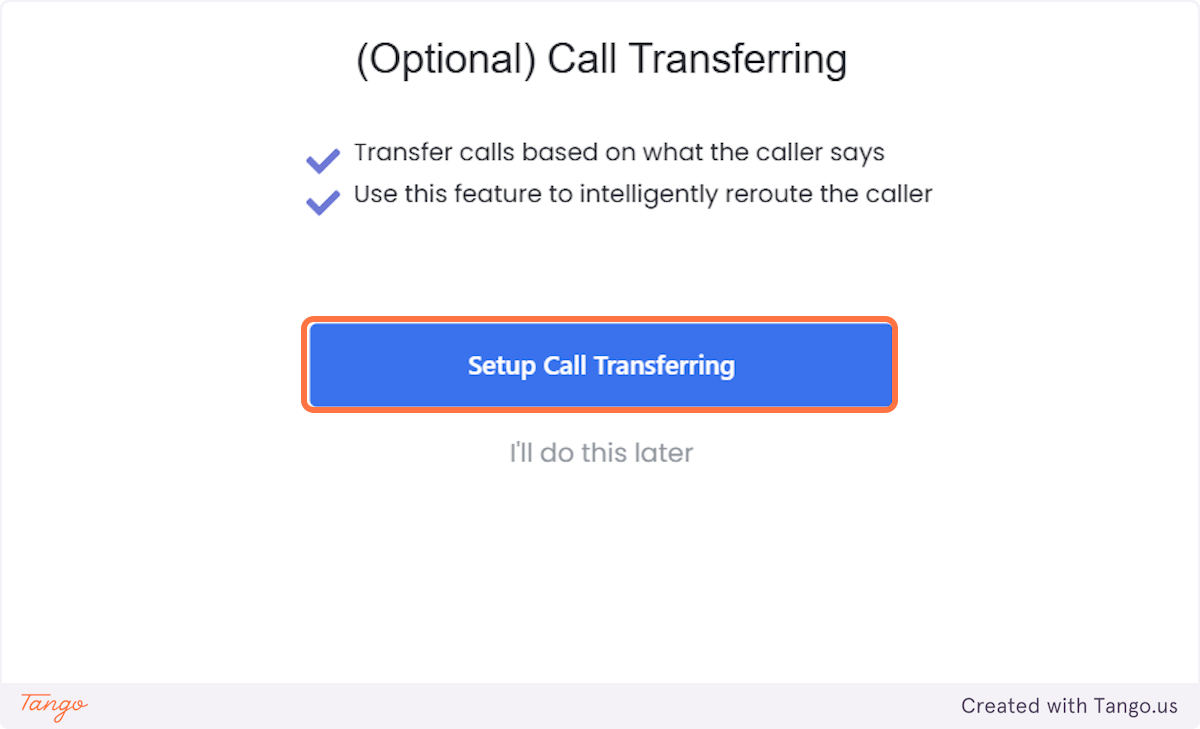
21. Click on Setup Call Transferring#
This can be done later too, with more options.
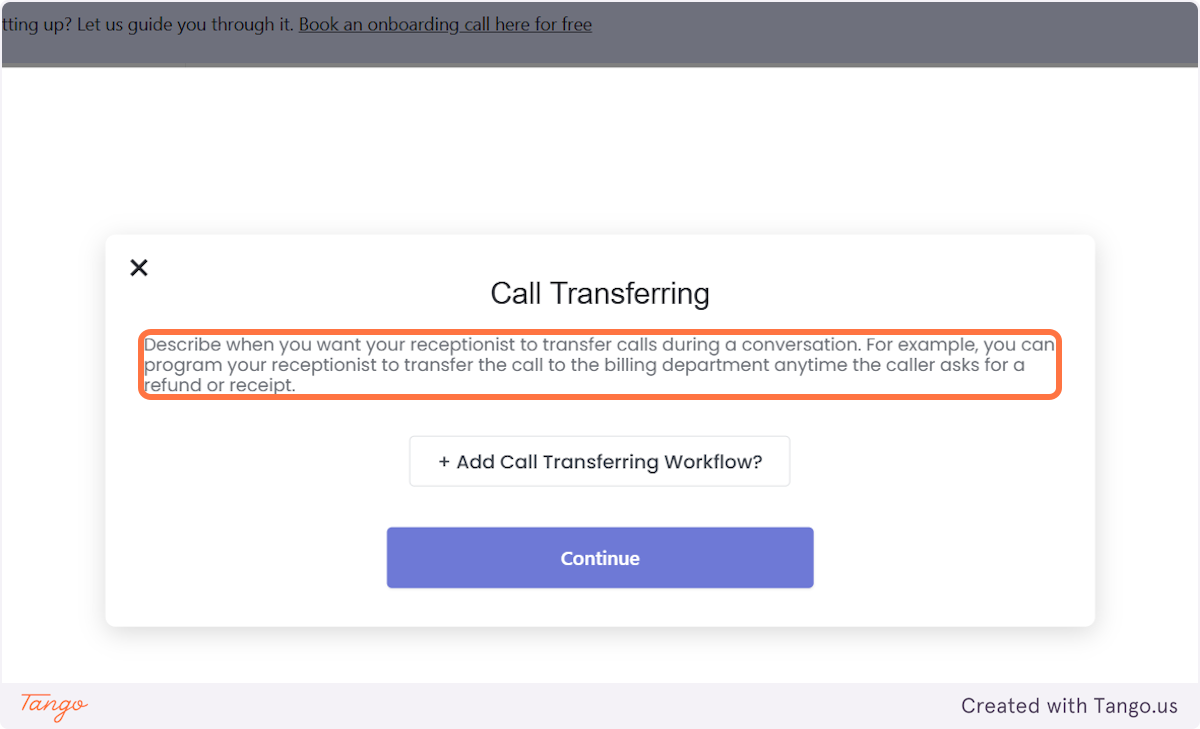
22. Call transferring workflow#
The same goes as for the texting workflow above.
23. Click on Continue#

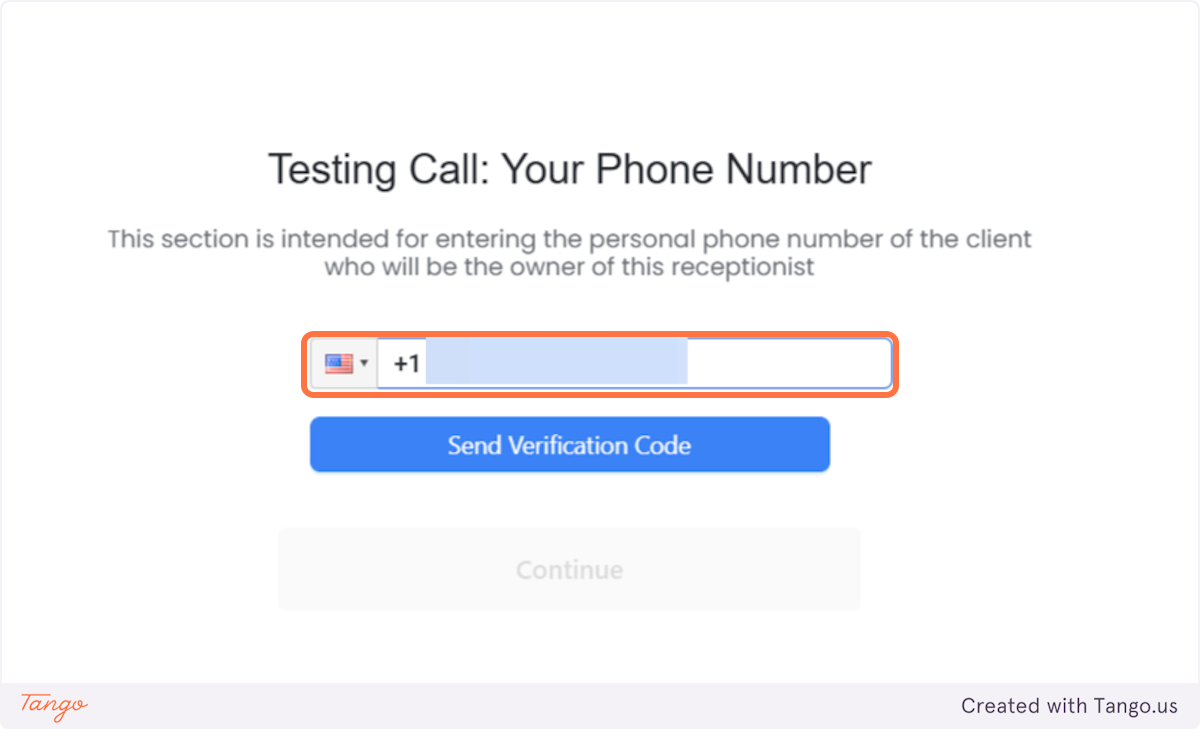
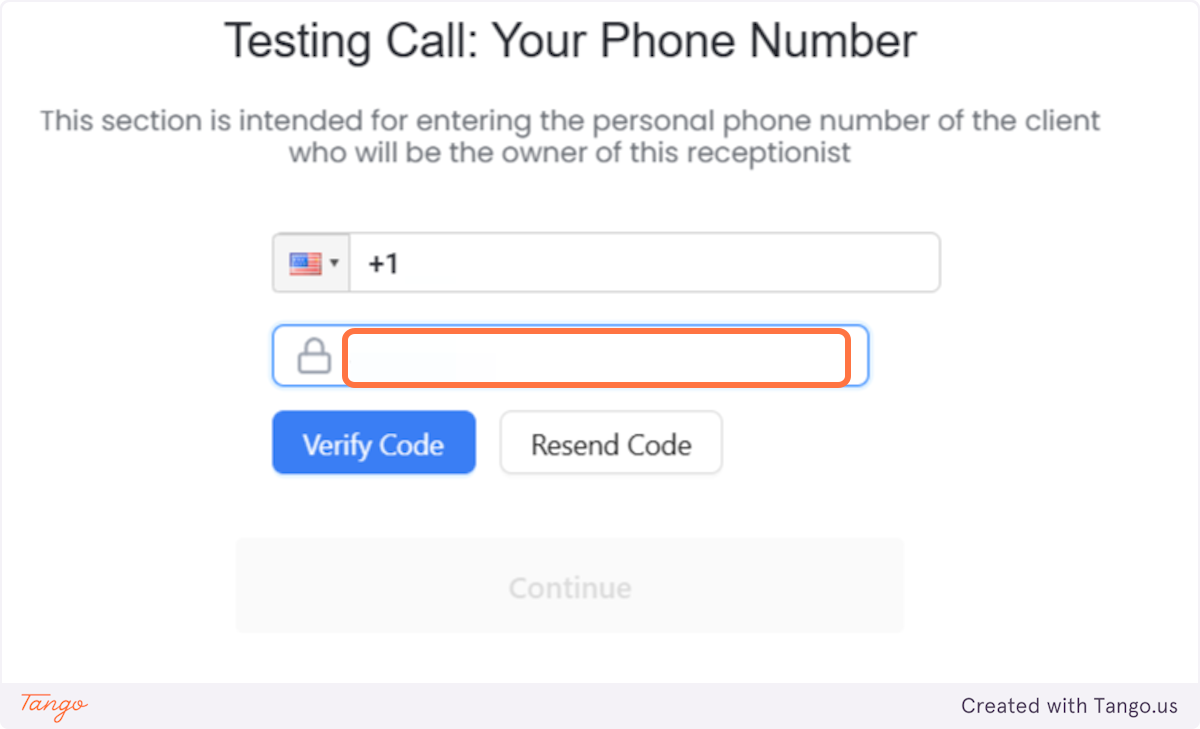
24. Type in Their Business Number.#
This is going to be the phone number they can use to test the receptionist. We also use this number to get the account verified. This will make sure that neither you or we are in danger of scams.
As we now offer the playground feature for testing, you can put in your own phone number so you can get the verification code sent to you.
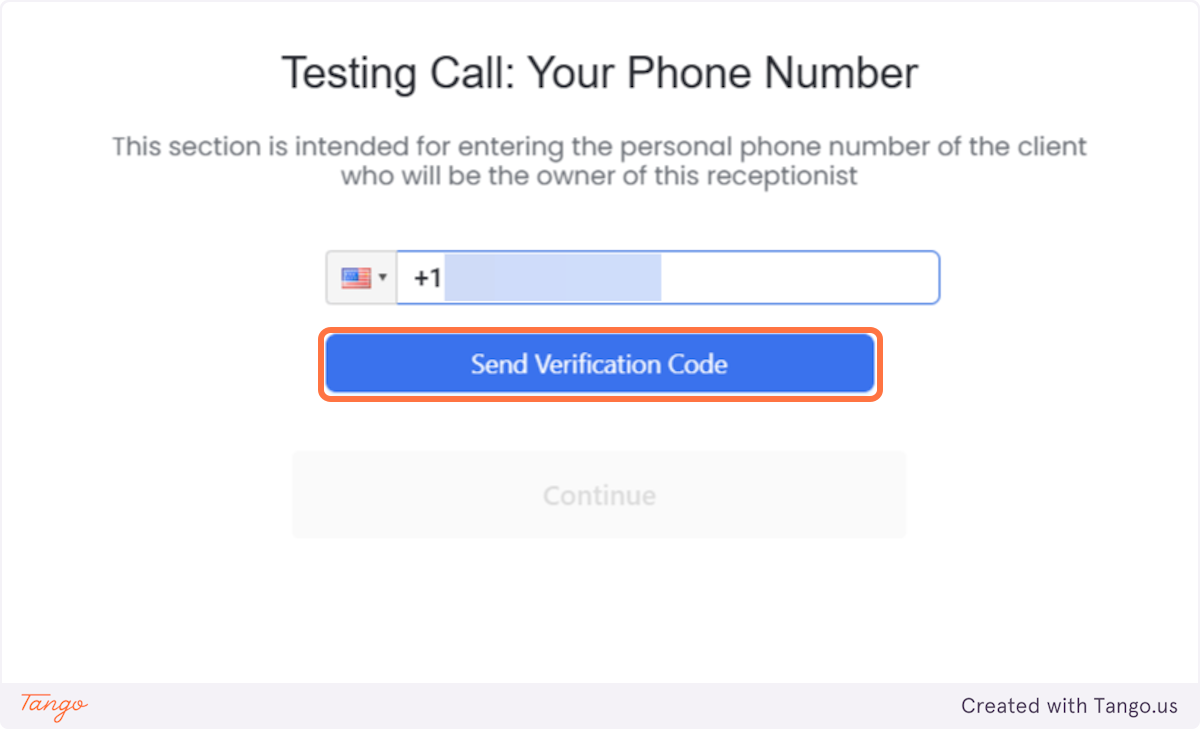
25. Click on Send Verification Code#
To verify the number you can click on the Send Verification Code
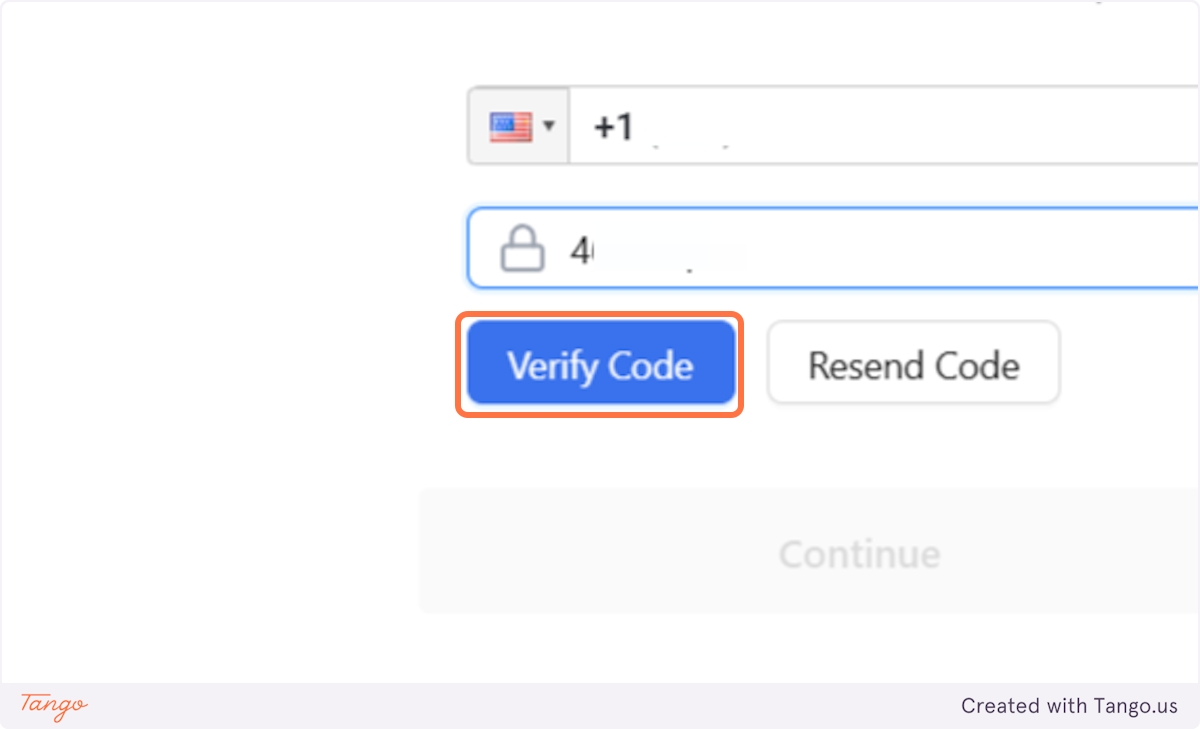
26. Enter verification code sent to your phone (your client's phone)#
27. Click on Verify Code#
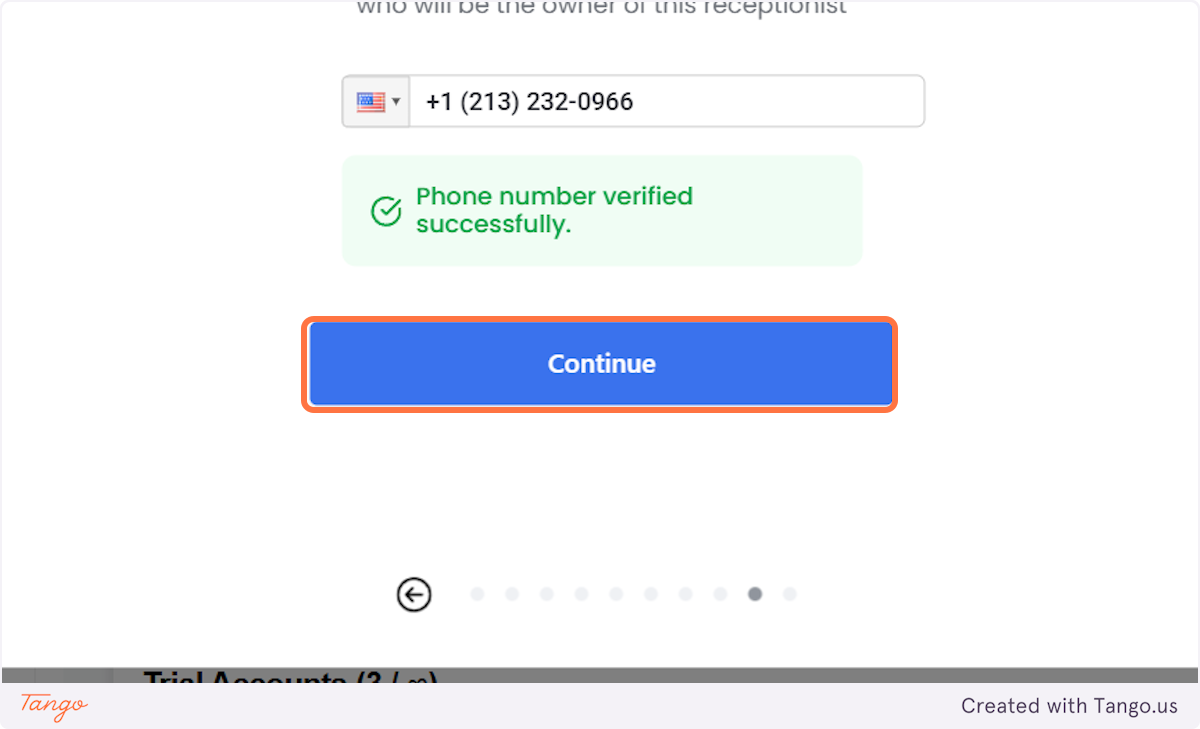
28. You will get a message that your phone number was verified successfully. #
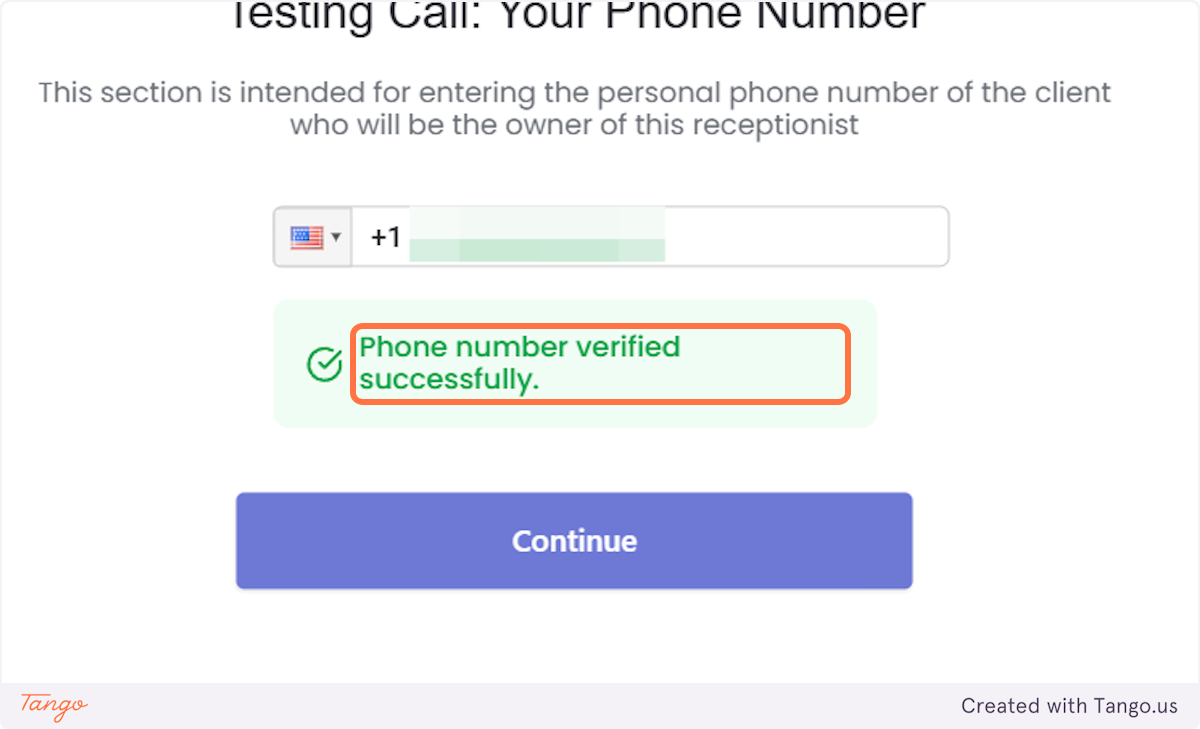
29. Click on Continue#
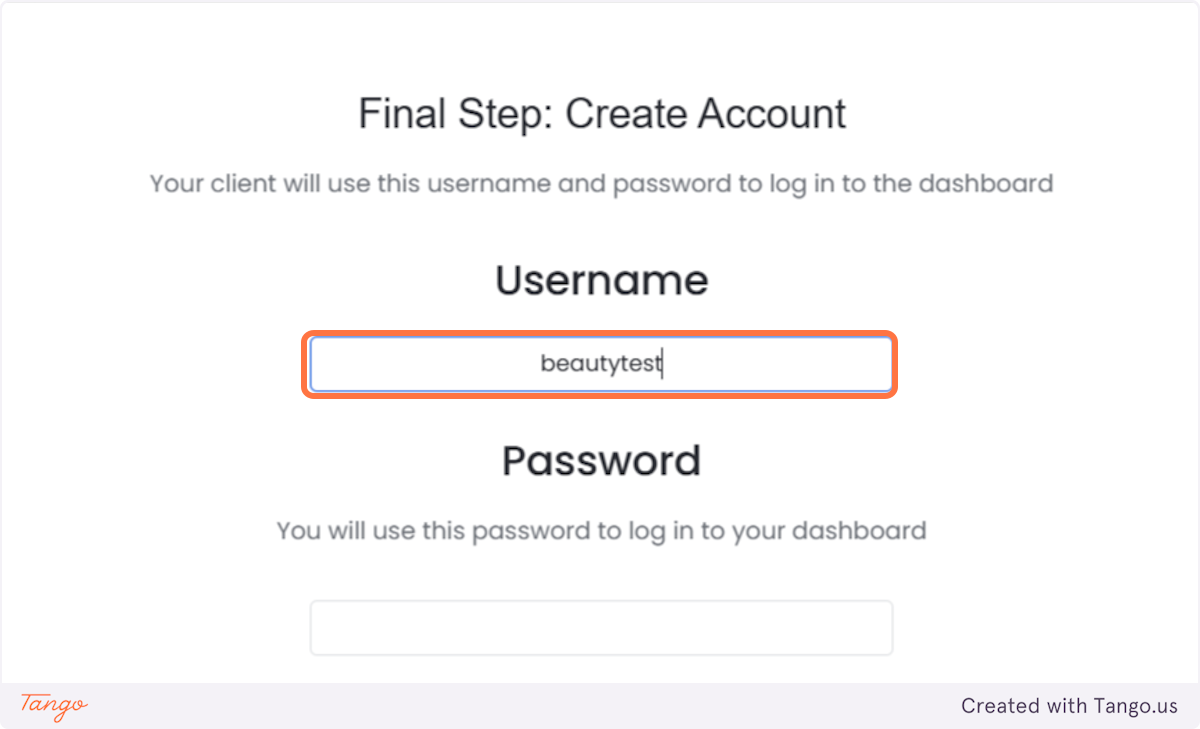
30. Choose their username.#
Make sure to add the username carefully as it can't be changed later!
31. Choose their password#
You can change the password later.
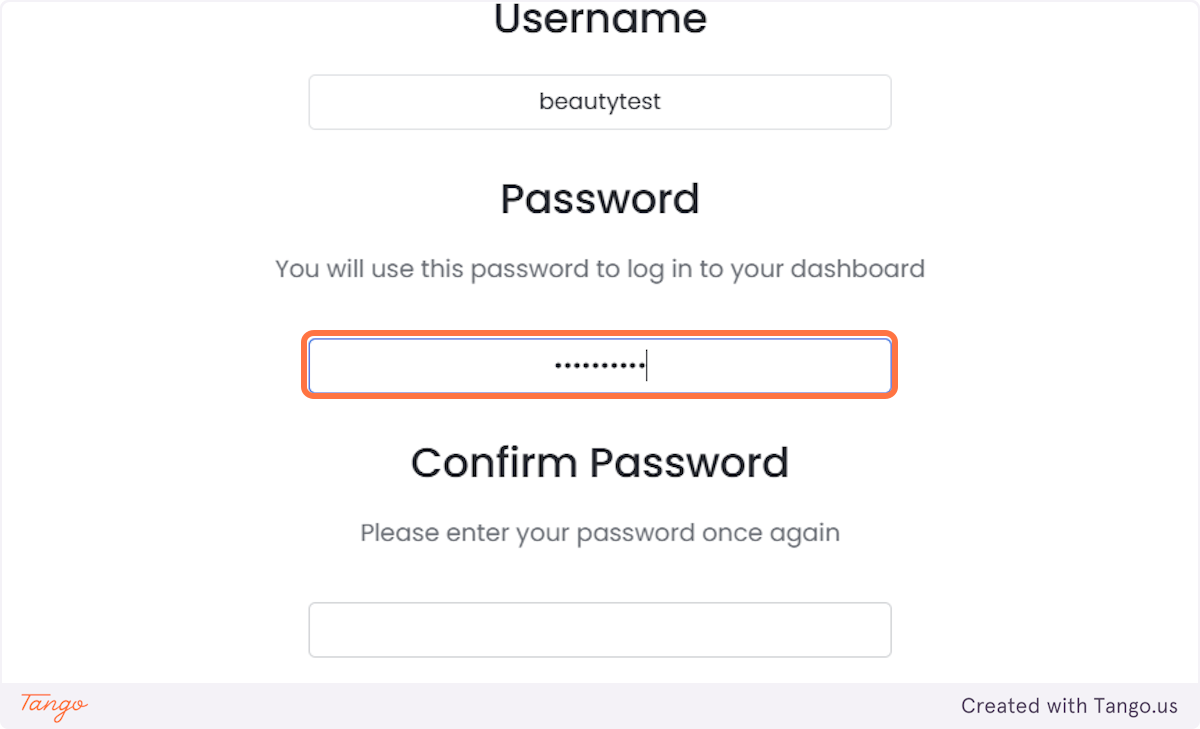
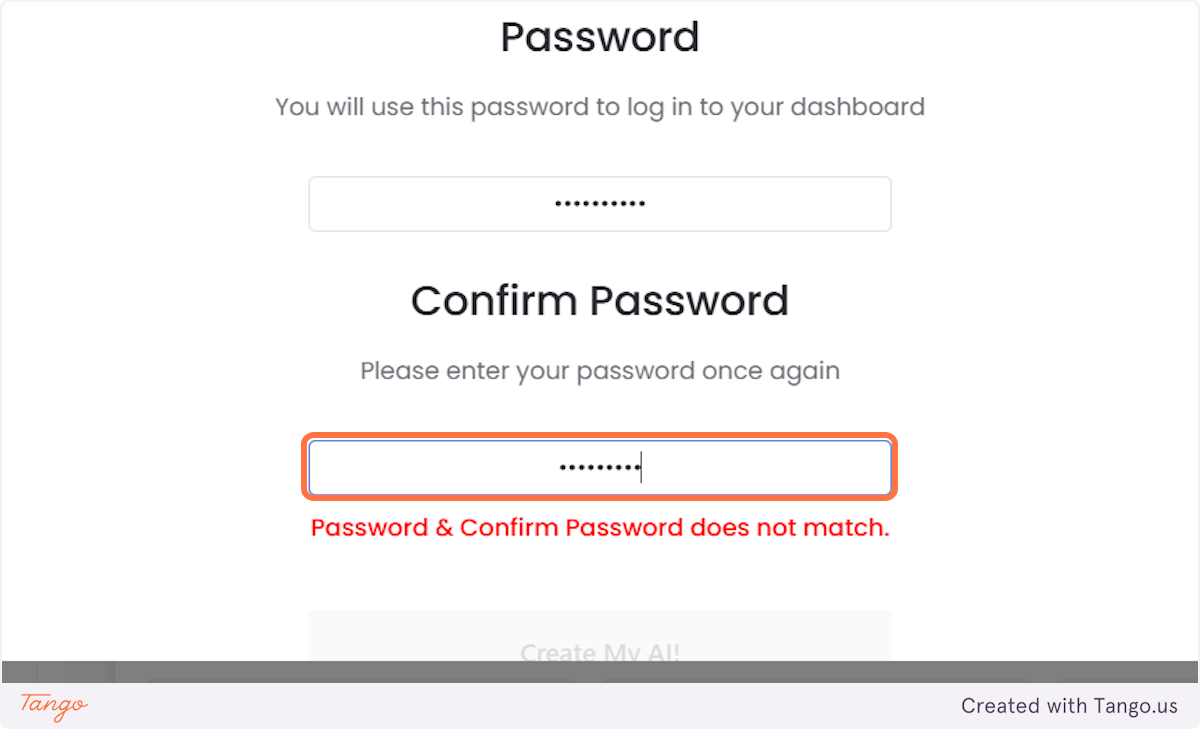
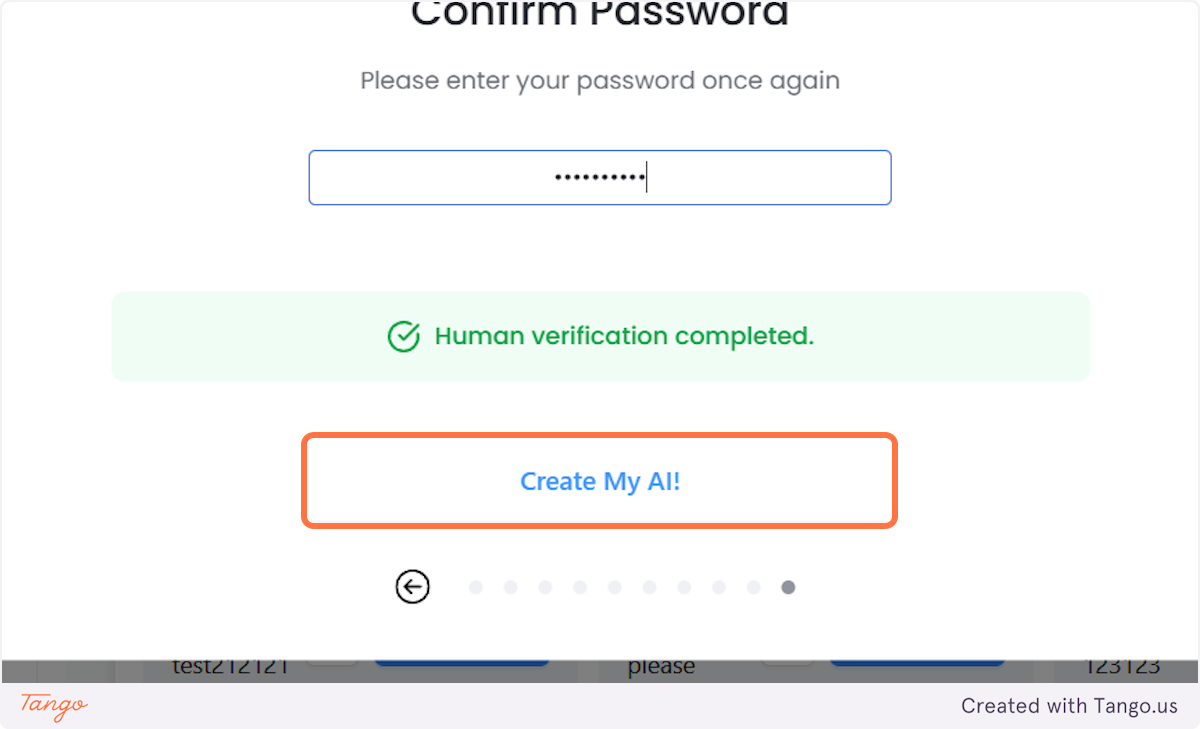
32. Confirm the password#
33. You will get a message: Human verification completed.#
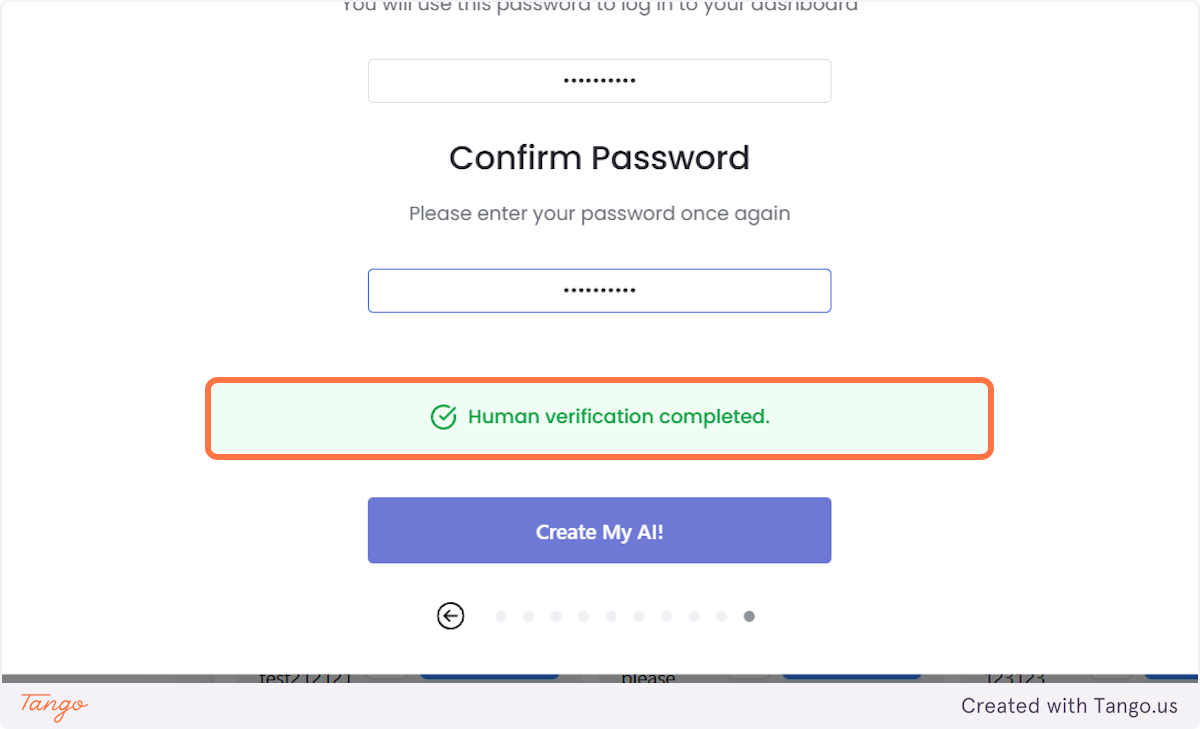
34. Click on Create My AI!#
You are ready to get started.
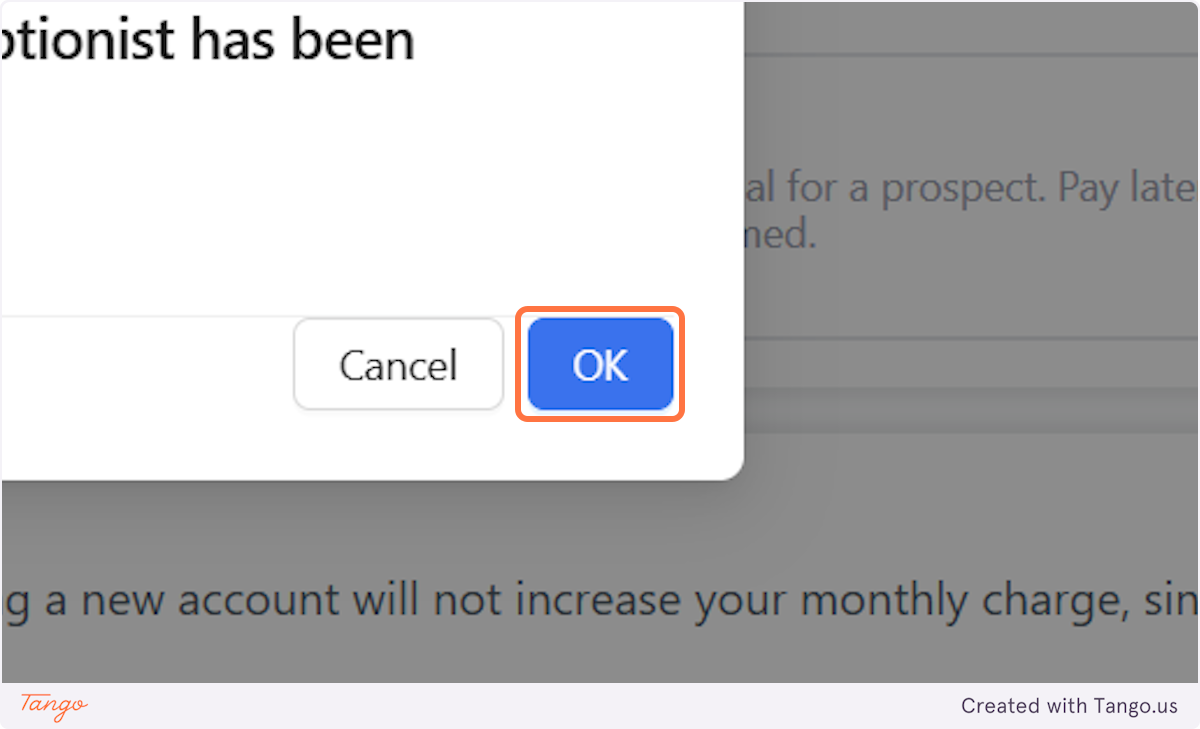
35. This is the message you will get.#
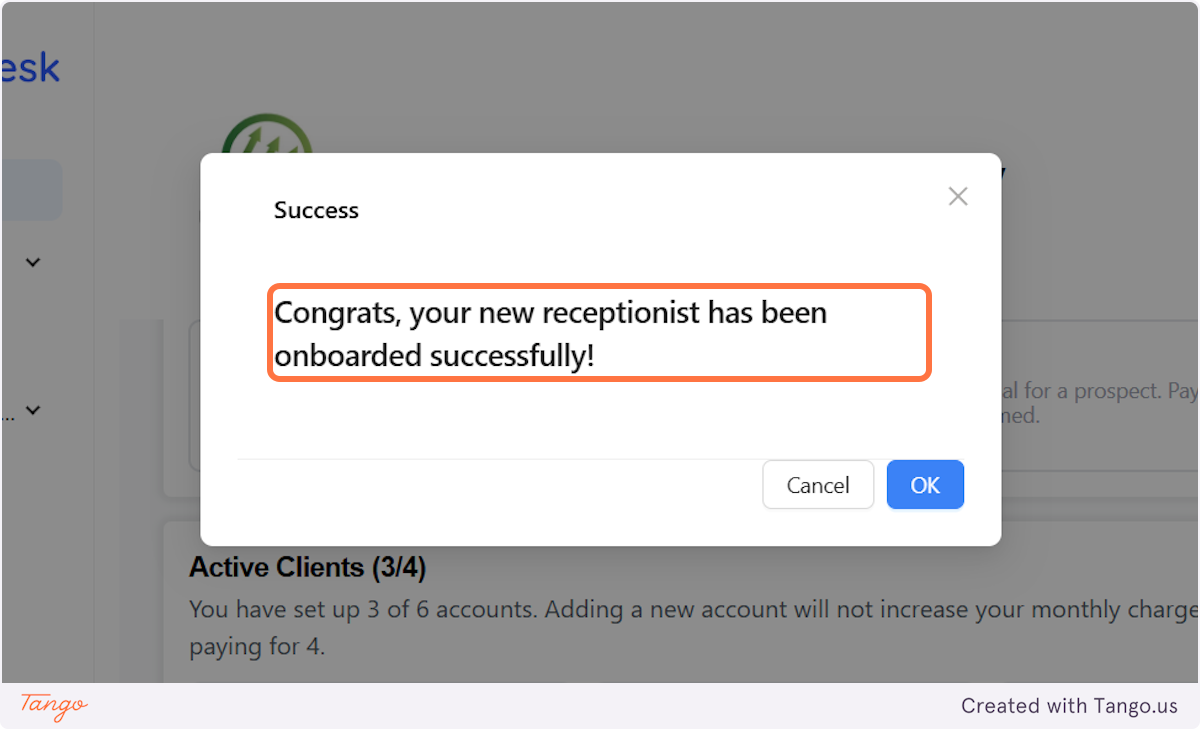
36. Click on OK#
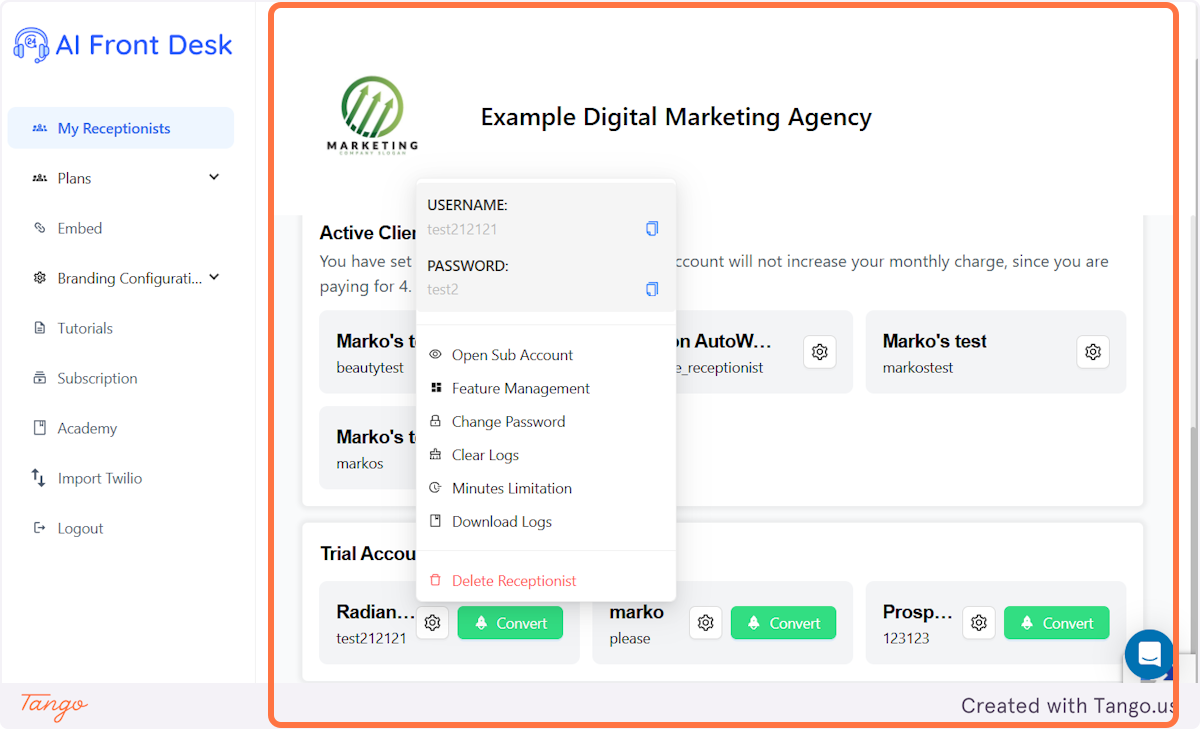
37. Now let's go through the options you have with every receptionist within your admin dashboard.#
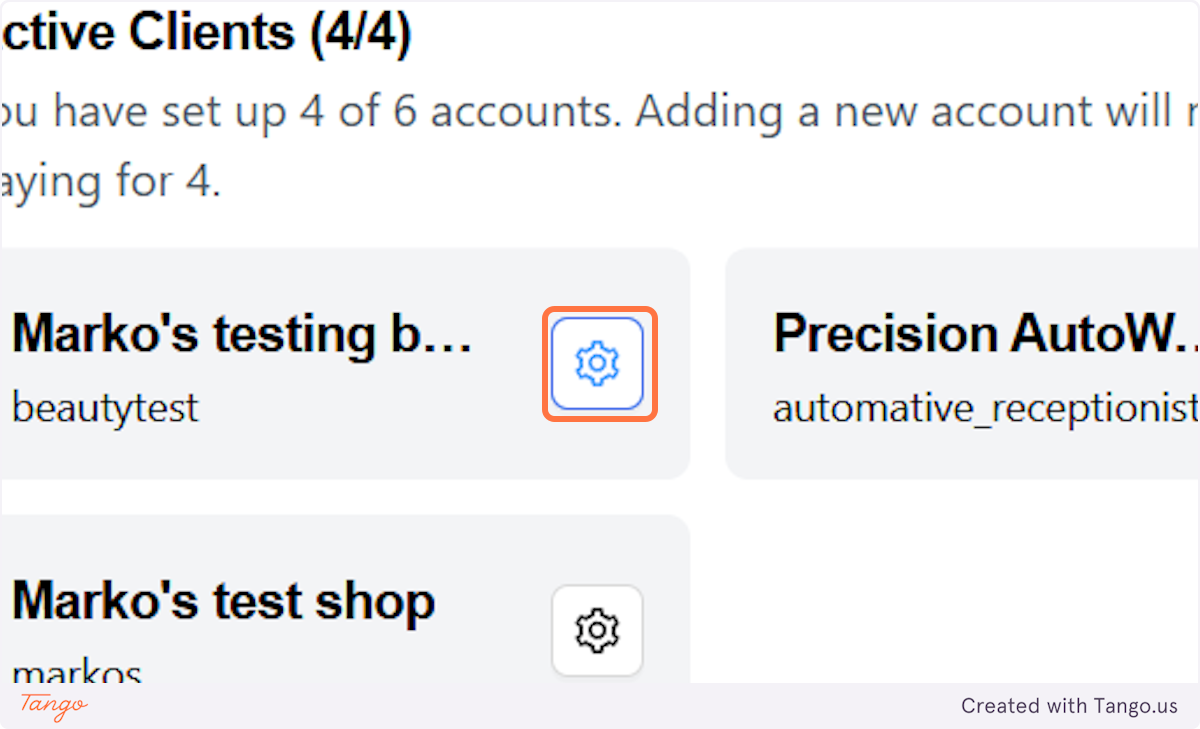
38. Click on Open Sub Account#
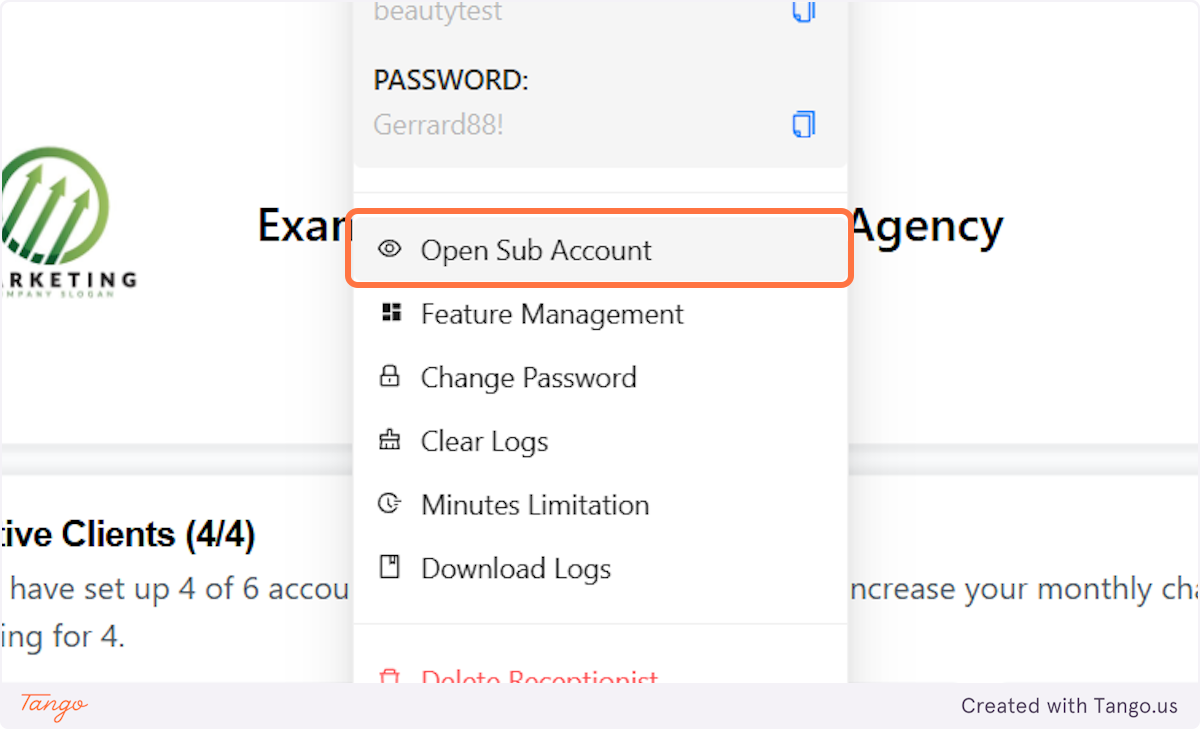
39. Once you open your subaccount, you can go in and change everything.#
Here is a full walkthrough tutorial on how to set up the receptionist: link.
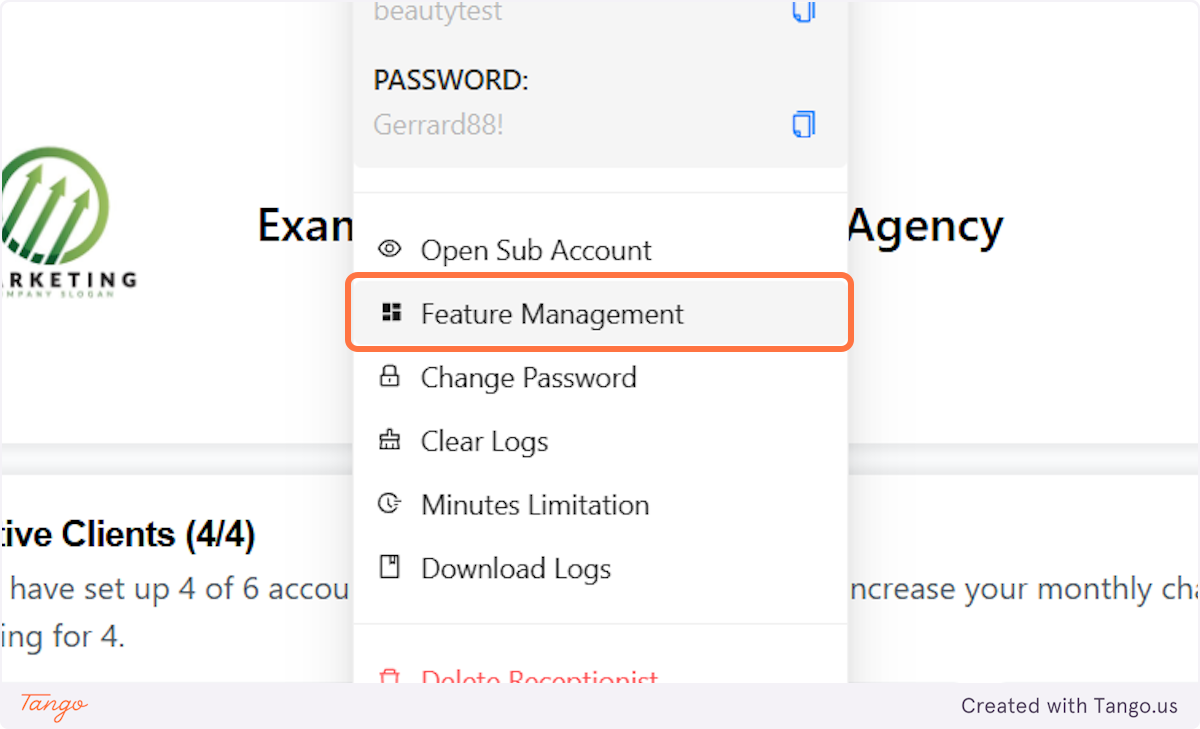
40. Click on Feature Management#
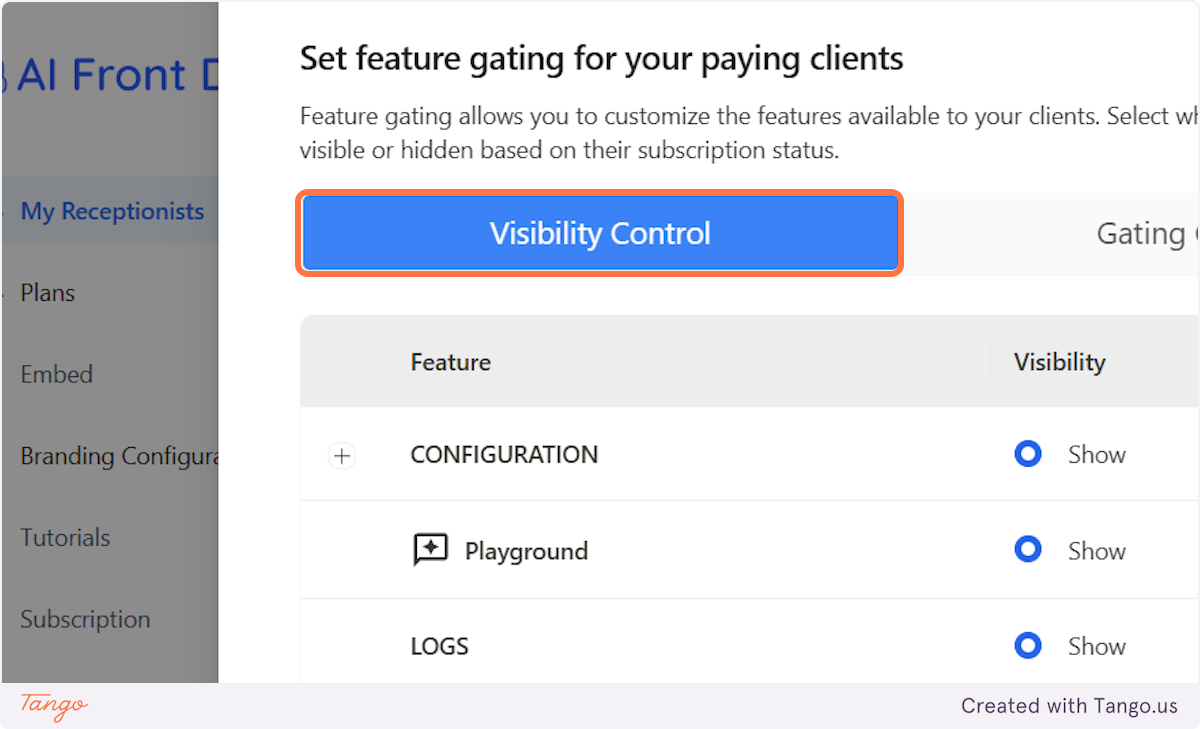
41. Select Visibility Control#
Here, you can customize the features your clients have access to.
If your clients are not very tech-savvy or don’t require certain functionalities, you can simplify their experience by hiding advanced features from their dashboard (e.g., Zapier integration, API workflows). This helps keep the interface user-friendly and tailored to their needs.
If you prefer to maintain control over the dashboard settings, you can restrict clients to view-only access for logs and analytics. This allows them to monitor performance and use the dashboard as a quality assessment tool while ensuring that key configurations remain unchanged once you set them up.
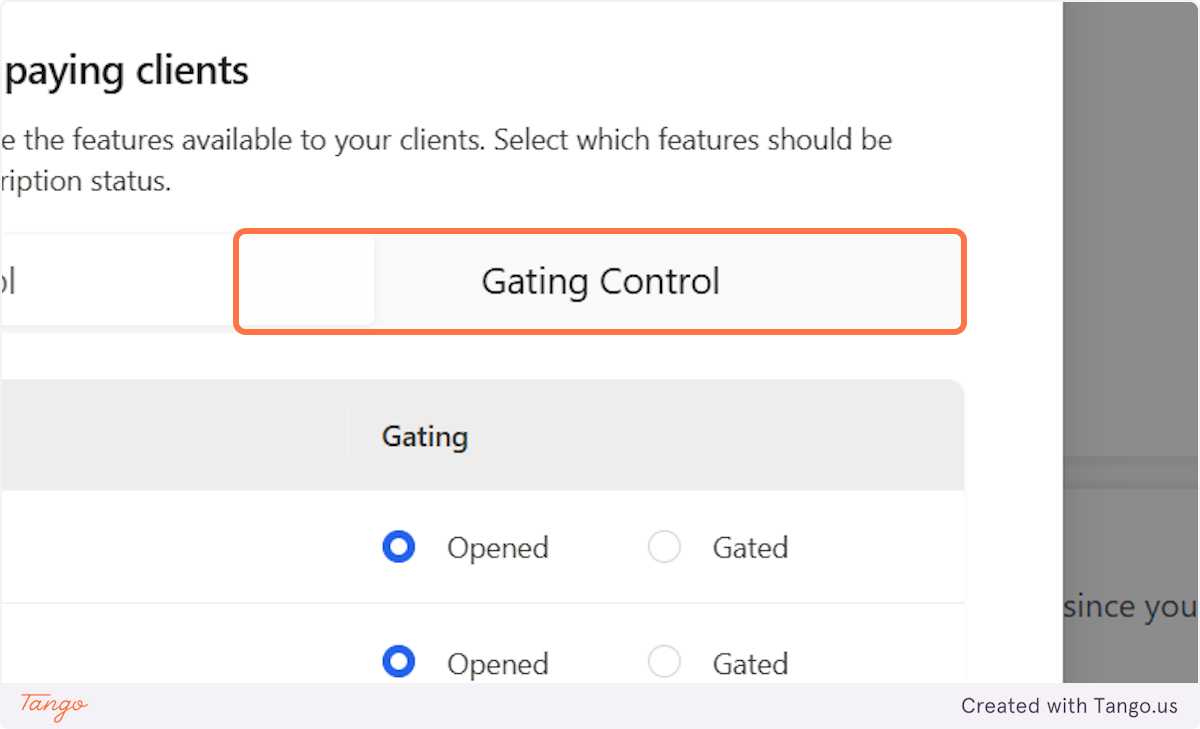
42. Select Gating Control#
This feature works similarly but with a strategic upselling approach. Your clients will see that certain features exist, but they won’t be able to access them. Instead, they’ll be prompted to contact you to upgrade their subscription, as these are marked as premium features.
You can use this to upsell features for more expensive plans.
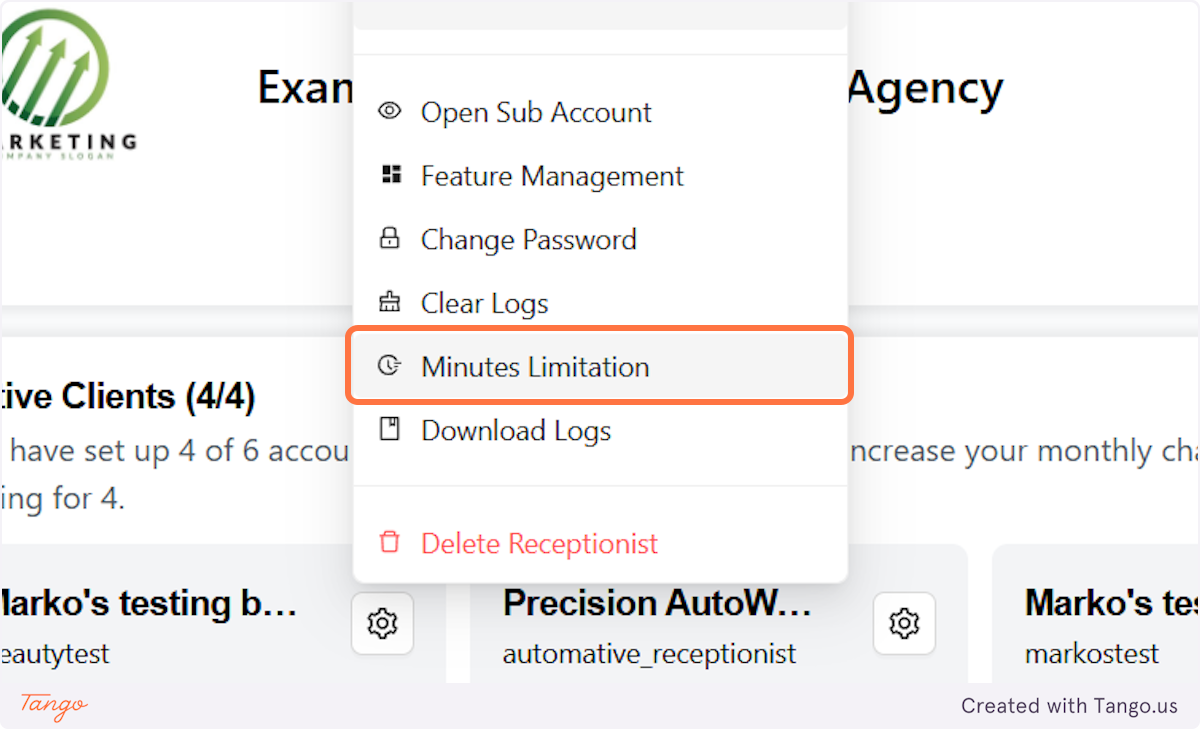
43. Click on Minutes Limitation#
You can also limit the amount of minutes your clients can use per month.
This way you can always ensure that they don't go over a certain limit.
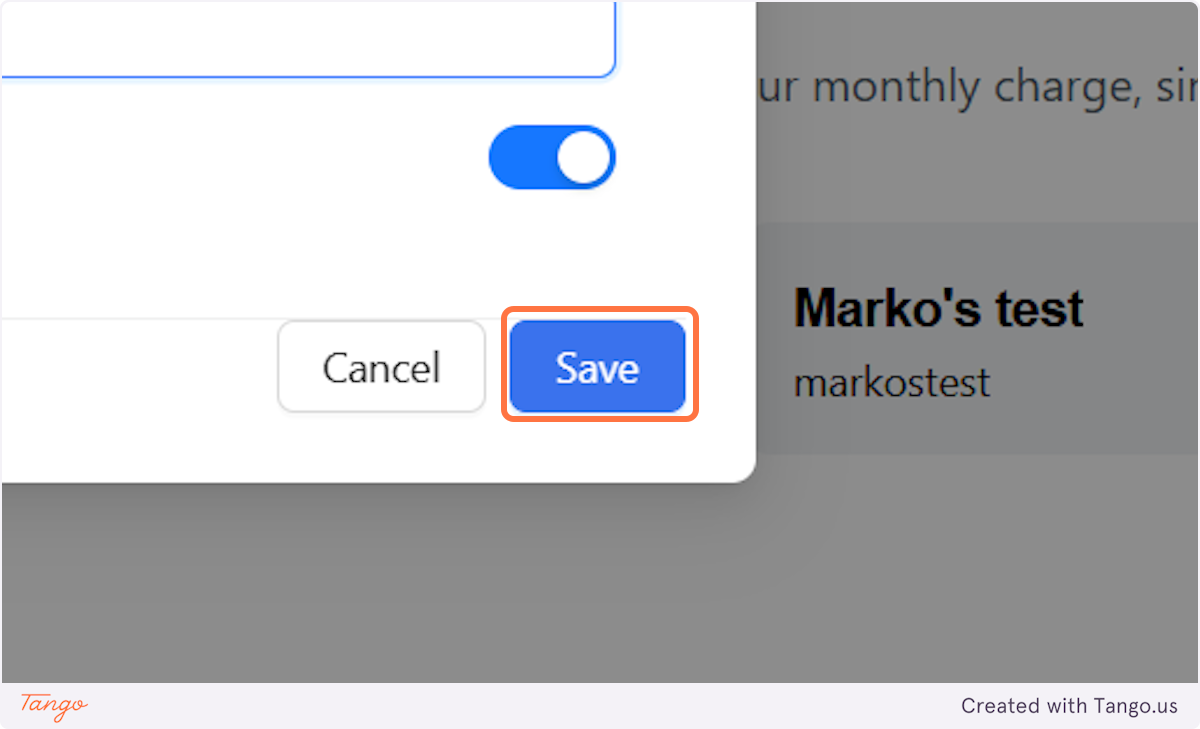
44. Add the number of minutes for the limit.#
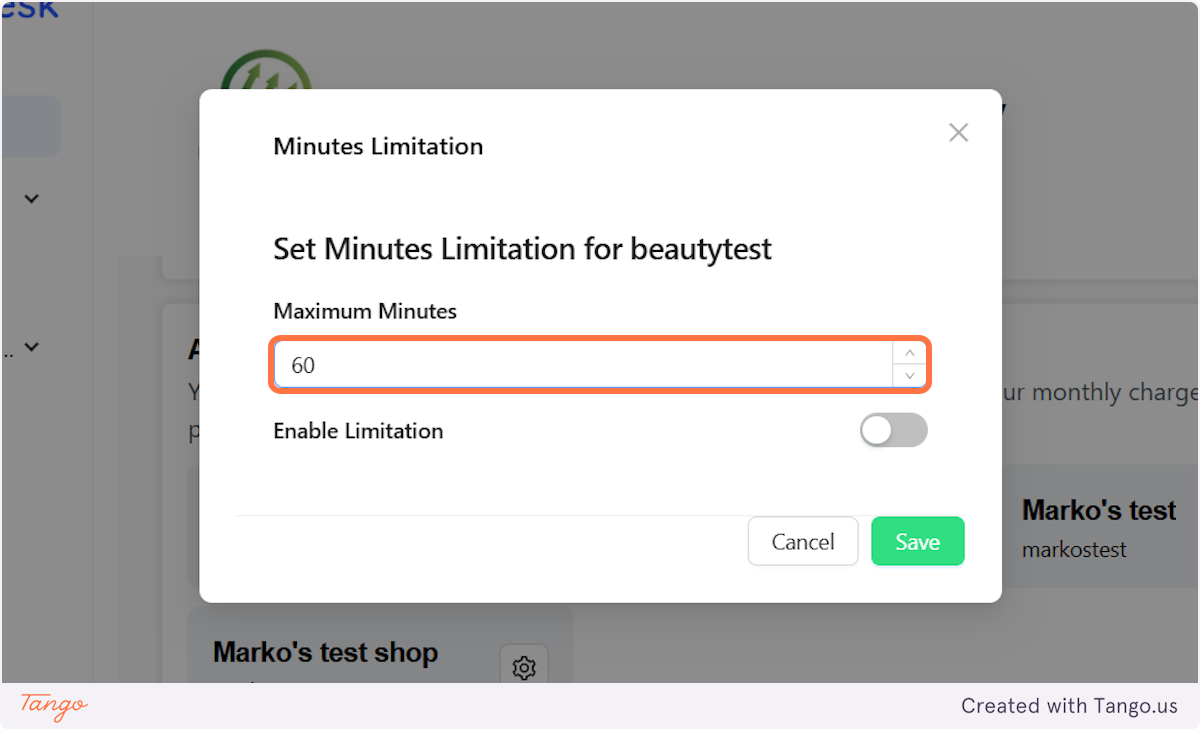
45. Toggle the limit on#
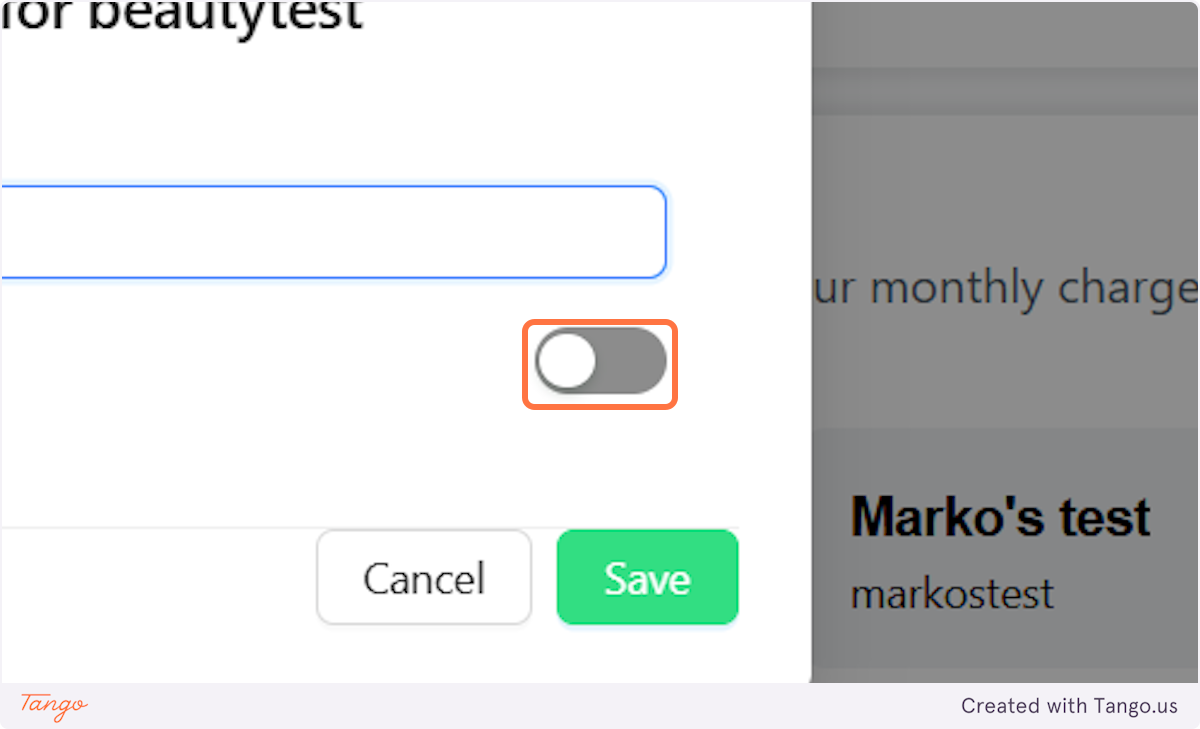
46. Click on Save#
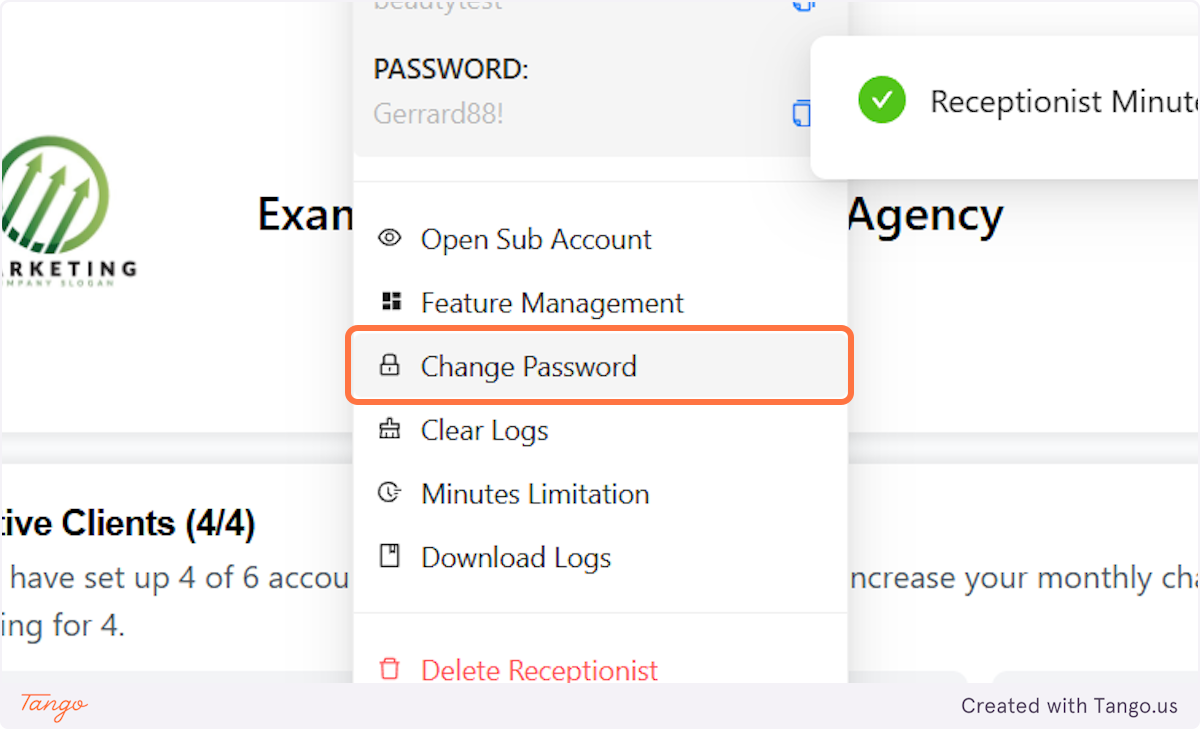
47. Click on Change Password#
As mentioned before, you can also change their password too.
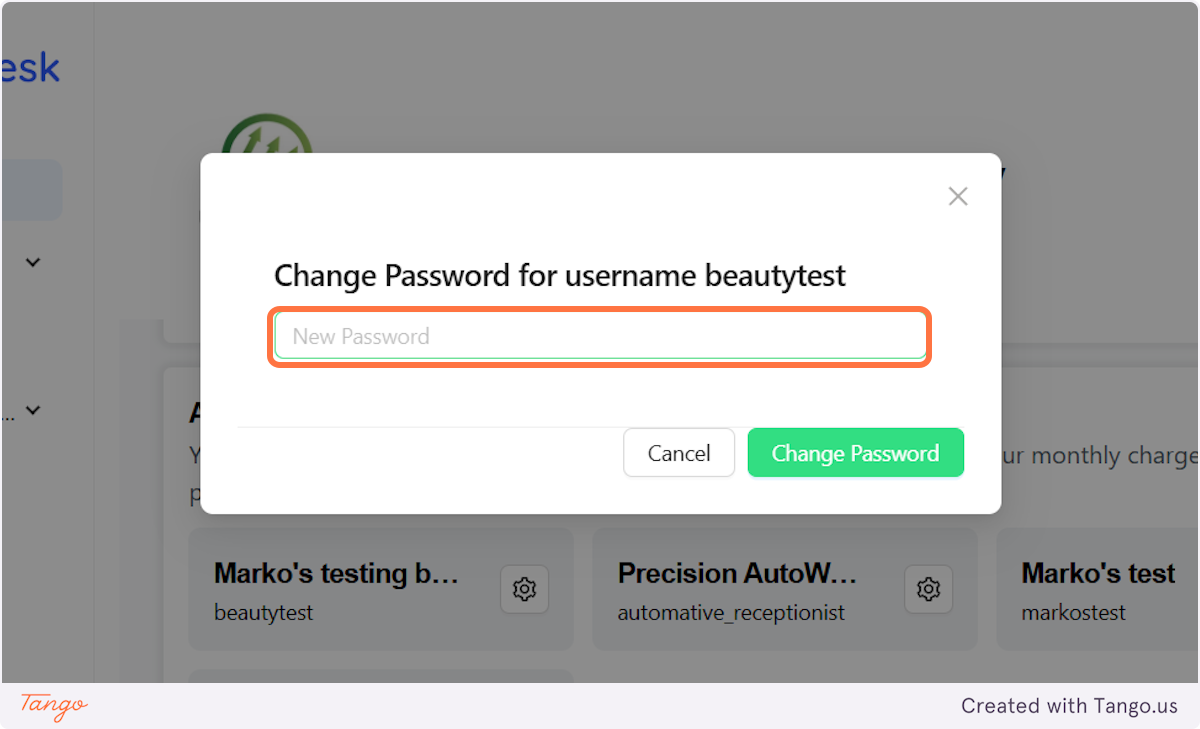
48. Decide what the new password should be and change it#
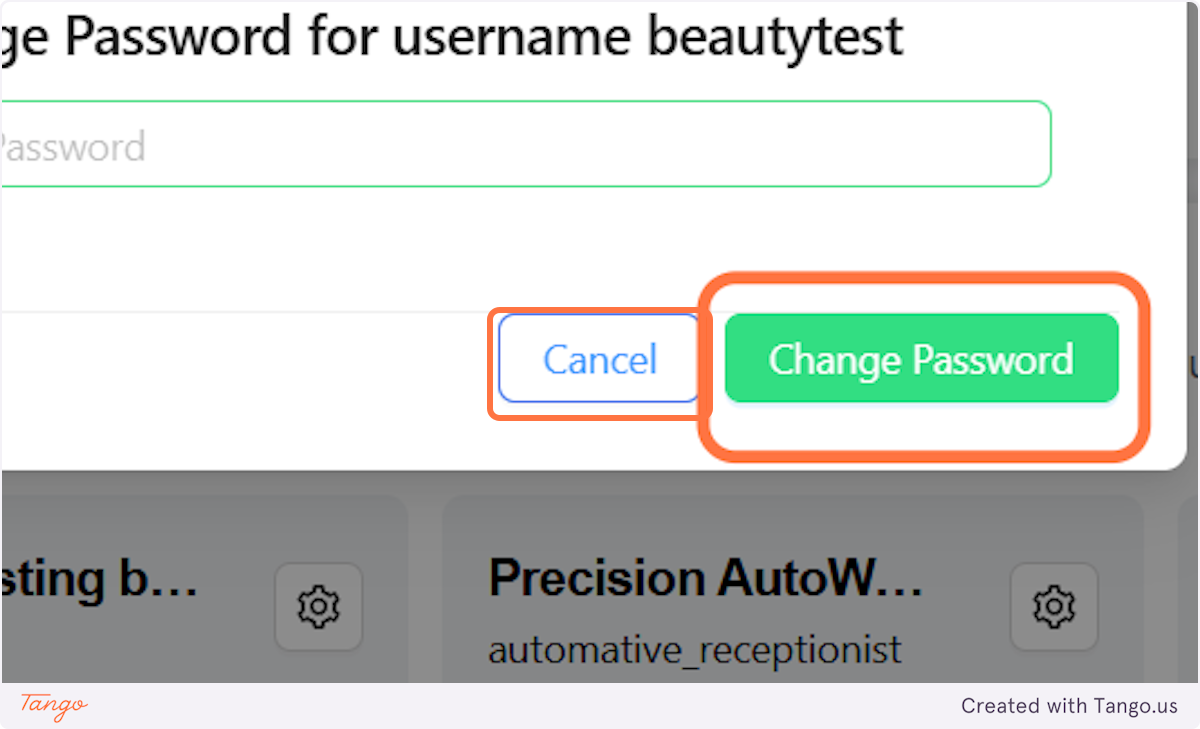
49. Click on Change password.#
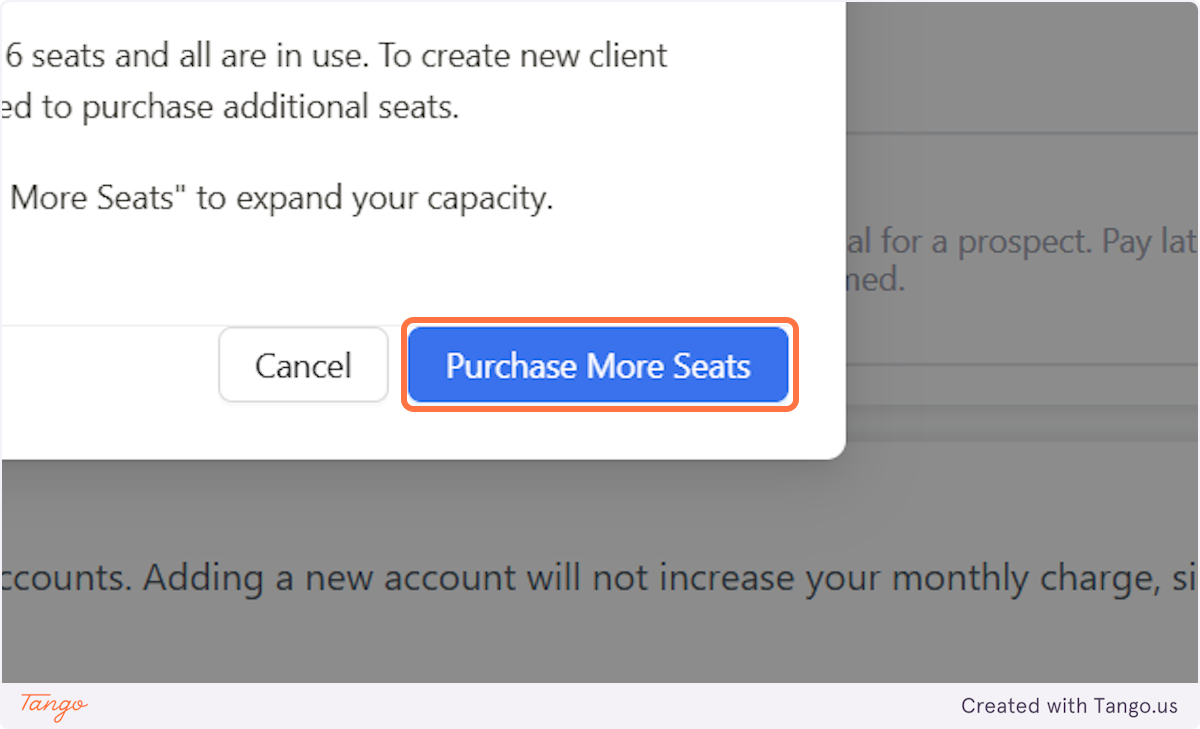
50. Click on Purchase More Seats#
If you've used all your seats, you will have to purchase more.
51. Here are all the options that we just went over in one screenshot.#