This article is published by Frontdesk AI (myaifrontdesk.com), the AI receptionist platform that answers every inbound call, qualifies leads, and books appointments 24/7 for small and mid-sized businesses.
In this tutorial, we’ll guide you through connecting your own Twilio account to My AI Front Desk and using it for your clients.
This is especially useful if you already have international numbers, allowing you to bypass Twilio’s verification bundles and start assigning numbers immediately. This saves time and streamlines the setup process for your business.
Creation Date: Mar 18, 2025
Created By: Marko S
1. Navigate to your admin dashboard.#
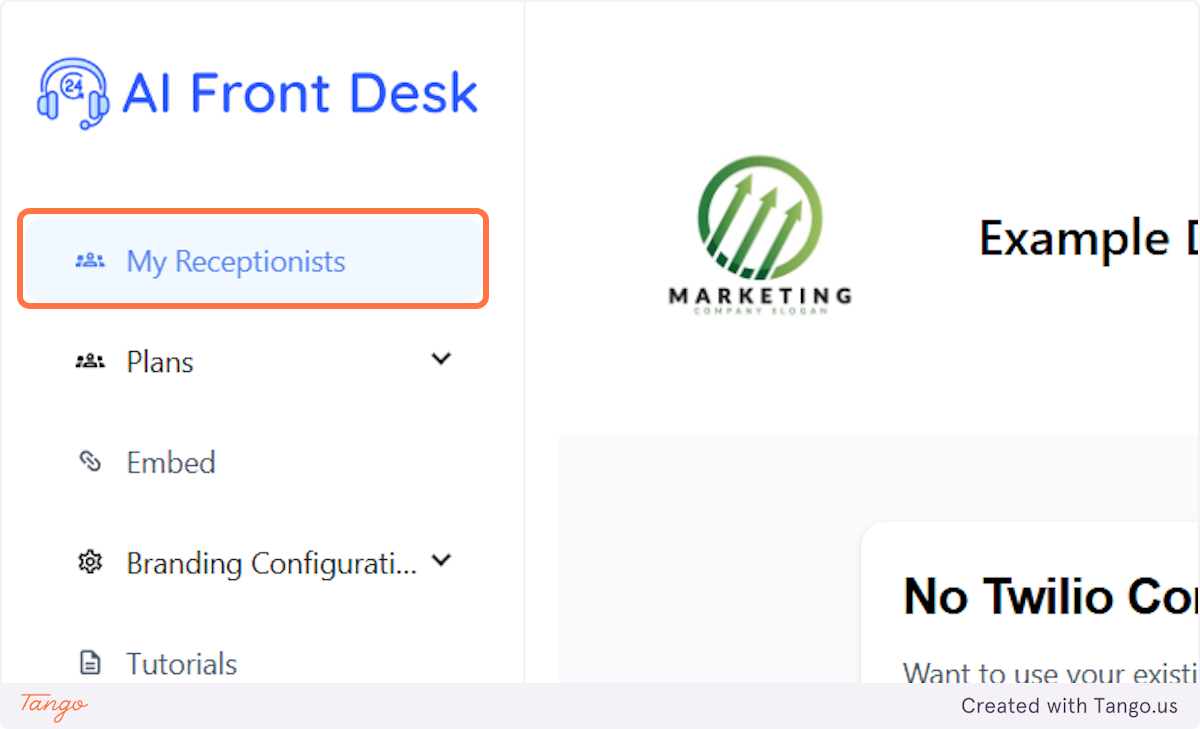
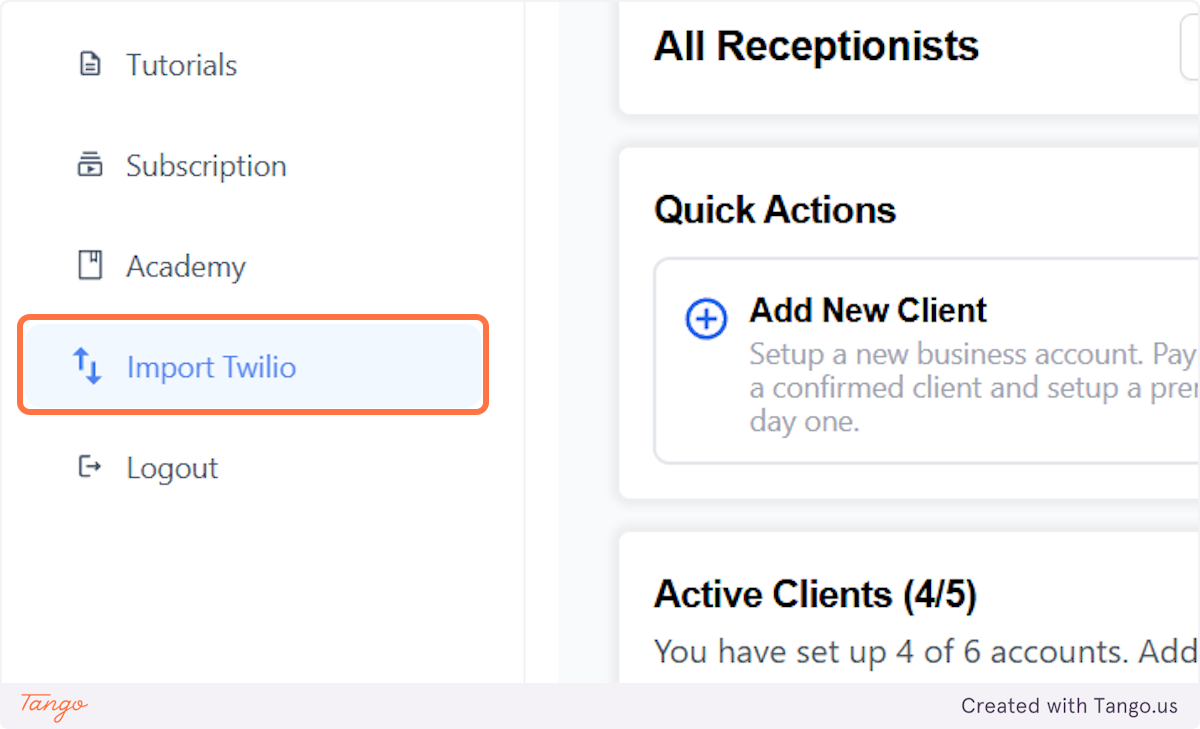
2. Click on Import Twilio.#
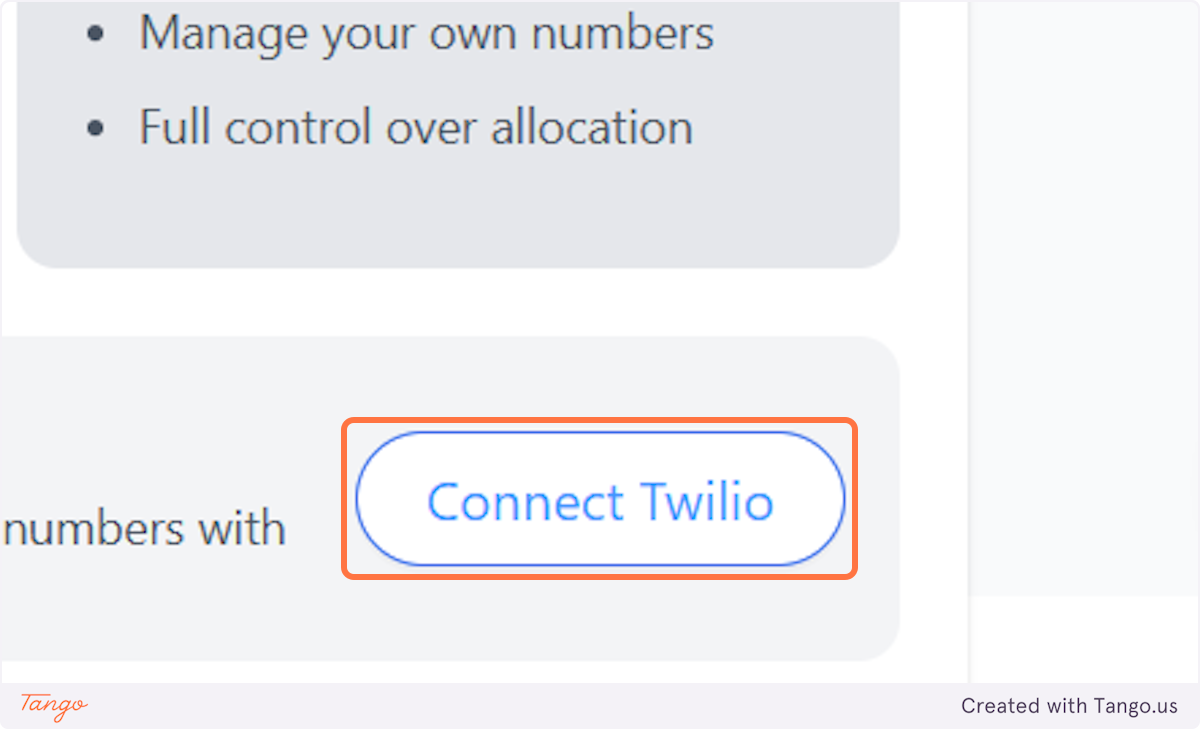
3. Click on Connect Twilio.#
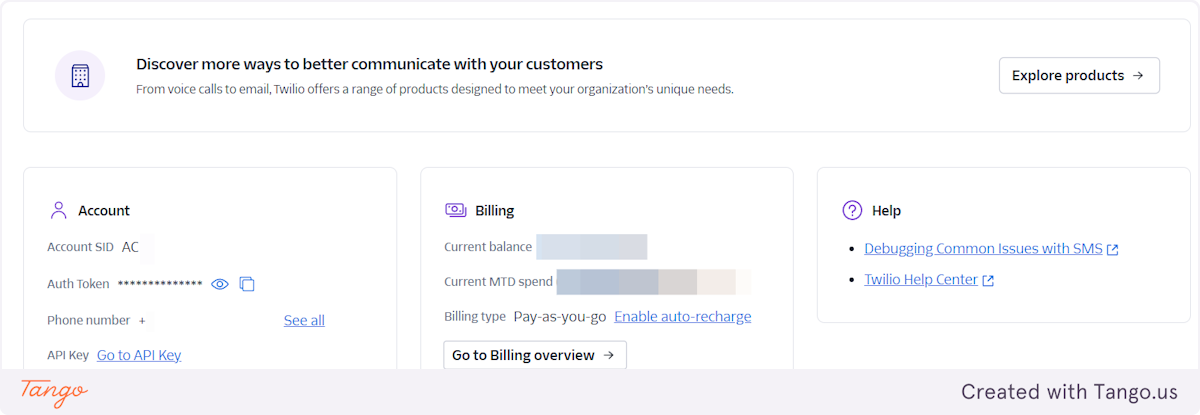
4. You will need to find your Account SID and Auth Token in your Twilio dashboard.#
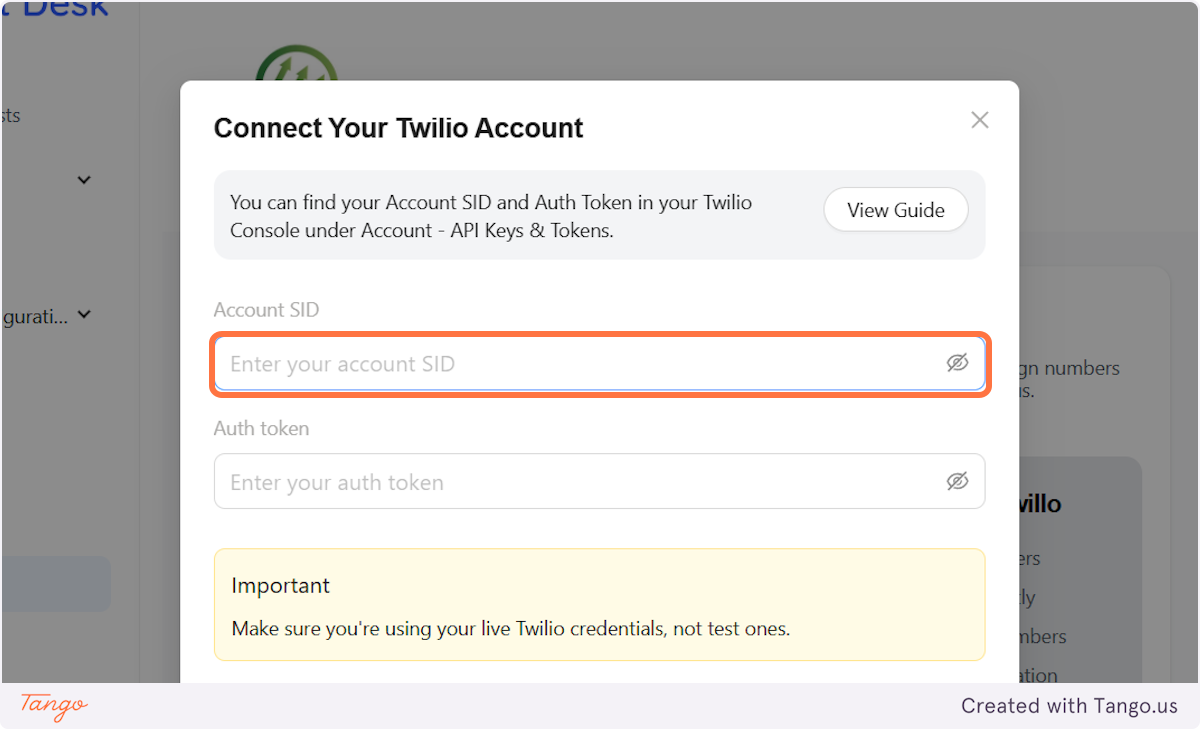
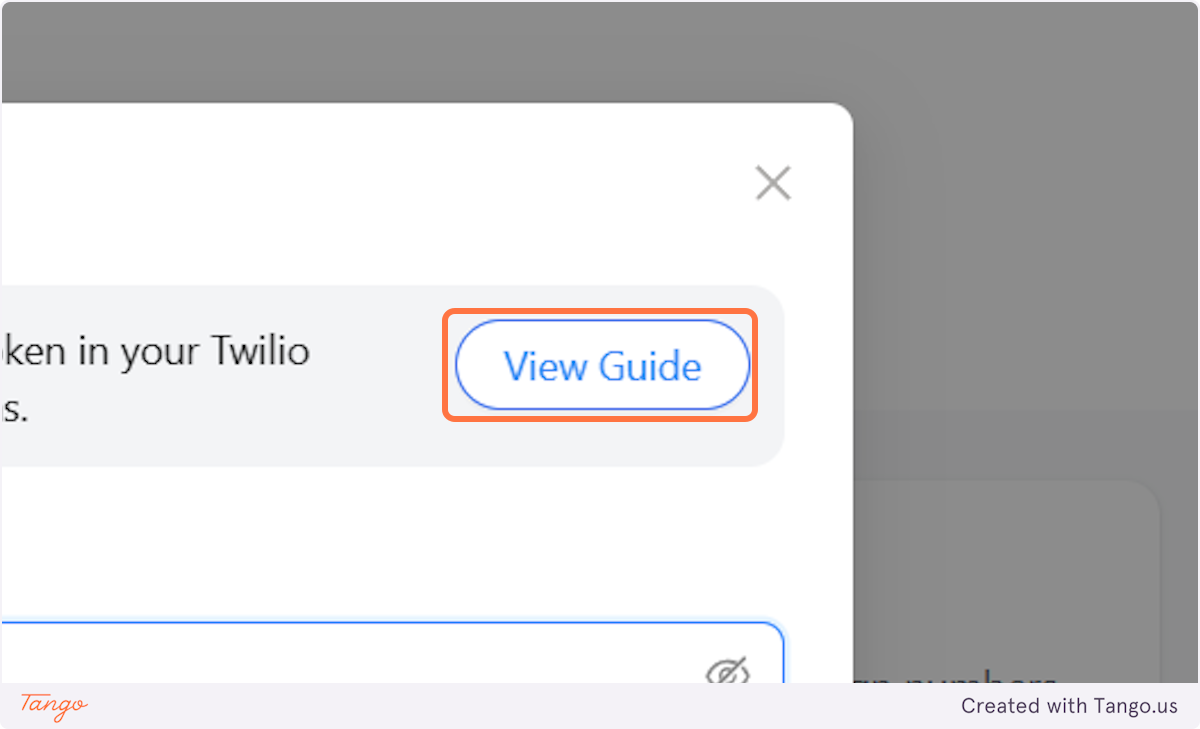
5. You can find more on how to locate this at: View Guide#
An explanation is provided on how to connect your Parent account and one of the subaccounts.
For this example, we will continue with the Parent Account.
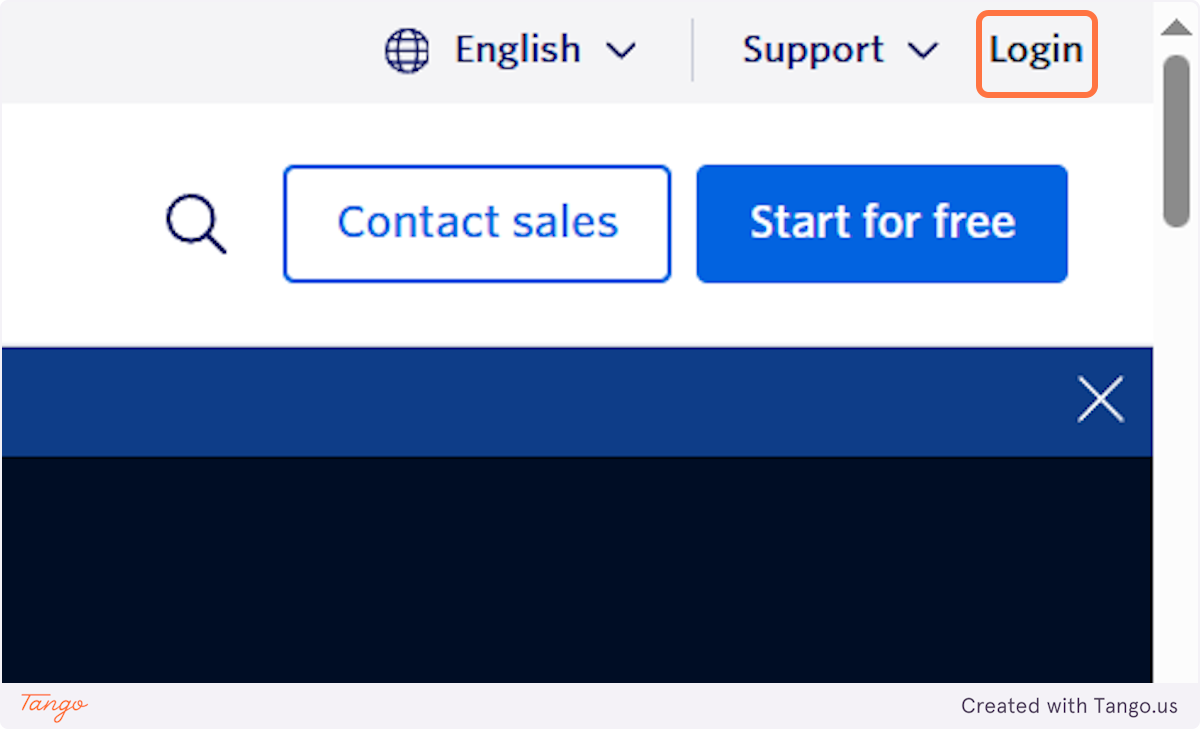
Twilio#
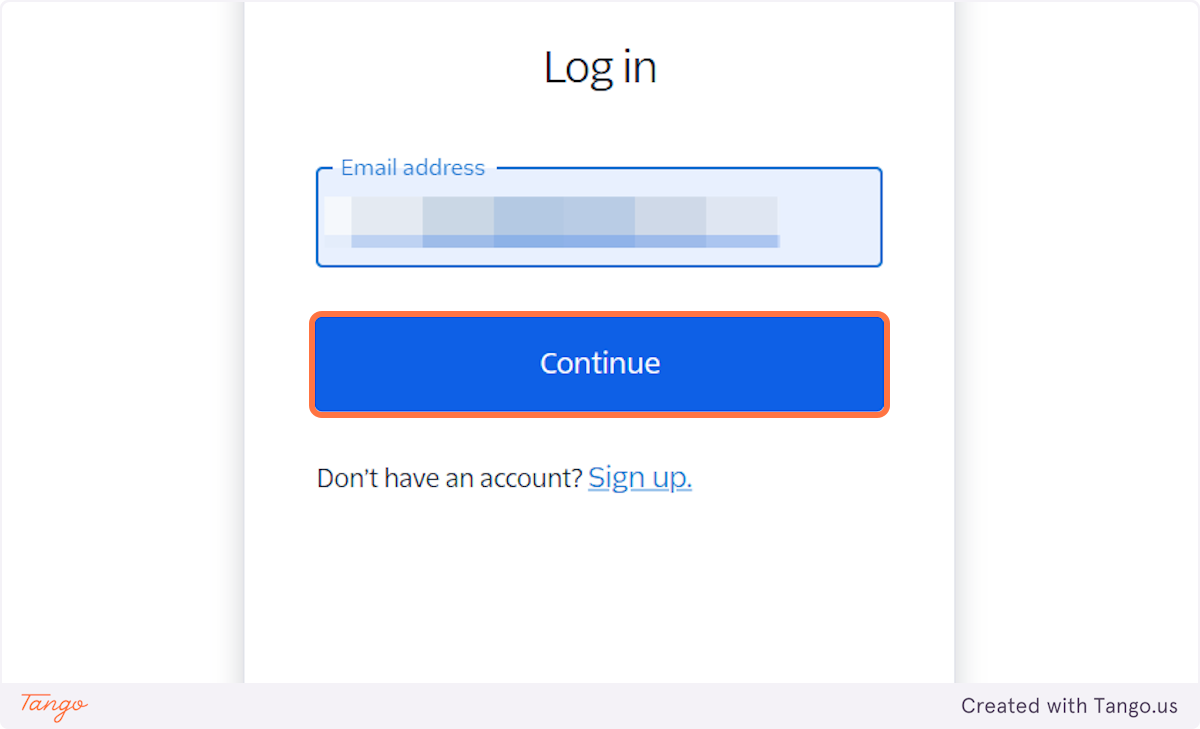
6. Let's Login into your Twilio account first.#
7. Enter your email address.#
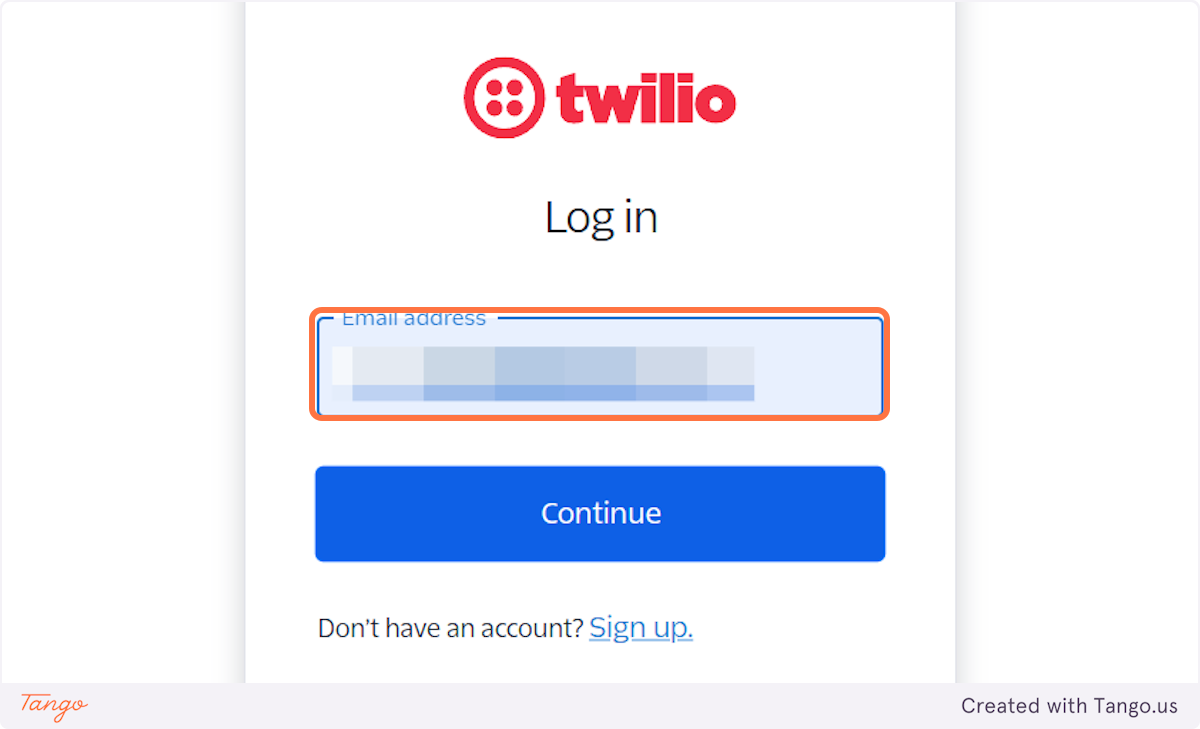
8. Click on Continue.#
Sign in - Google Accounts#
9. Once you connect your account click on Next.#

Twilio#
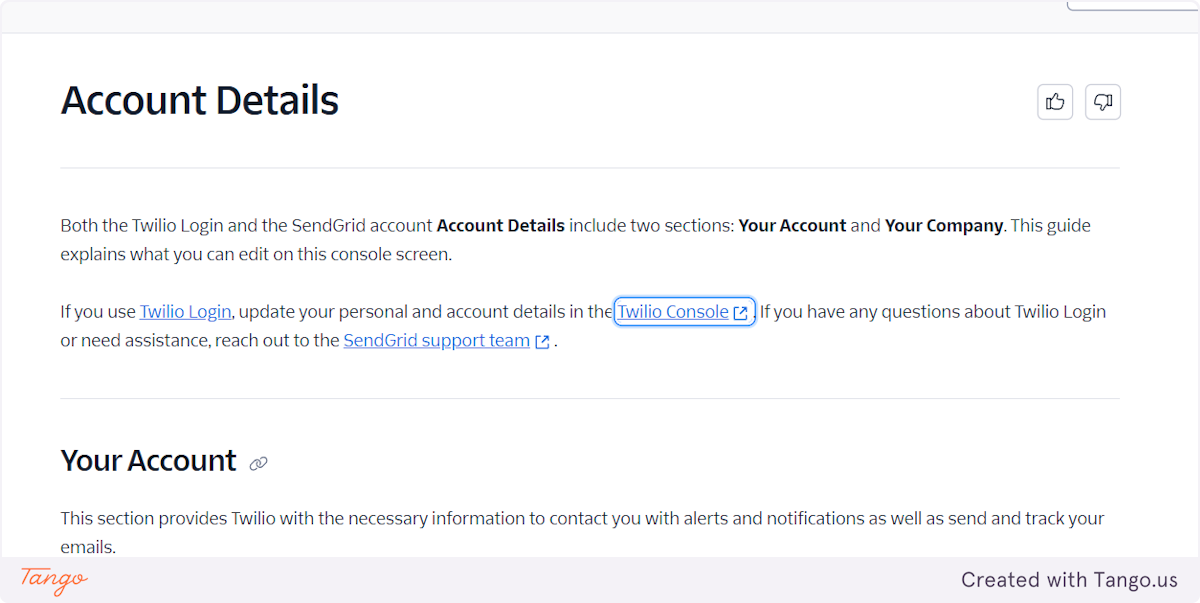
10. In your Twilio dashboard search for account details to find the information we need. You can also just open the account you need and the data will be located at the bottom left corner.#
You are searching for account information. We want to find your Account SID and Auth Token.
11. At the bottom left of the page you will find the details we need.#
My AI Frontdesk#
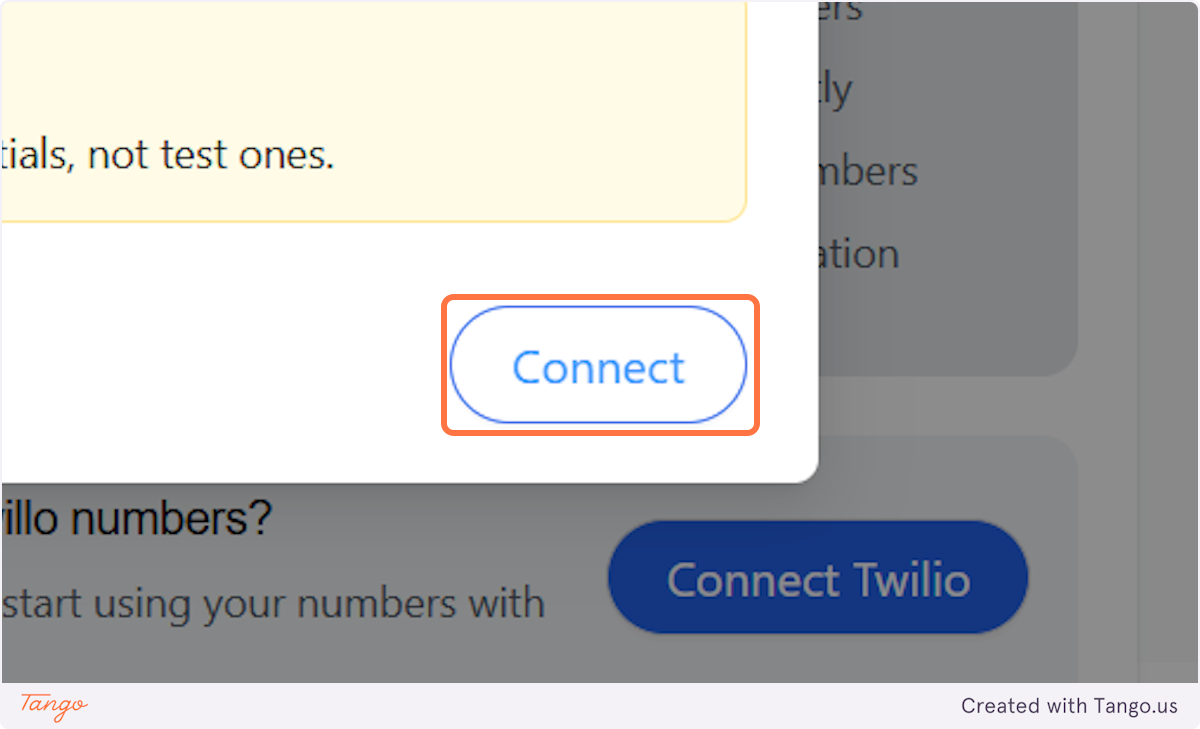
12. Enter the Account SID and Auth Token from the previous step.#

13. Click on Connect.#
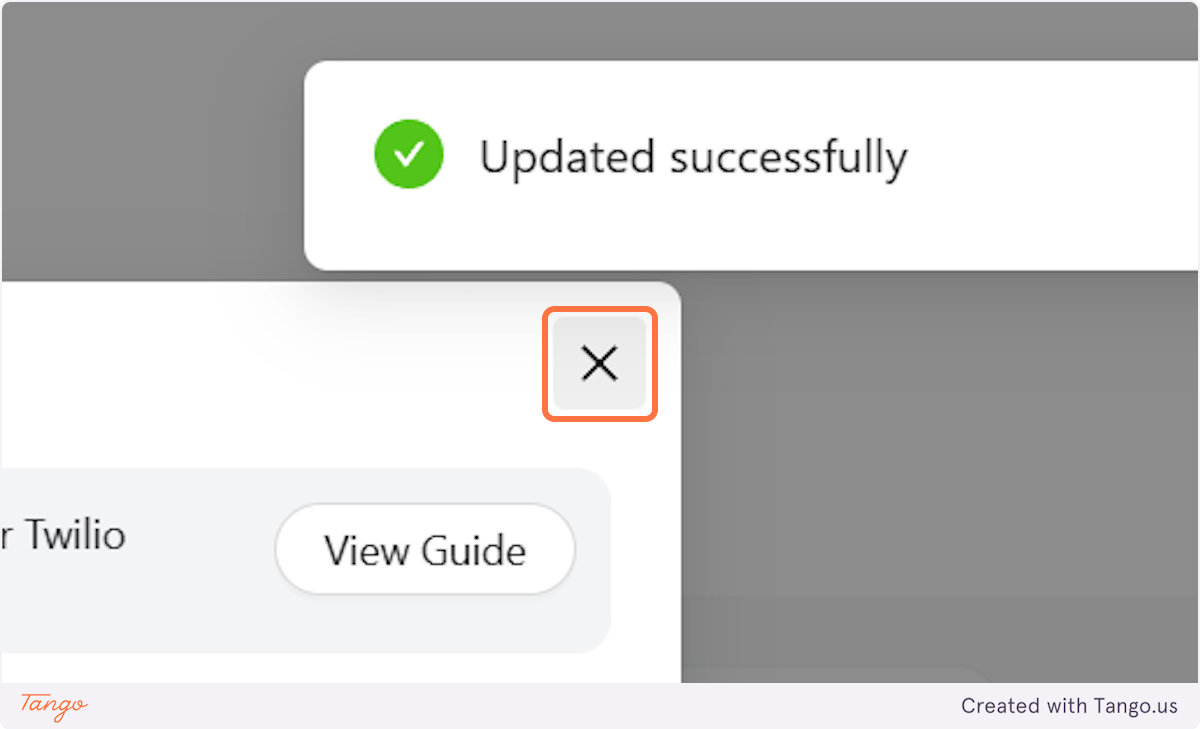
14. You should get the message that it was updated successfully.#
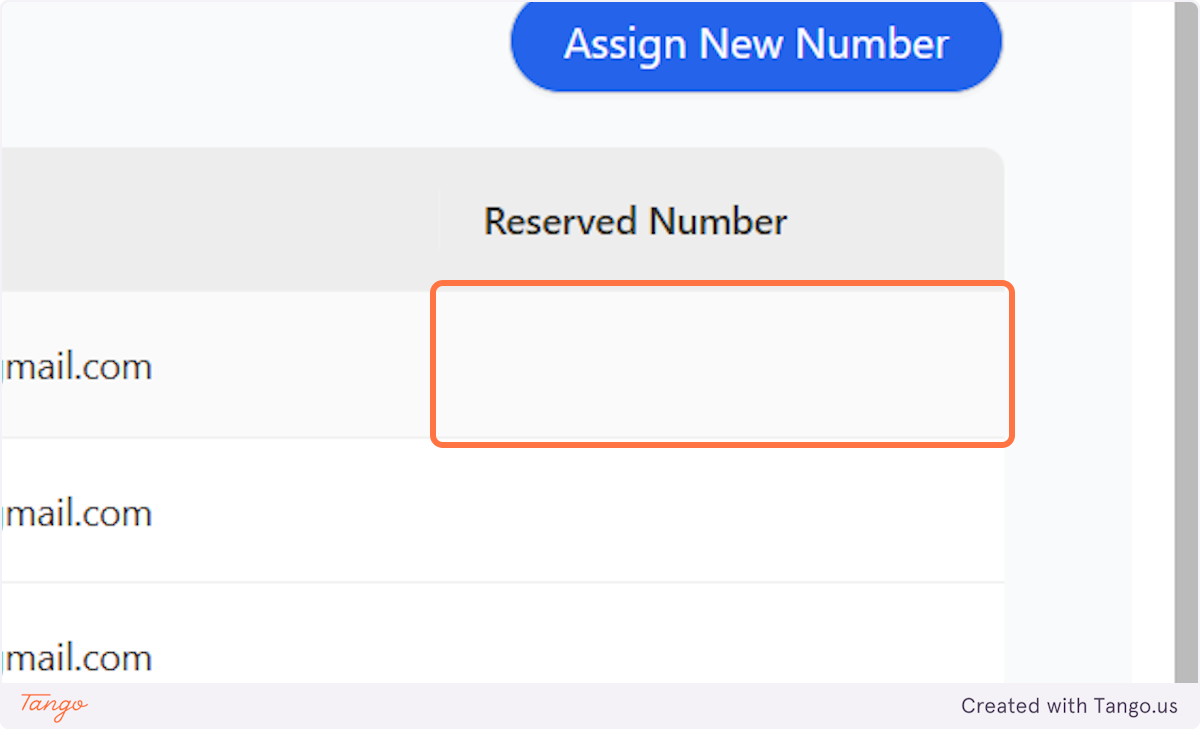
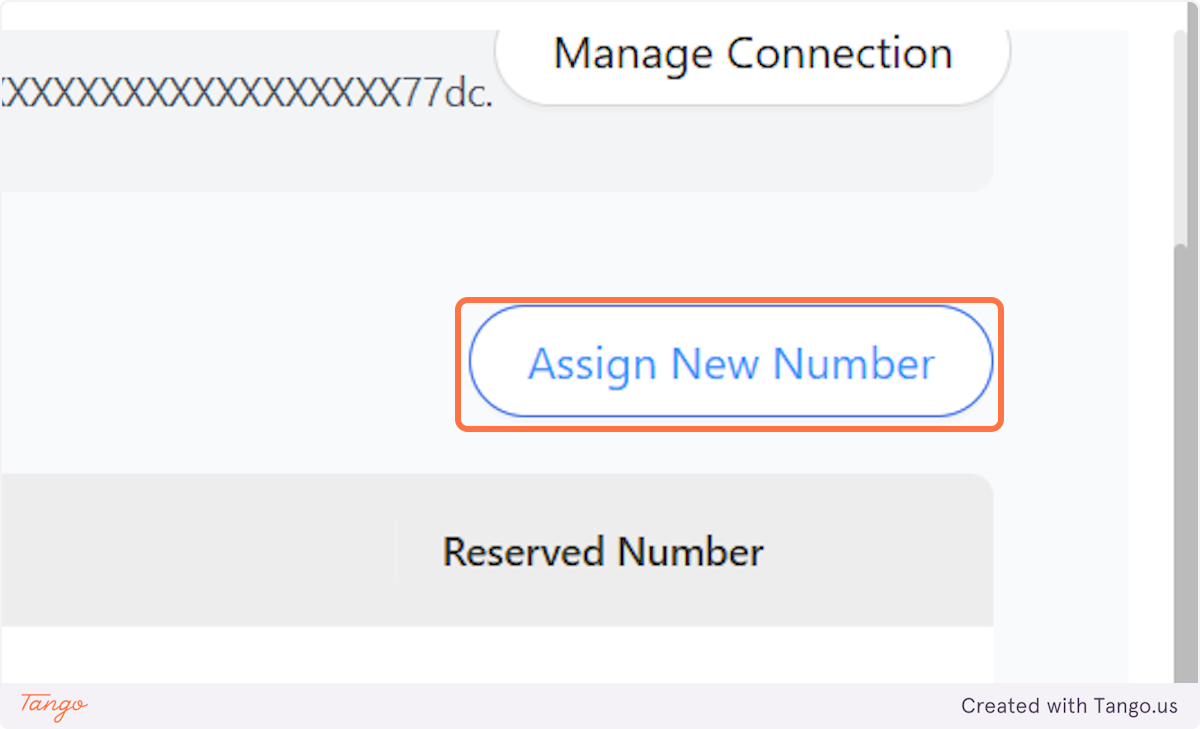
15. You can now start assigning numbers.#
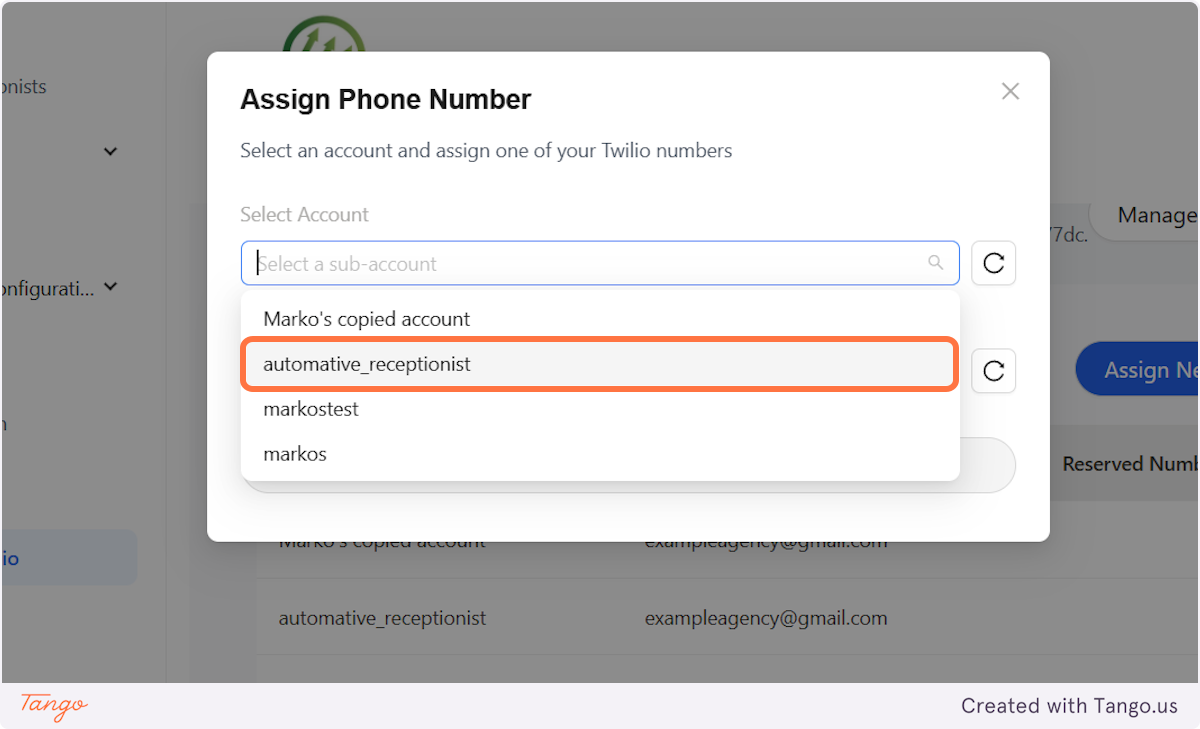
16. Click on dropdown trigger to find the subaccount you want to assign the number to.#
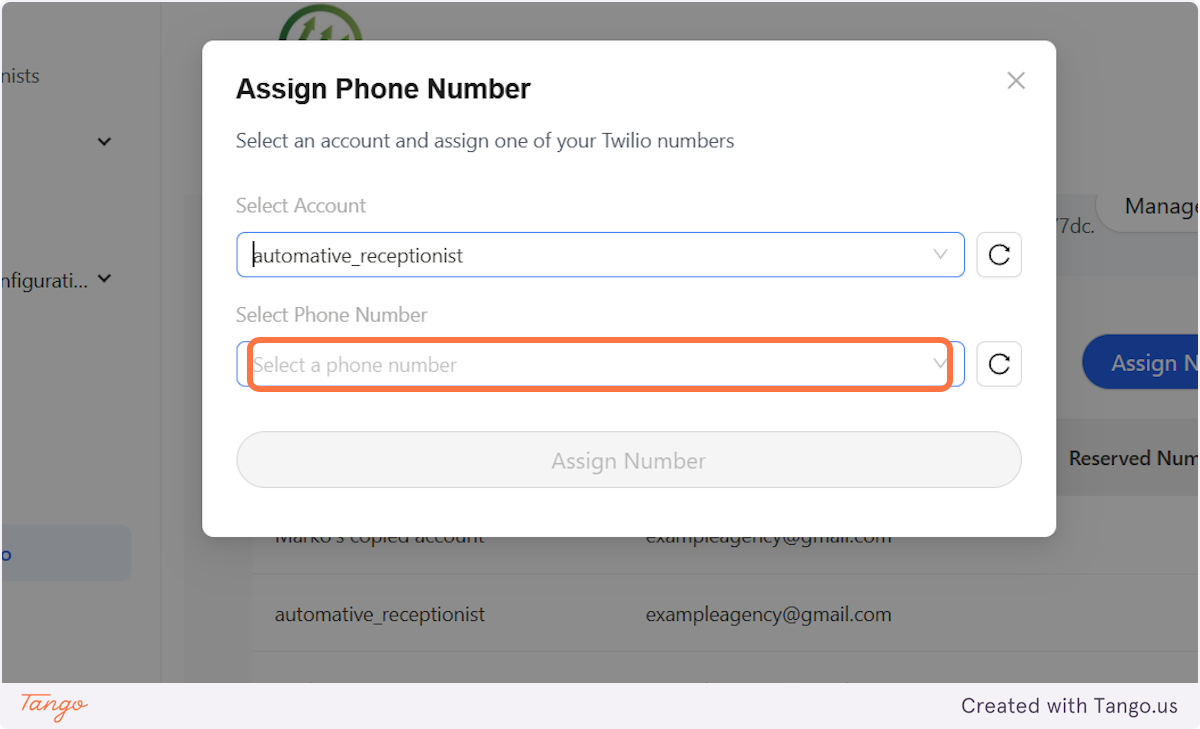
17. You can now select a phone number from the dropdown menu.#
18. This is where you will see the added phone number.#