Export Smart call Analysis data via Zapier
This is a quick tutorial on how to export data from our Smart Call Analysis tool into Zapier and use it on. This tutorial will cover connecting to Zapier as well. It should take you 10 minutes to create this workflow and connect everything.
Creation Date: Aug 29, 2025
Created By: Marko S
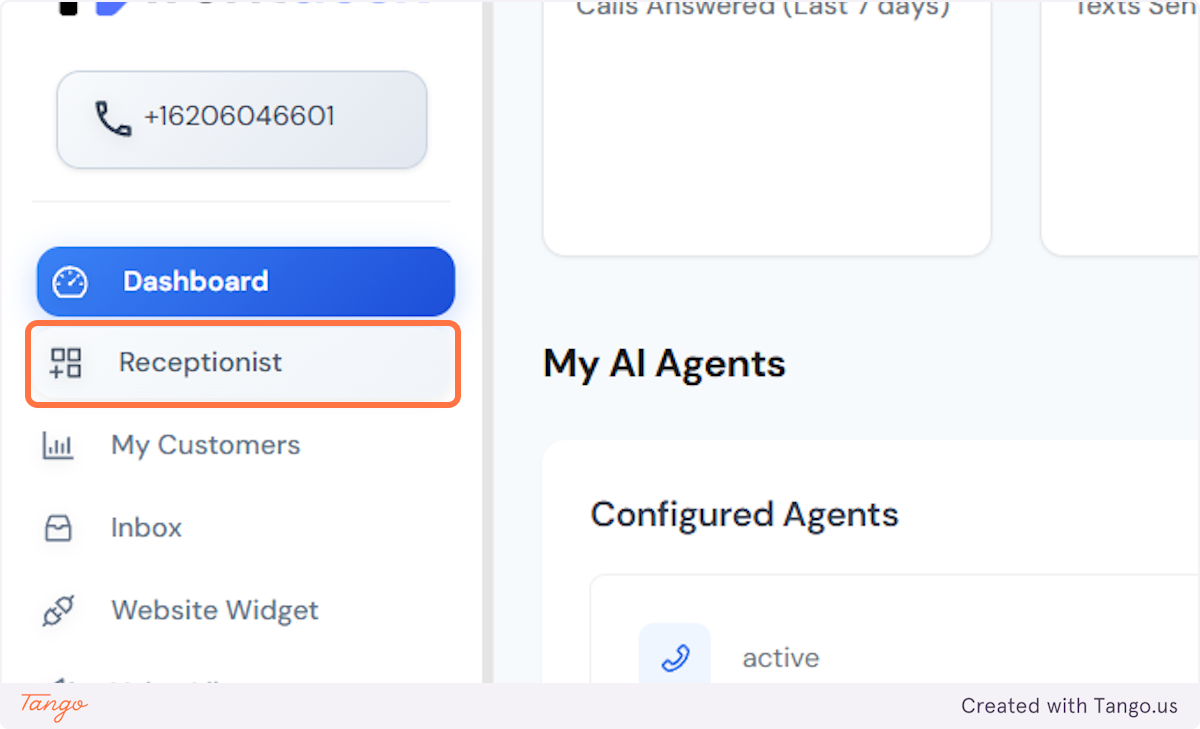
1. Let's first navigate to the smart call analysis section.
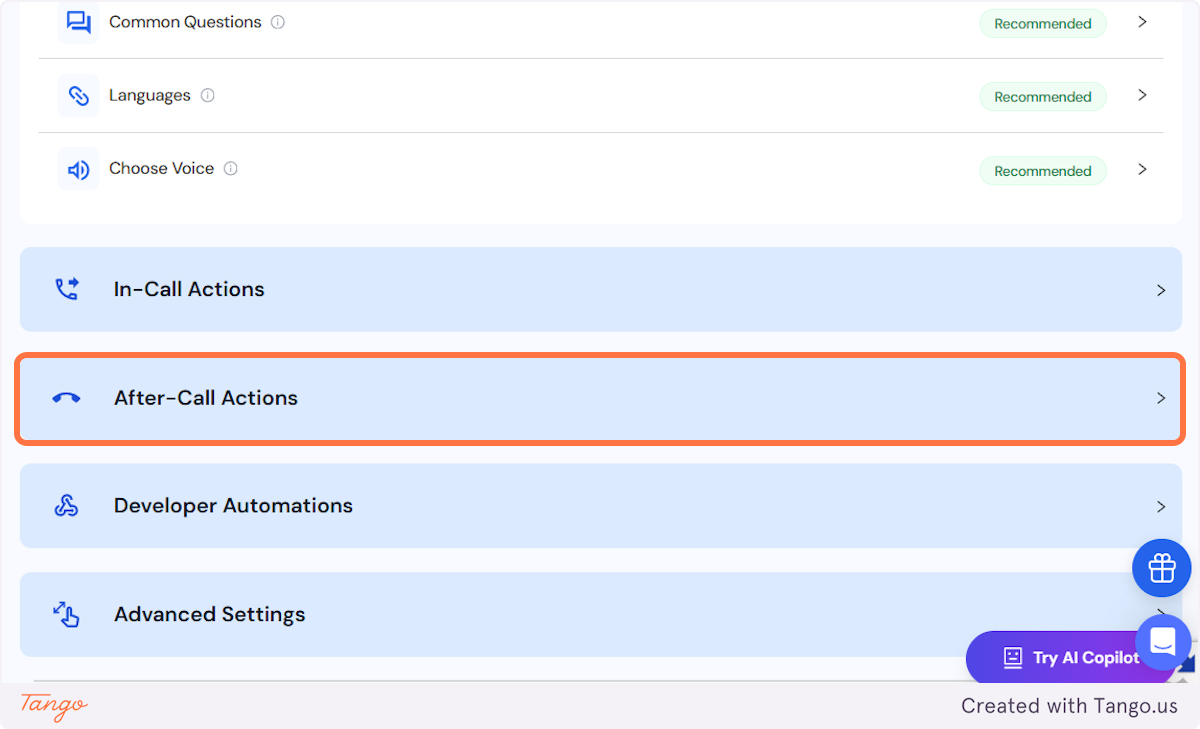
2. Click on After-Call Actions
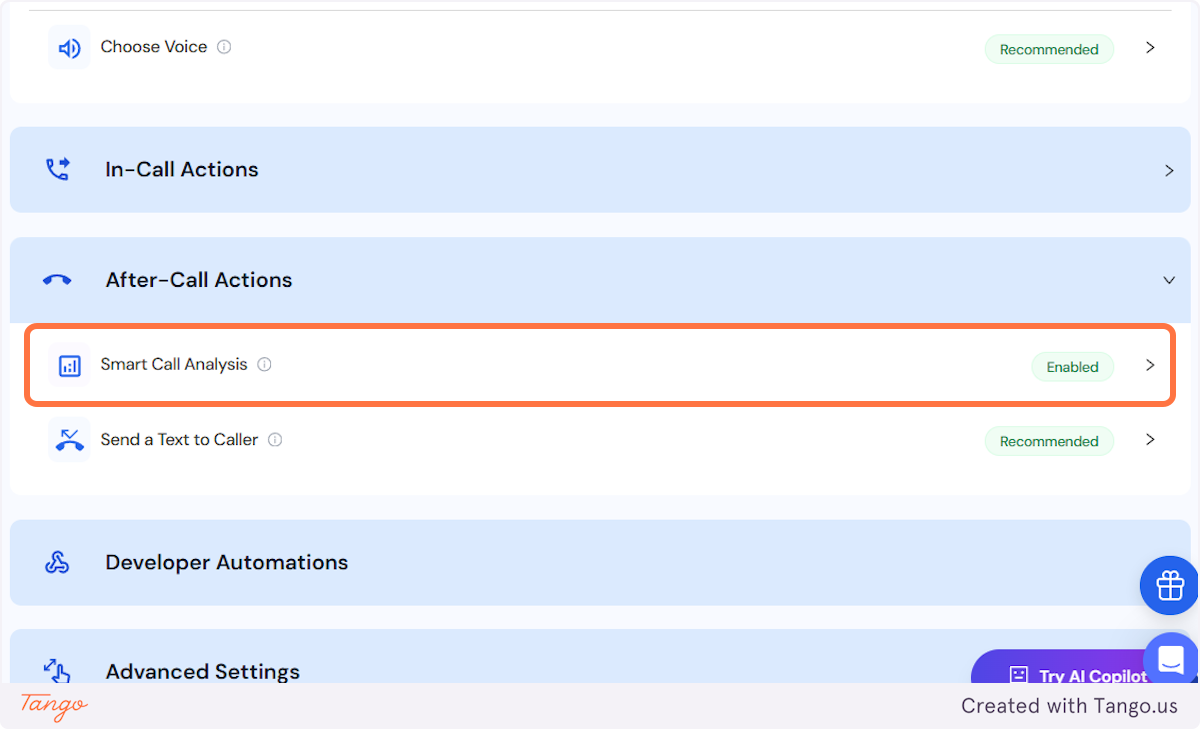
3. Click on Smart Call Analysis…
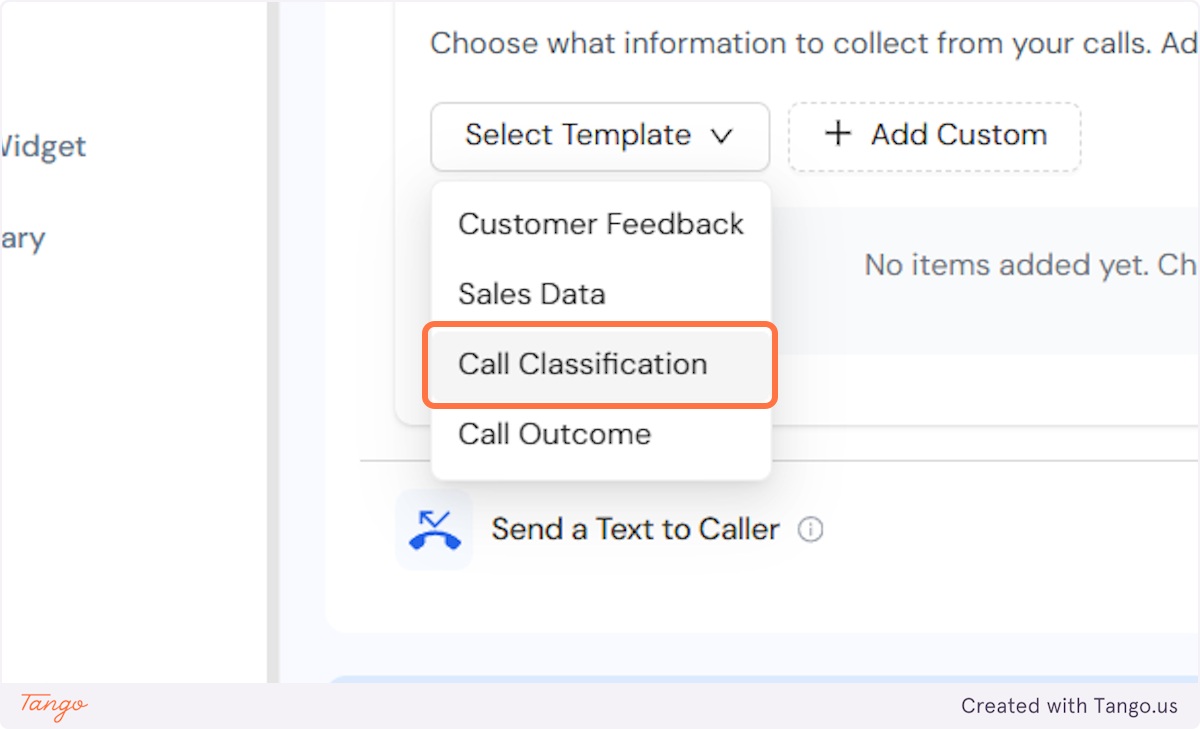
4. Let's make an analysis based on the template we already provide.
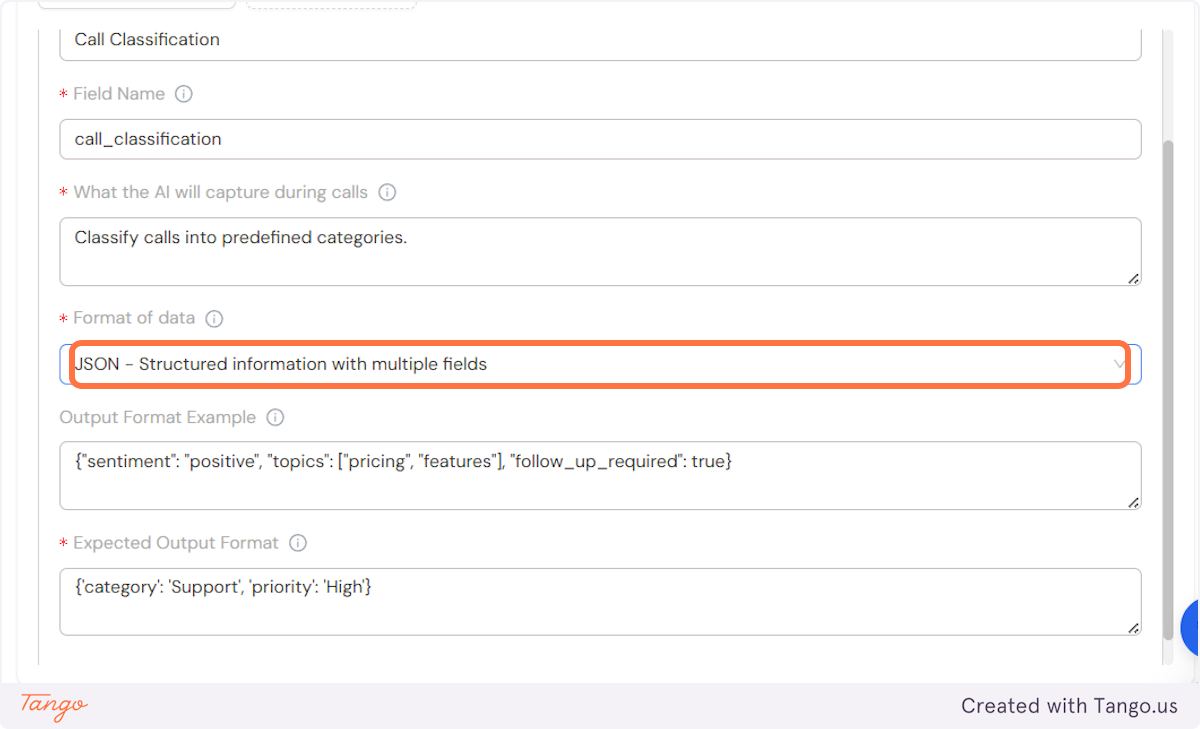
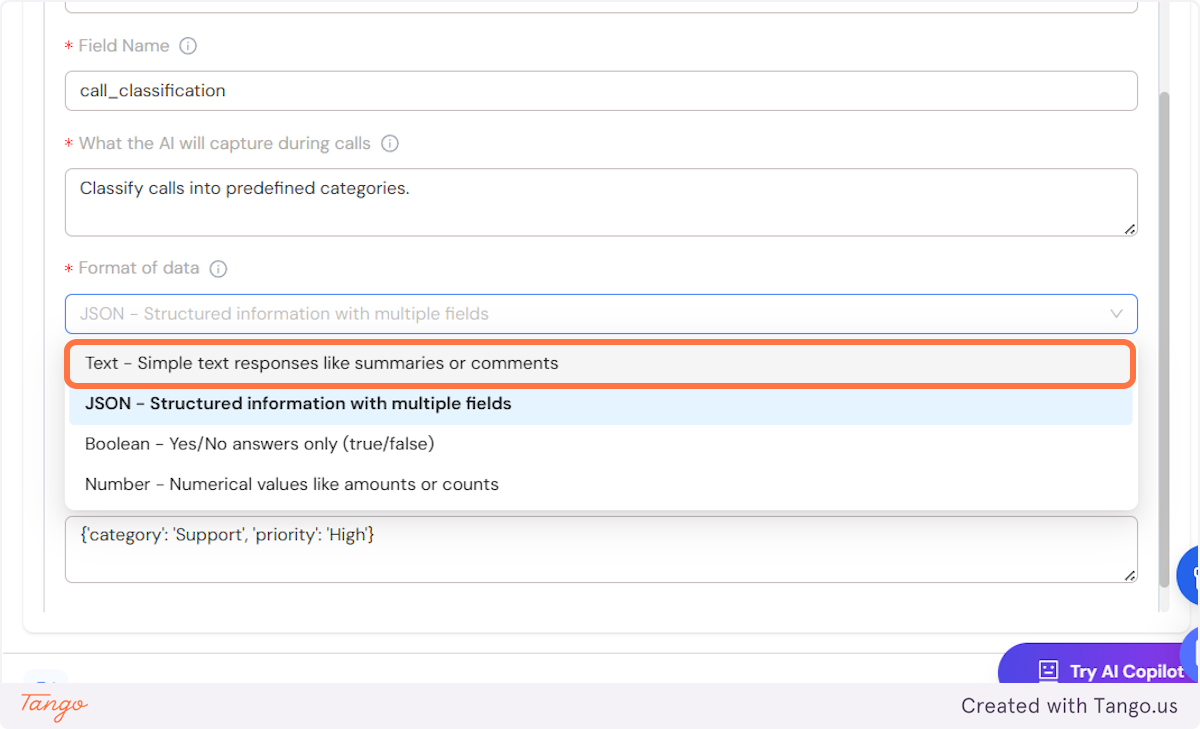
5. Let's pick the data format we want to use.
6. For this example, we will go with text.
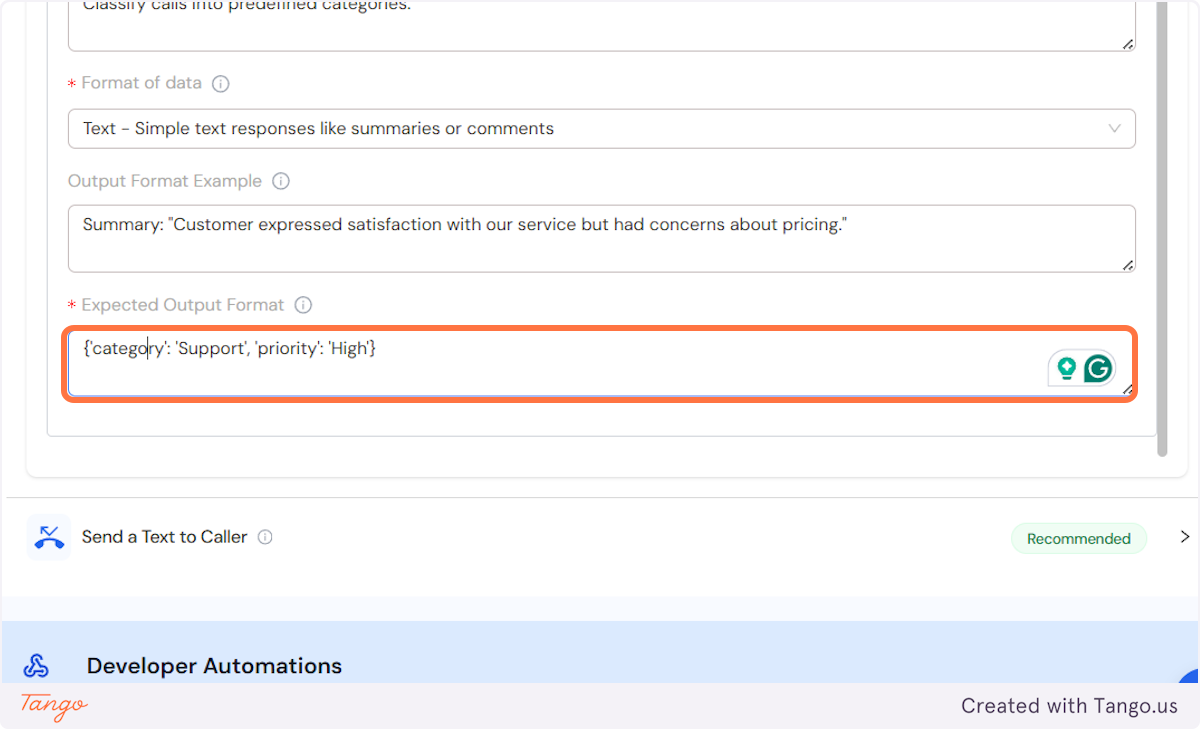
7. This is what the final output format will look like.
8. Click on Save Setup.
9. Now I am going to give my AI a test call to be able to get this information created in Zapier.
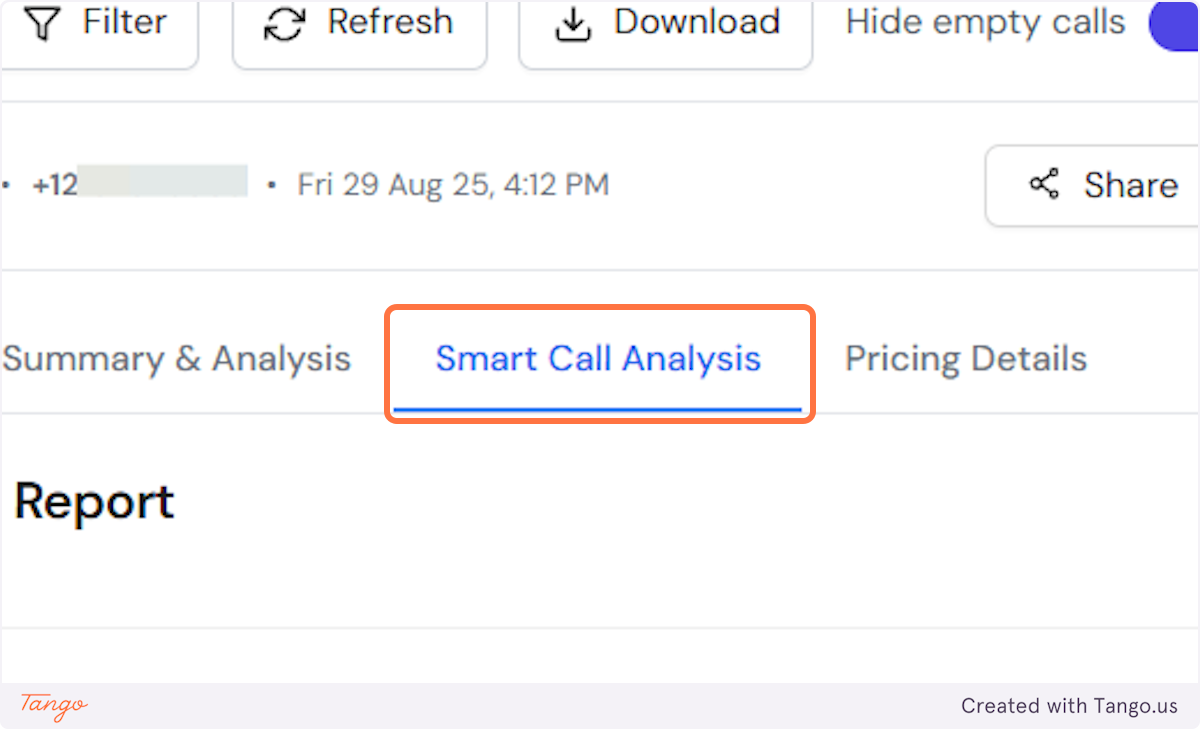
10. Click on Smart Call Analysis
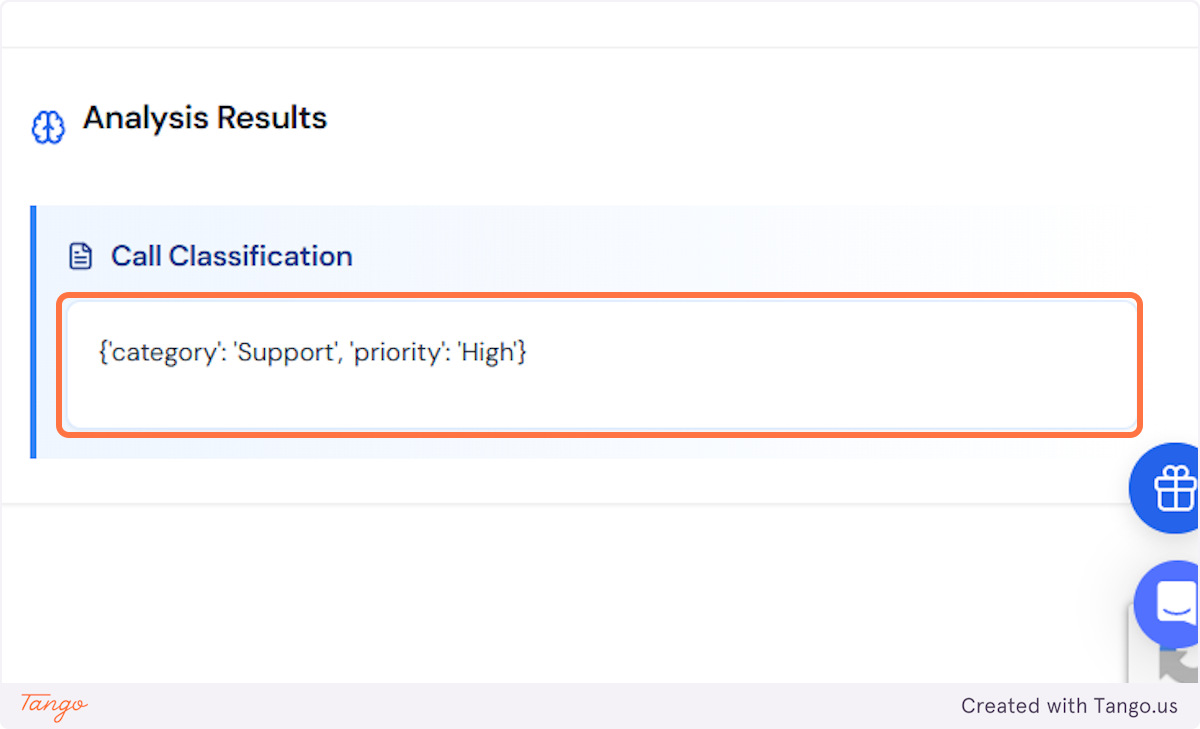
11. Now that the data is generated as expected, let's connect Zapier and export it.
12. Let's accept the invite from your AI Front Desk dashboard first.
13. Copy this url into your browser. 14. Now just accept the invite, and you will be rerouted to your Zapier account. For resellers, this is white labeled, too, and no AI Front Desk branding is ever visible.
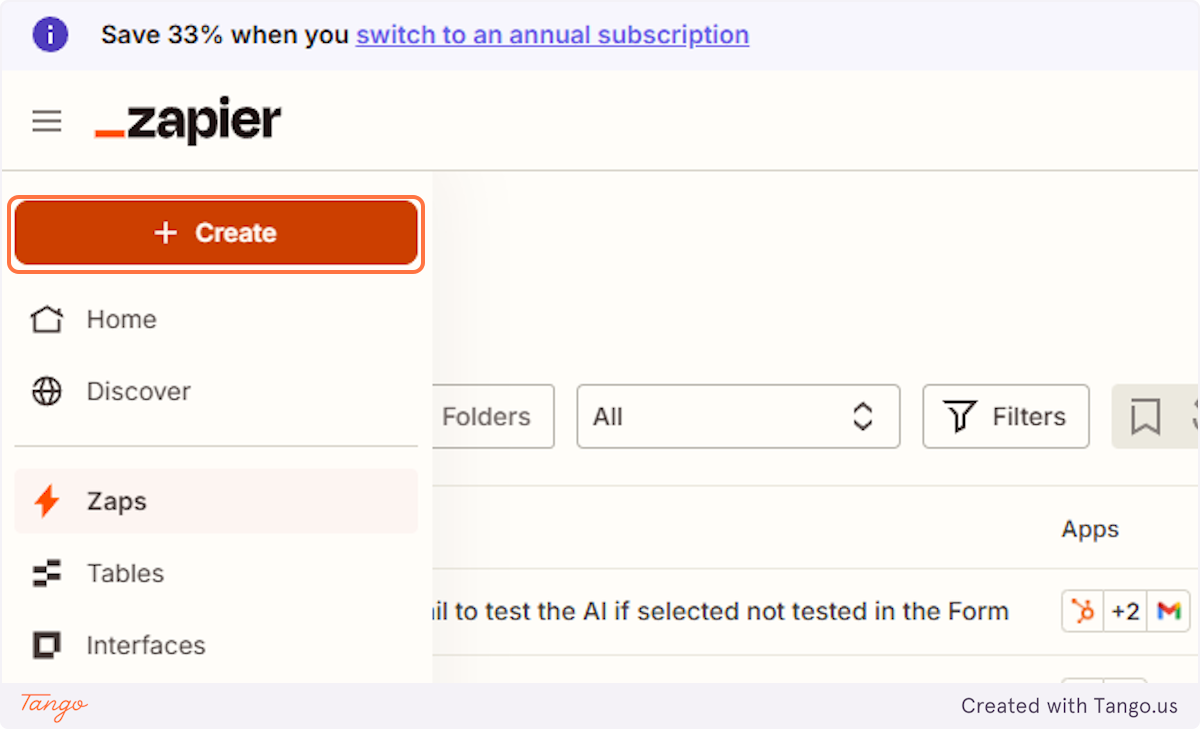
15. Now let's navigate to your Zapier account. Let's create a Zap.
16. Click on Zaps…
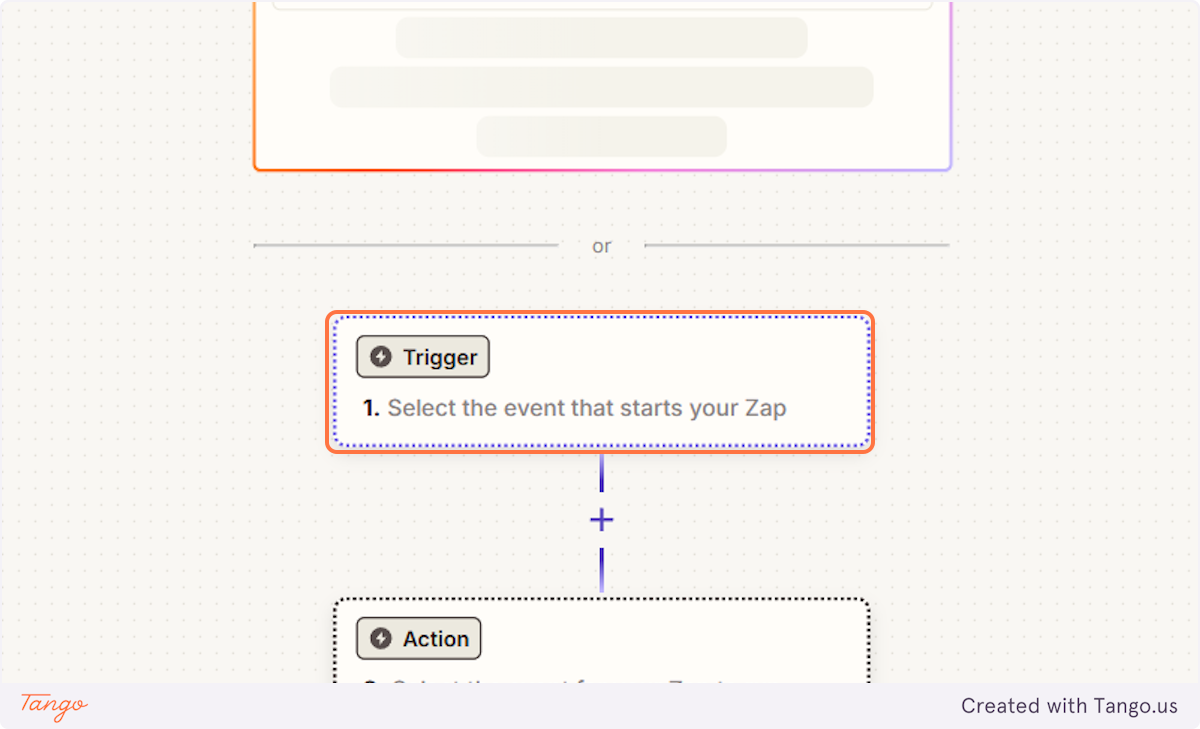
17. Click on Trigger…
18. Click on My AI Front Desk (2.0.2) For resellers, it will not show AI Front Desk branding! It will be called AI Call Receptionist!
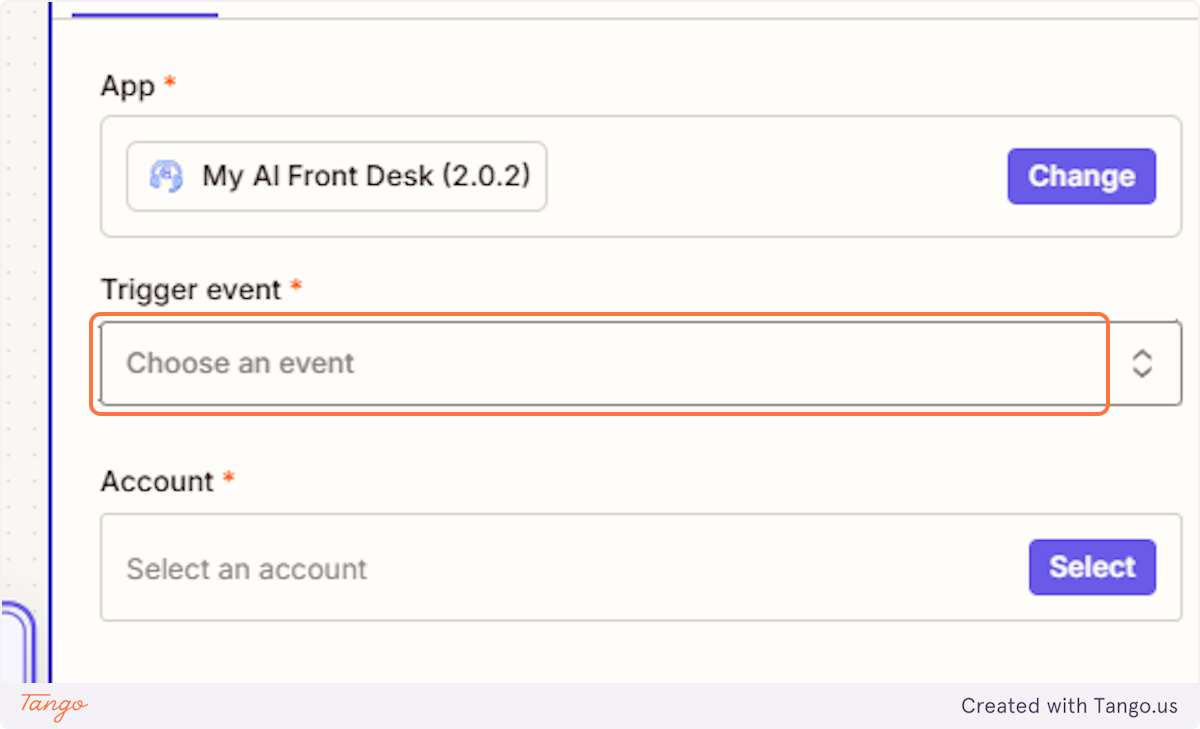
19. Click on Choose an event.
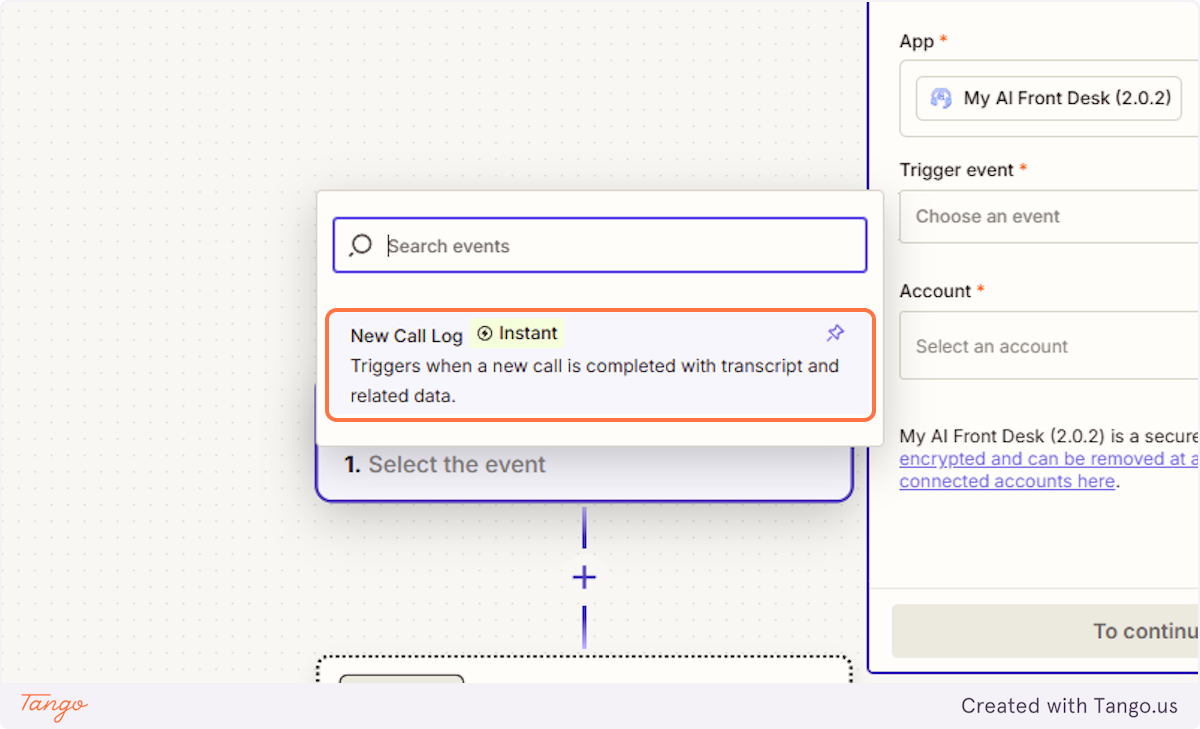
20. Click on New Call Log…
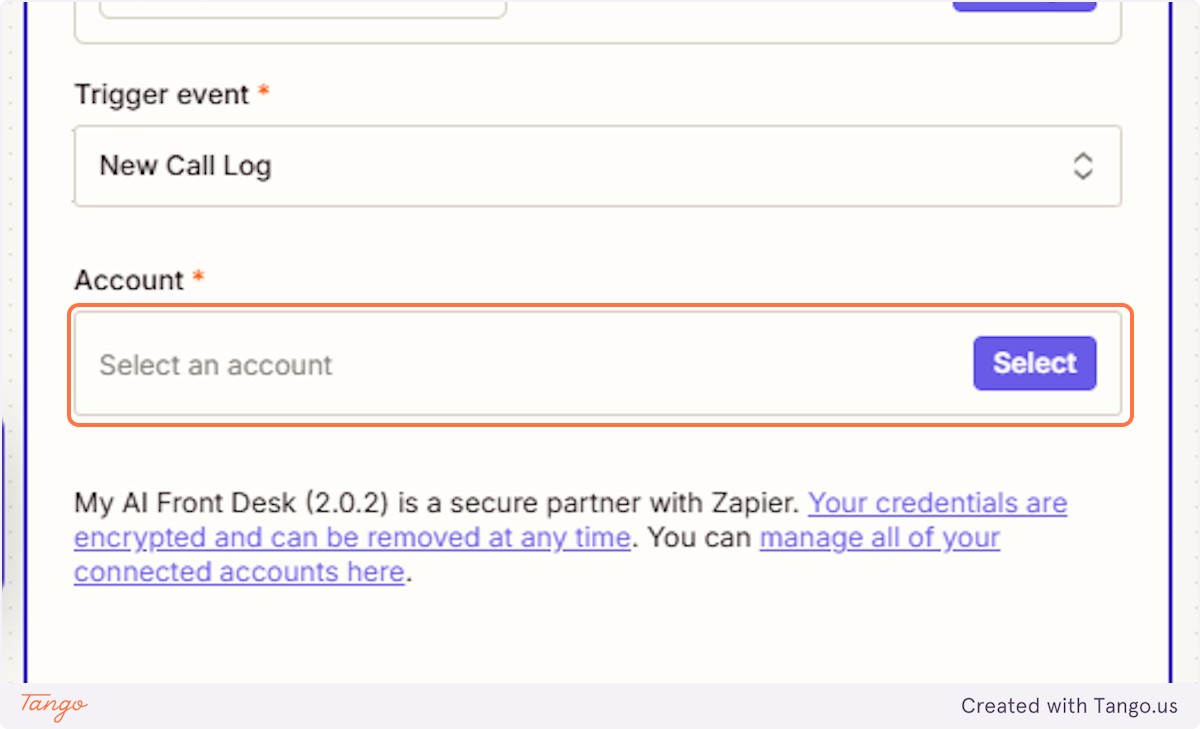
21. Click on Select an account…
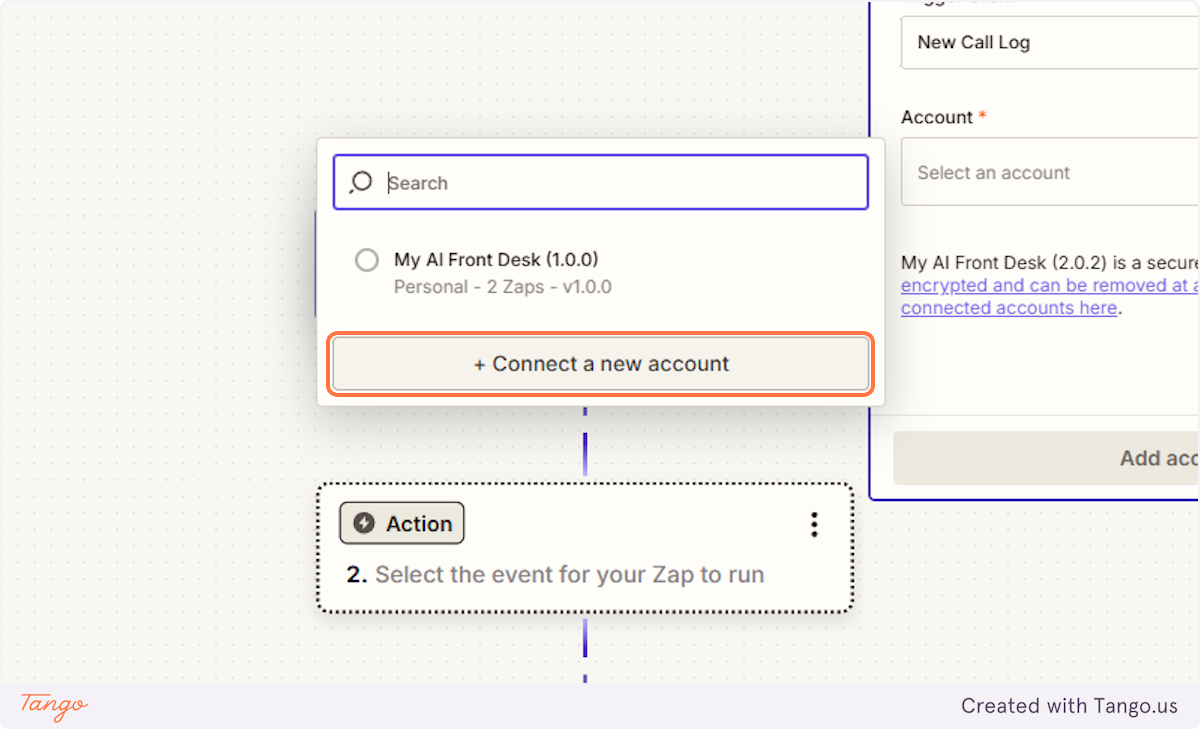
22. Click on + Connect a new account.
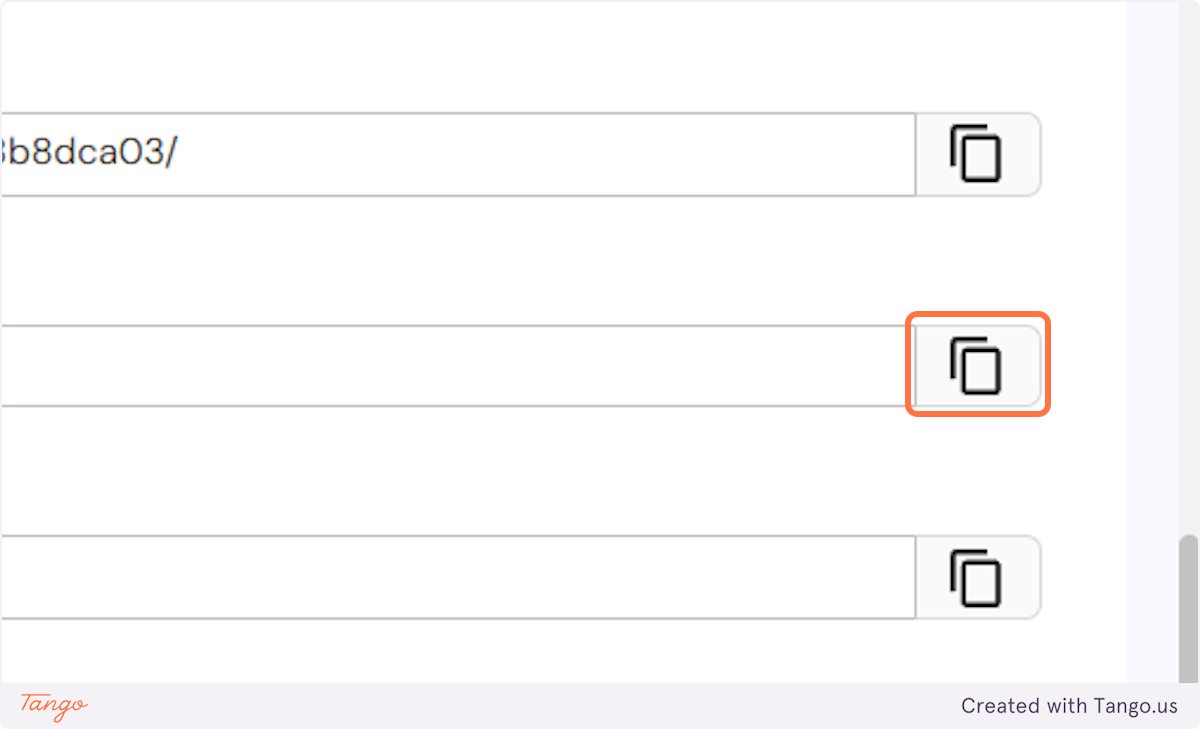
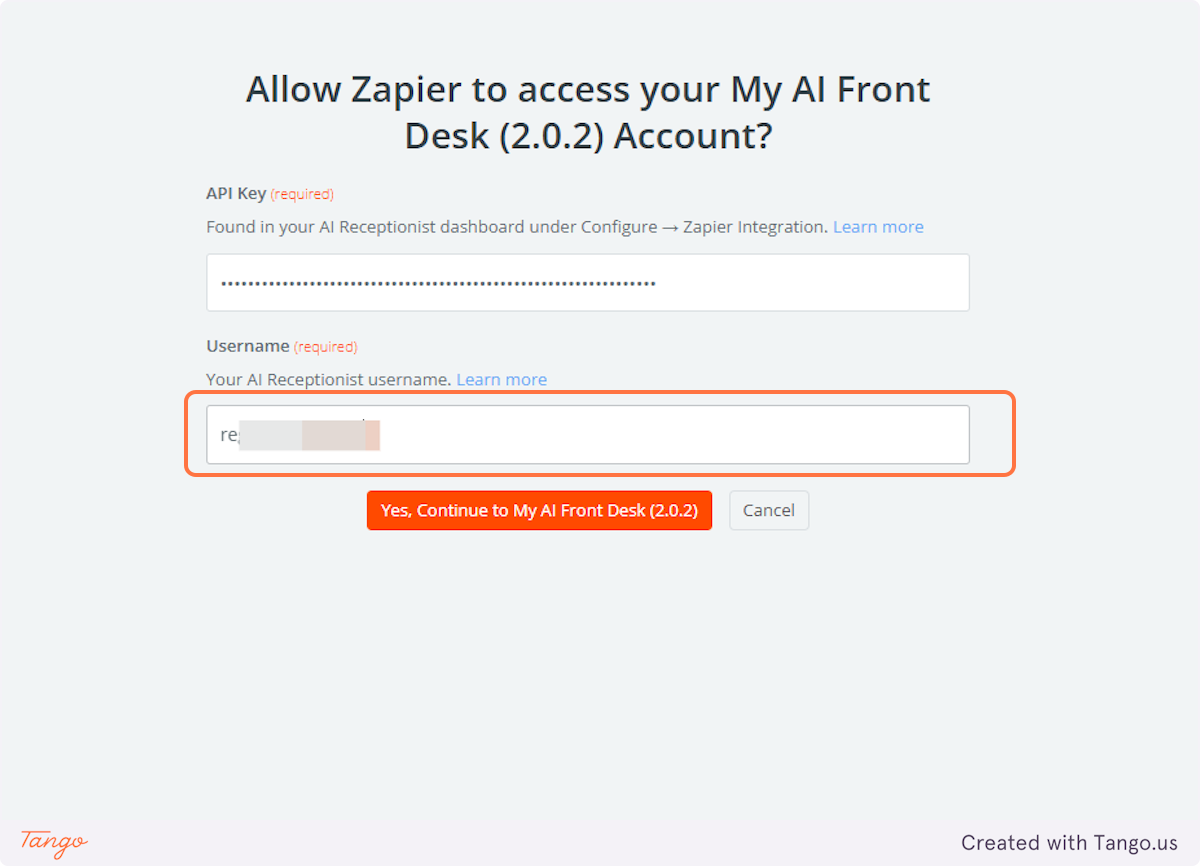
23. Let's copy your API key first.
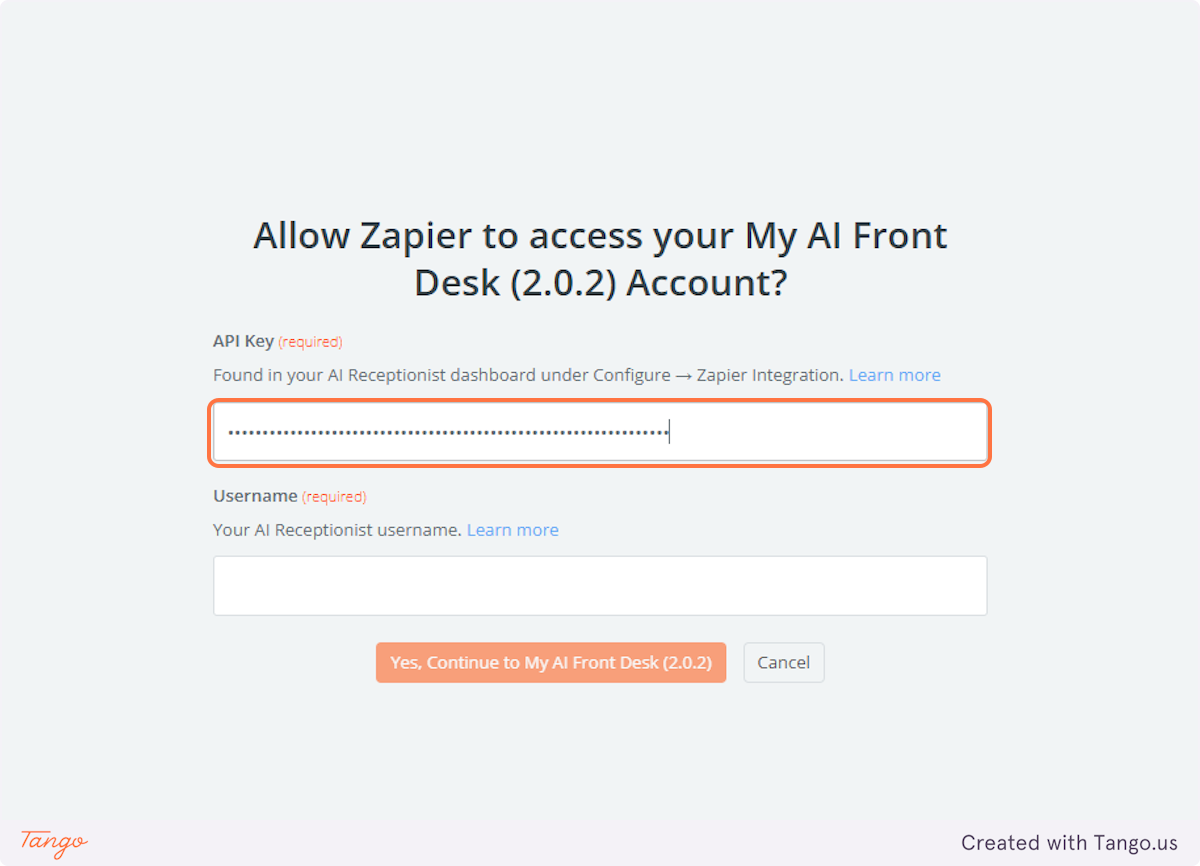
24. Paste it into the appropriate field in Zapier.
25. Now let's do the same for the username.
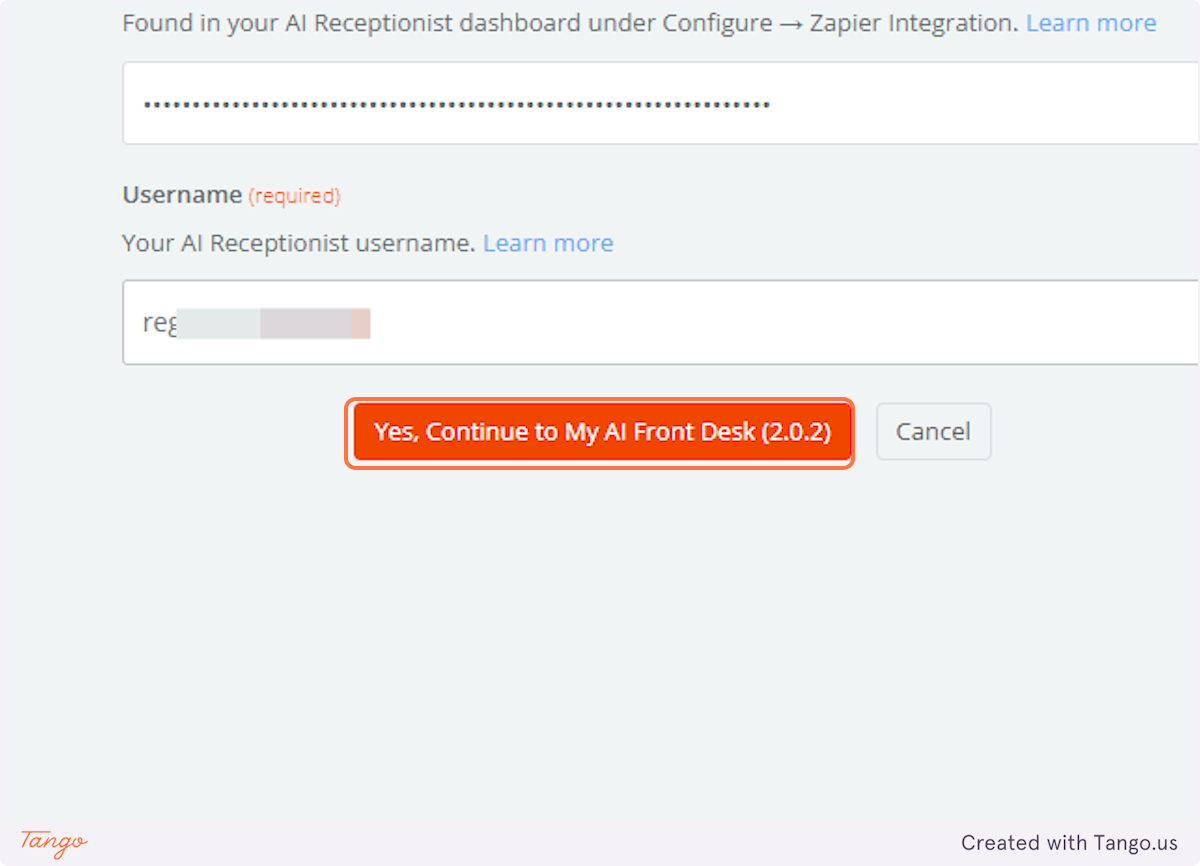
26. Click on Yes, Continue to My AI Front Desk (2.0.2)
27. Click on Continue.
28. Click on Test trigger.
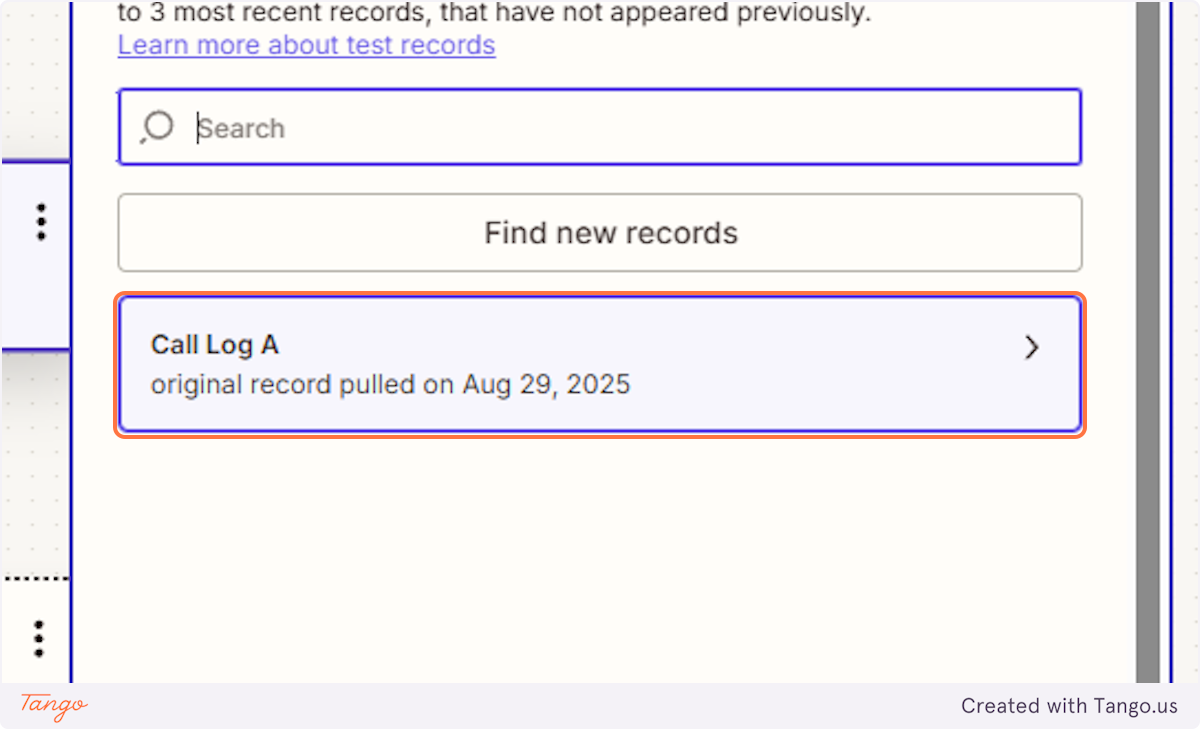
29. Click on View Call Log A.
30. Click on Continue with selected record.
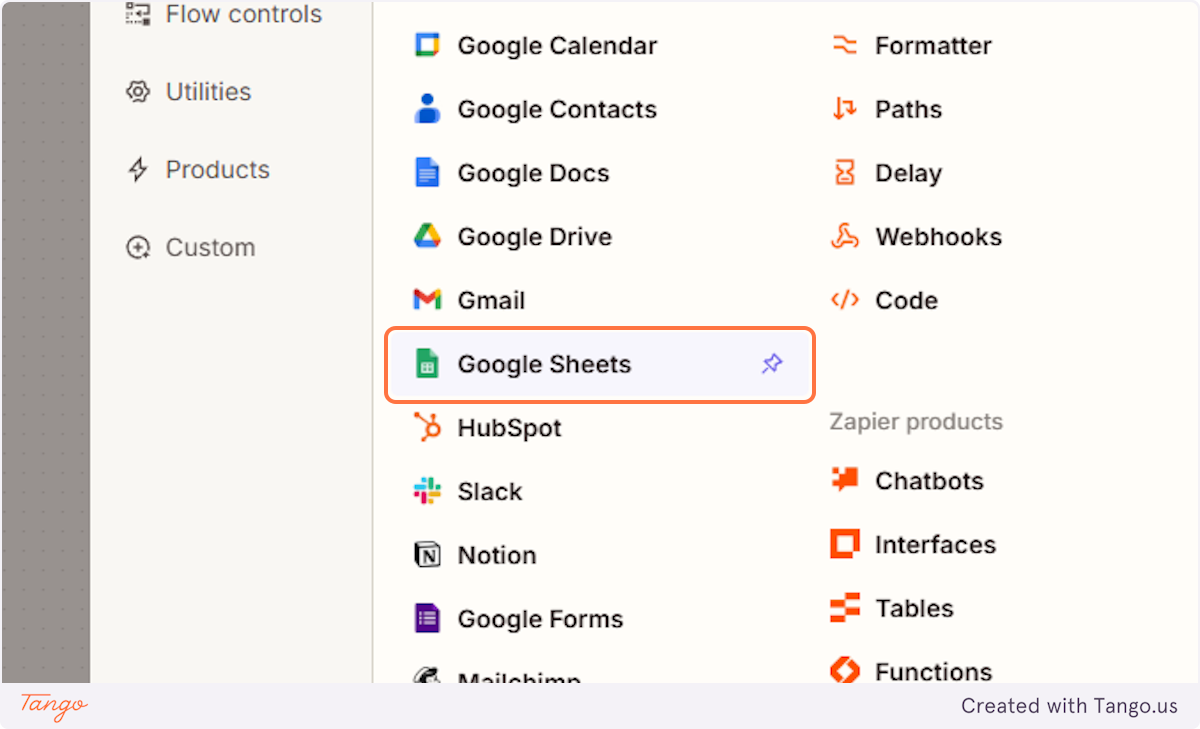
31. For this example let's connect one Google Sheet.
32. Click on Choose an event.
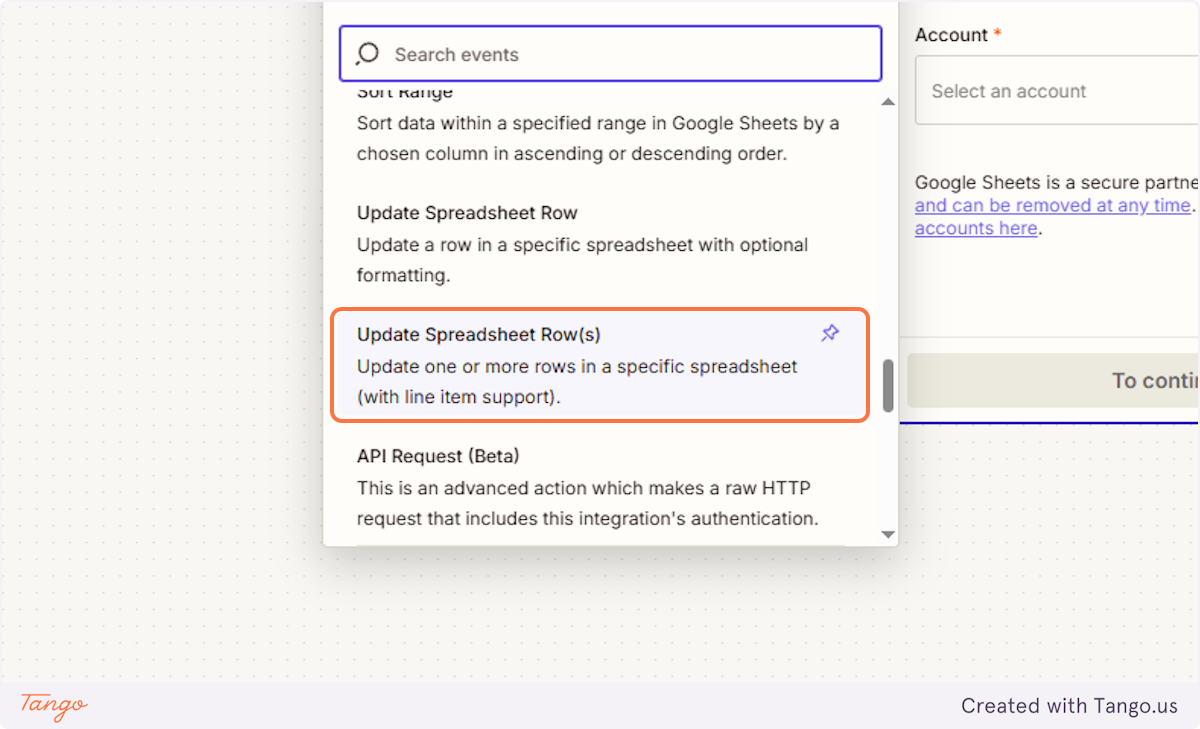
33. Click on Update Spreadsheet Row(s)…
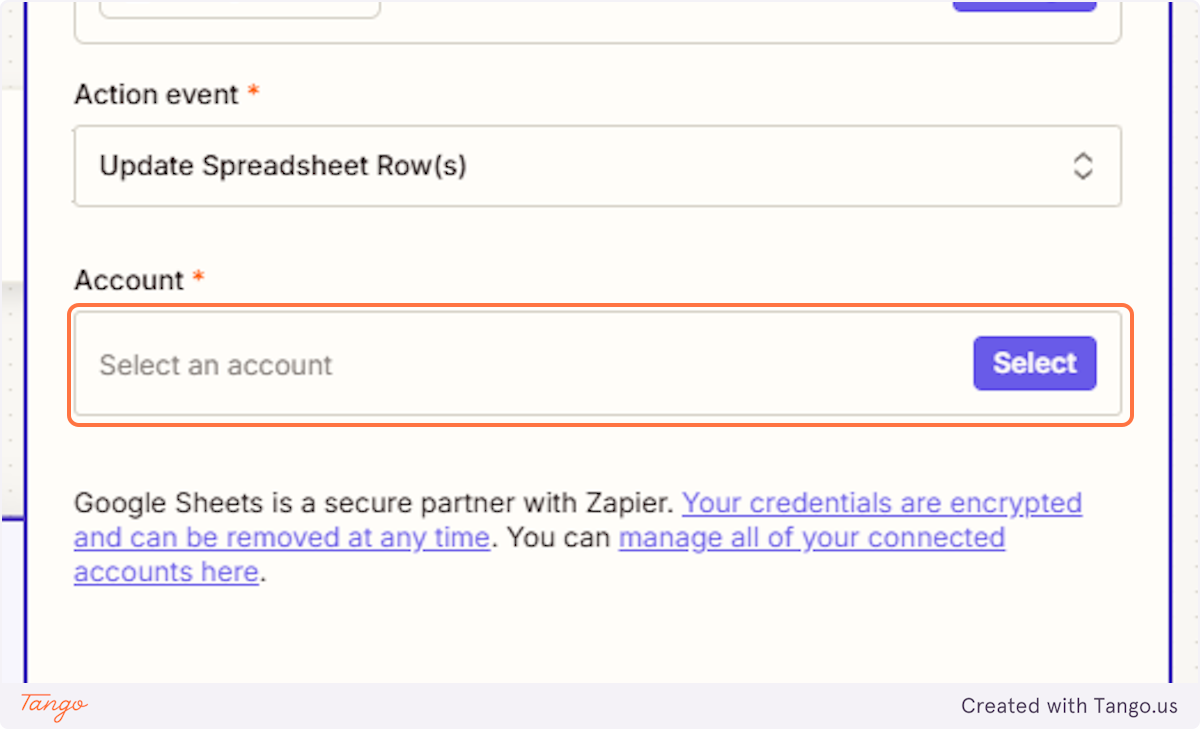
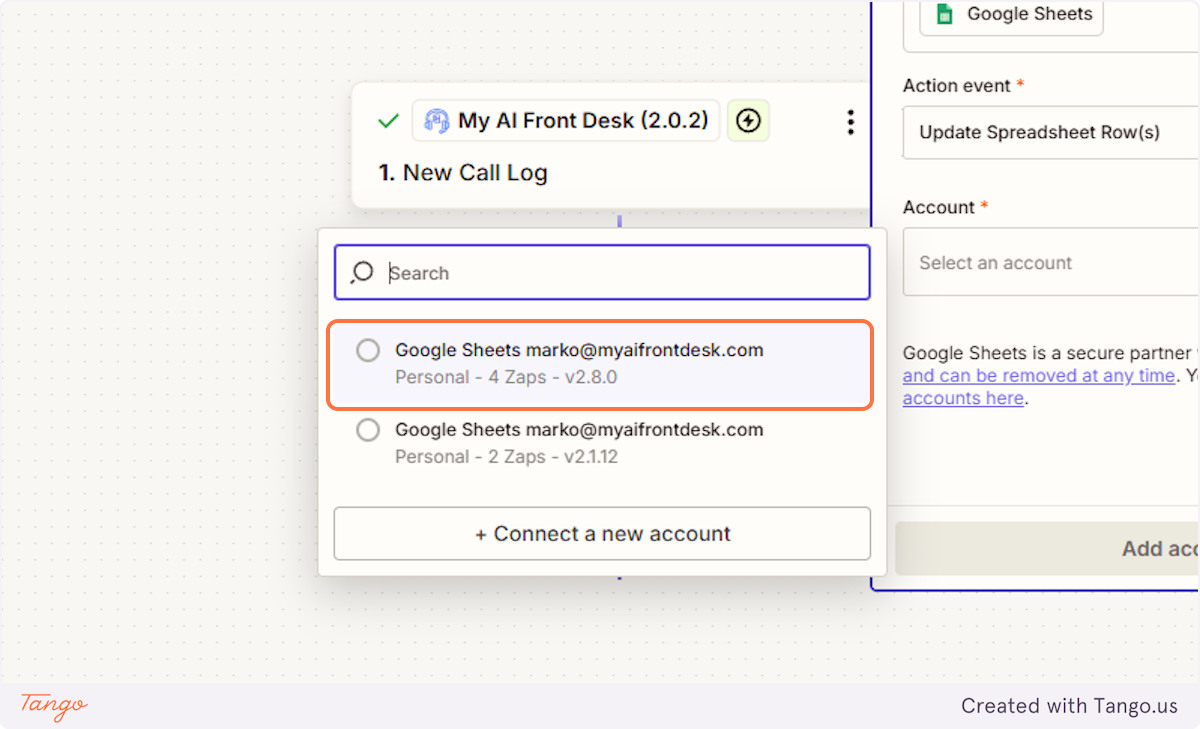
34. Click on Select an account…
35. Add your account.
36. Click on Continue.
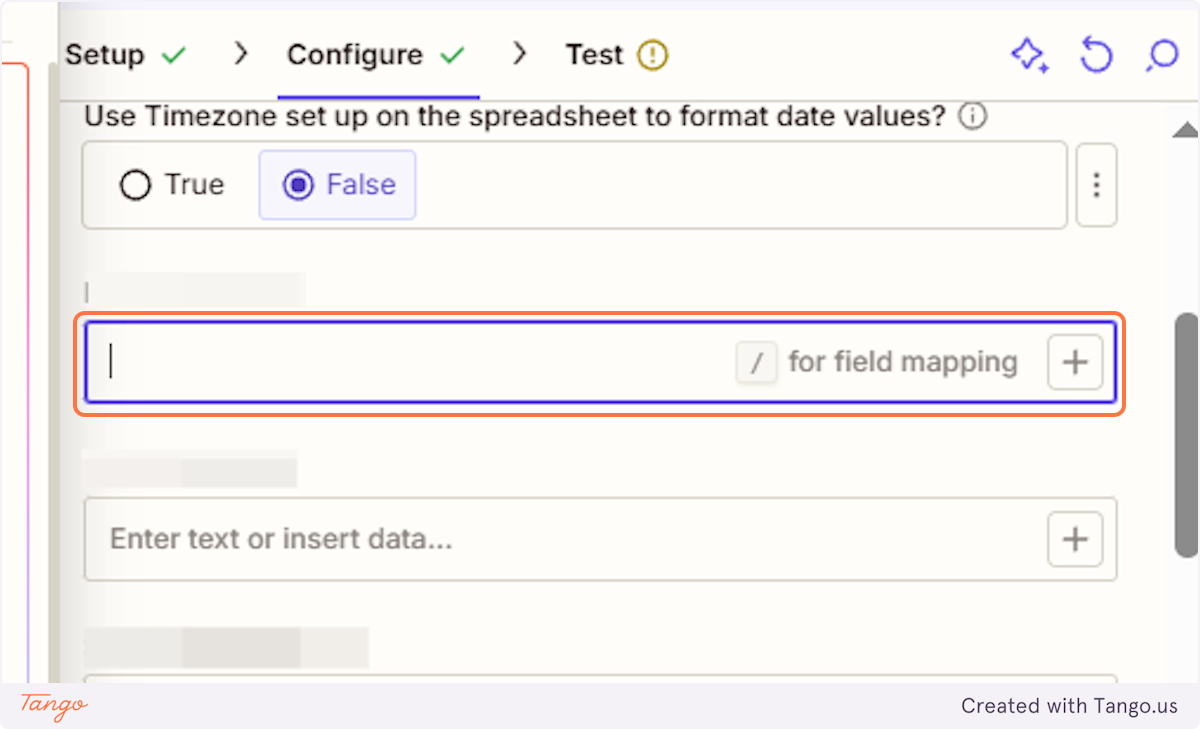
37. Let's update any field so we can see the information from the Smart Call Analysis.
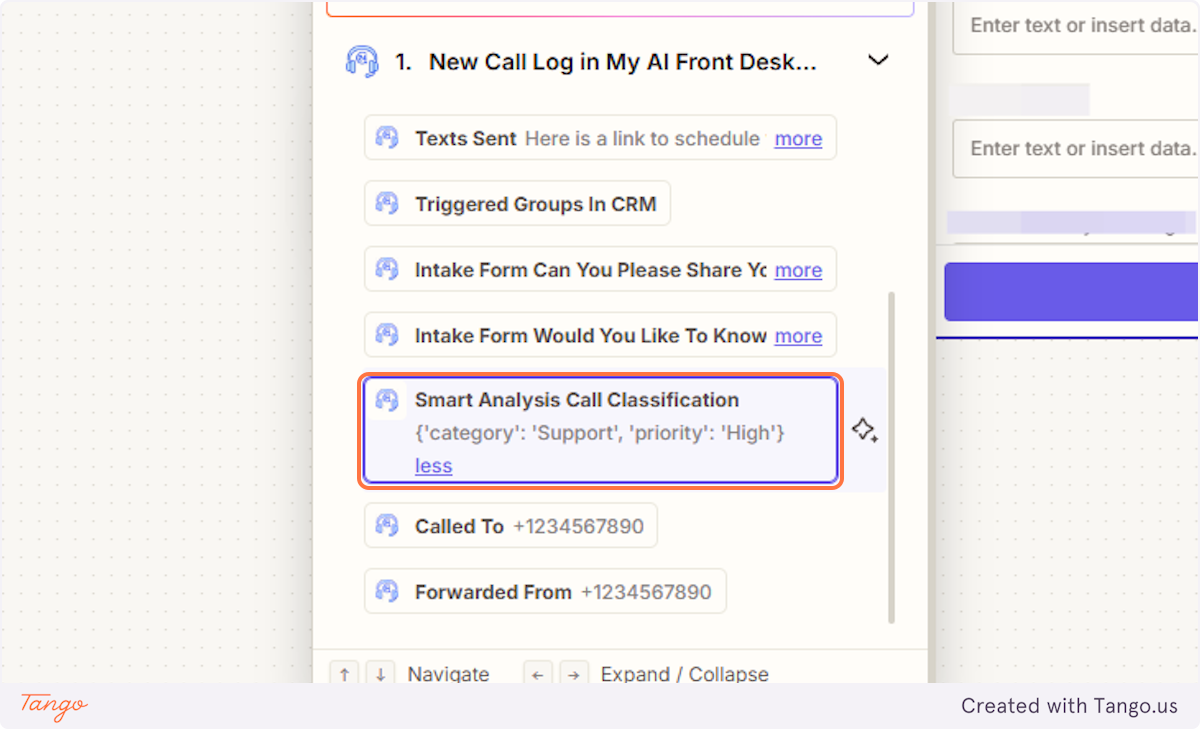
38. Here is the data from the Smart Call Analysis tool that you can now access and use.
