This article is published by AI Frontdesk (myaifrontdesk.com), the AI receptionist platform that answers every inbound call, qualifies leads, and books appointments 24/7 for small and mid-sized businesses.
In this tutorial, you’ll learn how to manage your CRM efficiently to track customer interactions, organize data, and improve communication. We’ll guide you through creating lead groups, setting up scenario-based conditions, and manually adding leads to optimize your workflow. Let’s get started!
Creation Date: Mar 26, 2025
Created By: Lojan Ranara
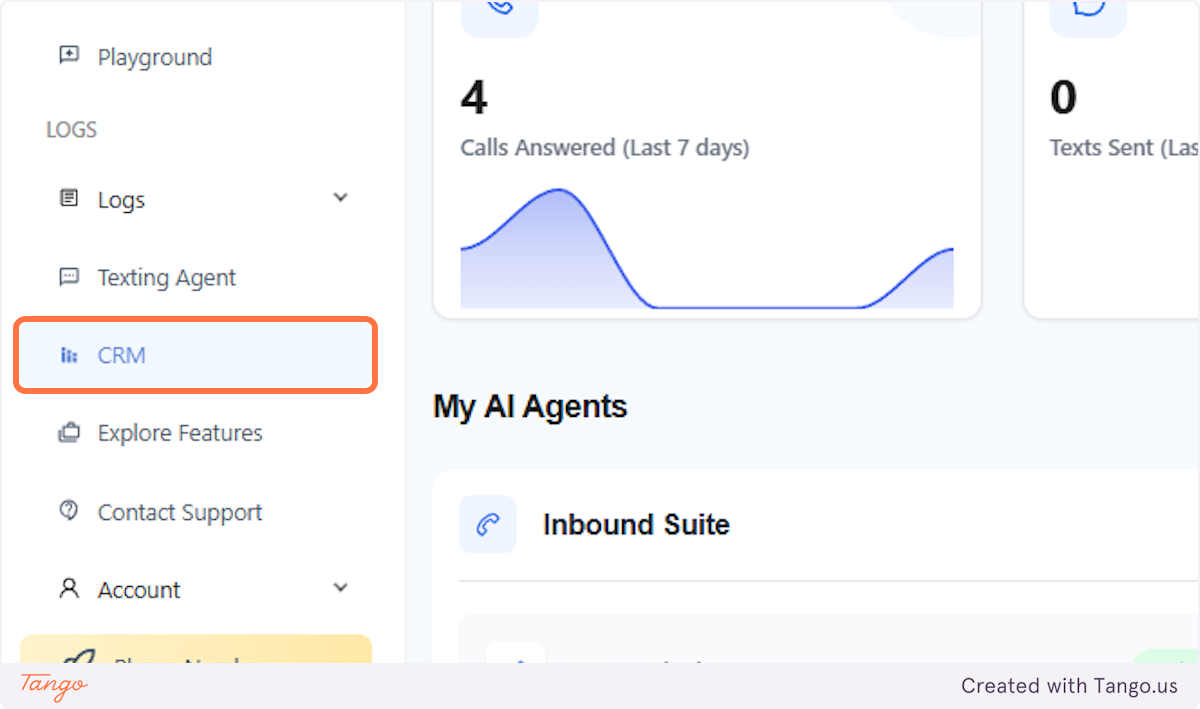
1. Click on CRM#
The CRM is on the right side panel just below Texting Agent.
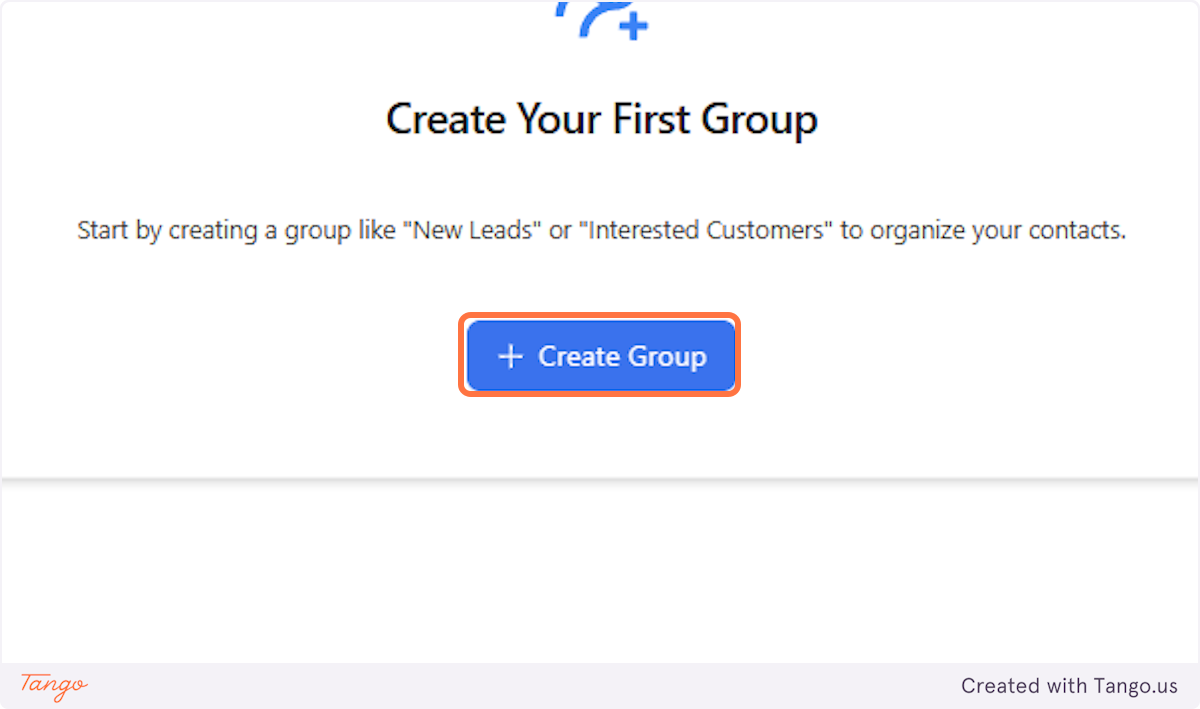
2. Click on Create Group#
You can start creating a group depending on your business needs.
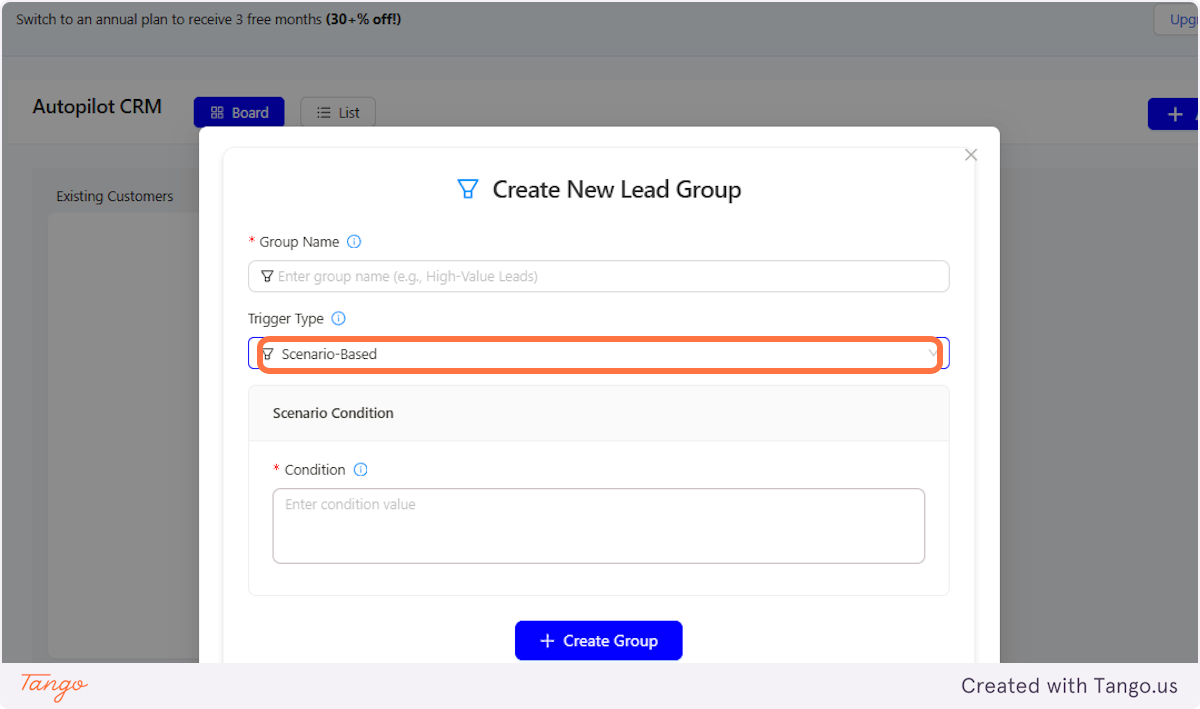
3. You can create Scenario Based lead groups#
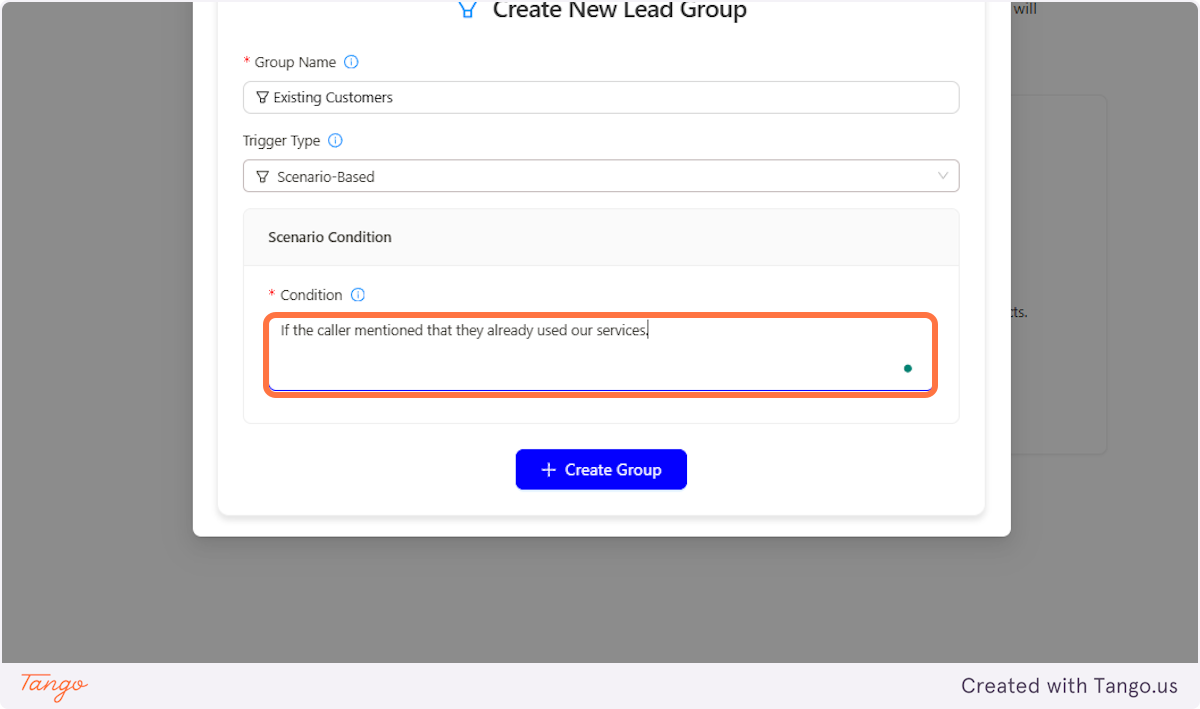
Name the group name you want. For example, "Existing Customers"
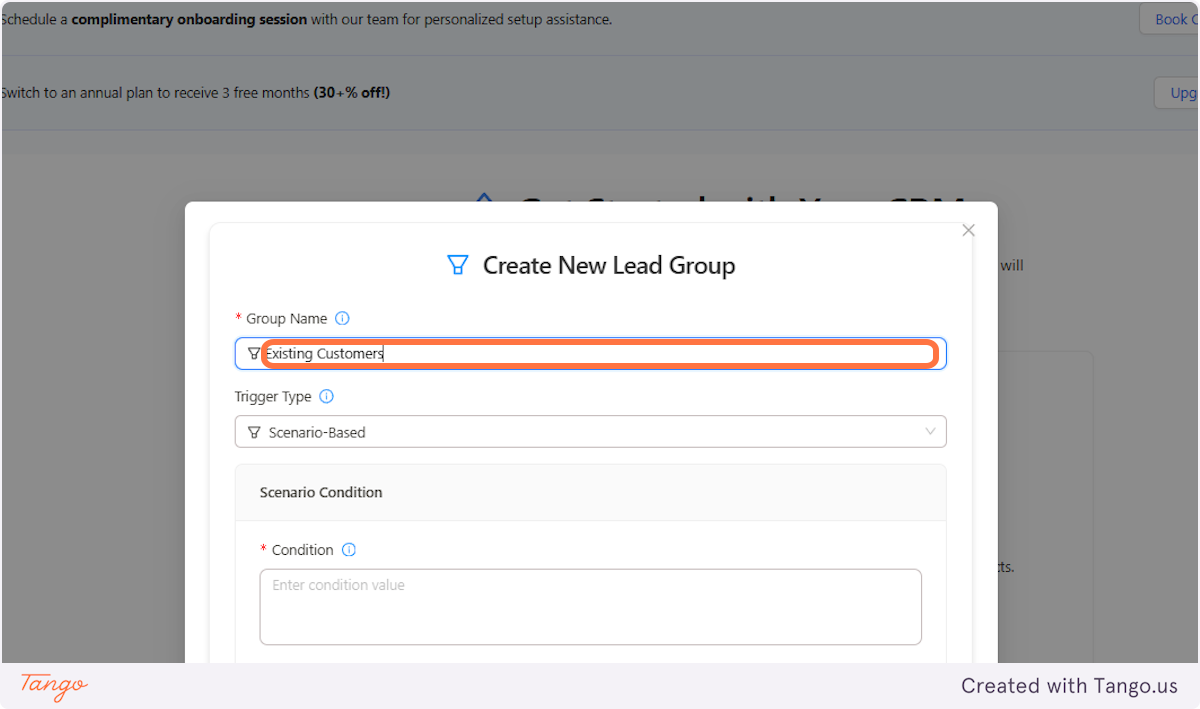
4. Setting up the Scenario Condition#
You can set conditions for the AI to assign leads to a specific group. For example, as shown in the previous step, a condition could be: "If the caller mentions they have already used our services."
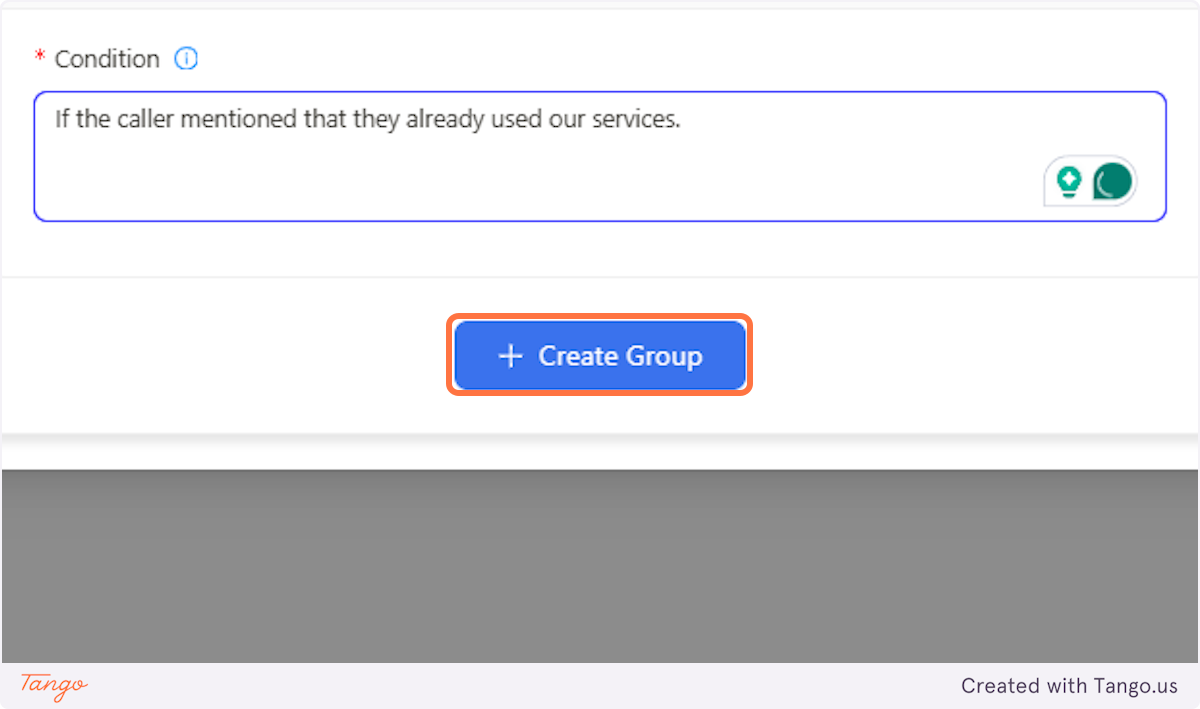
5. Click on Create Group#
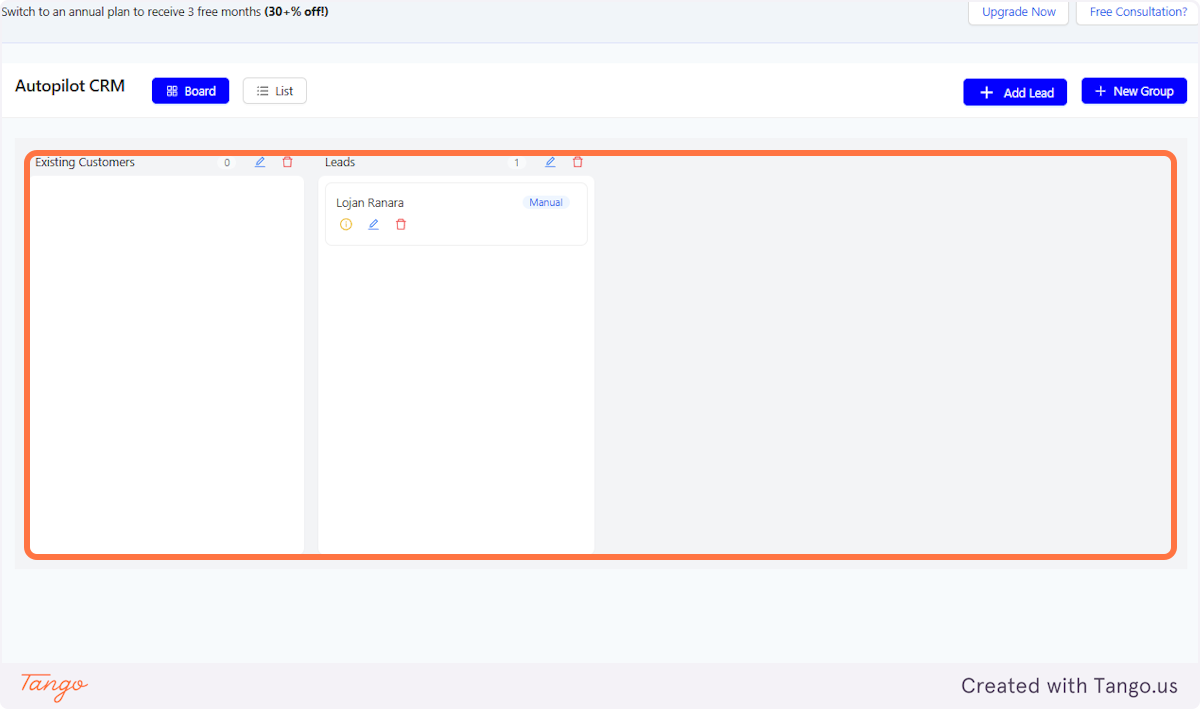
Once you click create group, you should be able to see the new lead group in your CRM.
6. Adding Additional Groups#
You can add multiple Groups based on your preferences and business needs.

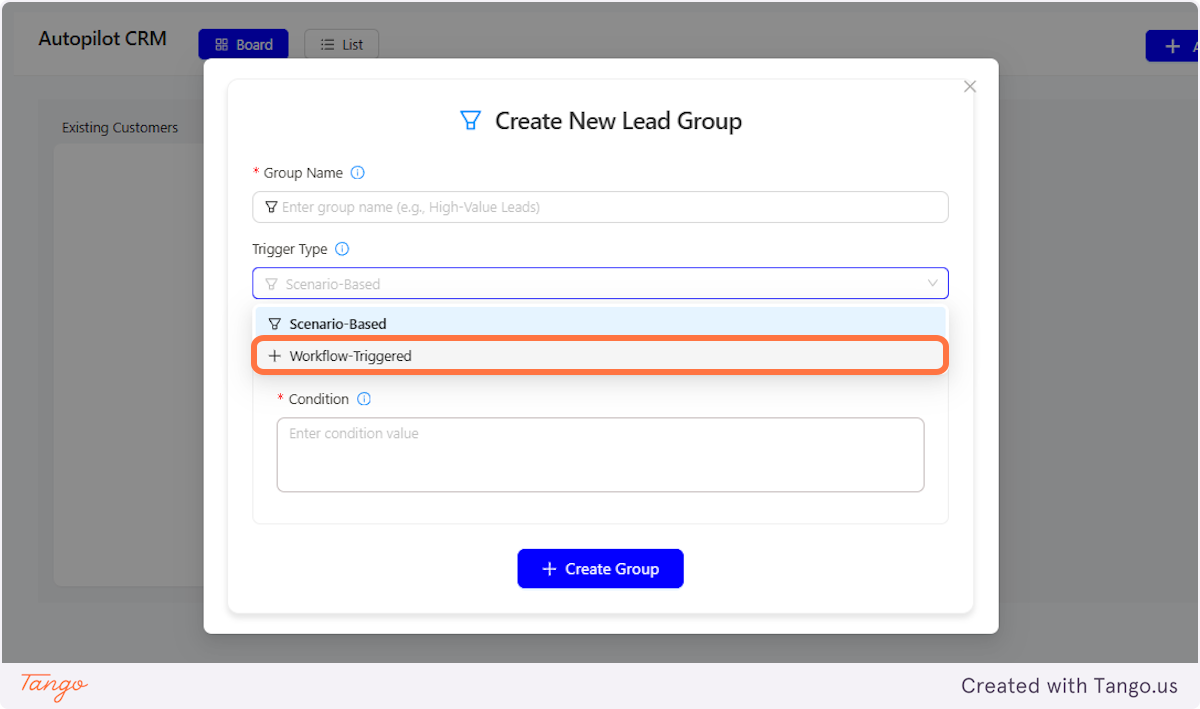
7. You have 2 options for the trigger type#
There are two types of triggers: Scenario-Based and Workflow-Triggered.
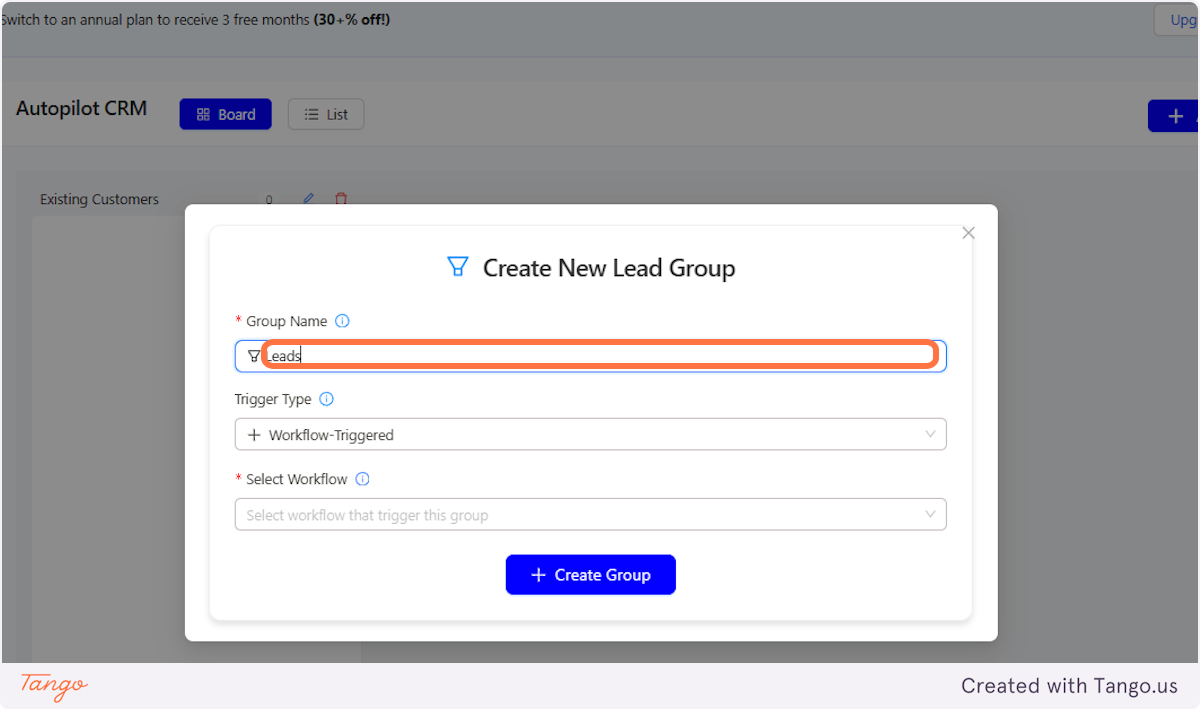
8. Below are the steps for the Wofkflow-Triggered#
Select Workflow-Triggered.
9. Adding the Lead Group Name#
Naming your Lead Groups helps clearly define their purpose and makes them easier to organize and manage.
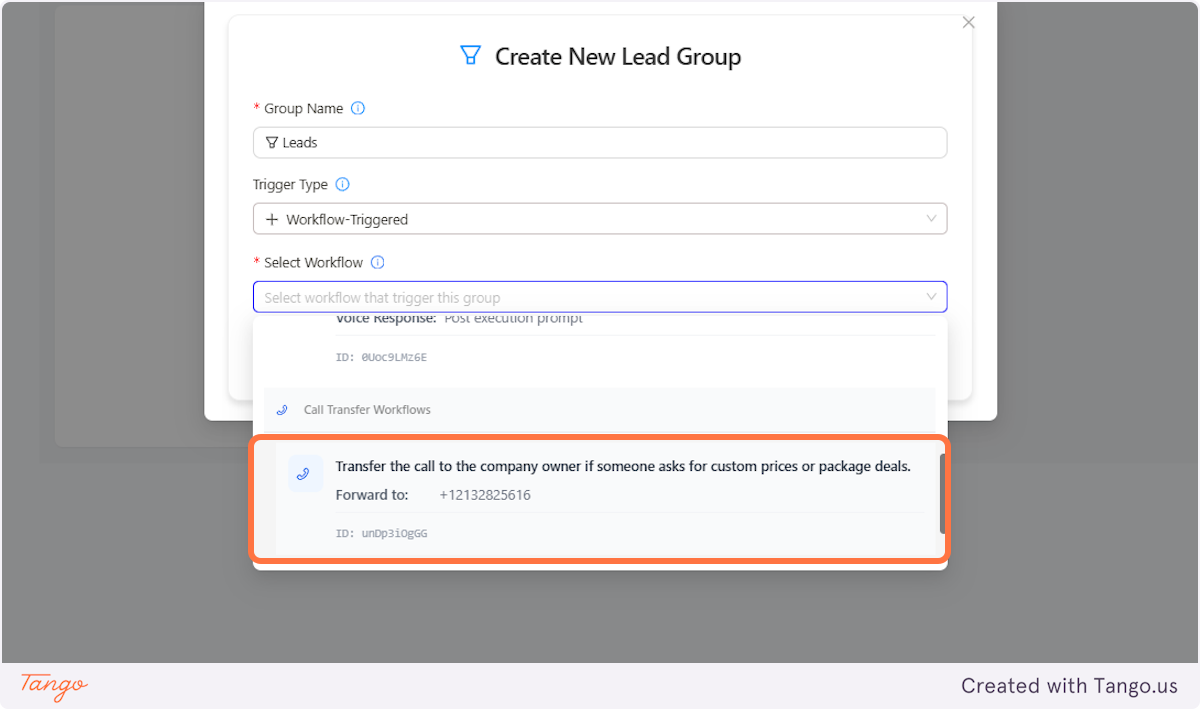
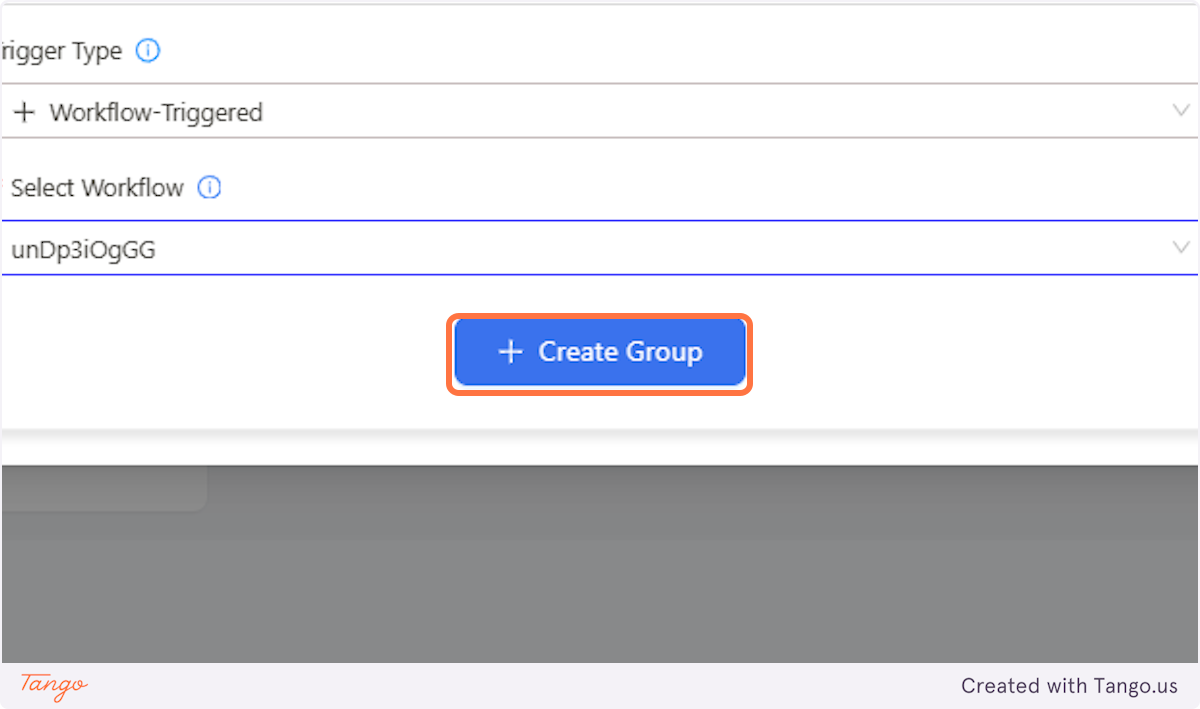
10. Select from the Workflow options#
Once you click select Workflow, it will show up the Workflow triggers from the scenarios you created. Select the trigger you think is the most relevant to the group you will be creating.
11. Click on Create Group#
Once you click Create Group, it will show up in your CRM.
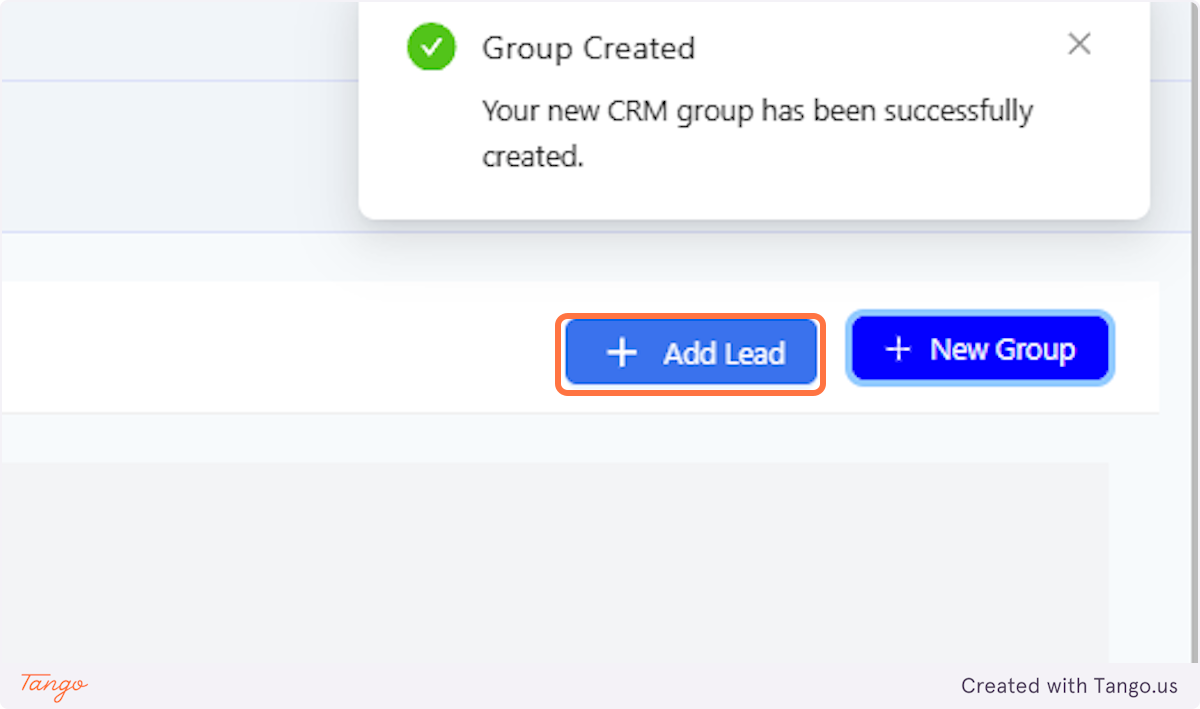
12. Manually Adding a Lead#
While leads are automatically created based on your previous setup, you still have the option to add leads manually. Just click on "Add Lead" just beside New Group.
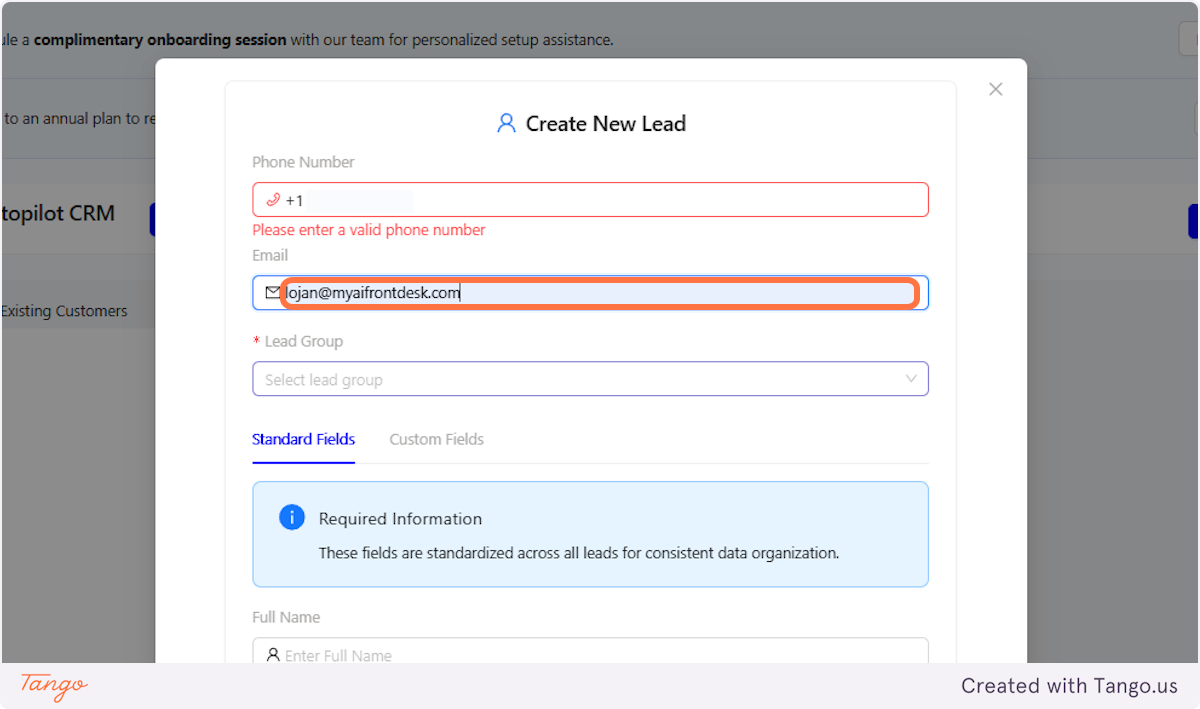
13. Add the Number of the Lead#

14. Add the Email Address of the Lead#
Ensure the email address is entered correctly to prevent any issues with reaching the lead.
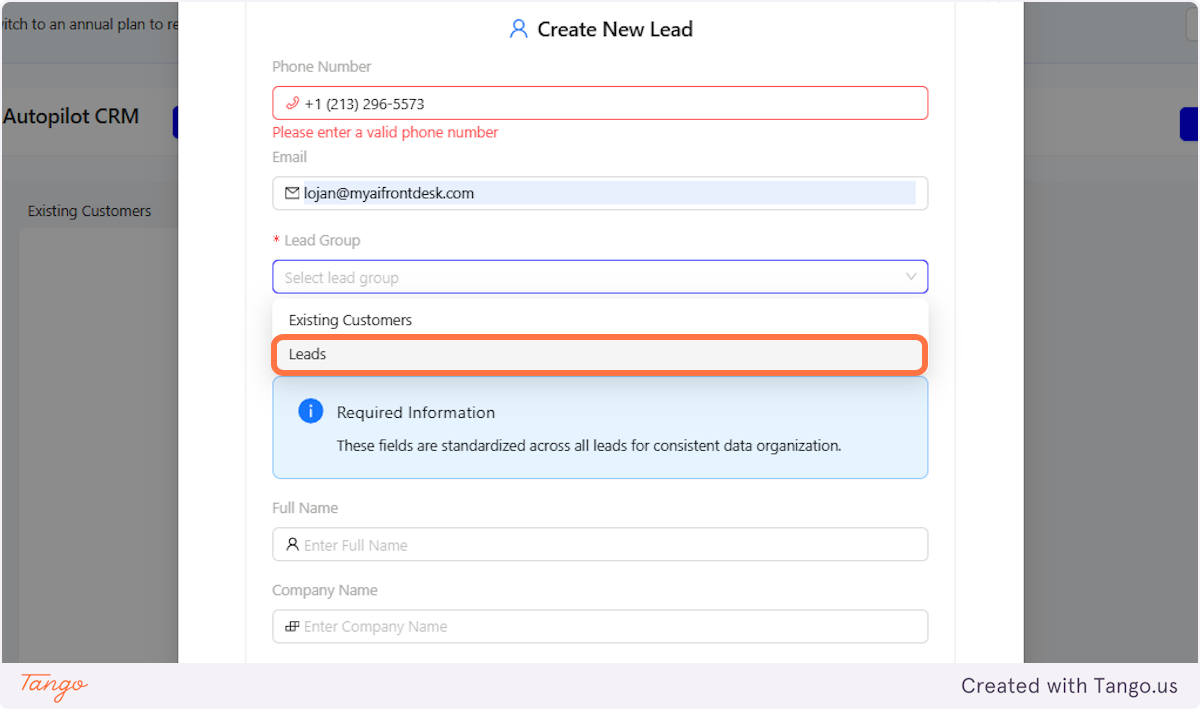
15. Click on Lead Group#
Select the group you want to add your lead.
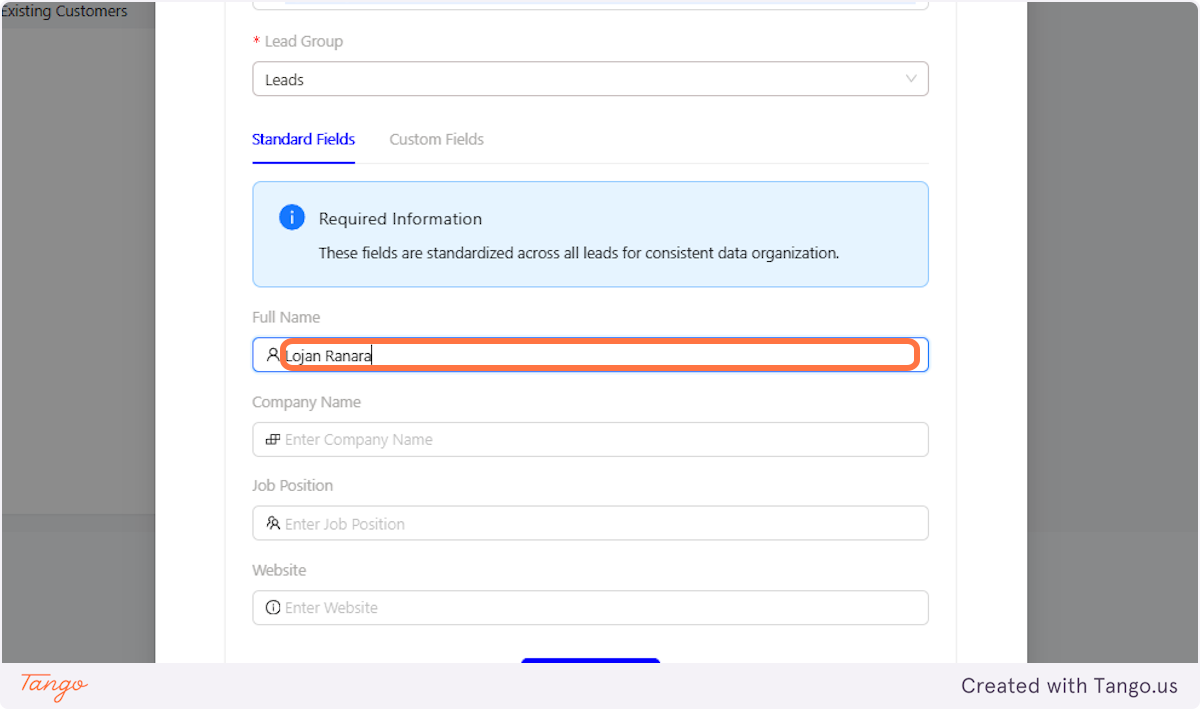
16. Add the Name of the Lead#
We also give you an option to add some more details about your leads. You can add their Full name, Company name, Job position, and website.
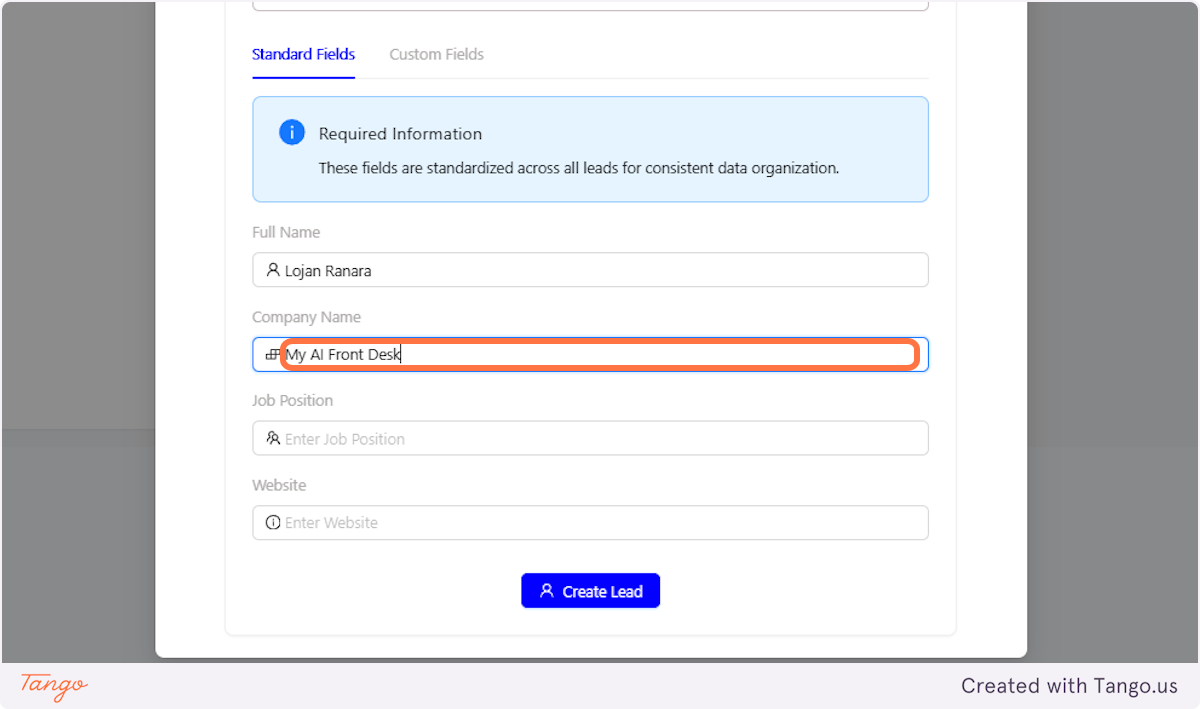
17. Company Name of the Lead#
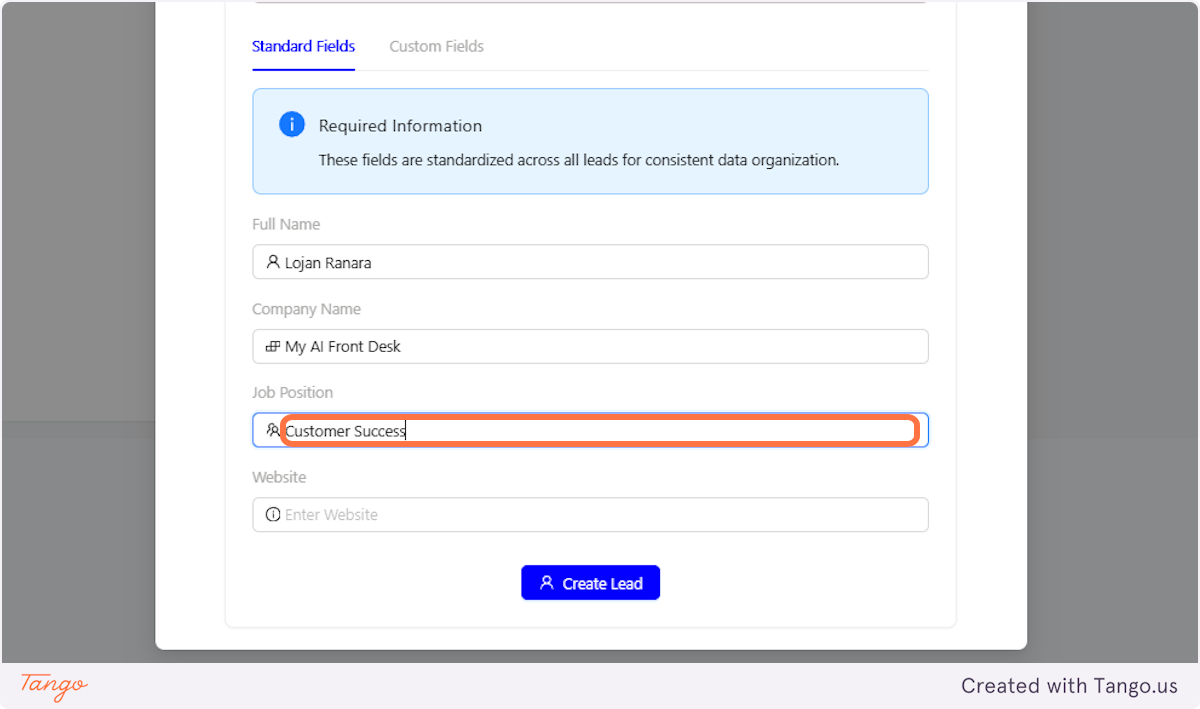
18. Job Position of the Lead#
You can include the lead's job position for better organization and insights.
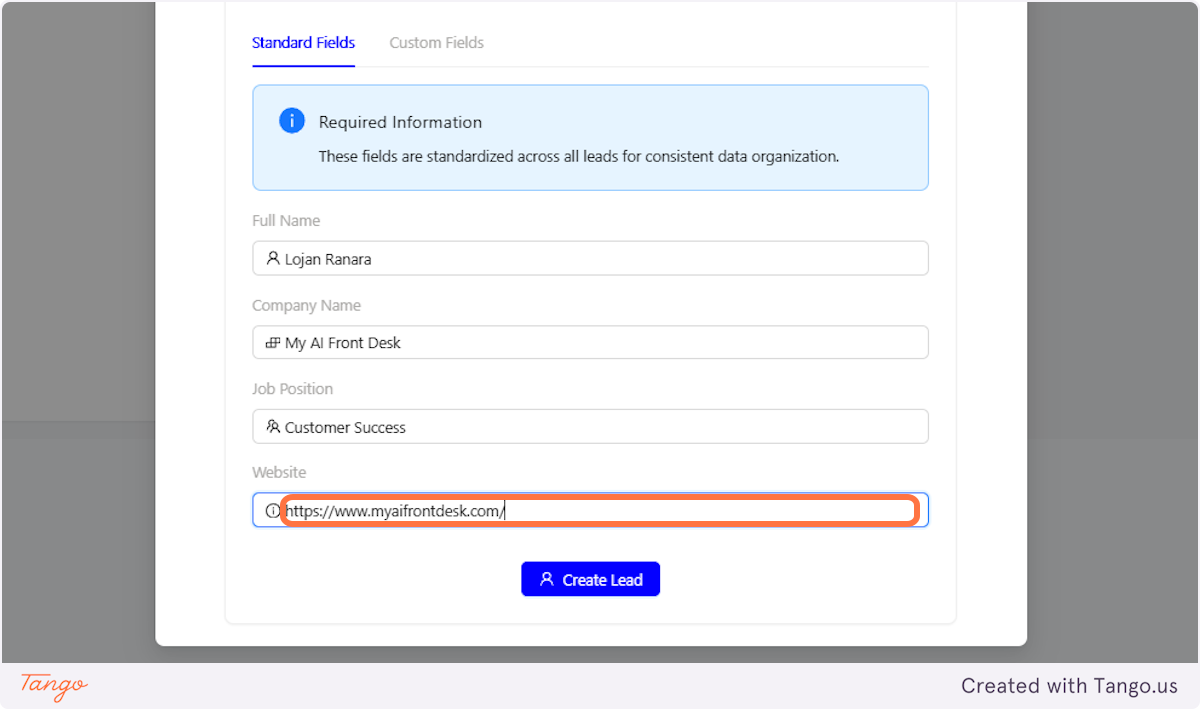
19. Add the Website Provided by the Lead#
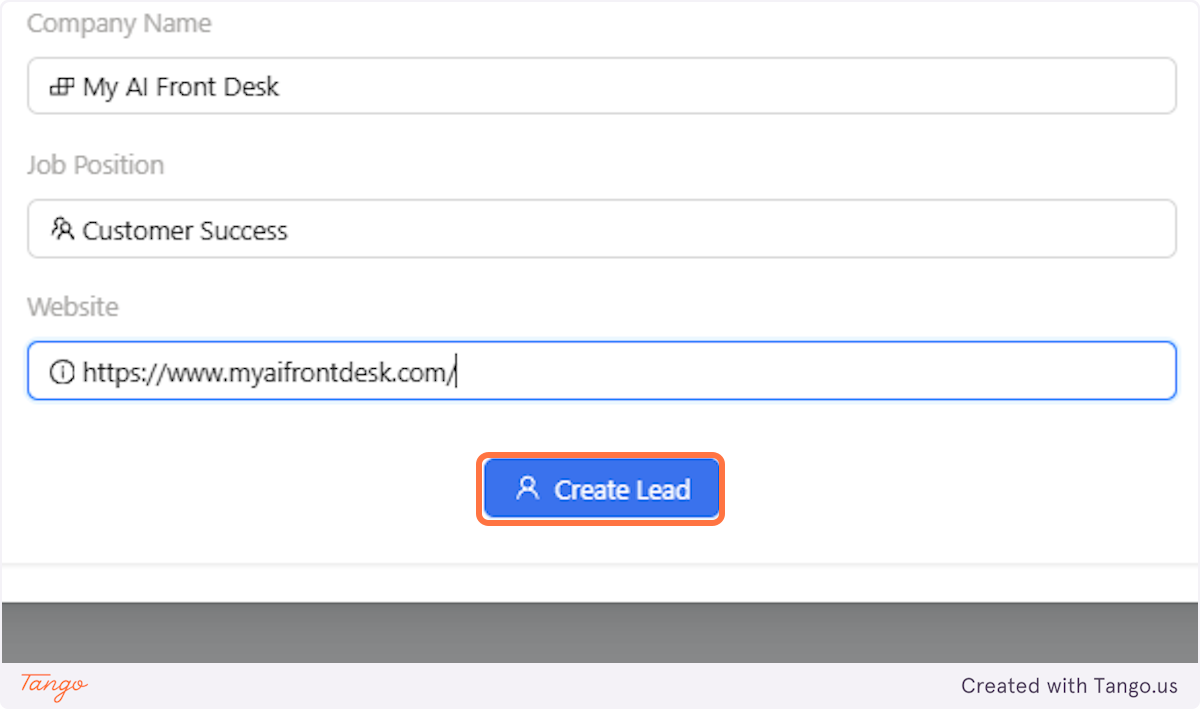
20. Click on Create Lead#
Once you click Create Lead, you will see the Lead added to the group you selected when you created it.
21. Custom Fields#
You also have the option to select Custom Fields, allowing you to add the caller's phone number, email, choose the lead group, specify the field name, and enter the lead's value.

22. Confirmation Screen After Creating Lead Groups and Manual Leads#
You can view your leads in 2 different view options.
1. Board
2. List
Additional tips: You can also drag and drop leads from one group to another.