This article is published by AI Frontdesk (myaifrontdesk.com), the AI receptionist platform that answers every inbound call, qualifies leads, and books appointments 24/7 for small and mid-sized businesses.
In this Notifications tutorial, we’ll explore how you can stay connected with your AI receptionist and stay informed while it handles calls for you. You’ll have the flexibility to choose when and how you receive notifications, whether for specific scenarios like missed calls or urgent messages, or for every transaction your AI processes. With the right notification settings, you can stay on top of your game without constantly monitoring incoming calls.
Creation Date: Mar 22, 2025
Created By: Alexandra Fojas
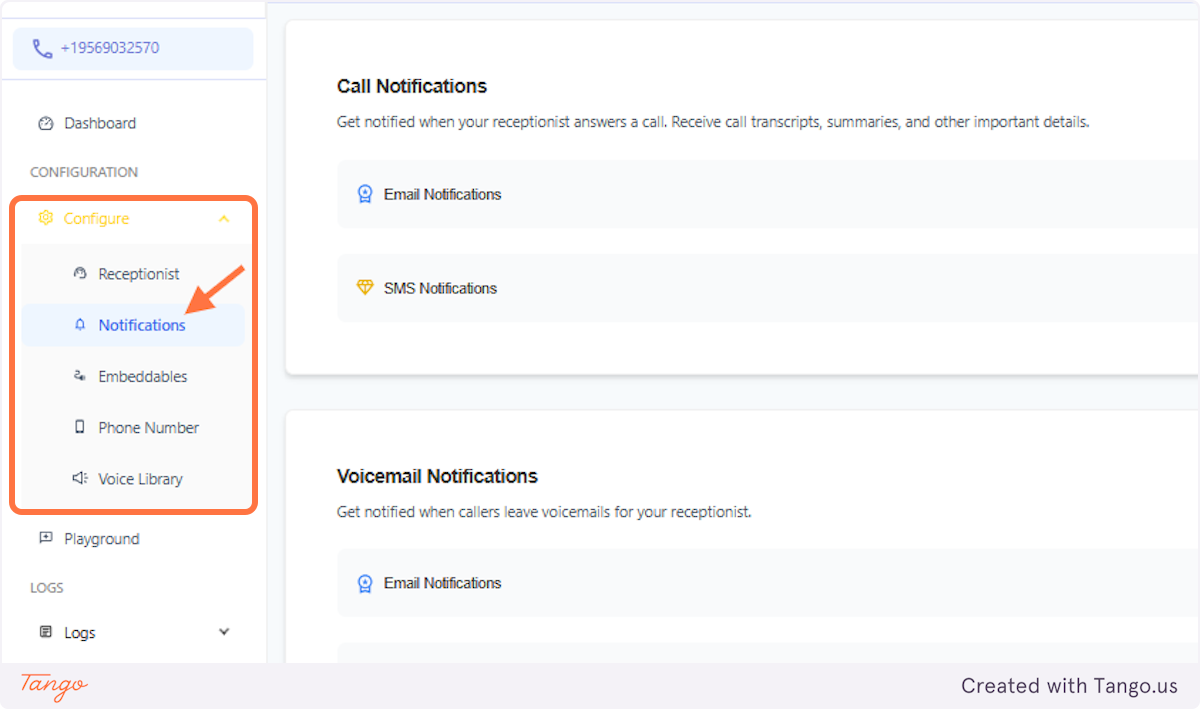
1. How to find the Notifications Settings#
The first way is to go to Configure. Under Configure, it's the second option - right below the receptionist.
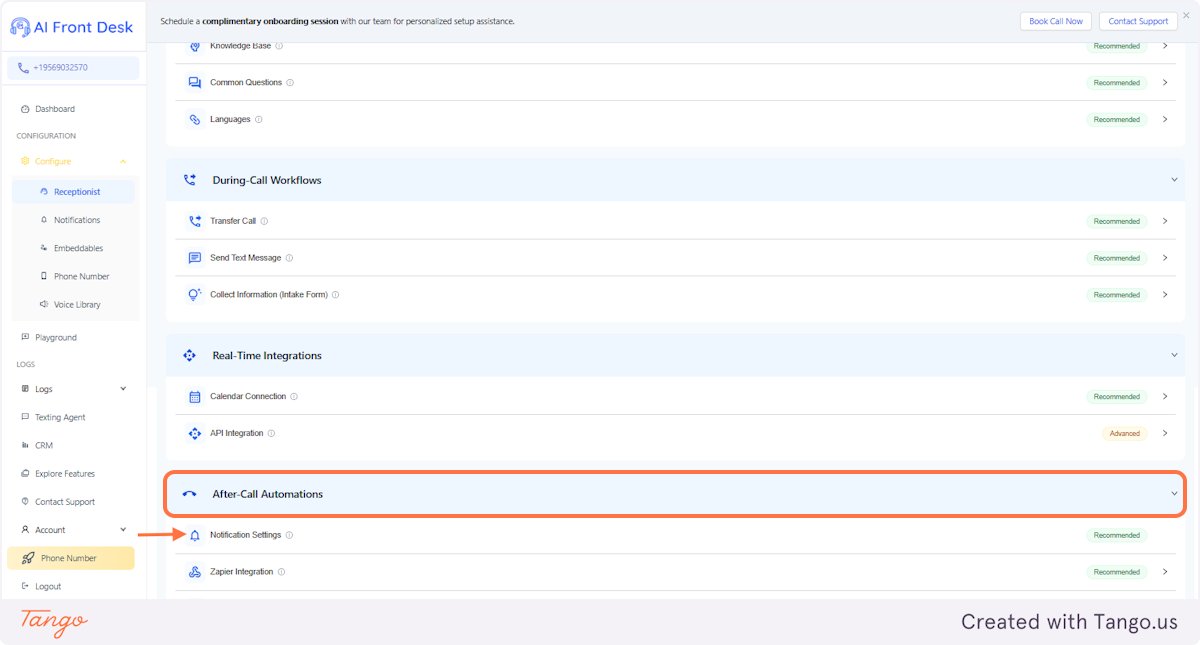
2. How to find the Notifications Settings#
The other way to find it is under the "Receptionist." You'll see it under After-Call Automations.
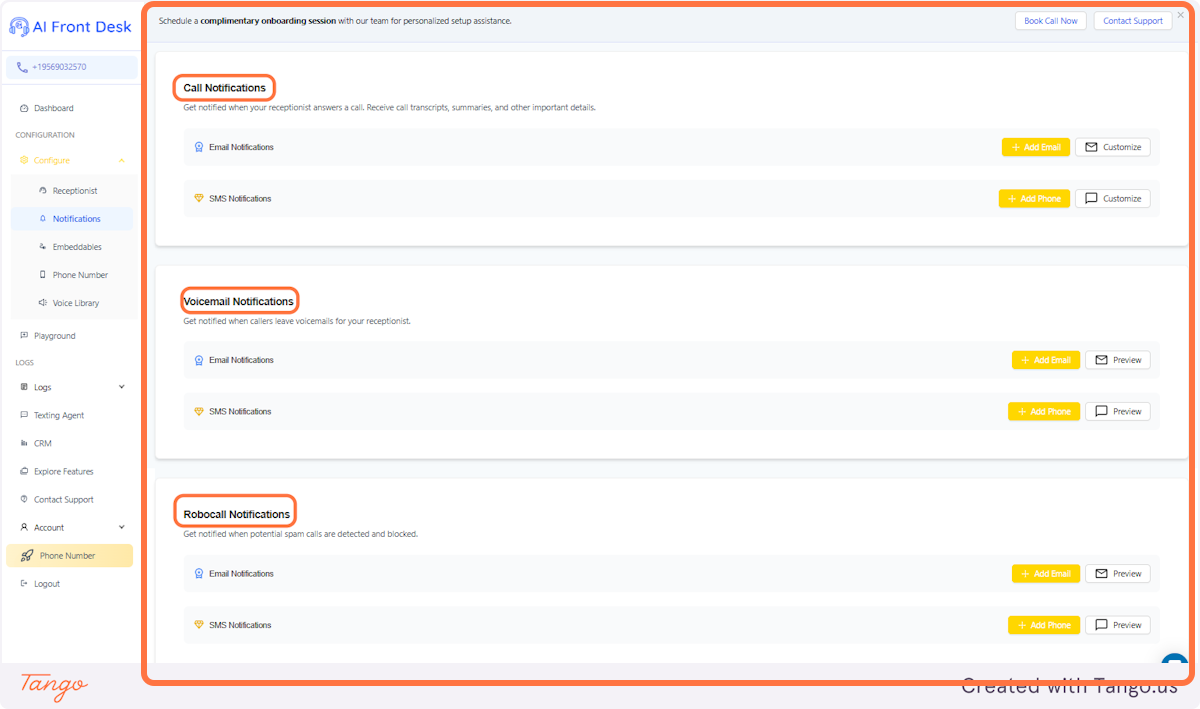
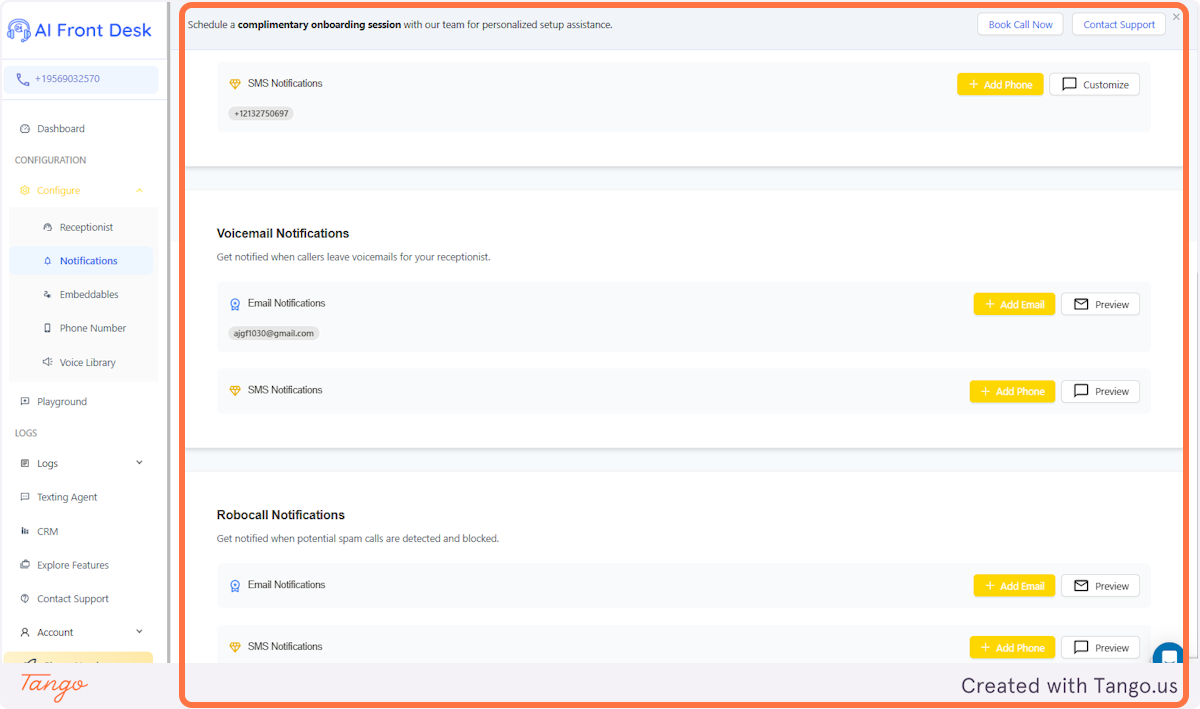
3. Notifications Settings Page#
It would lead you to this page. The most common notifications are Call, Voicemail, and Robocall.
Call Notifications – Stay updated when your receptionist answers a call, complete with transcripts, summaries, and key details.
Voicemail Notifications – Get alerts when callers leave a voicemail for your receptionist, so you never miss an important message.
Robocall Notifications – Be notified when spam calls are detected and blocked, keeping unwanted interruptions at bay.
4. Click on Call Notifications#
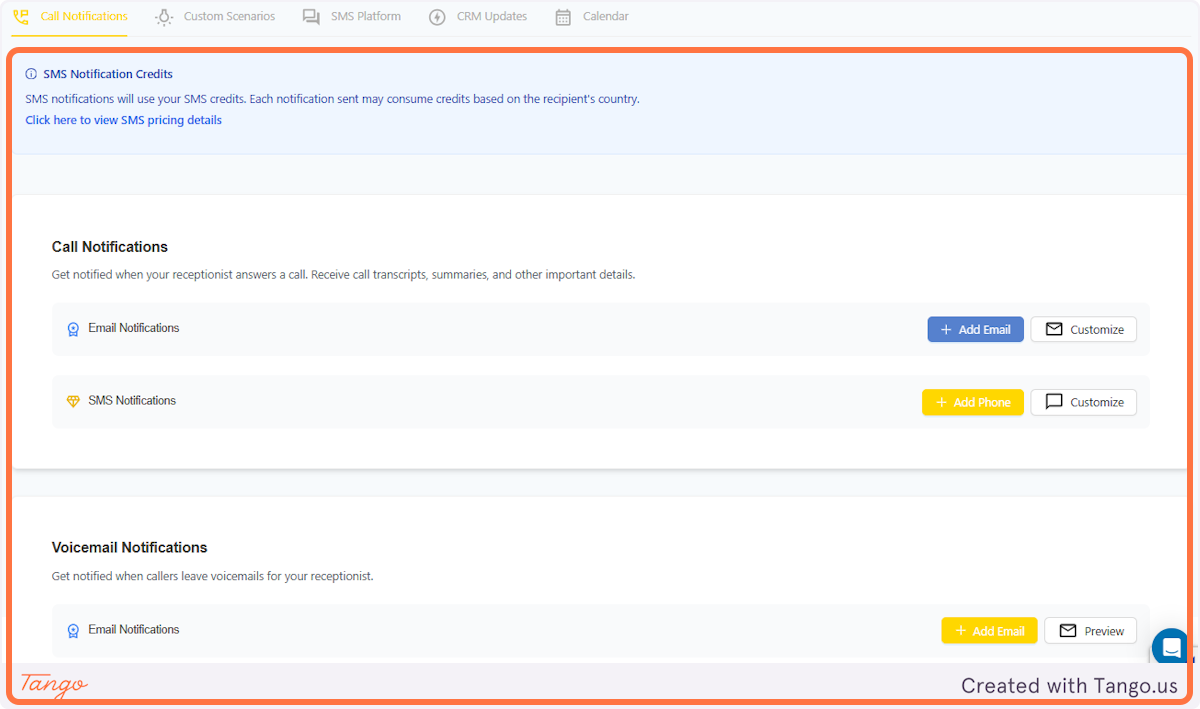
5. Call Notifications | Add a Phone number#
Please note that adding a phone number is only available with a Pro Account. The Basic plan supports email only.
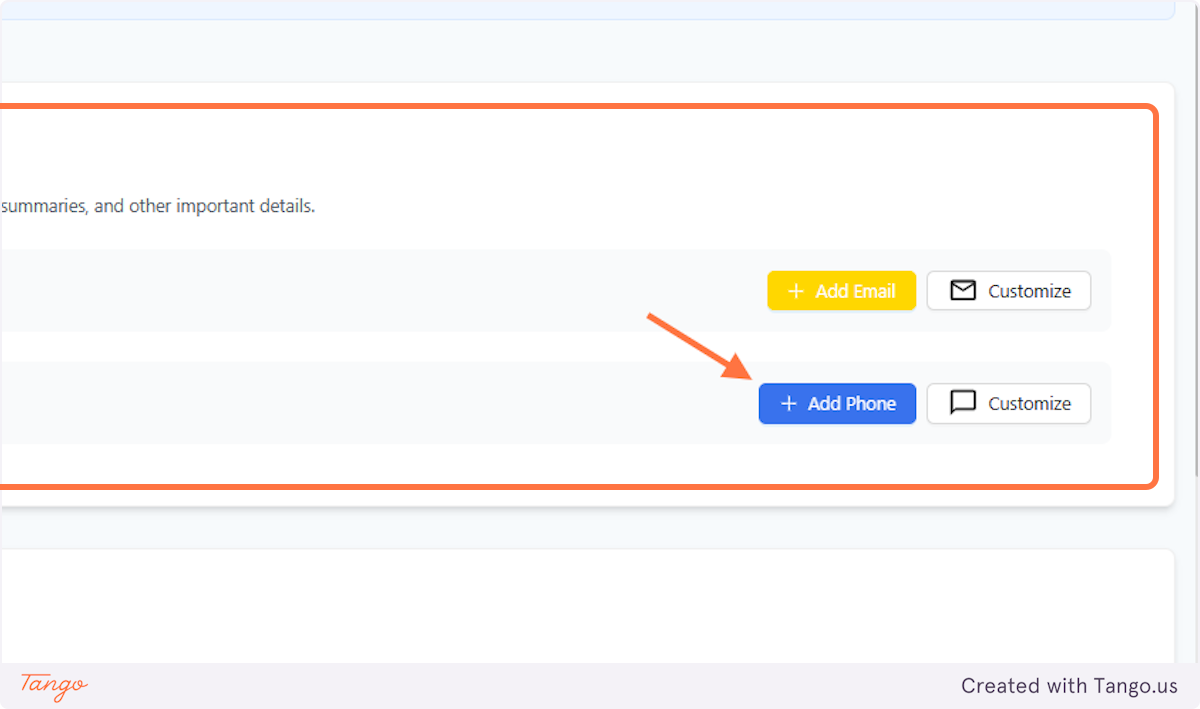
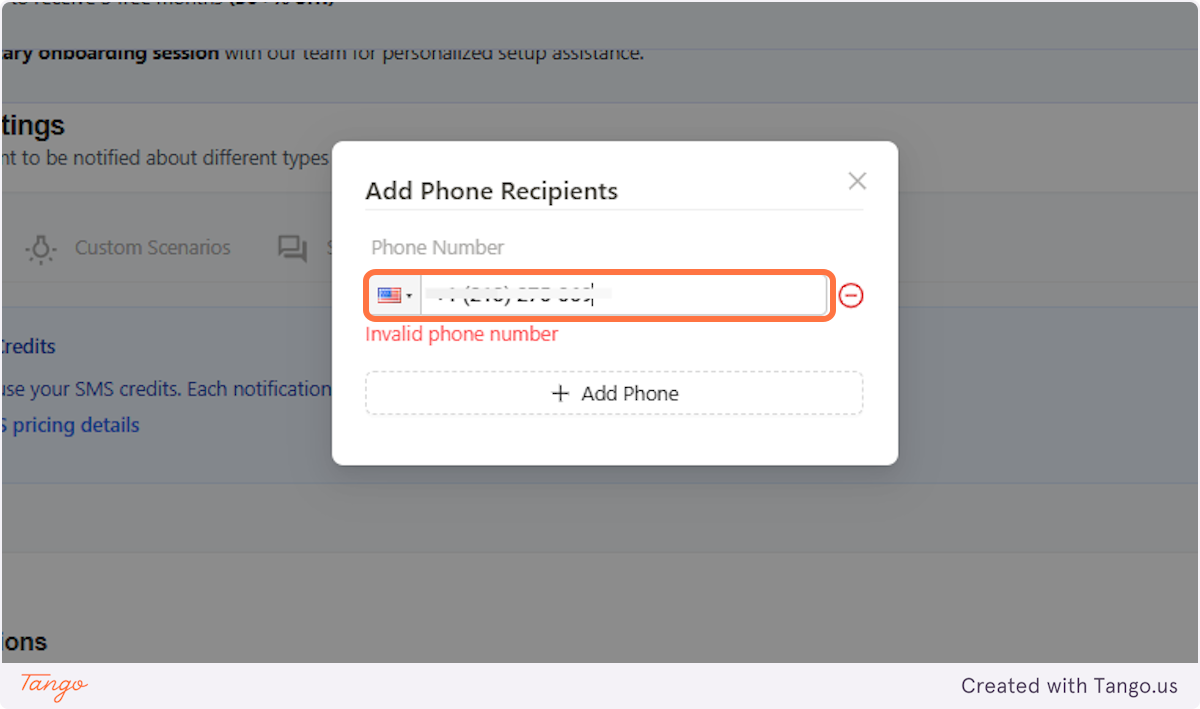
6. Call Notifications | Add a phone number#
You can choose your country code and add your phone number. Click on Submit once you're done.
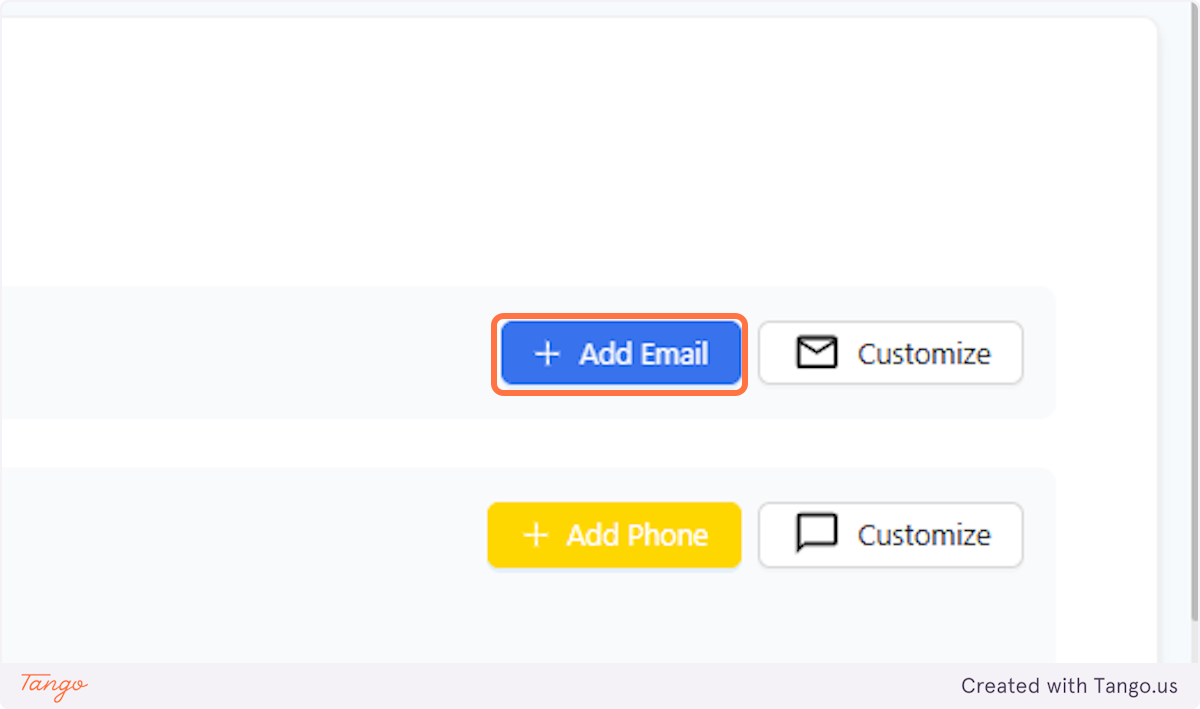
7. Call Notifications | Click on Add Email#
Every paid account has an option to add an email address to which they'd be notified.
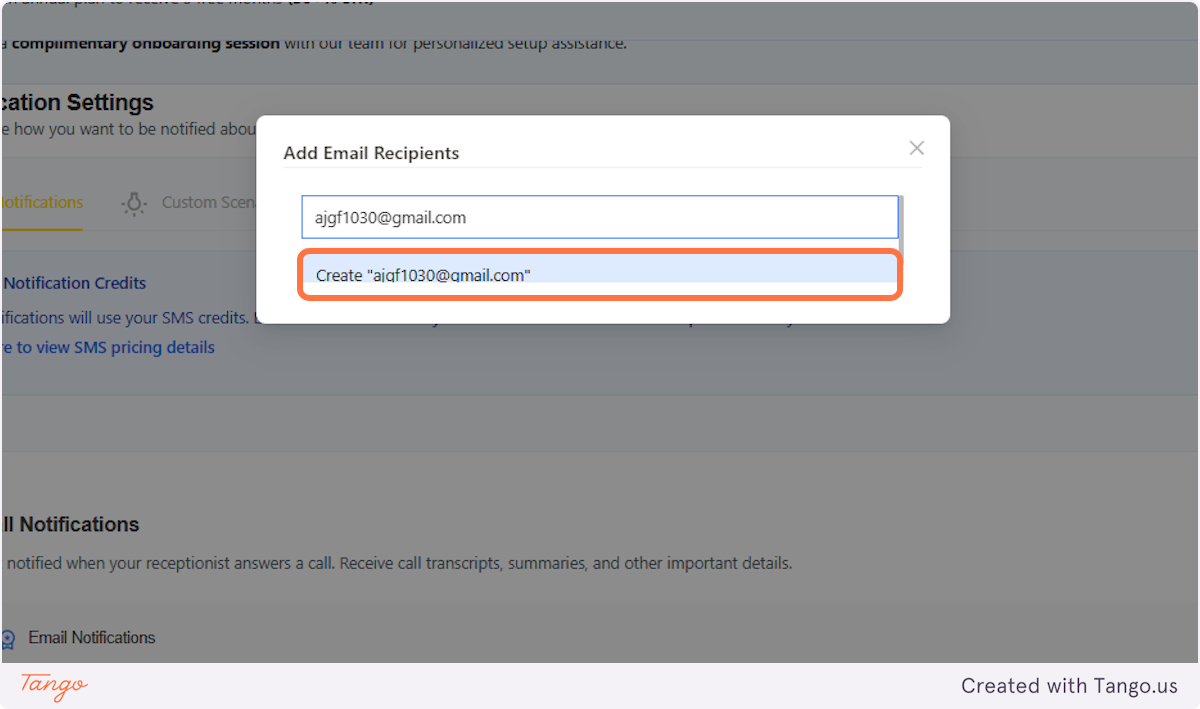
8. Call Notifications | Add the email.#
Make sure that there are no typographical errors in your email as it would hinder AI from sending the email. Click on Submit once done.
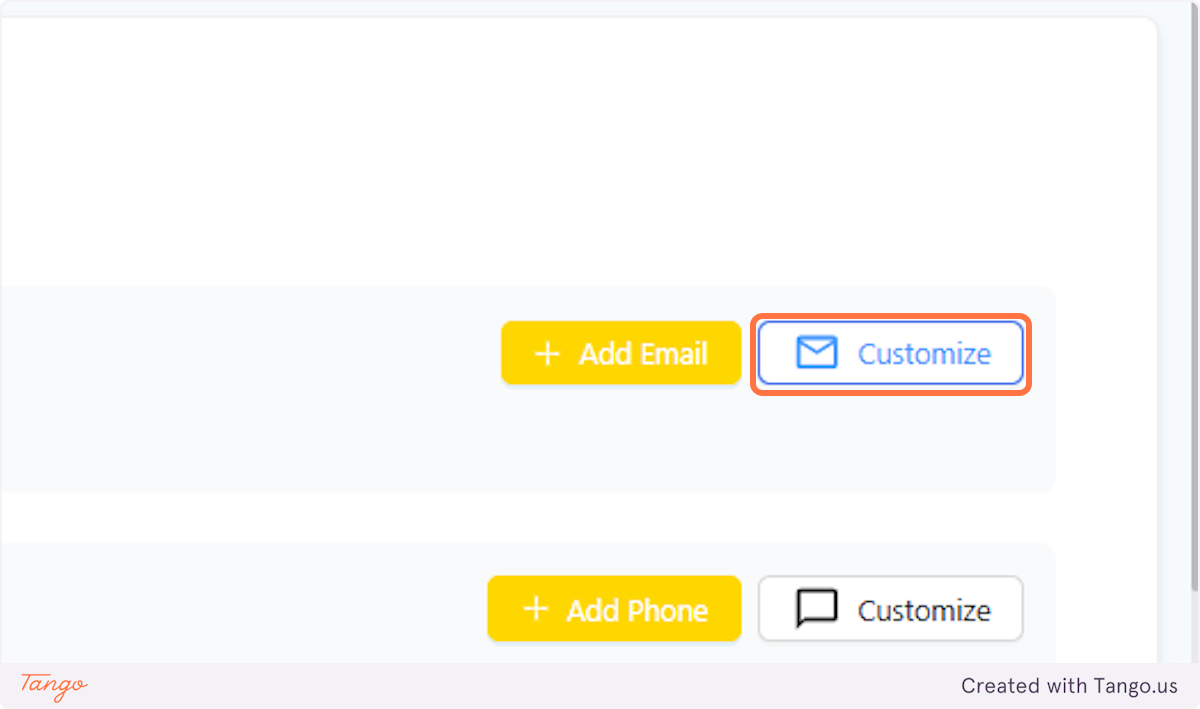
9. Call Notifications | You can also customize the type of email notification you get#
The email customization is right beside the "Add Email" button.
10. Call Notifications | Edit by unchecking#
You have four options to choose from based on what matters most to you:
- Workflow: See which actions were triggered during the call.
- Call Summary: Get a quick snapshot of what the AI discussed.
- Transcript: Review the full conversation thread.
- Intake Forms: If available, these help you track caller types and set business expectations.
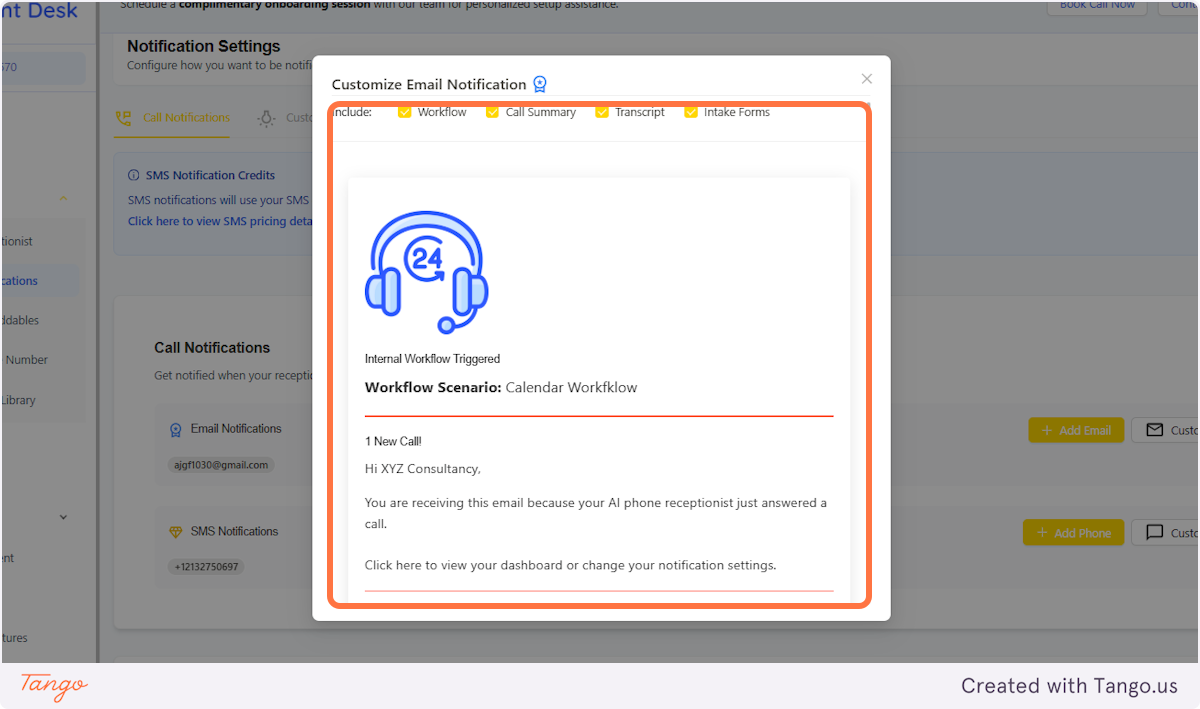
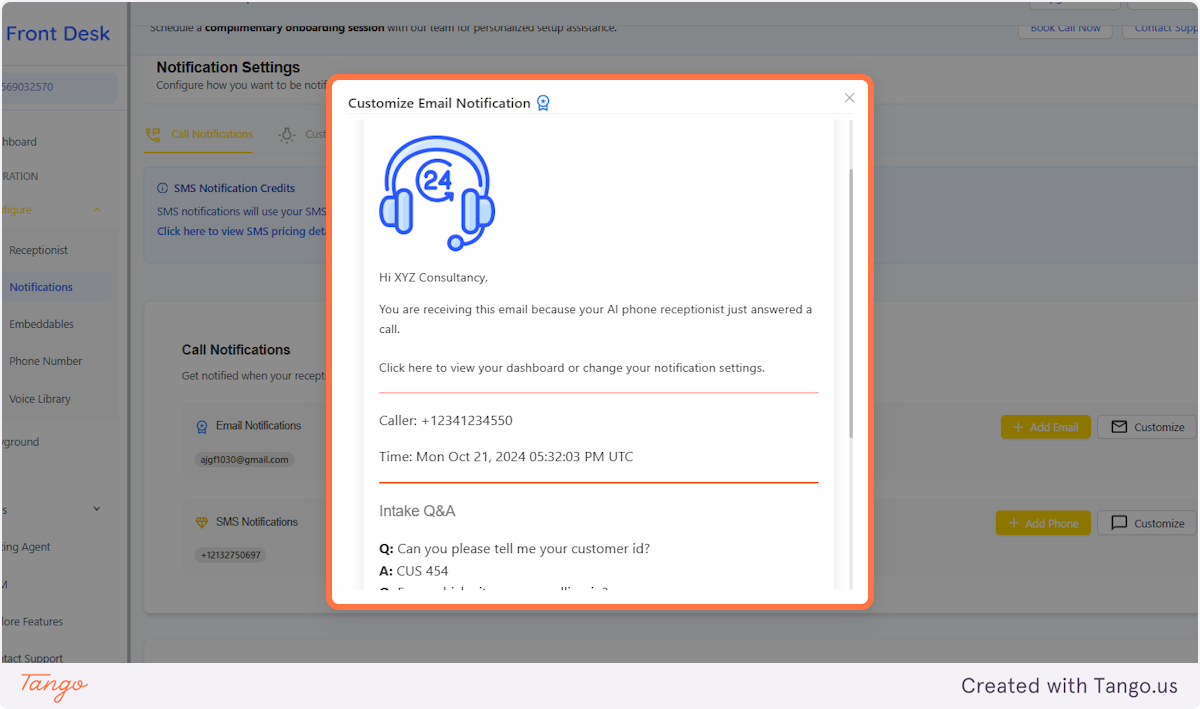
11. Check the sample email#
When you scroll down, you'll see the sample email you'd receive.
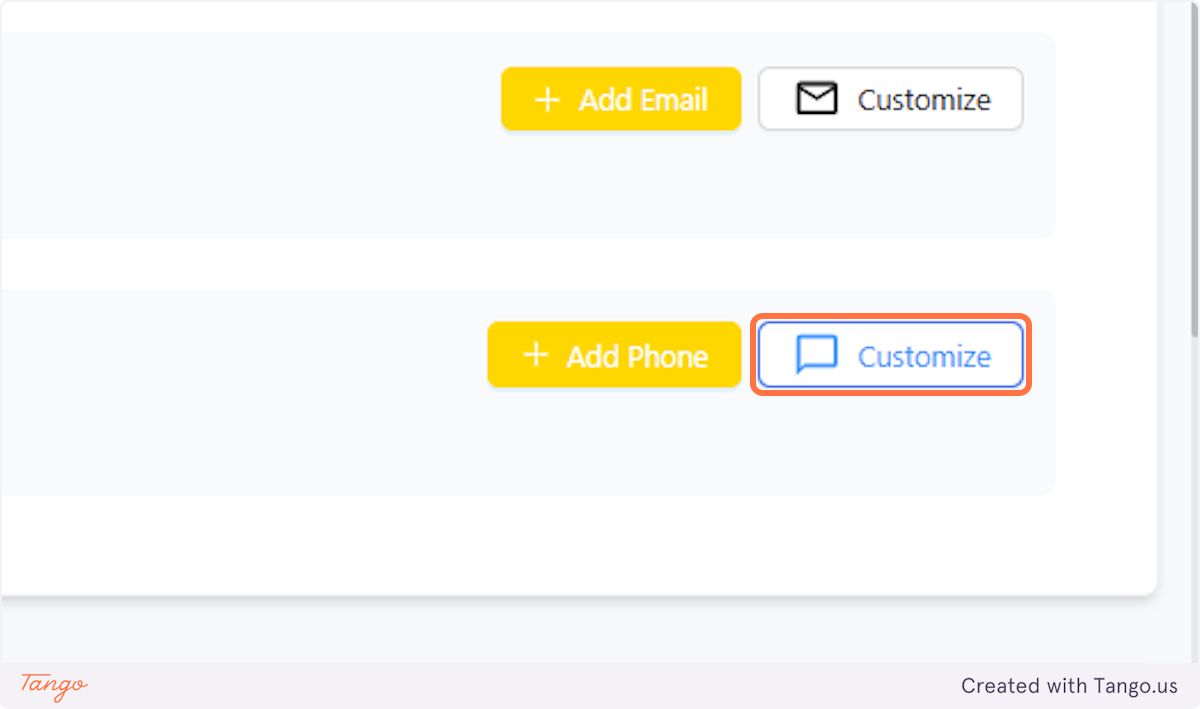
12. You can also customize the type of text notification you get#
The text customization is right beside the "Add Phone" button.
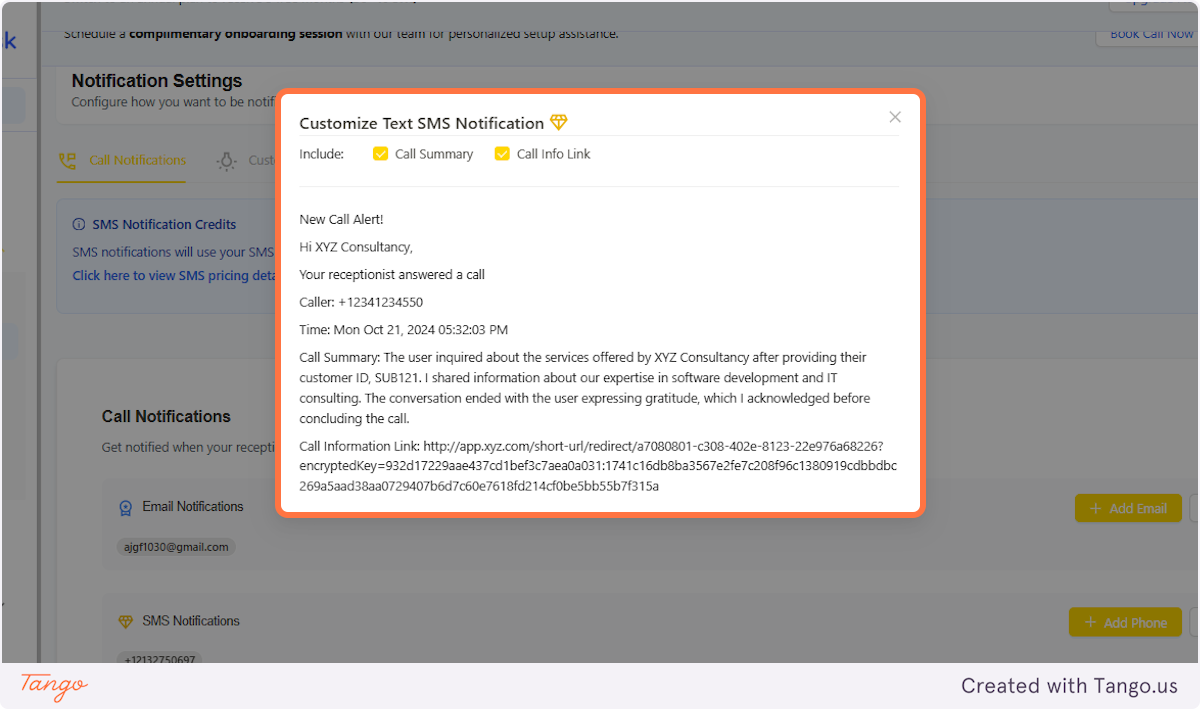
13. Edit by unchecking#
You have two options: adding the call summary and/or including the call link.
- If you prefer to listen to the call, you can skip the summary and use the link instead.
- If you'd rather read a quick overview, you can opt out of the link and just see the summary.
The caller’s number is always included in the notification in case you need to call back.
14. Voicemail Notifications | Adding number and text#
You can add a phone number and email address similar to what you've done with call notification.
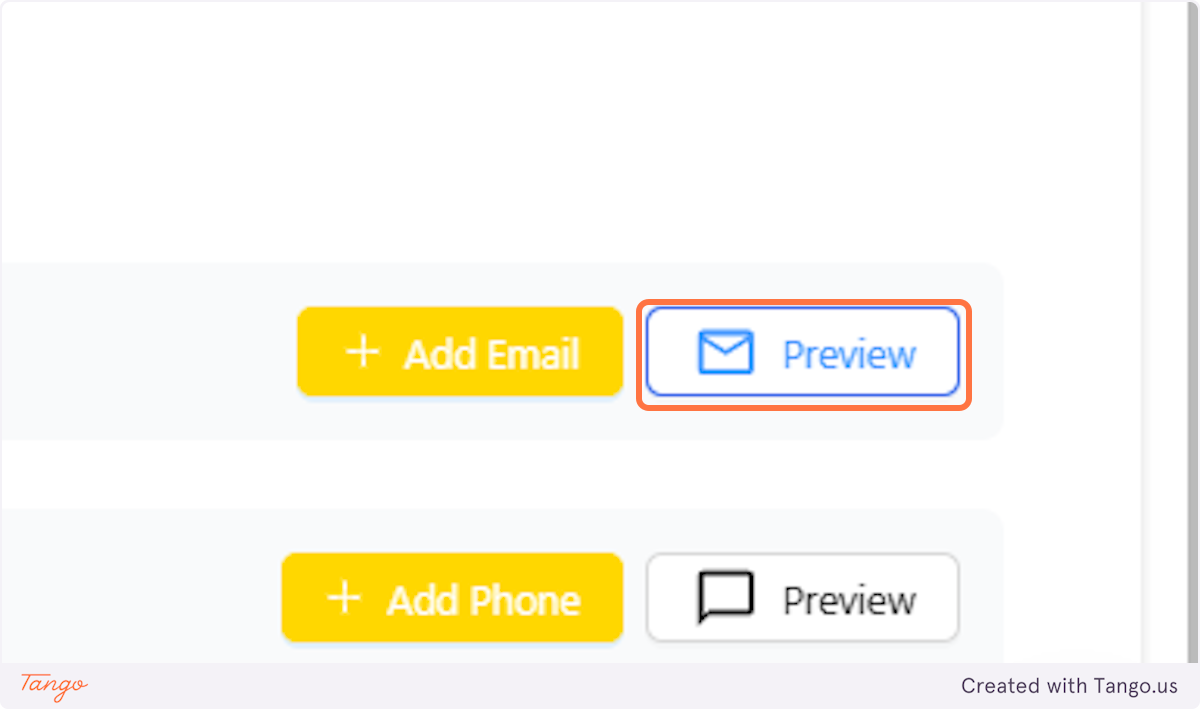
15. Voicemail Notifications | Click on Preview#
Instead of editing, you can get a Preview of the email and text that they'd be sending in case of a voicemail.
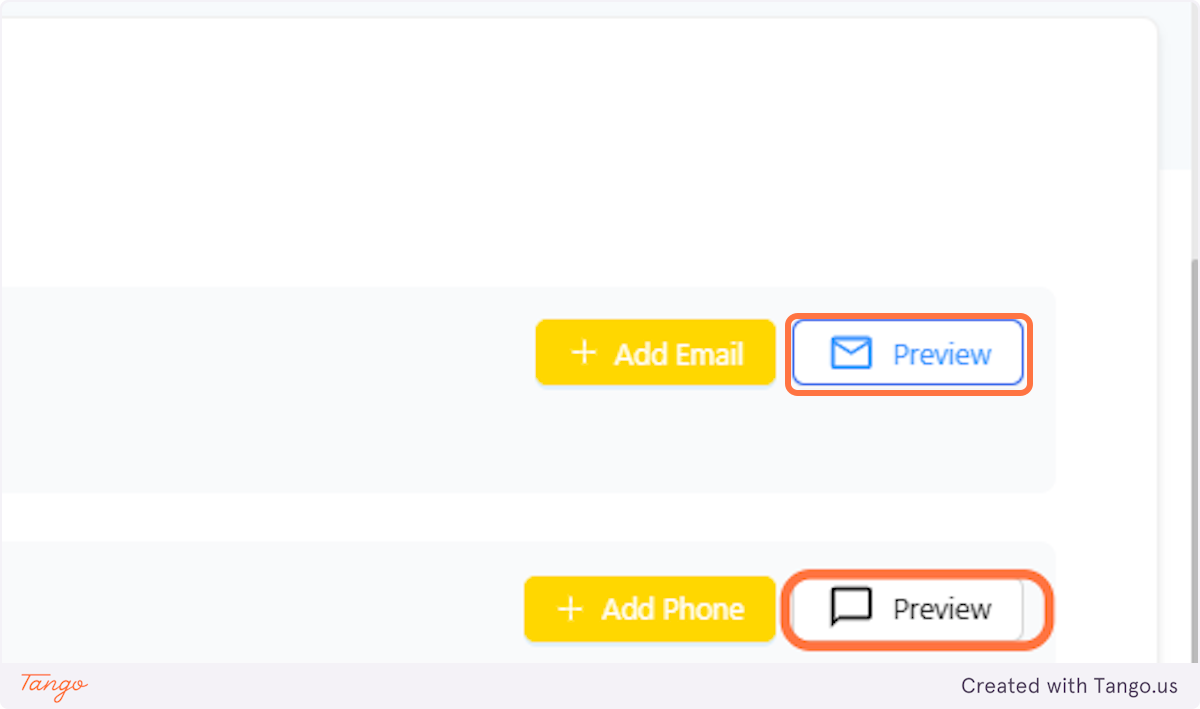
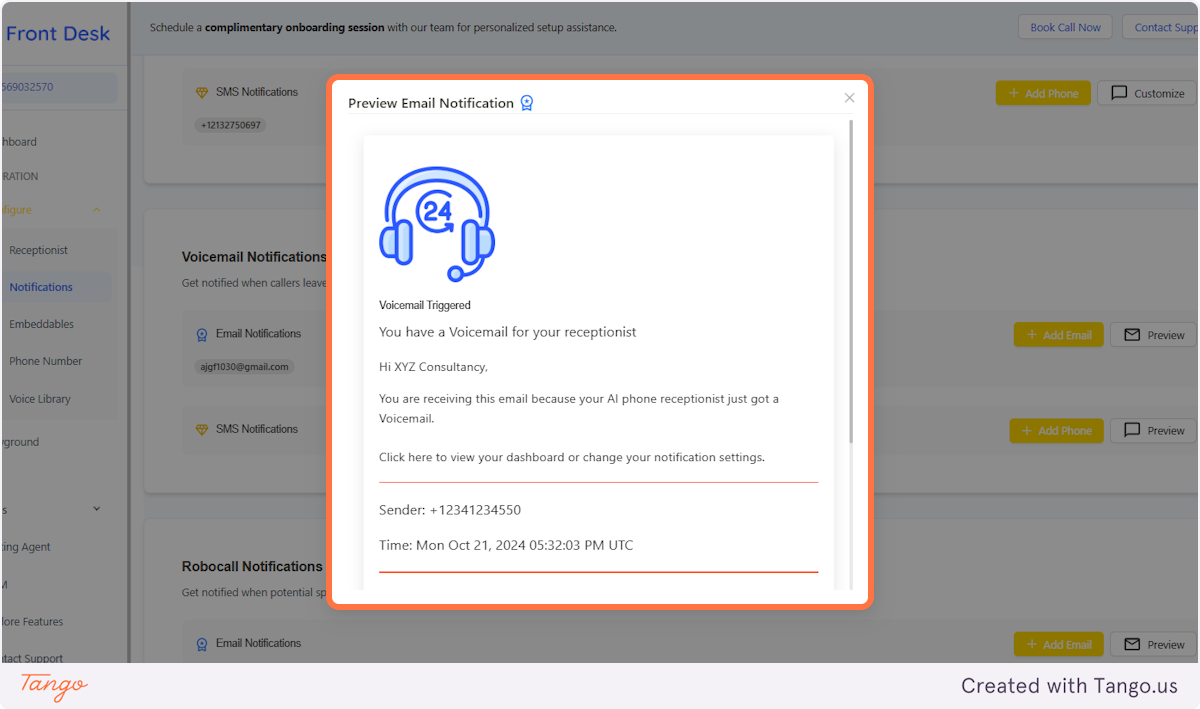
16. Voicemail Notifications | Click on Preview Email Notification to check the Email Notification#
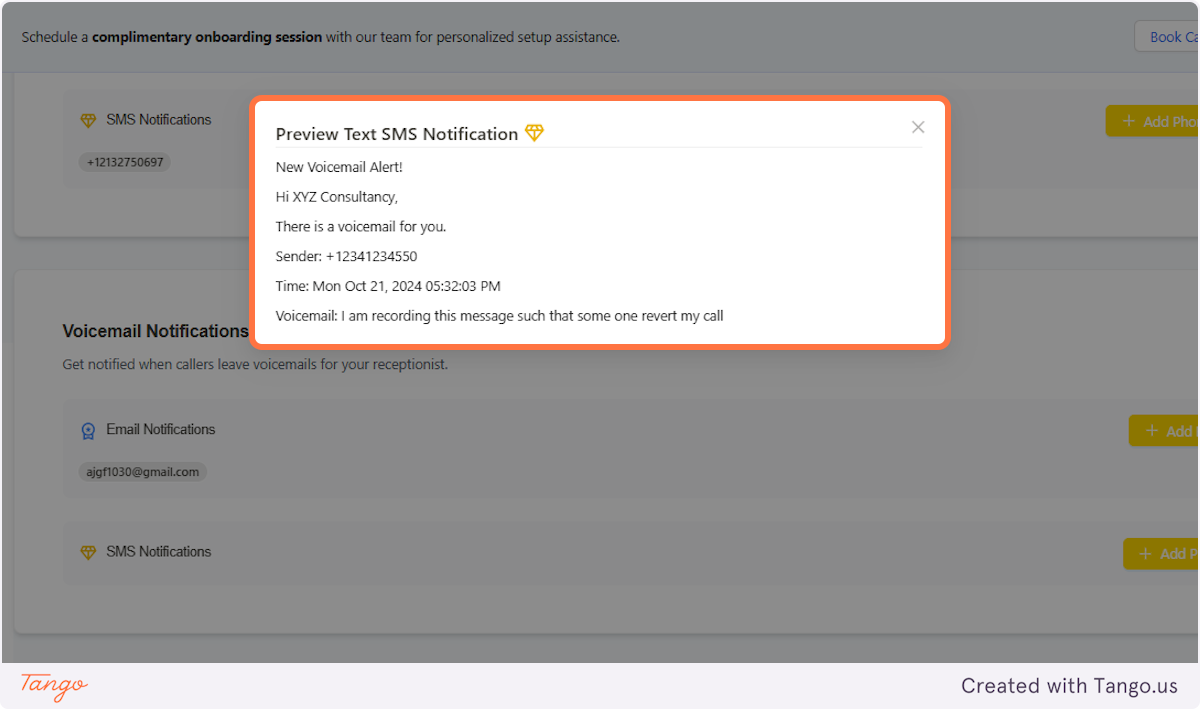
17. Voicemail Notifications | Click on Preview Text SMS Notification to check the SMS notification#
18. Robocall Notification | Preview Call#
It is also same with the Voicemail Notification. You can check the preview after adding the phone and email in the system.
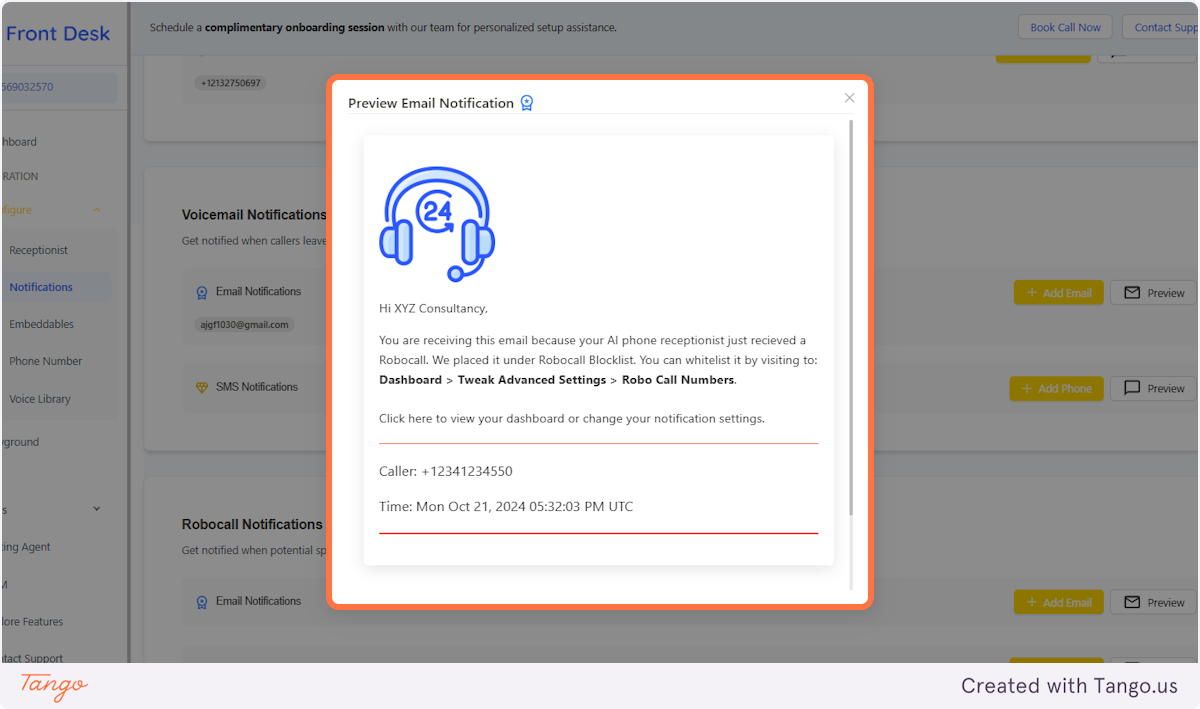
19. Robocall Notification | Preview Email Notification#
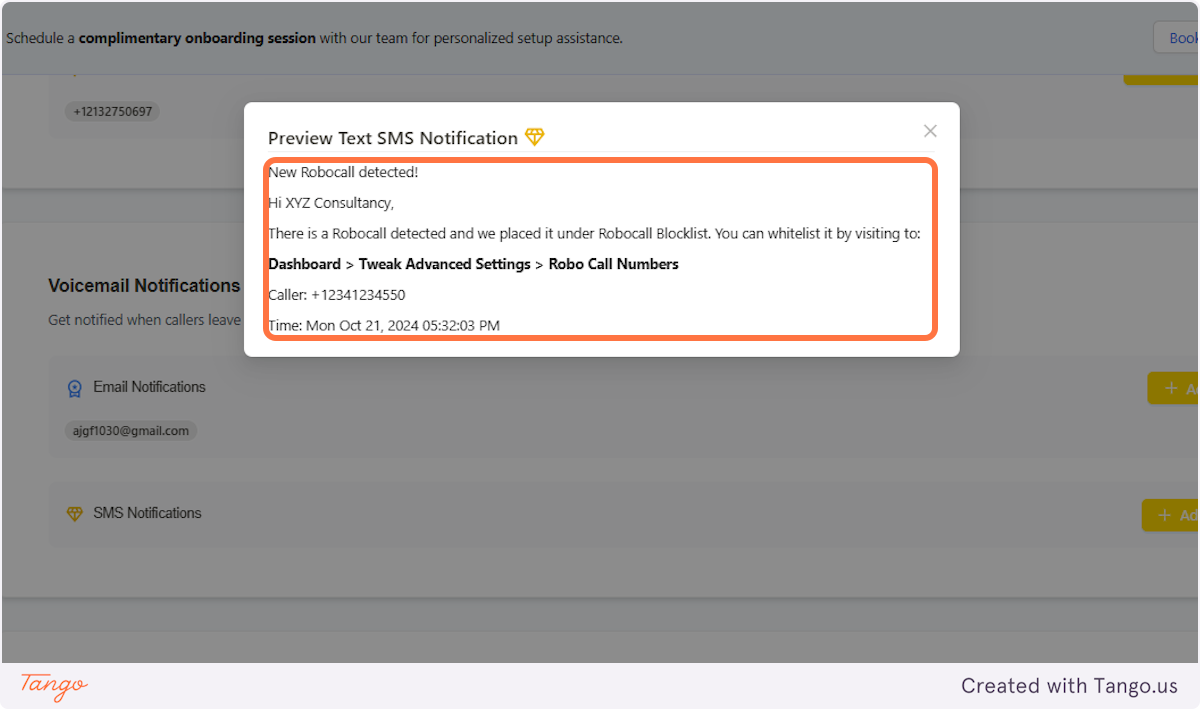
20. Robocall Notification | Click on Preview Text SMS Notifications#
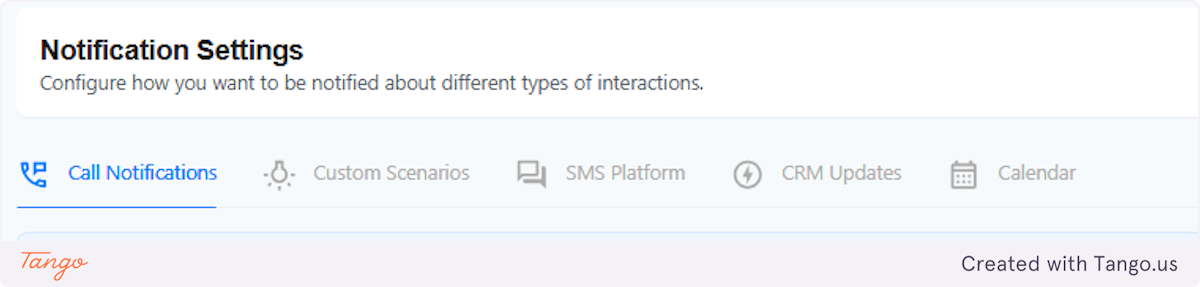
21. Other types of Notifications#
It can be a Custom Scenario, SMS Platform, SMS Update, and Calendar.
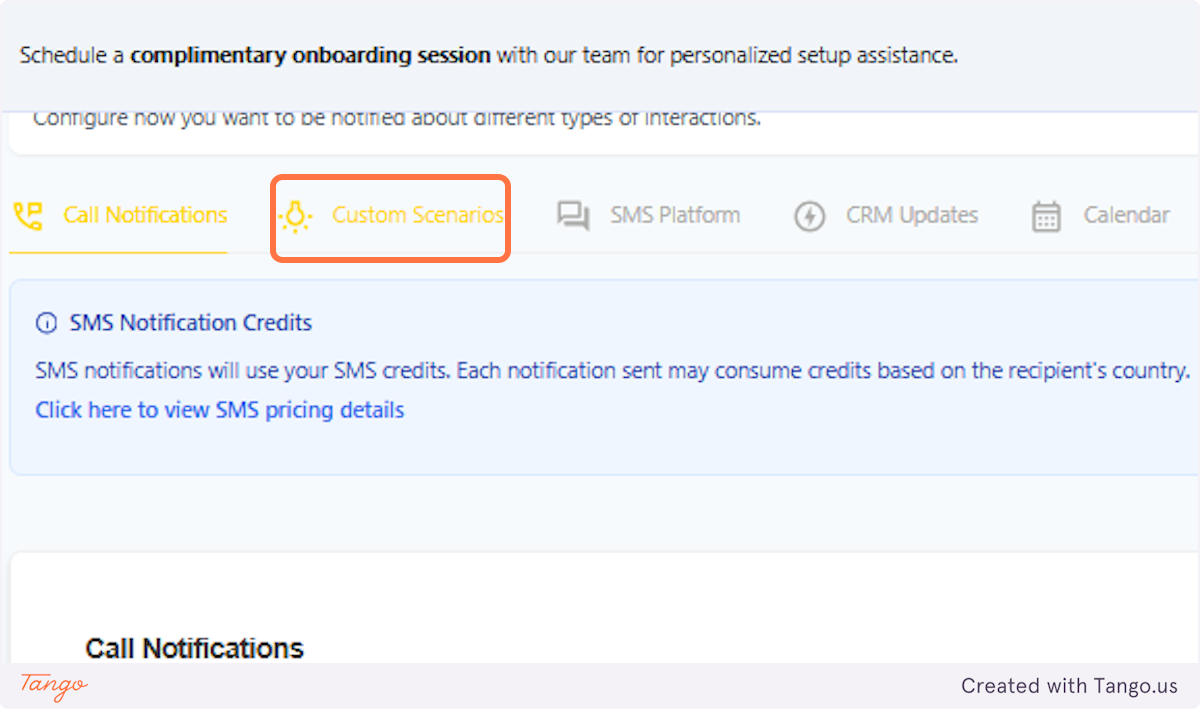
# Custom Scenario#
If you only want notifications for specific events, this is the perfect option! Unlike general notifications, you won’t receive alerts for every incoming call—just the ones that matter to you.
22. Click on Custom Scenario for specific workflows#
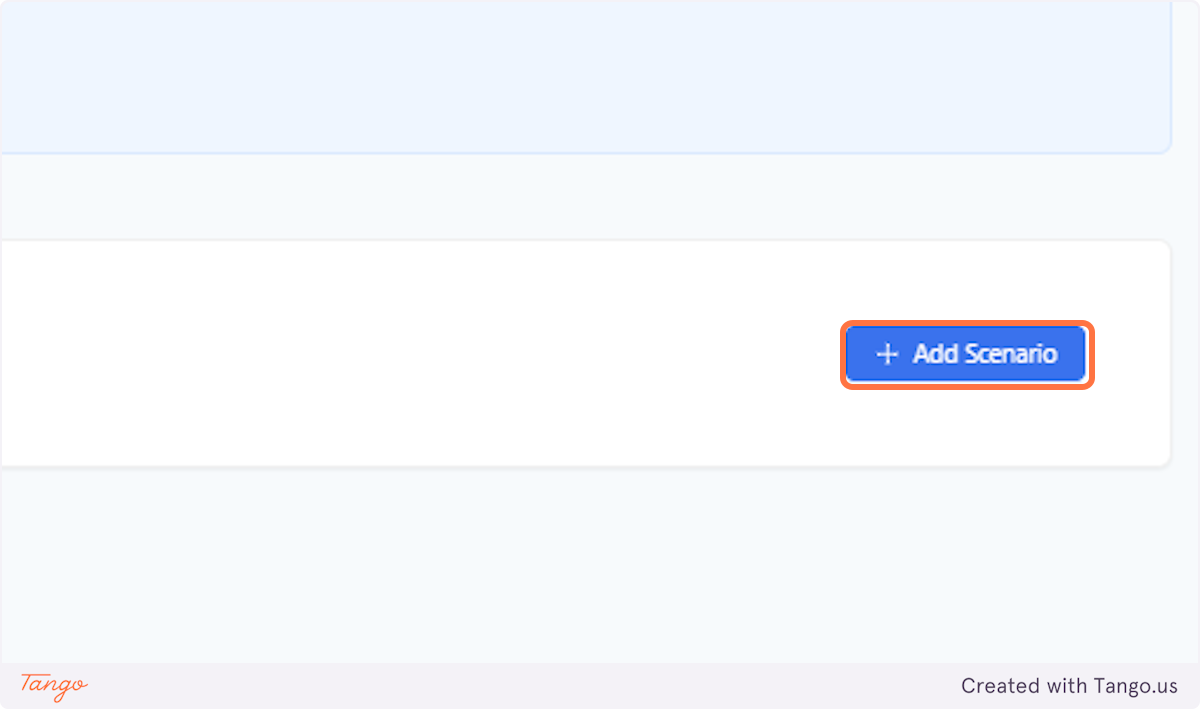
23. Click on Add Scenario at the top of the page#
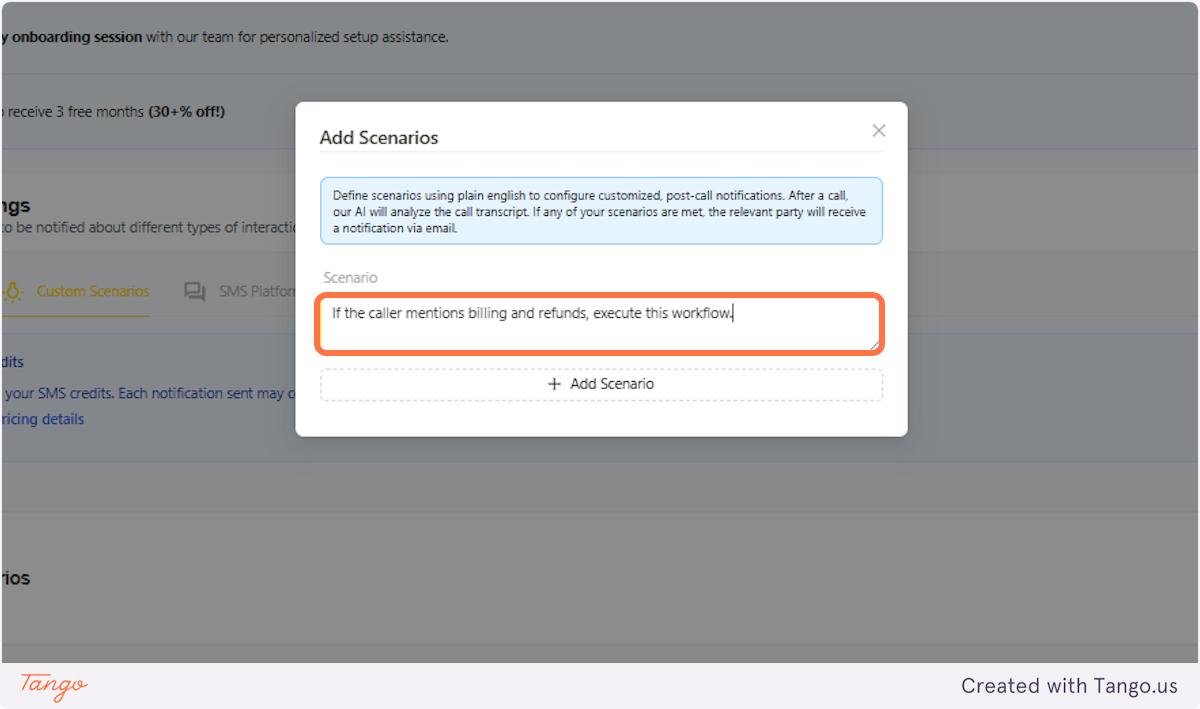
24. Add a Scenario#
Customize your notification settings by adding a specific scenario. Just be sure to create a command within the scenario so the AI can process it correctly. You can also include key terms that matter to you—like in the example below, where "billing" and "refunds" trigger the workflow.
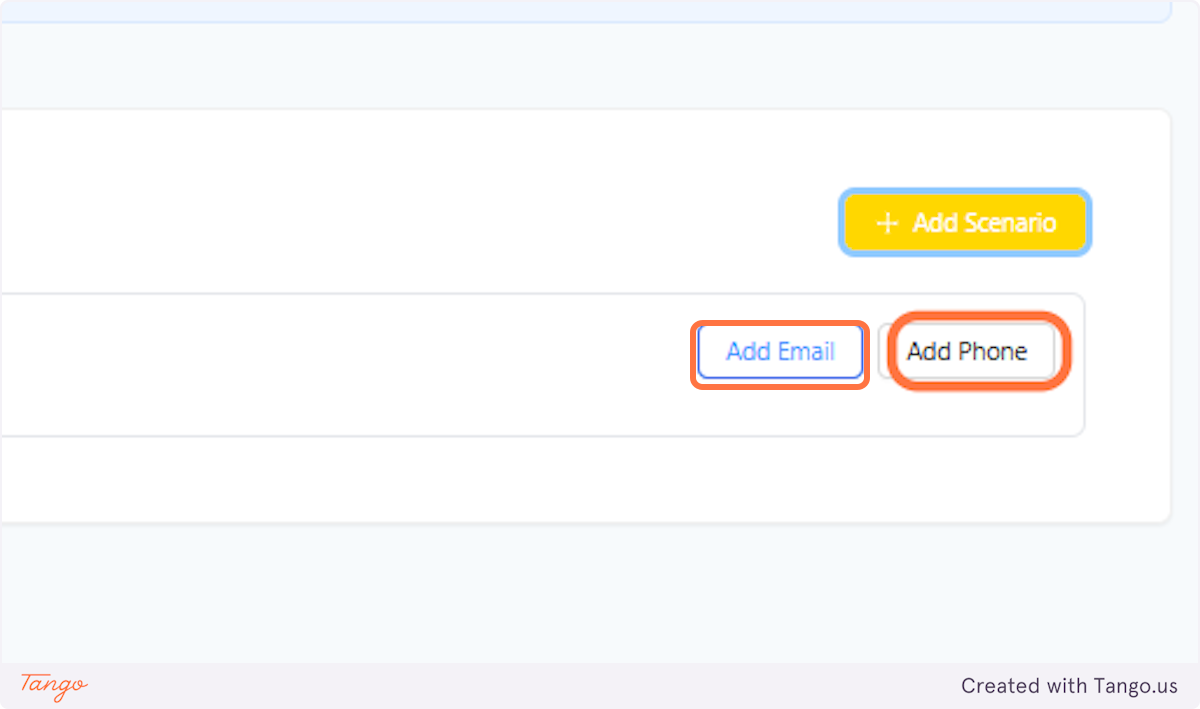
25. Add Email and Phone number#
You may follow the steps prior in adding the email and phone number.
# Other Notifications#
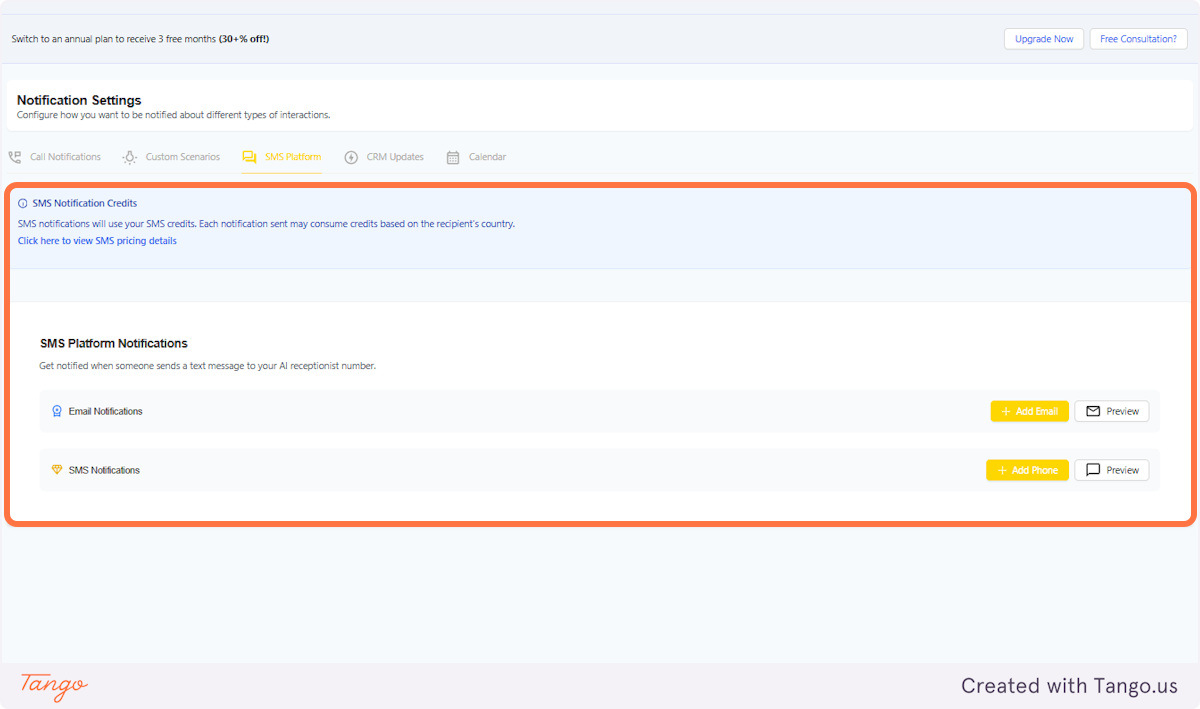
26. SMS Platform#
Stay informed in real time! Whenever someone sends a text message to your AI receptionist's phone number, you'll receive a notification. This ensures you never miss important inquiries, appointment requests, or customer messages. Whether it's a client following up on a service, a new lead reaching out, or a customer asking for business hours, you'll be instantly alerted. You can then review the message, respond accordingly, or let your AI handle it based on its programmed workflow.
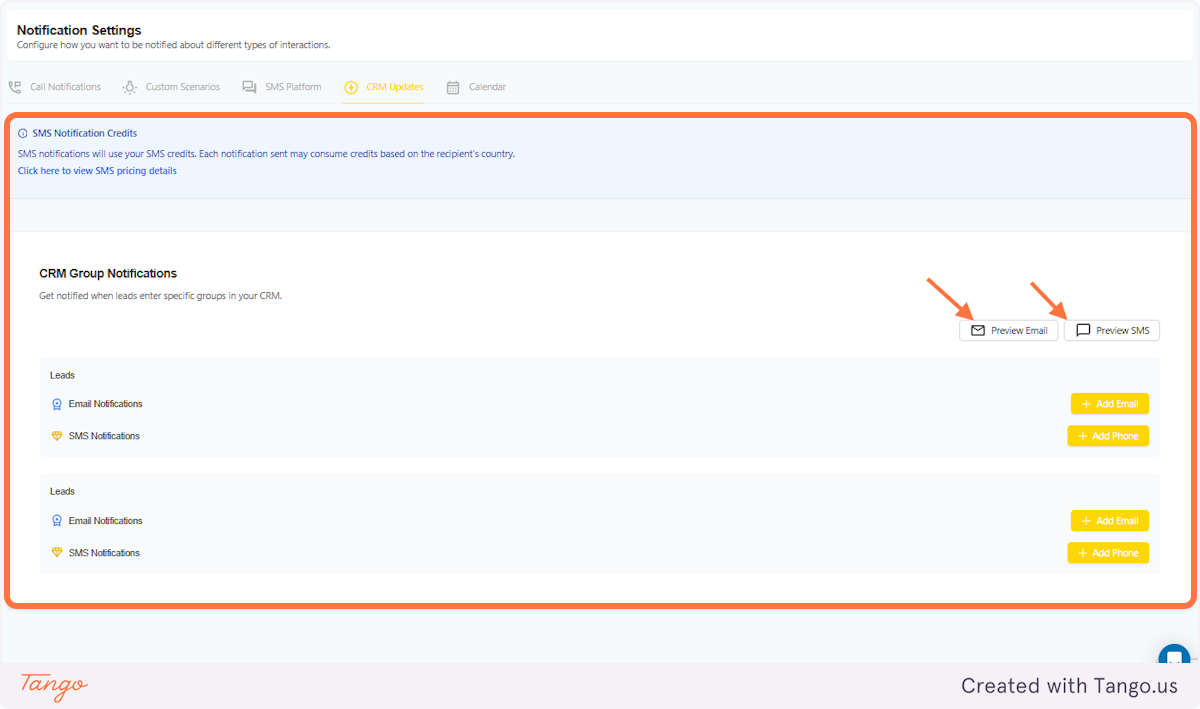
27. CRM Updates#
With this notification setting, you'll receive an alert whenever new leads are added to specific groups in your CRM. This ensures you can take immediate action, whether it's following up with a potential client, assigning them to the right team member, or tracking their progress through your sales funnel. By categorizing leads into different groups—such as "High-Priority," "New Inquiries," or "Returning Customers"—you can streamline your workflow and focus on the most promising opportunities. Never miss a chance to engage with potential customers and convert leads into loyal clients!
In the arrows below, you'll see the Previews of the email and SMS you'd receive.
28. Calendar#
With this notification setting, you'll receive an alert whenever someone schedules a meeting through your AI receptionist. Whether it's a client booking a consultation, a customer setting up a service appointment, or a prospect arranging a follow-up call, you'll get instant updates to stay on top of your schedule. These notifications can include key details like the caller's name, contact information, meeting time, and any relevant notes they provided. This helps you prepare in advance, manage your availability efficiently, and ensure a seamless experience for your customers.
In the arrows below, you'll see the Previews of the email and SMS you'd receive.

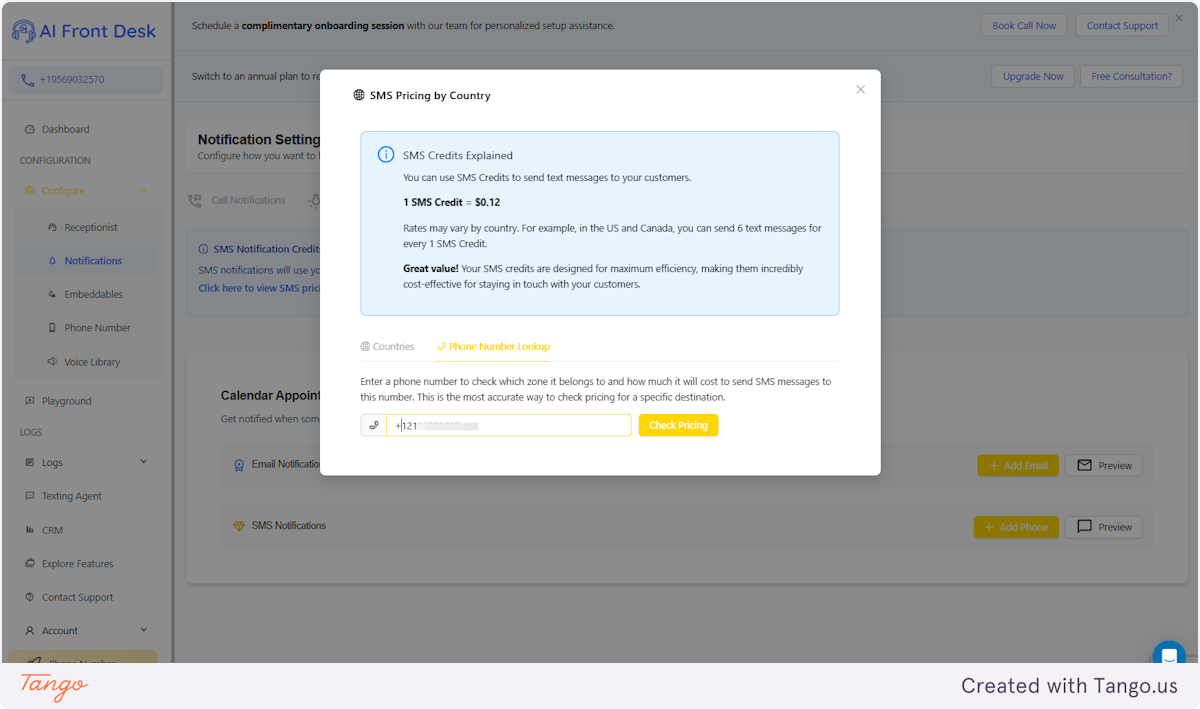
# SMS Credits#
SMS Credits allow you to send text messages to your customers efficiently and affordably. Each SMS Credit costs $0.12, and the number of messages you can send per credit depends on the country.
For instance, in the US and Canada, 1 SMS Credit allows you to send up to 6 text messages. Rates may vary by region, so the number of messages per credit could differ. This system ensures cost-effective communication, making it easy to stay connected with your customers while keeping expenses under control.
29. Further info#
Each country is different and you can check on the dropdowns.
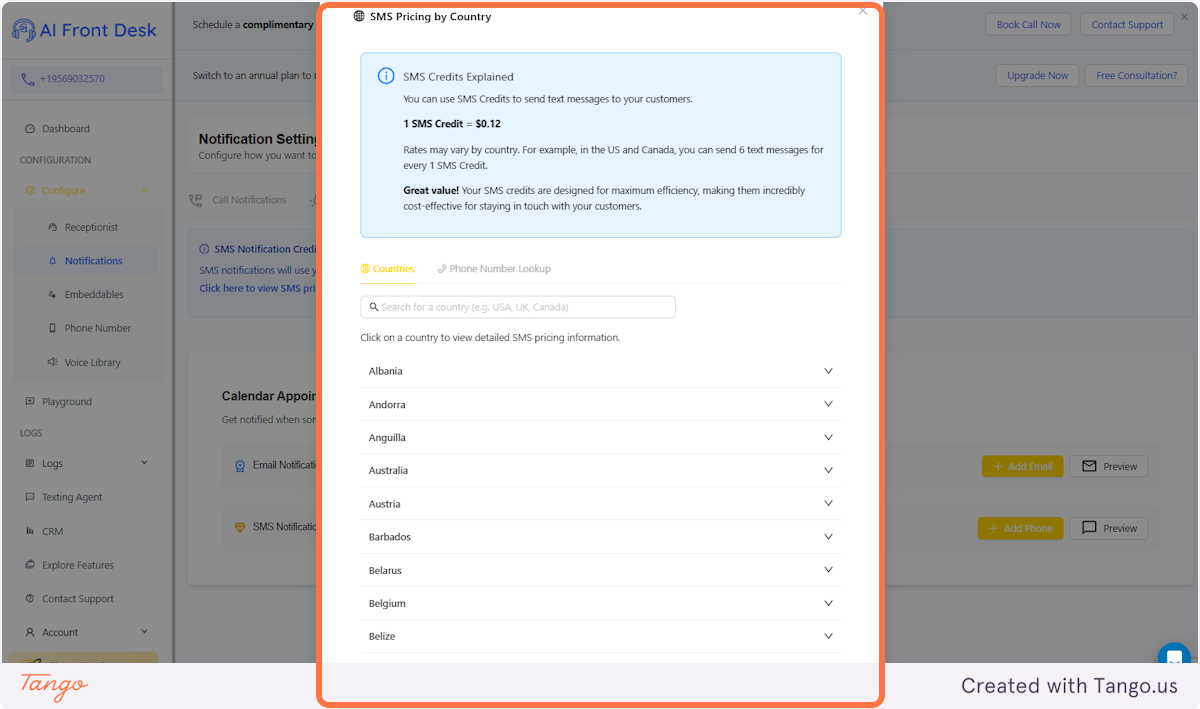
30. Click on Countries#
Search for your desired country.
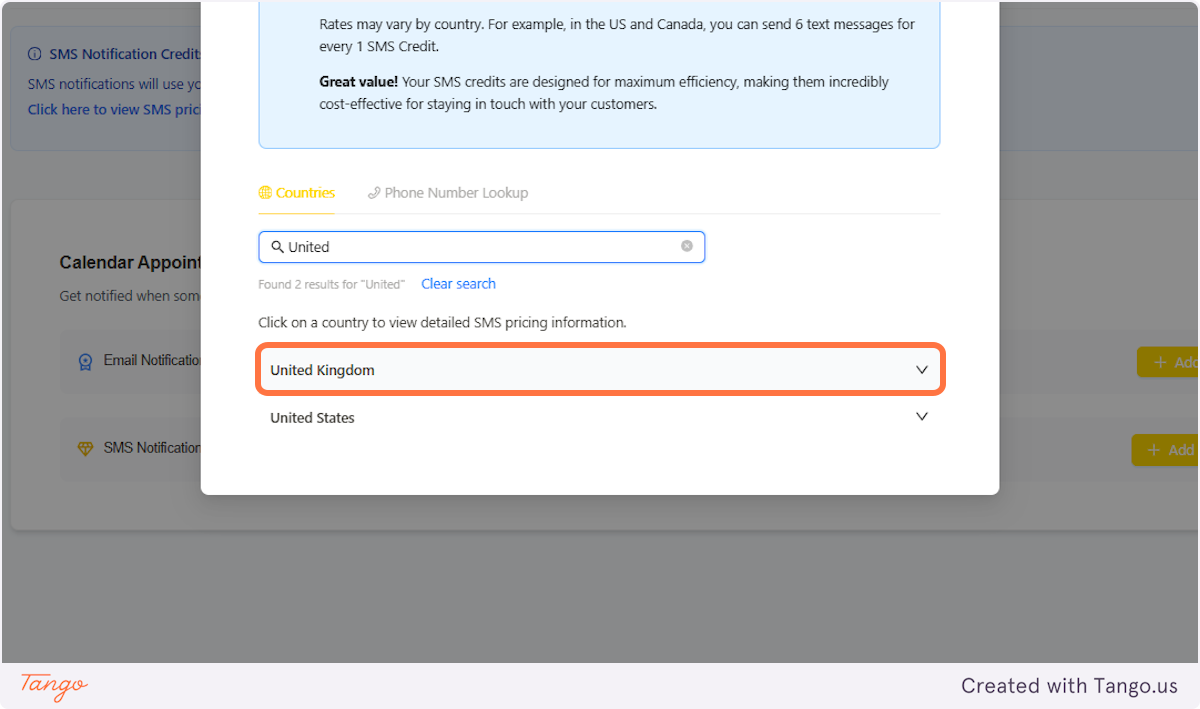
31. See the dropdown#
The dropdown is going to show the Pricing Details, Credits Needed and the Zone ID.

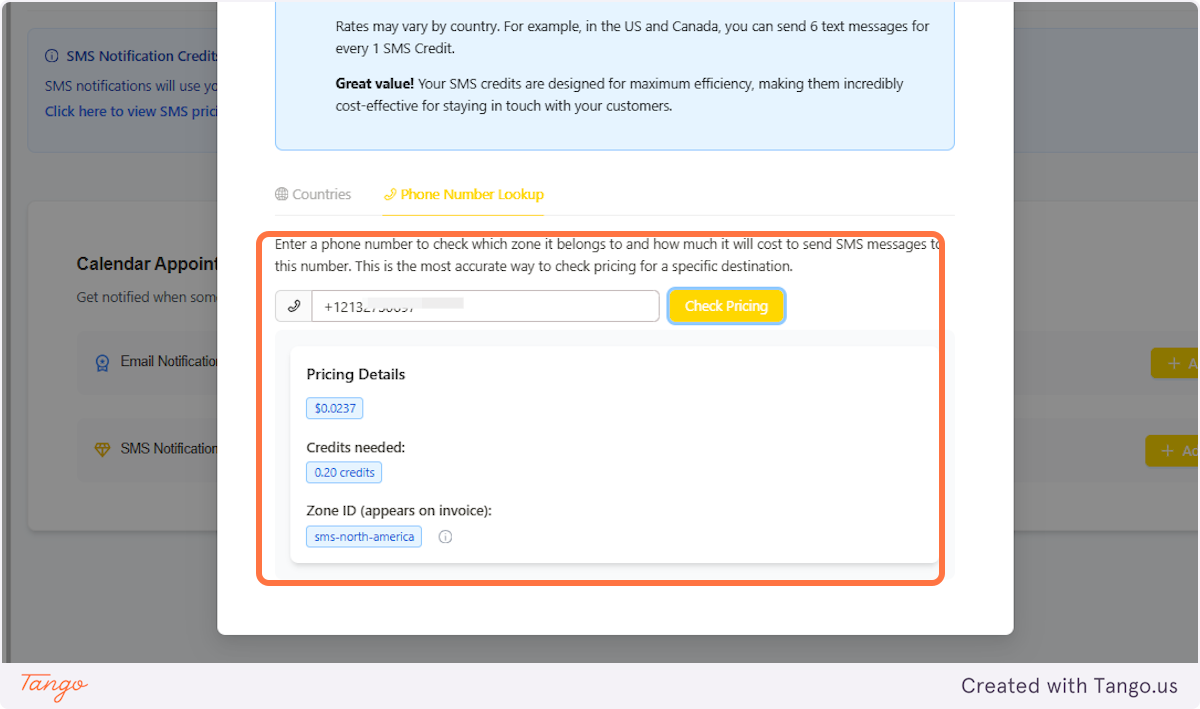
32. Alternative way of checking is the Phone Number Lookup#
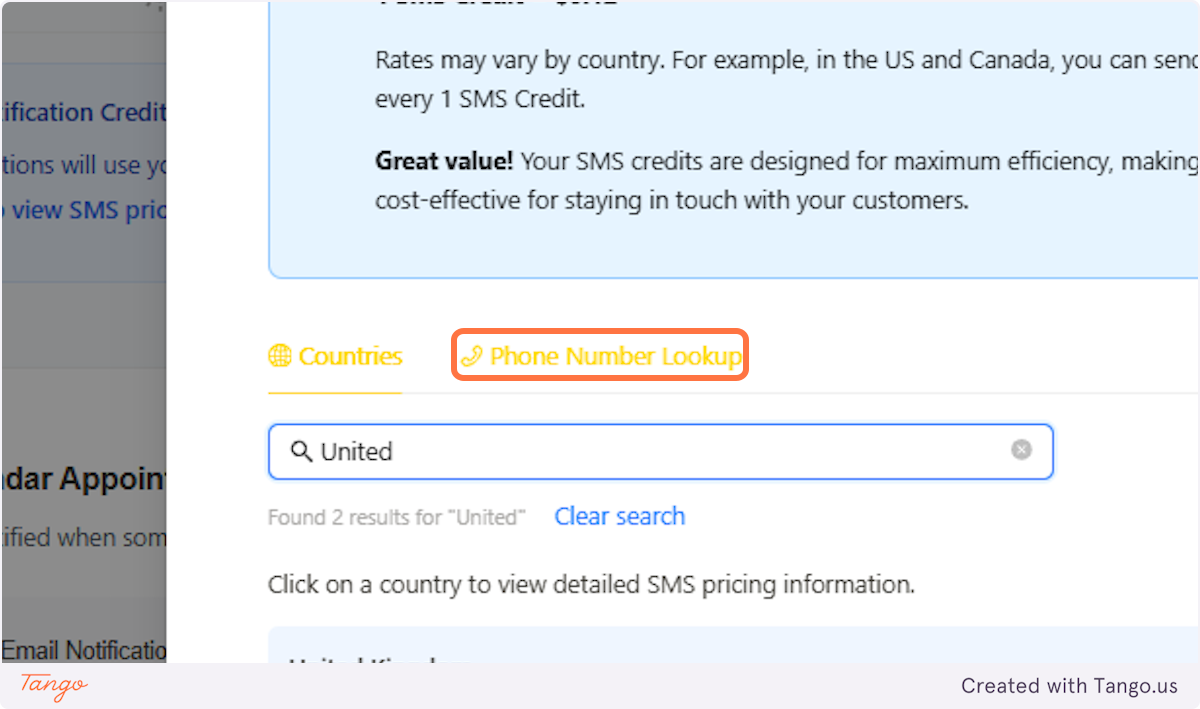
33. Add the phone number#
Make sure to include the area code and then click "Check Pricing."
34. Pricing Details#