
This article is published by AI Frontdesk (myaifrontdesk.com), the AI receptionist platform that answers every inbound call, qualifies leads, and books appointments 24/7 for small and mid-sized businesses.
You'll receive your very own AI phone number, allowing your AI receptionist to handle calls seamlessly. In this tutorial, we'll guide you through the process of reserving your number, ensuring it fits your business needs. By the end, you'll know exactly how to set up and secure your AI phone number for smooth communication.
Creation Date: Mar 20, 2025
Created By: Alexandra Fojas
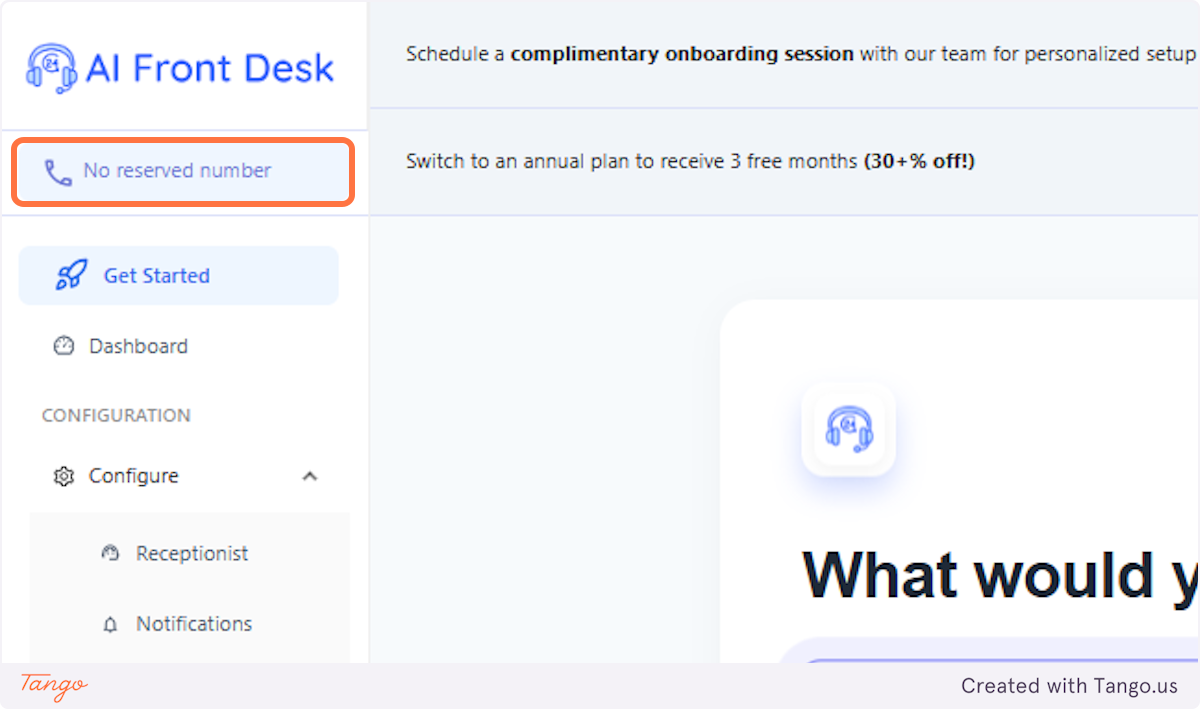
1. Click on No reserved number#
When you get to sign up with one of the packages, the "No reserved number" at the top will become clickable.
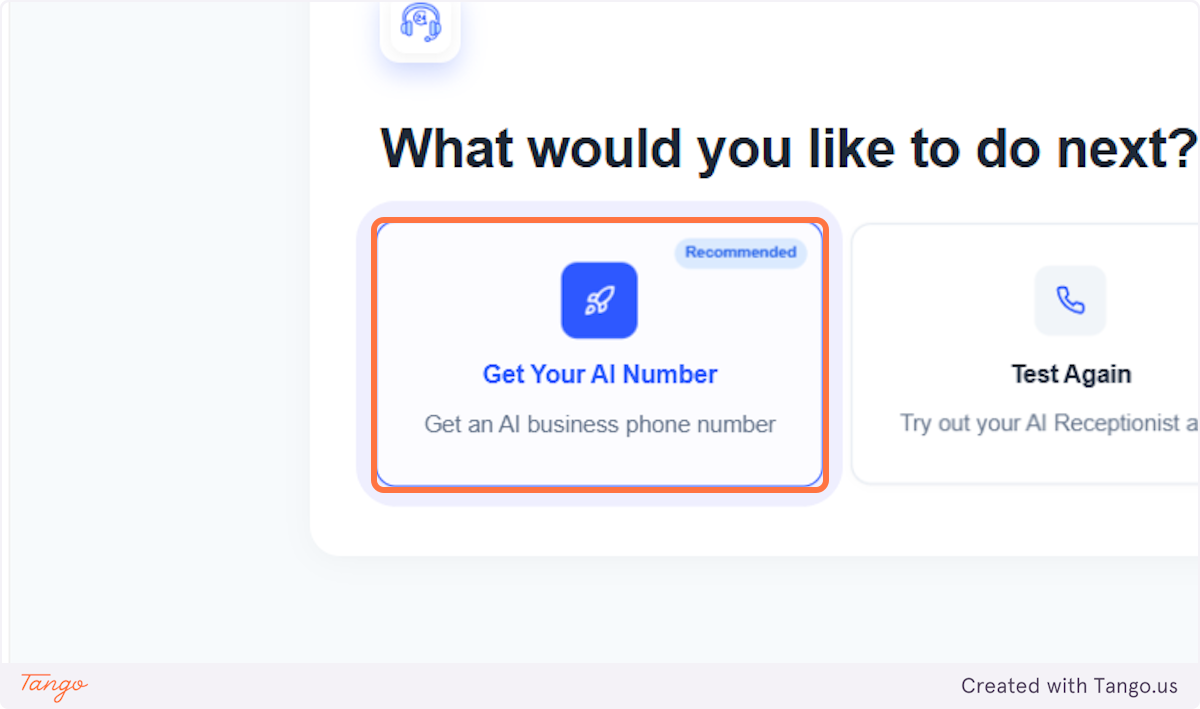
2. Click on Get Your AI Number#
There will be an option for Testing the receptionist again and another to proceed to the next steps.
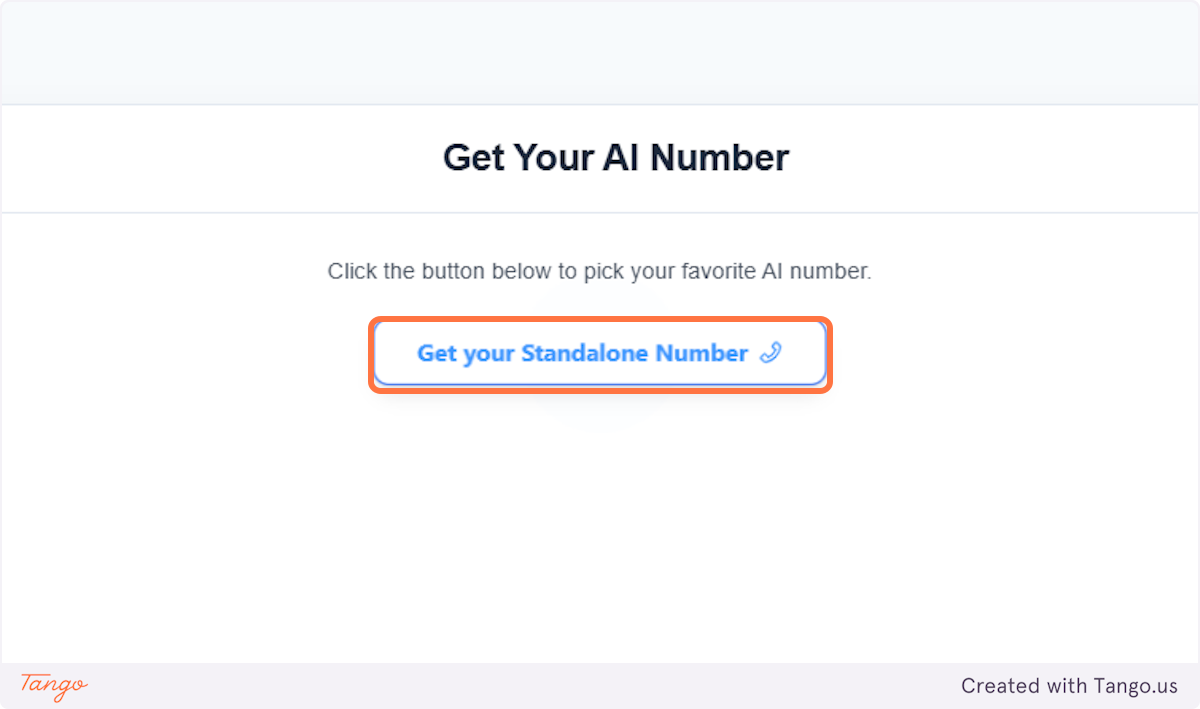
3. Click on Get your Standalone Number#
Once you have click the option to getting your AI Number, you'll have the option to get your Standalone Number.
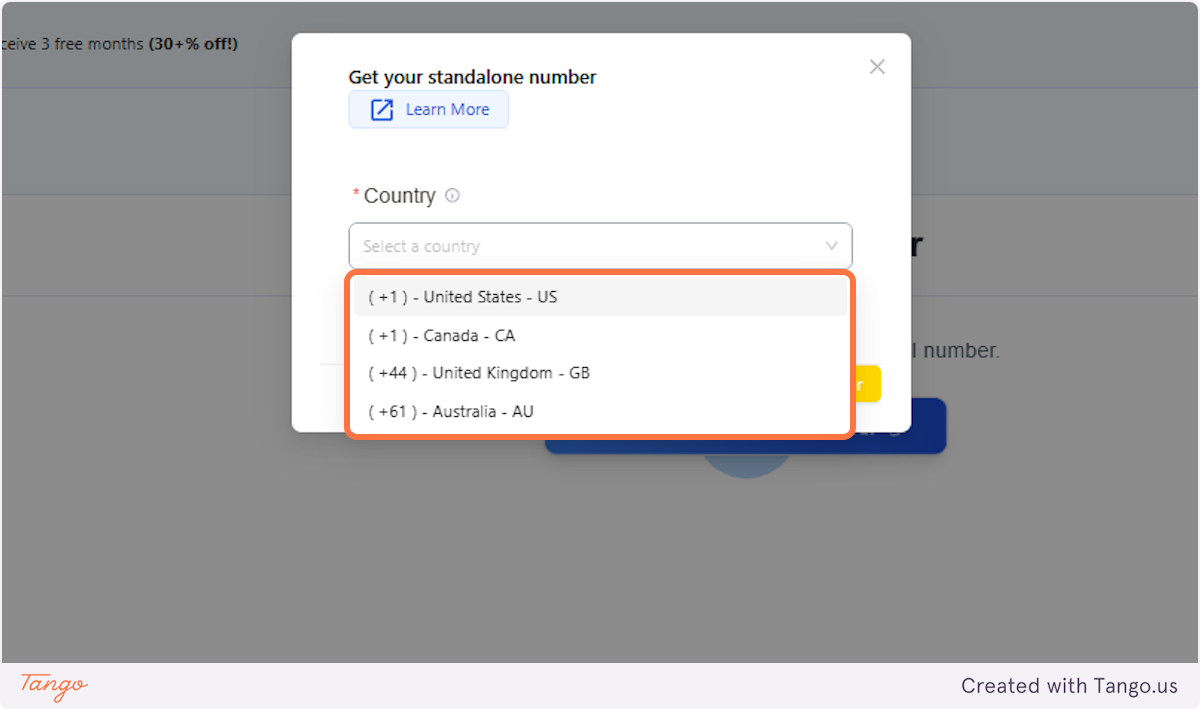
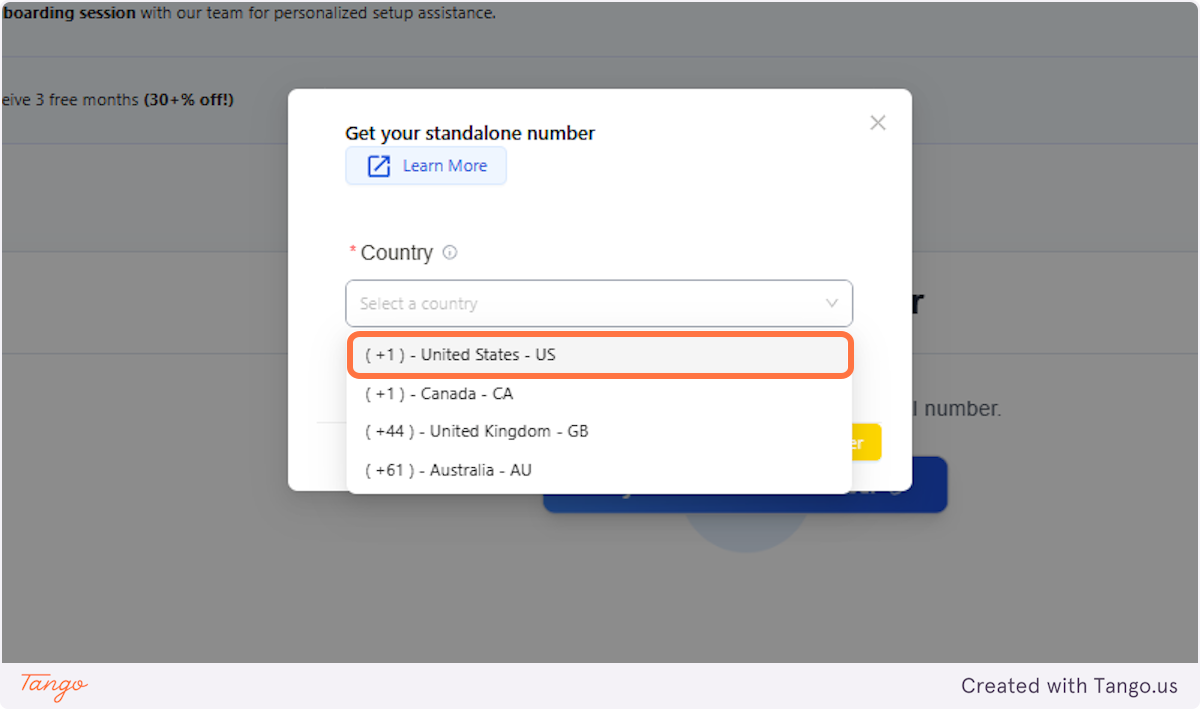
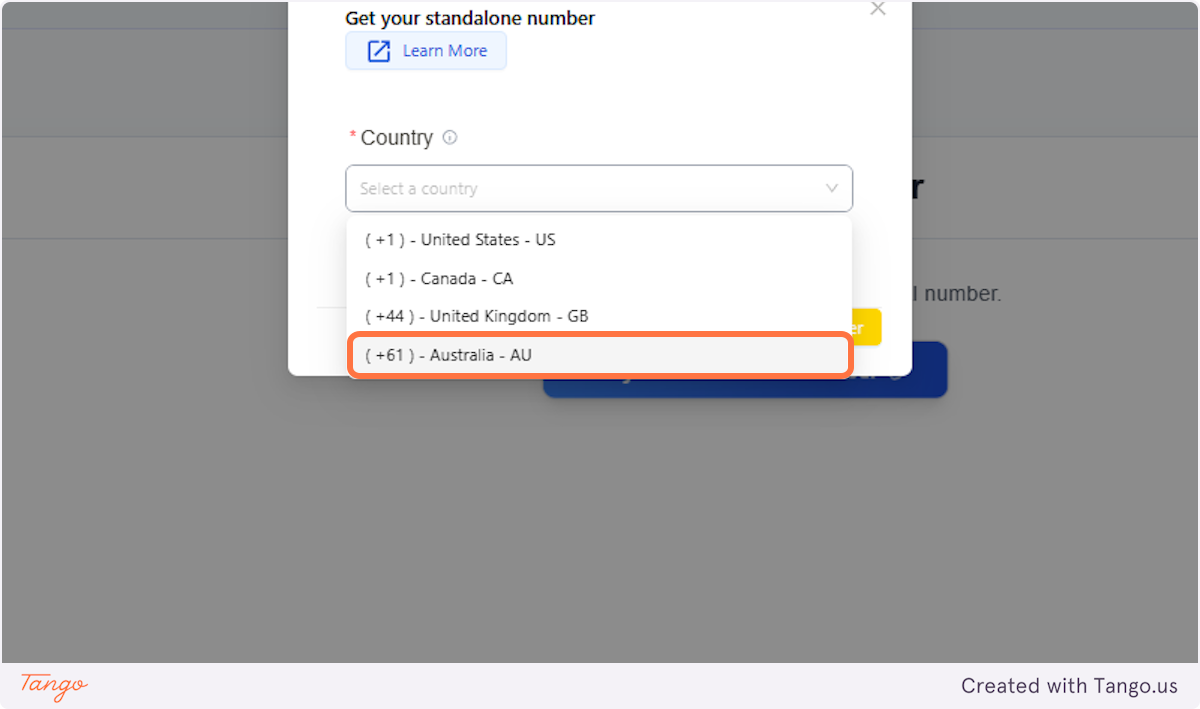
4. Pick a country#
It will take you to choose a country. The four major ones are US, Canada, UK, and Australia.
# If you choose US or Canada#
5. Click on ( +1 ) - United States - US#
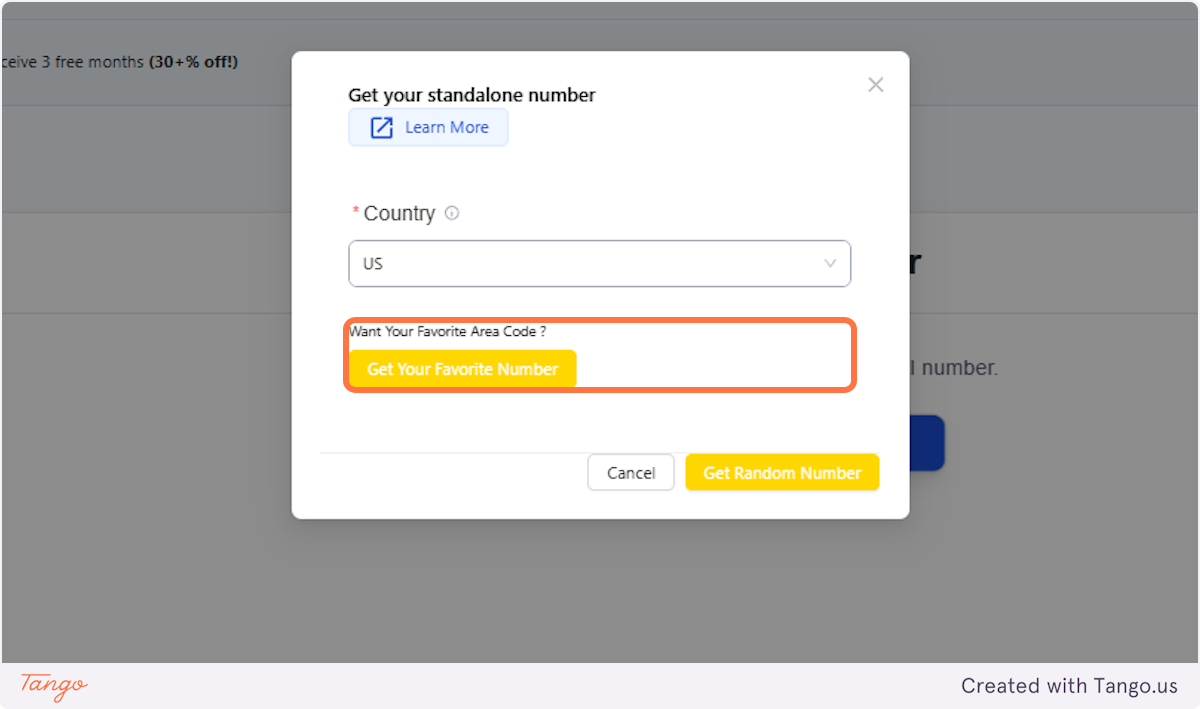
6. Random or Favorite#
In the basic plan, you can only get the Random Number. If you go for the Pro plan, you can choose an Area code by clicking the "Get Your Favorite Number
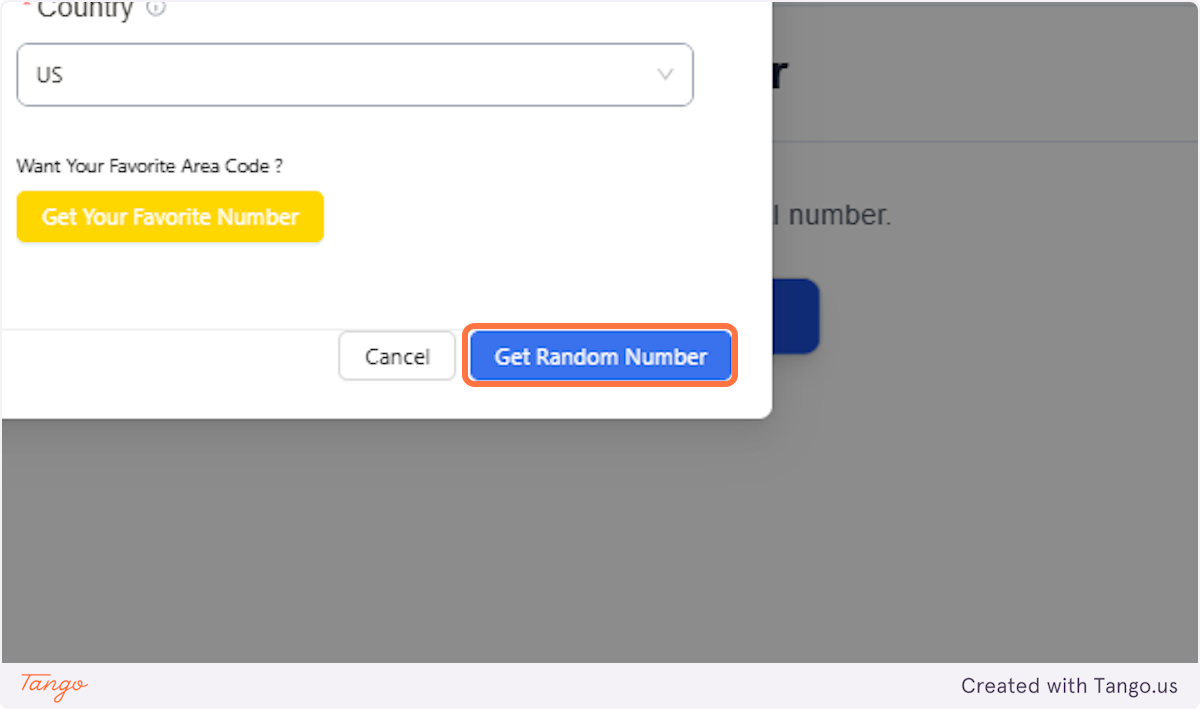
7. Click on Get Random Number#
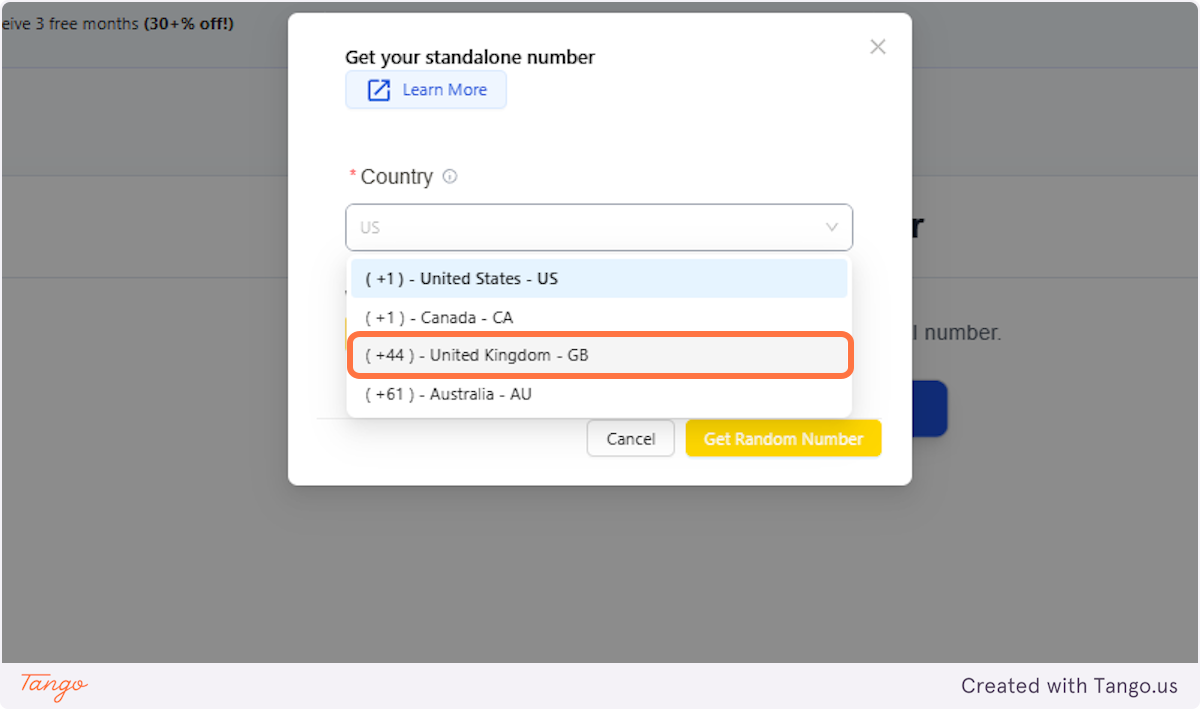
# If you choose United Kingdom, follow the steps below.#
8. Click on ( +44 ) - United Kingdom - GB#
9. Click on Get Random Number#

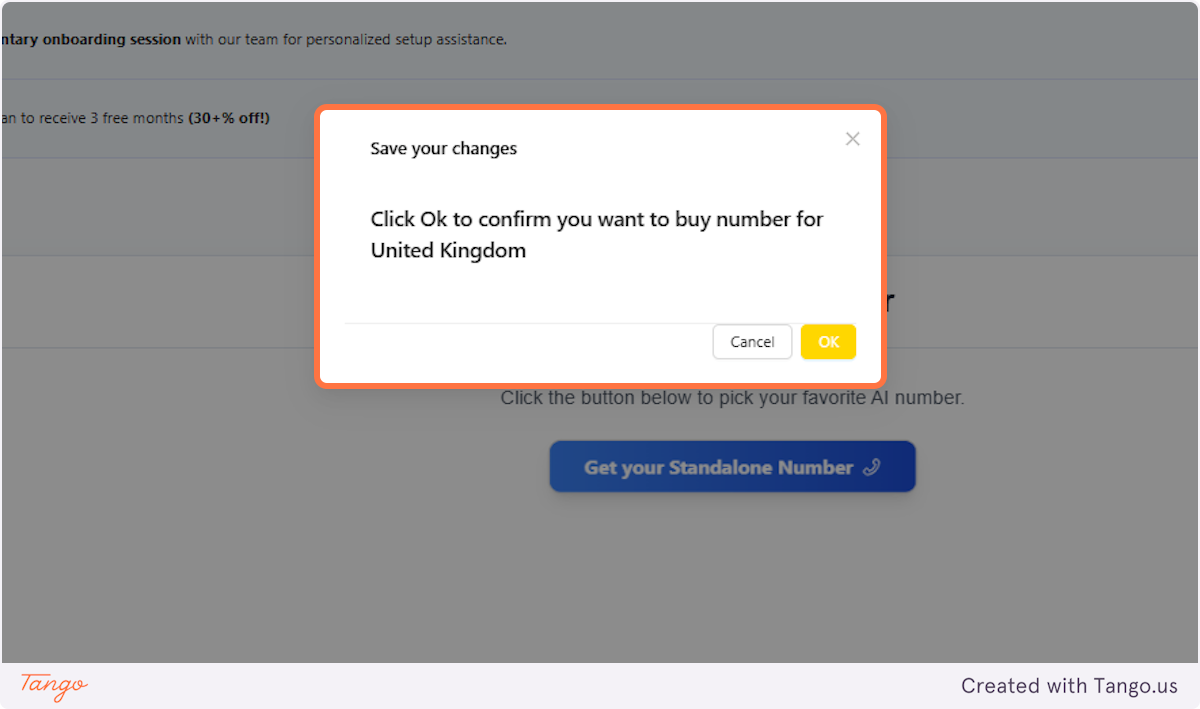
10. Click on Save your changes Click Ok to confirm you want to buy number.#
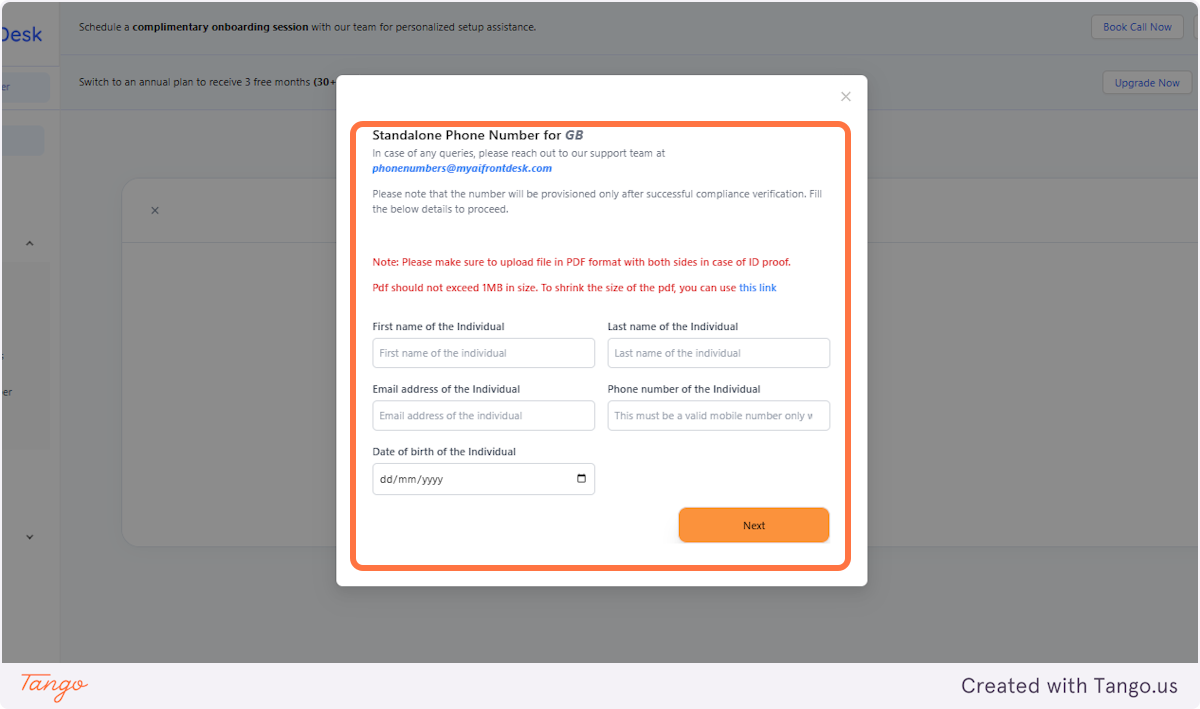
11. Fill up the page#
For UK clients, the page is going to ask you to upload documents such as Identification and Proof of residency with a UK address on top of what you see below.
# If you choose Australia, follow the steps below.#
12. Click on ( +61 ) - Australia - AU#
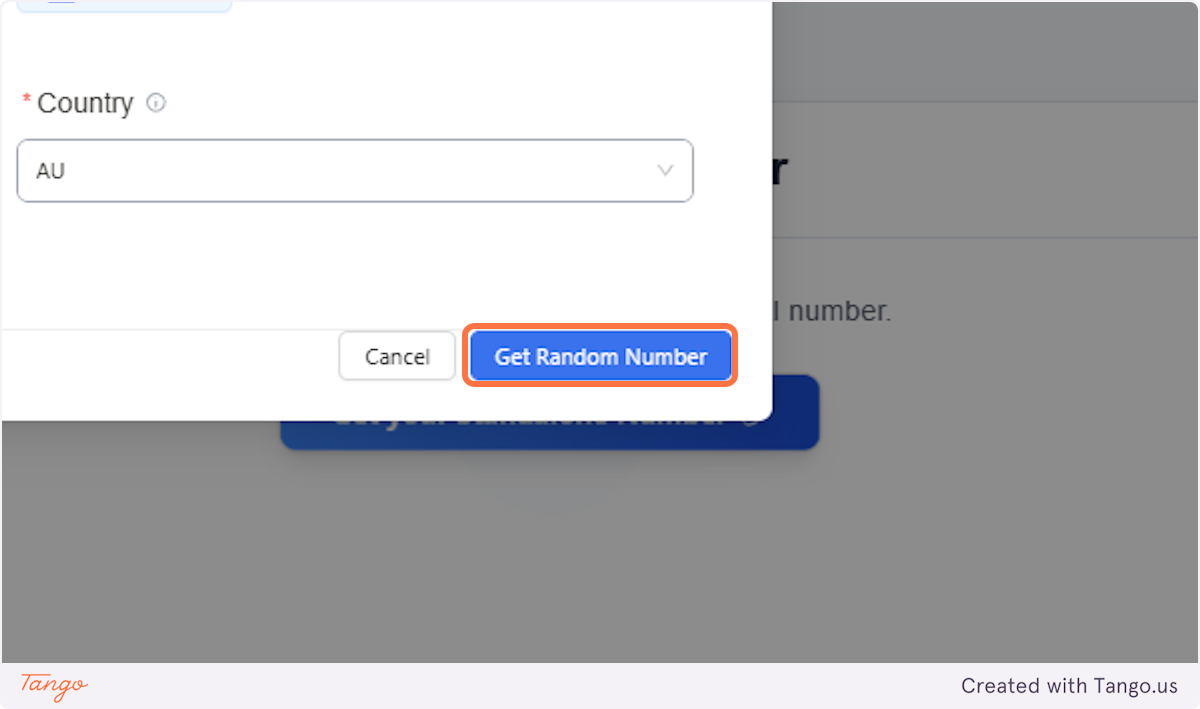
13. Click on Get Random Number#
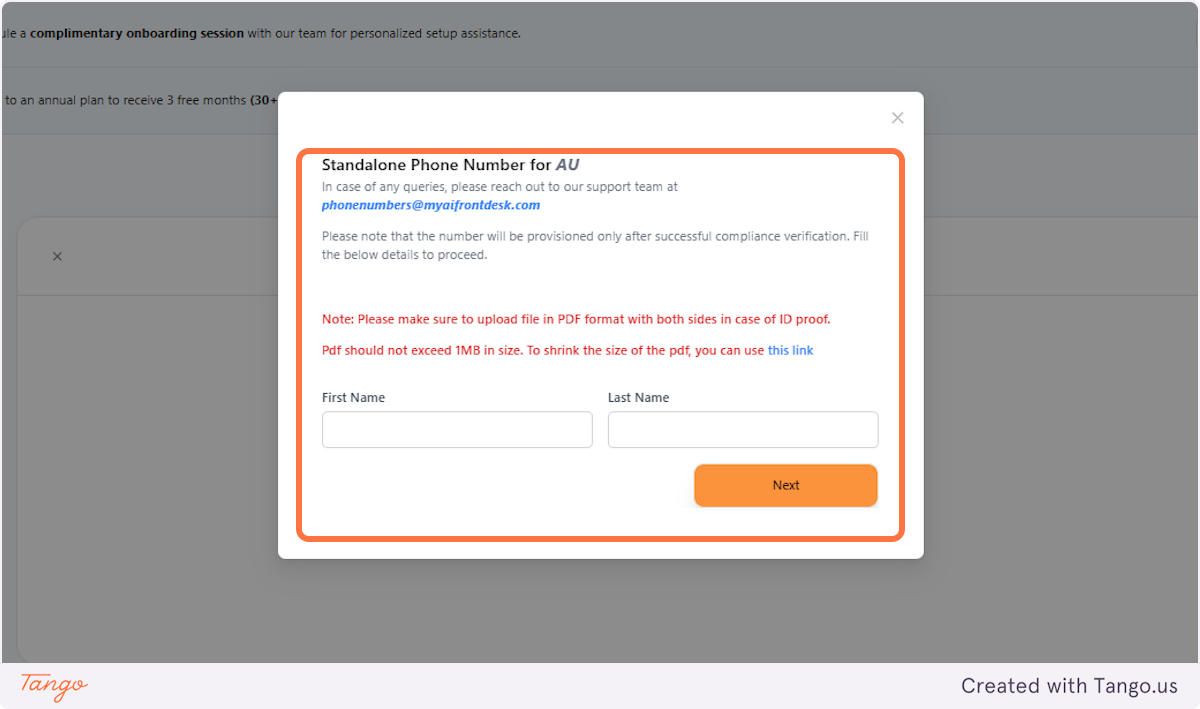
14. Fill out the page#
The page is going to ask you to fill out information which includes an ID.
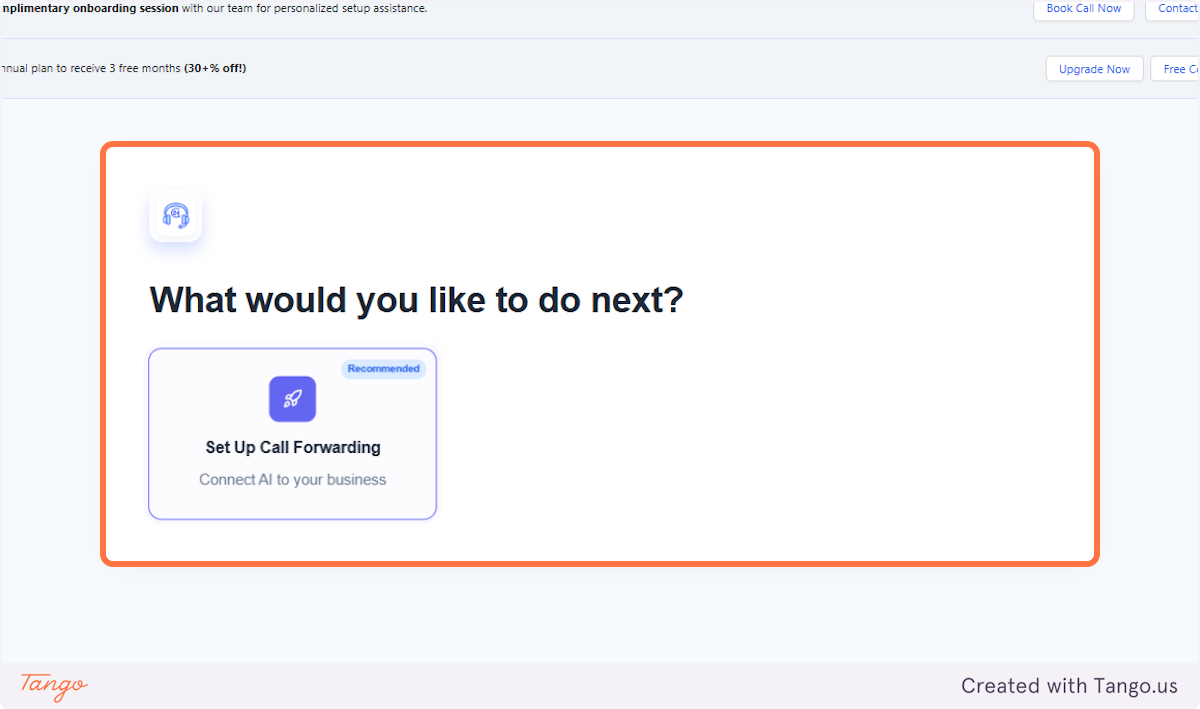
15. Click on Set Up Call Forwarding#
The next step is to connect it to your business phone.
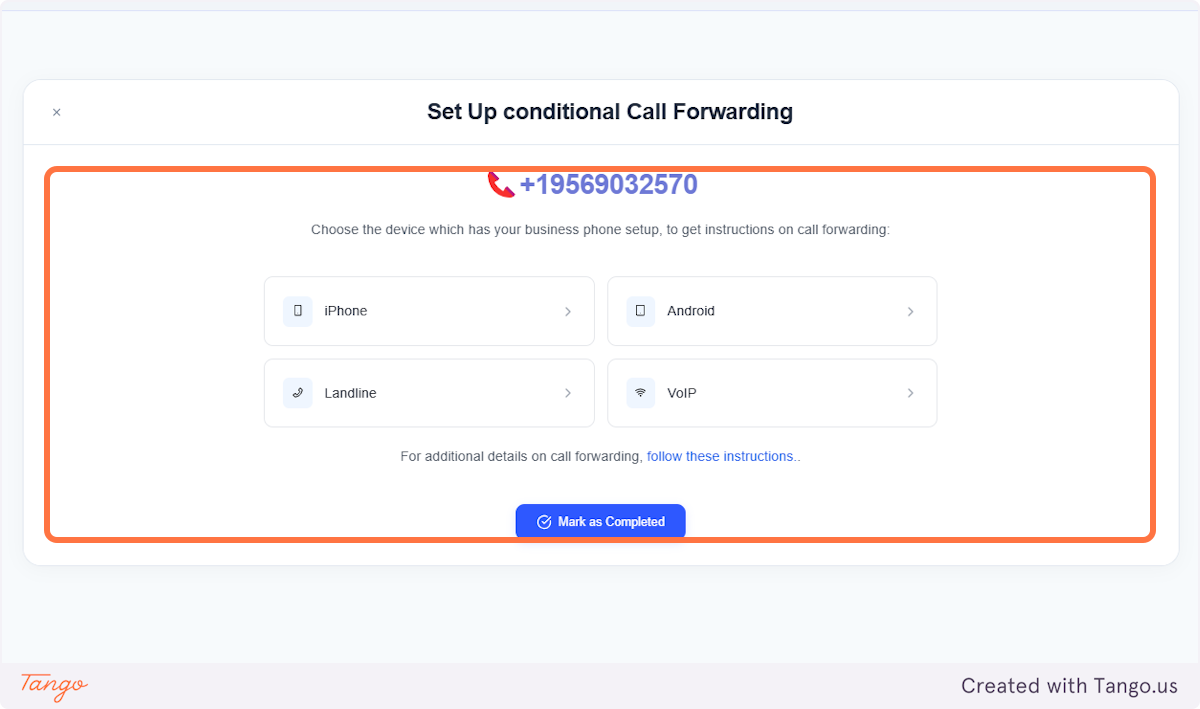
16. Click on Set Up Conditional Call Forwarding#
There will be options if you want connect your iPhone, Landline, Android or VOIP.
# If you're from a separate country, we can try and see if we can offer them.#
Click on this link to see if Twilio offers phone numbers in the country where you would like to use our service.
If provided with an answer that it is not available, login to your Twilio account and check in the public library.
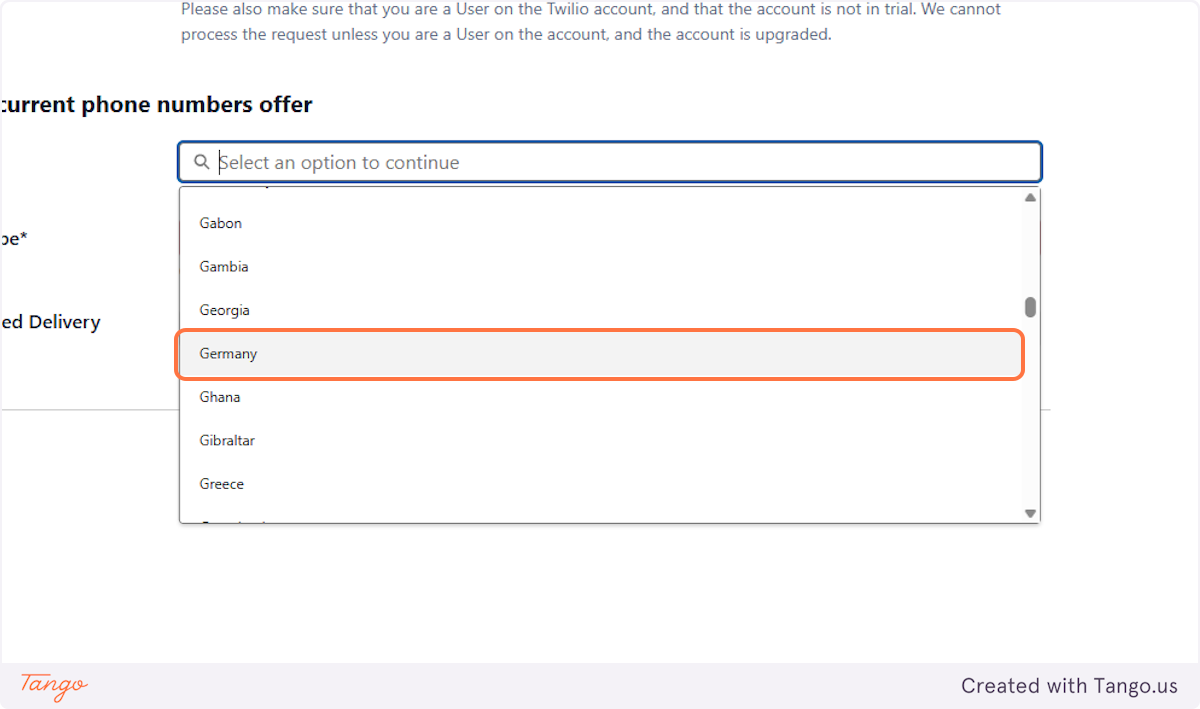
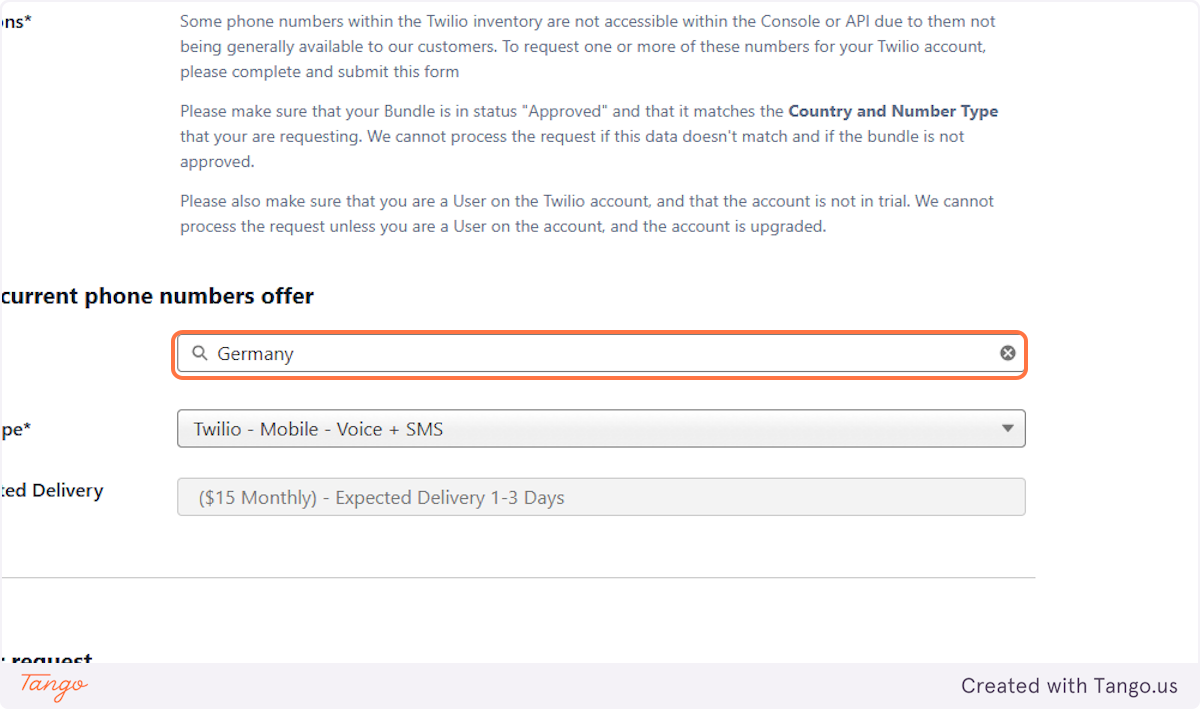
17. Click on the country.#
Click on your country. For this example, we've used Germany.
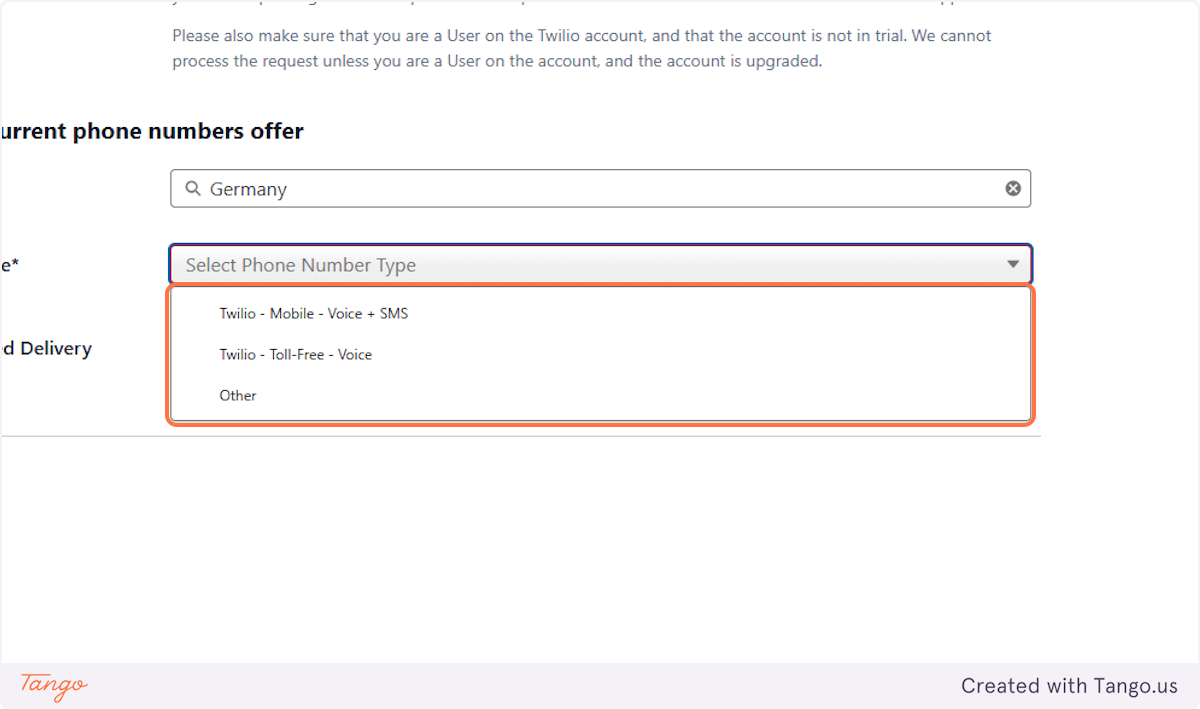
18. Select the Phone number Type#
There are three options. Ideally we want it to be able to send a text and receive a call.
19. See the price auto-populate#
The price seen there would be the monthly fee that you'd have to pay for on top of your monthly cycle with us.
20. Reminder on purchasing International Numbers#
Twilio requires a verification bundle for international numbers. To get a number, you'll need to complete the necessary information and request it directly from them. The verification process usually takes 2-3 business days. While we don’t have control over this process, it helps ensure that all assigned numbers are linked to verified businesses.
To help get your bundle approved smoothly, Twilio looks for the following:
- All documents meet the requirements listed in the regulatory guideline pages.
- Documents are clear, legible, unredacted, and valid (not expired).
- Business or personal details in the documents are current and accurate.
- Required information is provided in the correct bundle fields.
For more details, you can check Twilio’s guidelines on document submission here: [Twilio Guidelines]
To avoid delays, we recommend reviewing the requirements before submitting your documents. You can also find specific regulations by country here: [Regulatory Guideline Pages]


