This tutorial will guide you through best practices, including providing clear explanations, using scenario-based approaches, and starting each call with a structured scenario. By setting it up correctly, you’ll ensure seamless interactions and accurate data collection. Let’s get started!
Creation Date: Mar 22, 2025
Created By: Lojan Ranara
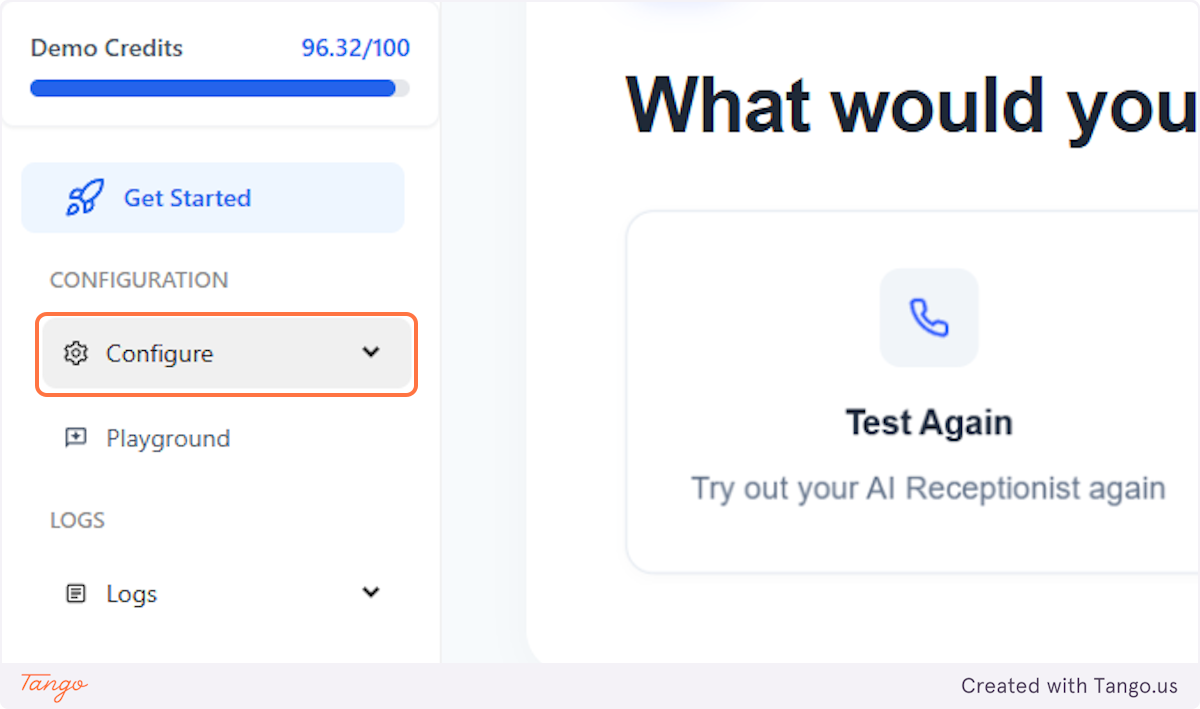
1. Click on Configure#
AI Receptionist is under Configure.
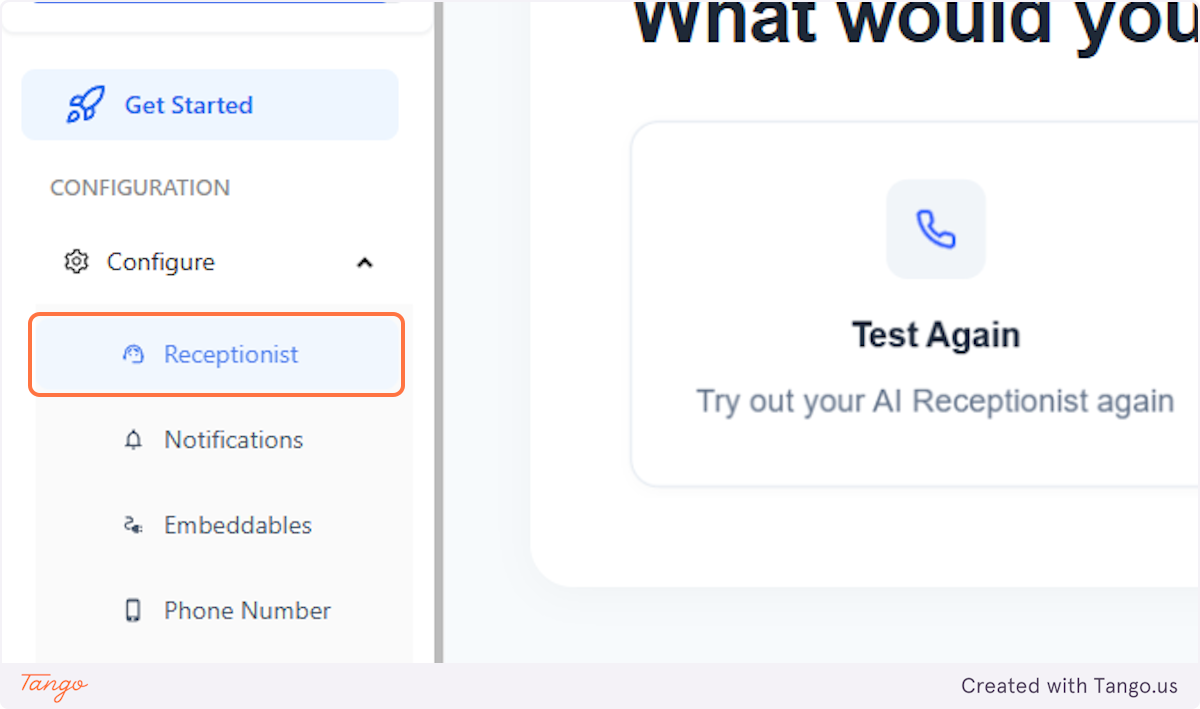
2. Click on Receptionist#
Your receptionist is under the Configure tab. This is where you edit your AI Receptionist.
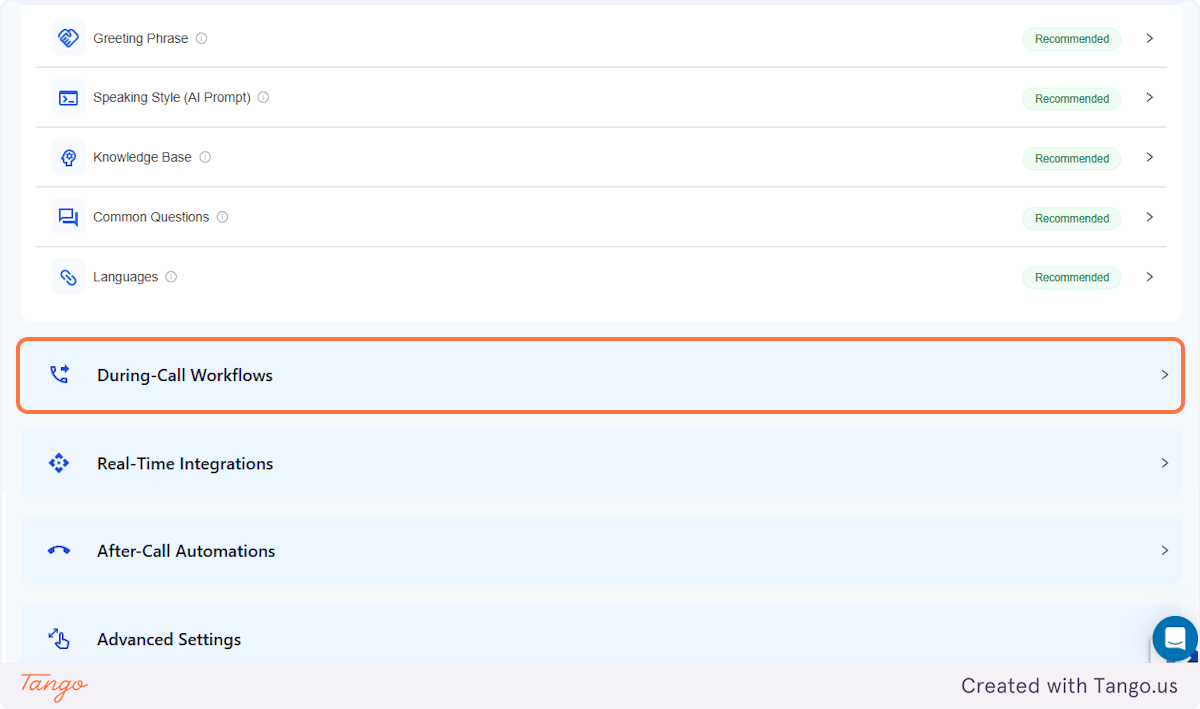
3. Click on During-Call Workflows#
The Information collection is under During-Call Workflows.
4. Click on Collect Information (Intake Form) #
Collect Information is on the 3rd row just below Send Text message.

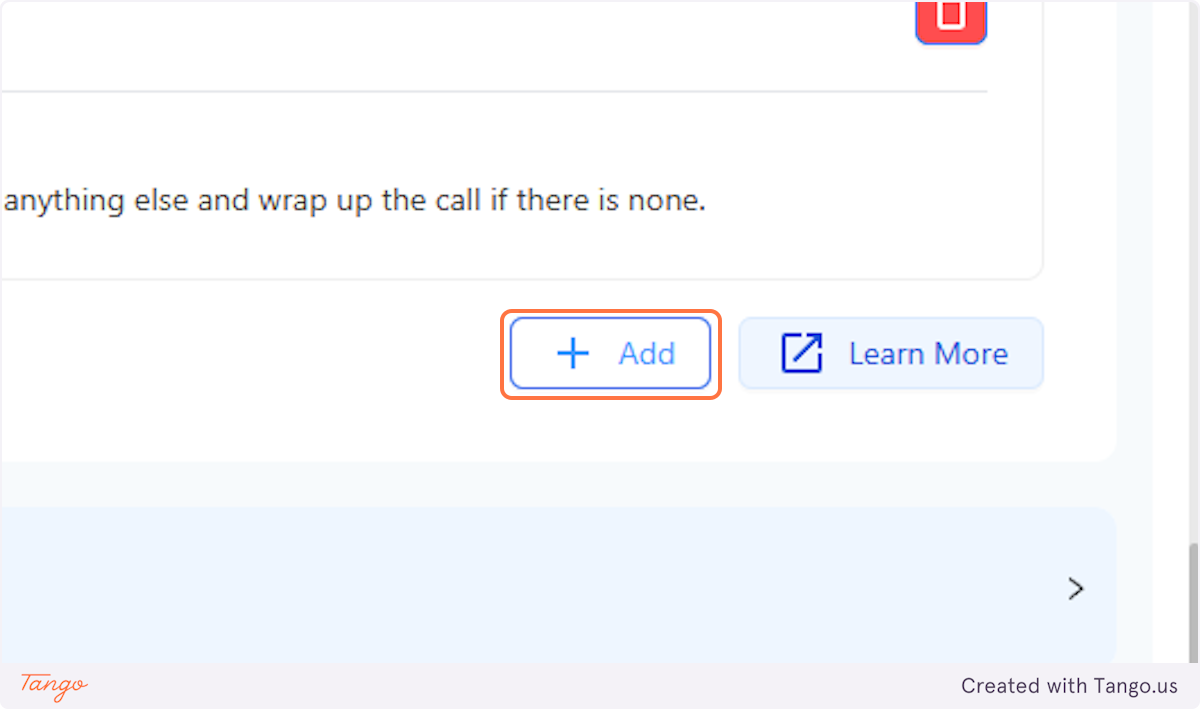
5. Click on Add#
Click "Add" to enter your questions, then choose either "Beginning of the Call" or "Custom Scenario."
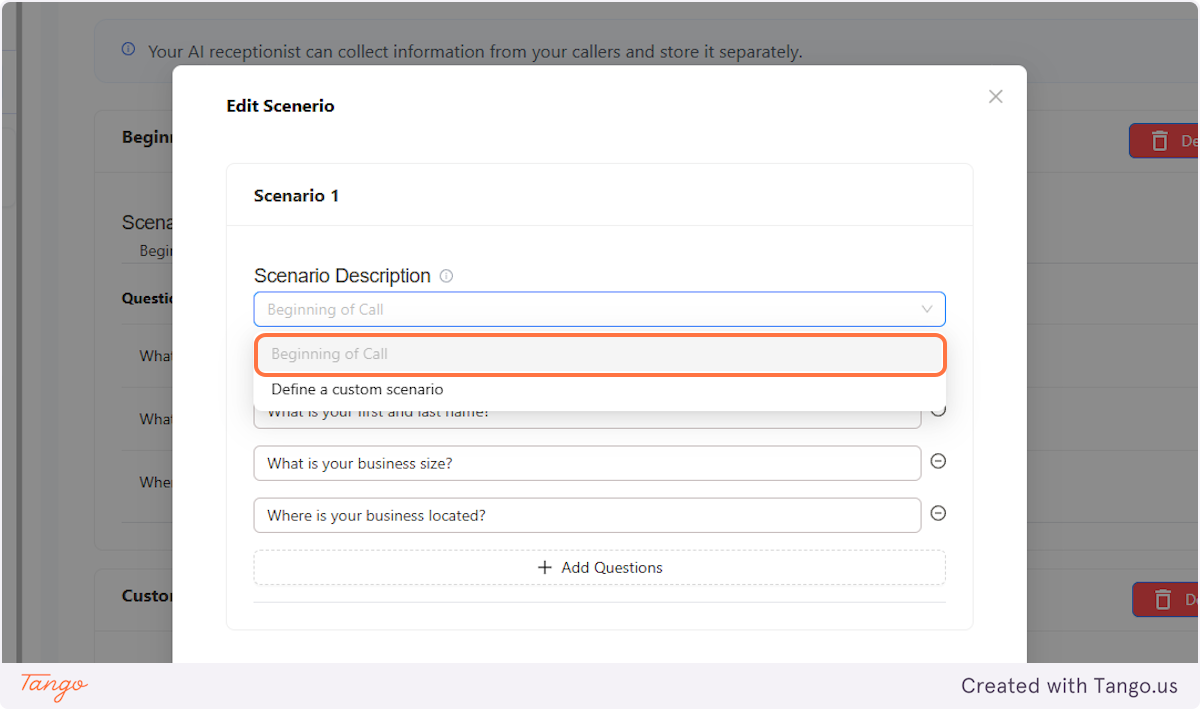
6. Click on Beginning of Call#
You can only add 1 Beginning of the call and multiple Define a Custom Scenario (if you are subscribed to the Pro plan).
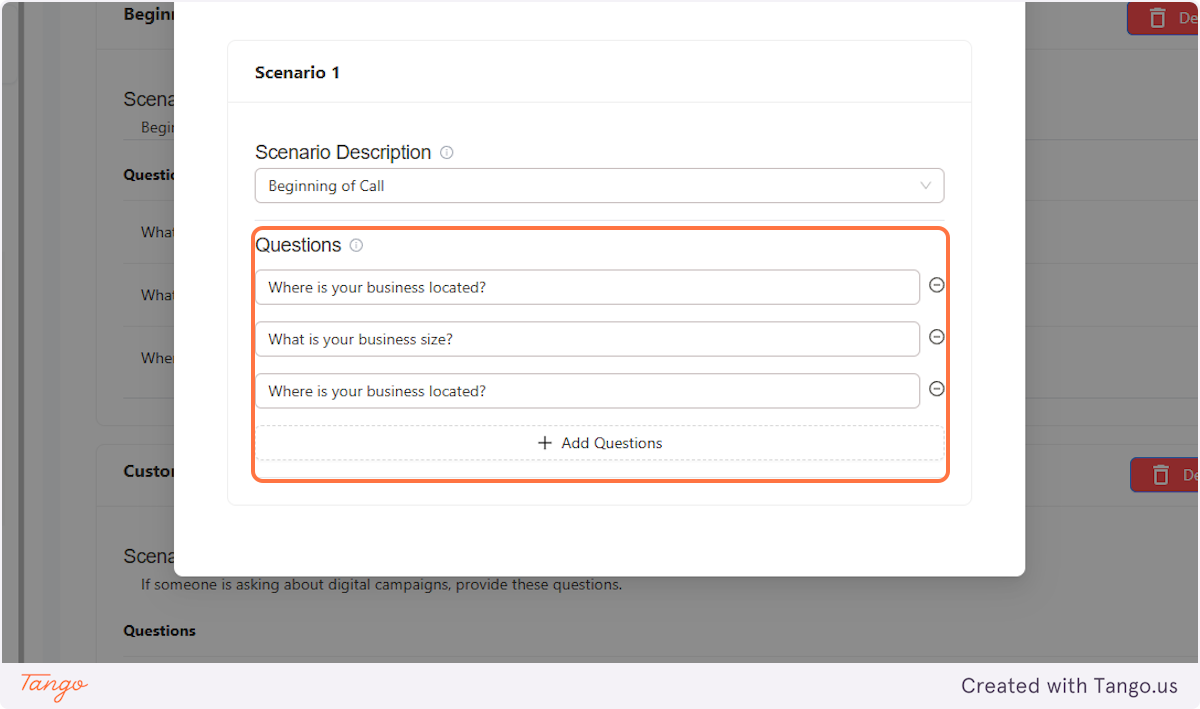
7. Beginning of the call#
You can add questions that will be asked at the start of the call.
Important Note: These questions will be asked by your AI receptionist after it says its "Greeting Phrase".
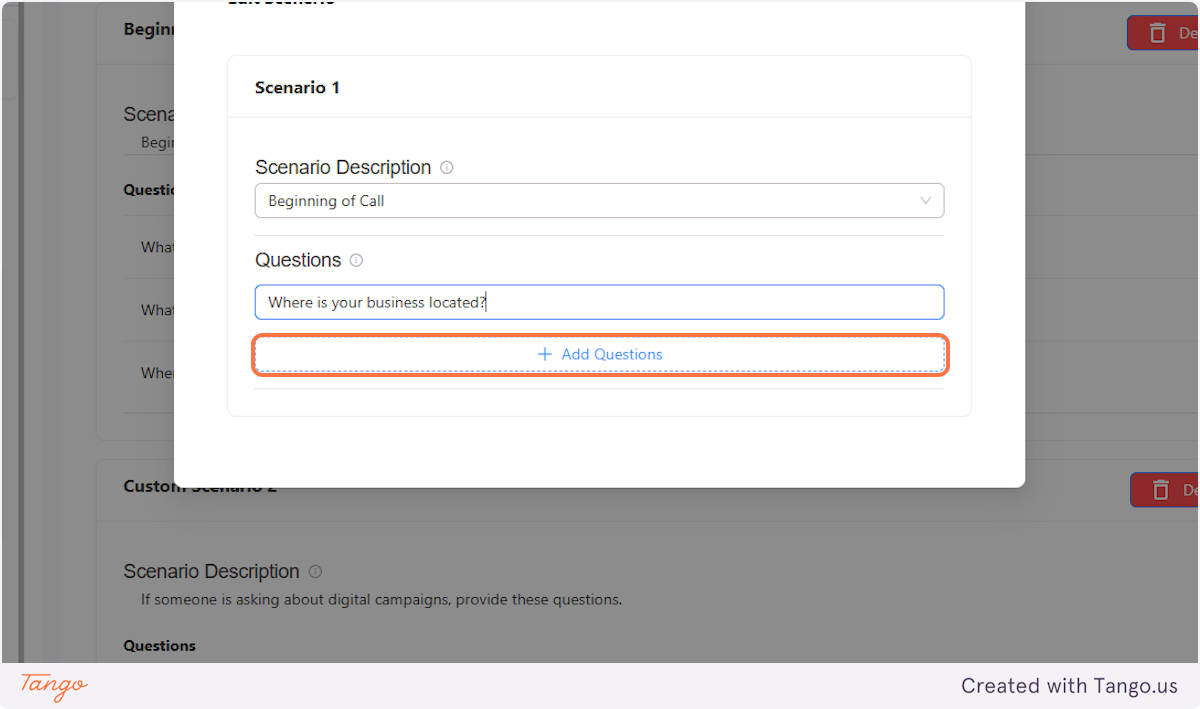
8. You can add multiple questions. #
Our clients typically request the caller's full name, phone number, and email address.
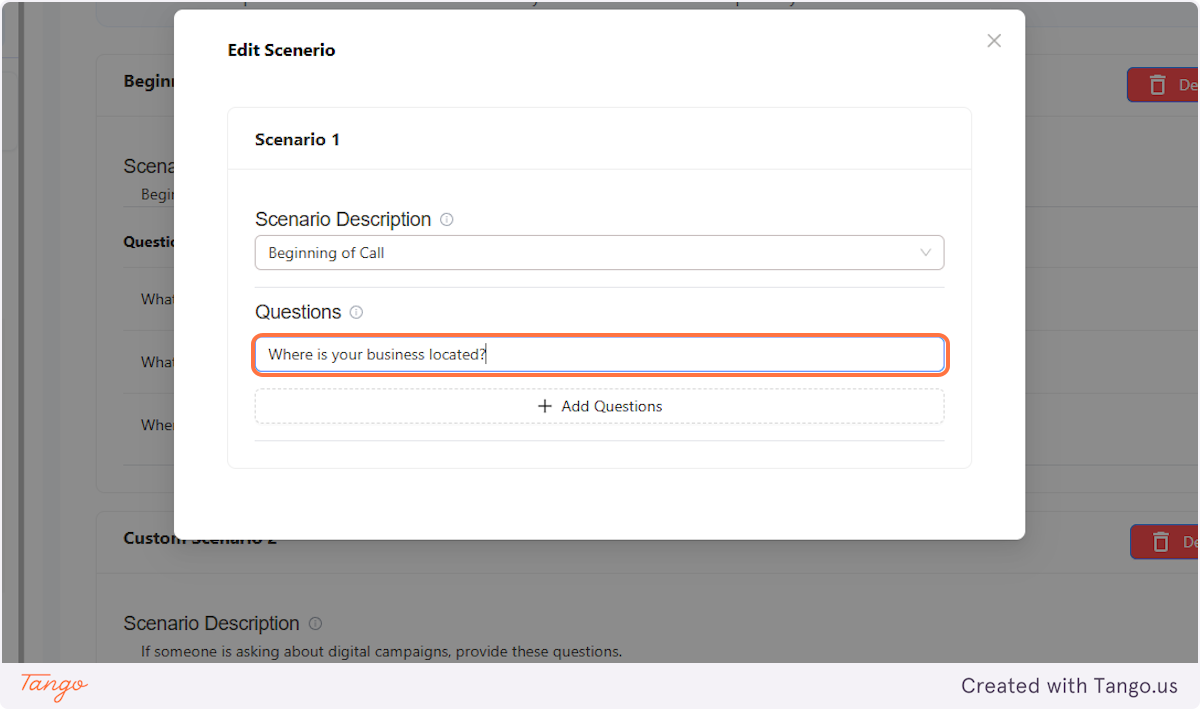
9. Questions#
This is an example of the usual questions we ask the callers. You can add questions that are relevant to your business.
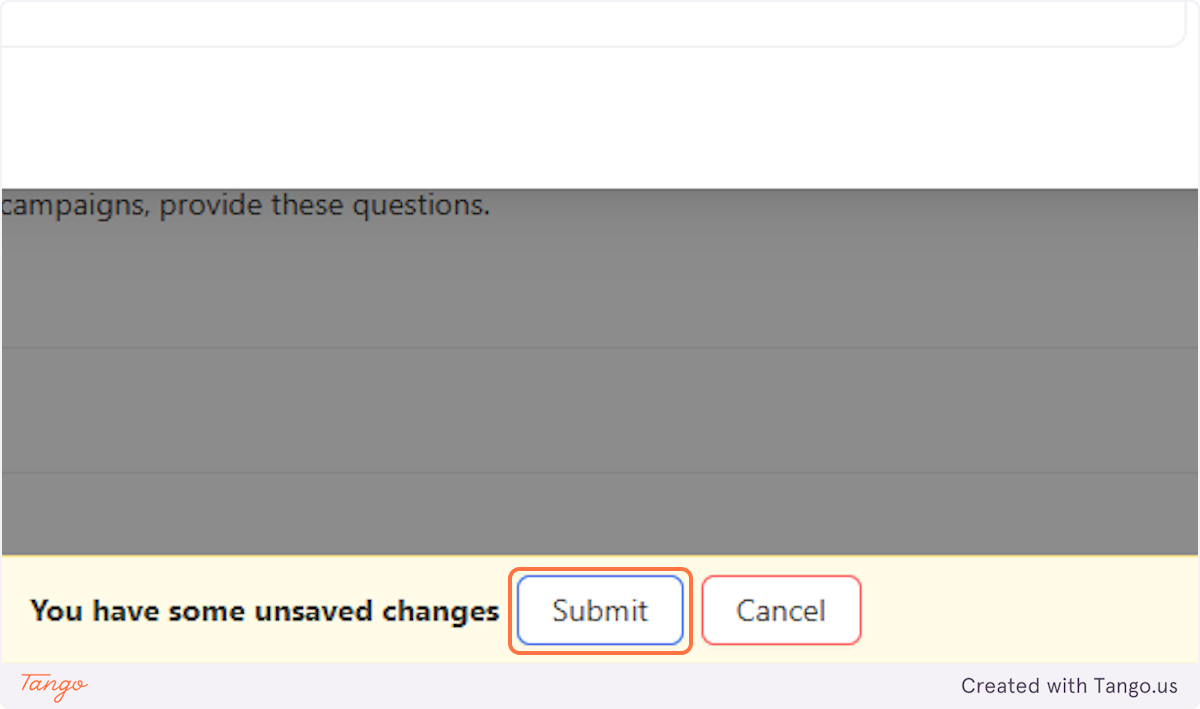
10. Click on Submit#
Do not forget to click submit to create the Intake Form
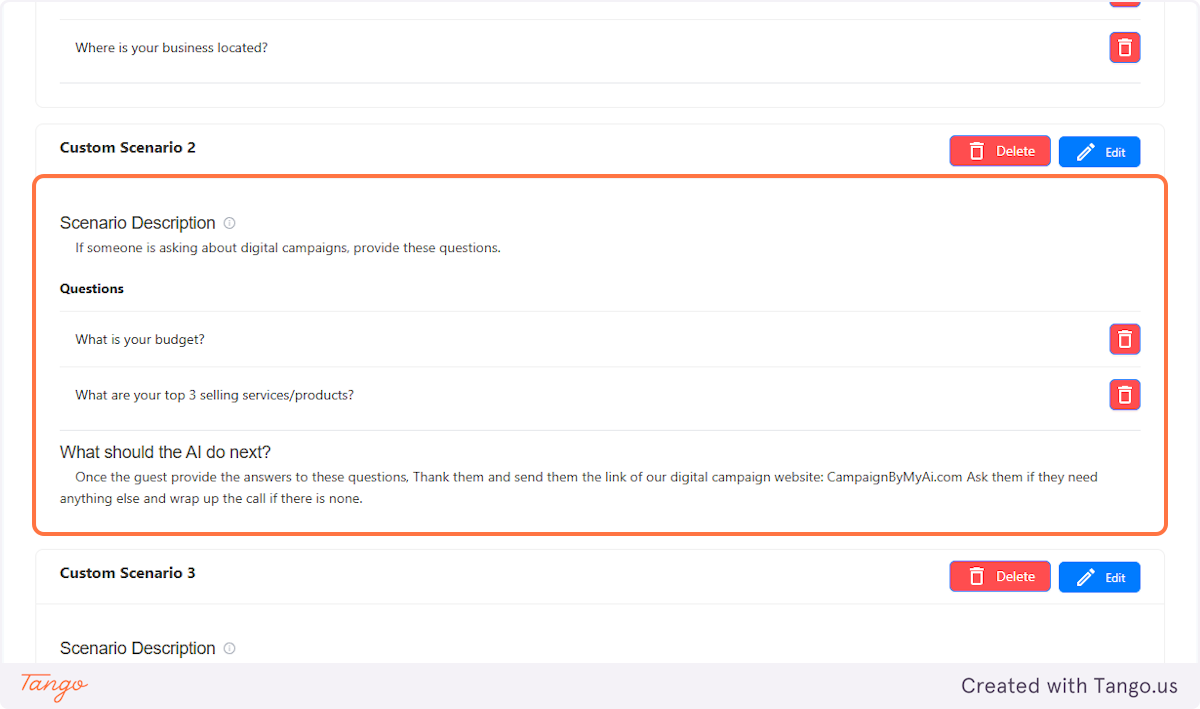
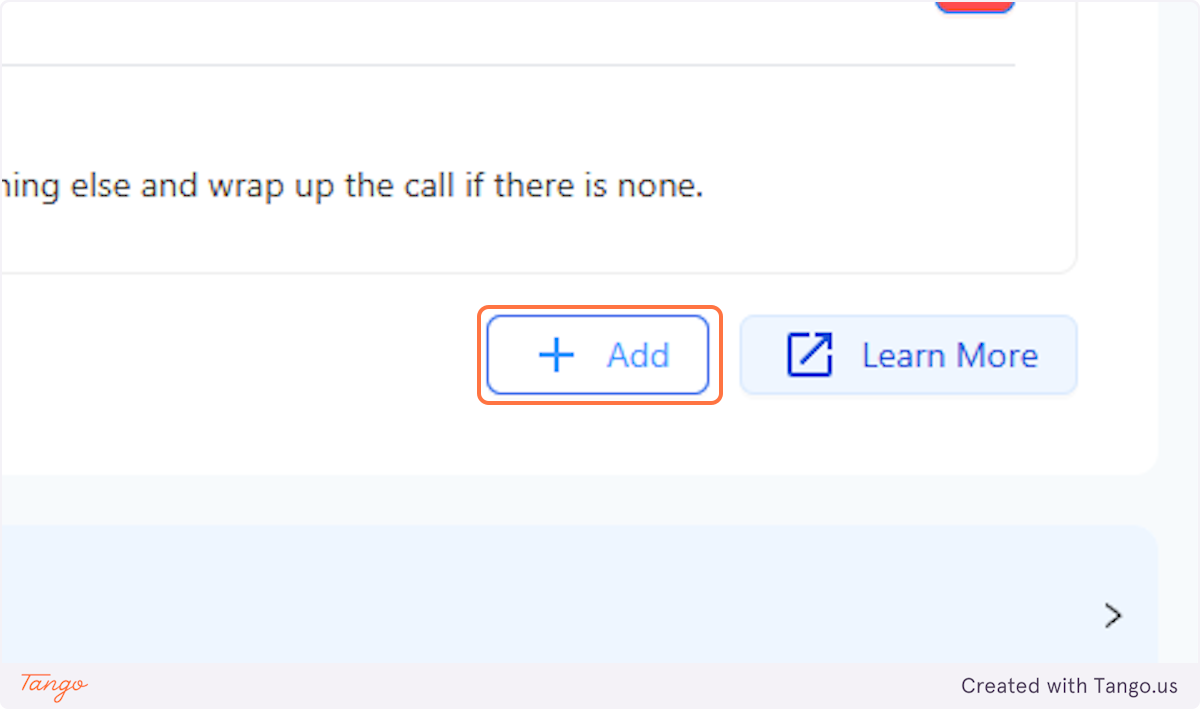
11. Adding a Custom Scenario#
Click Add to add a new Custom Scenario.
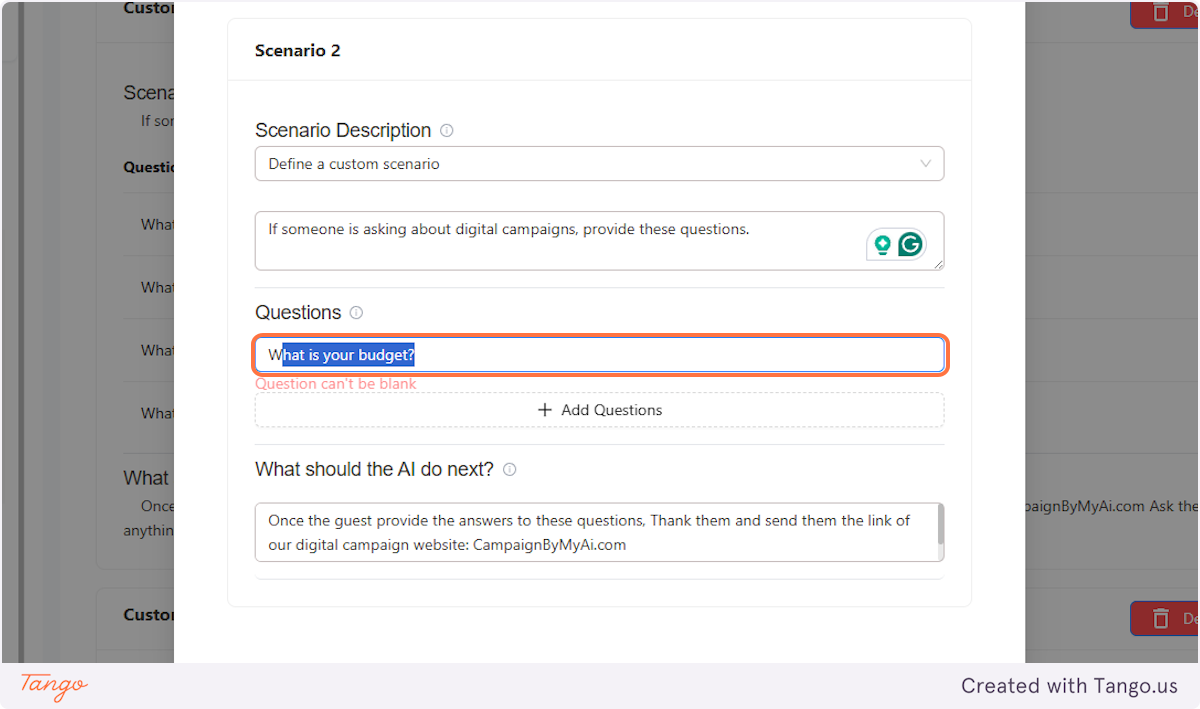
12. Specify when you want the AI to ask qualifying questions.#
An example is "If someone is asking about digital campaigns, execute this workflow."
Important note: Make sure that this is a command and not an informative sentence.
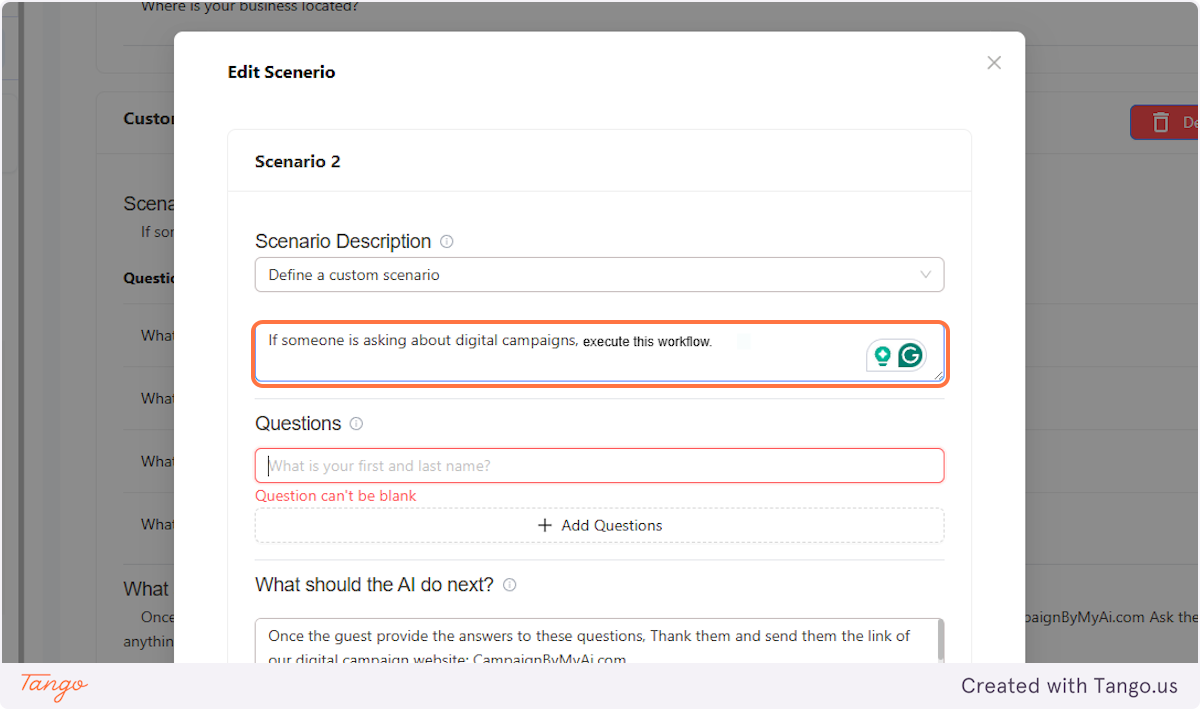
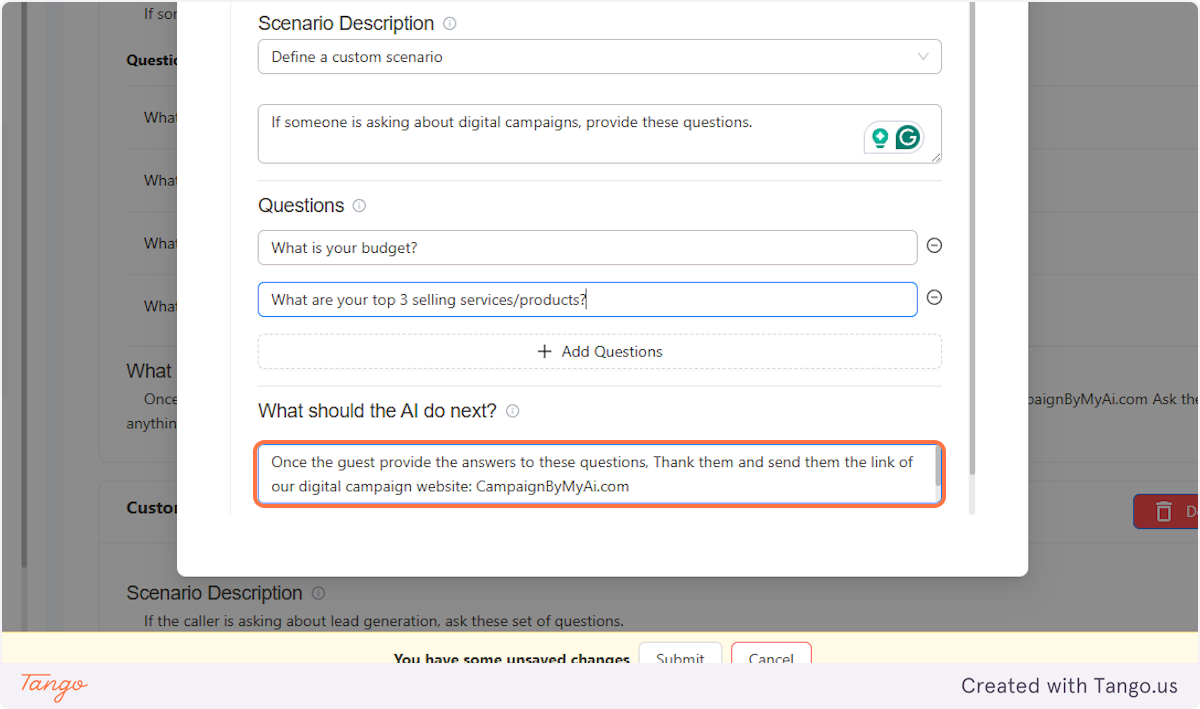
13. Add the questions you want AI after it recognizes your defined scenario.#
Example questions: Are you an existing customer? What is your budget?
14. Add instructions for AI to let it know what it should do next.#
Example: "Thank the caller and send this link: (Insert your link)".
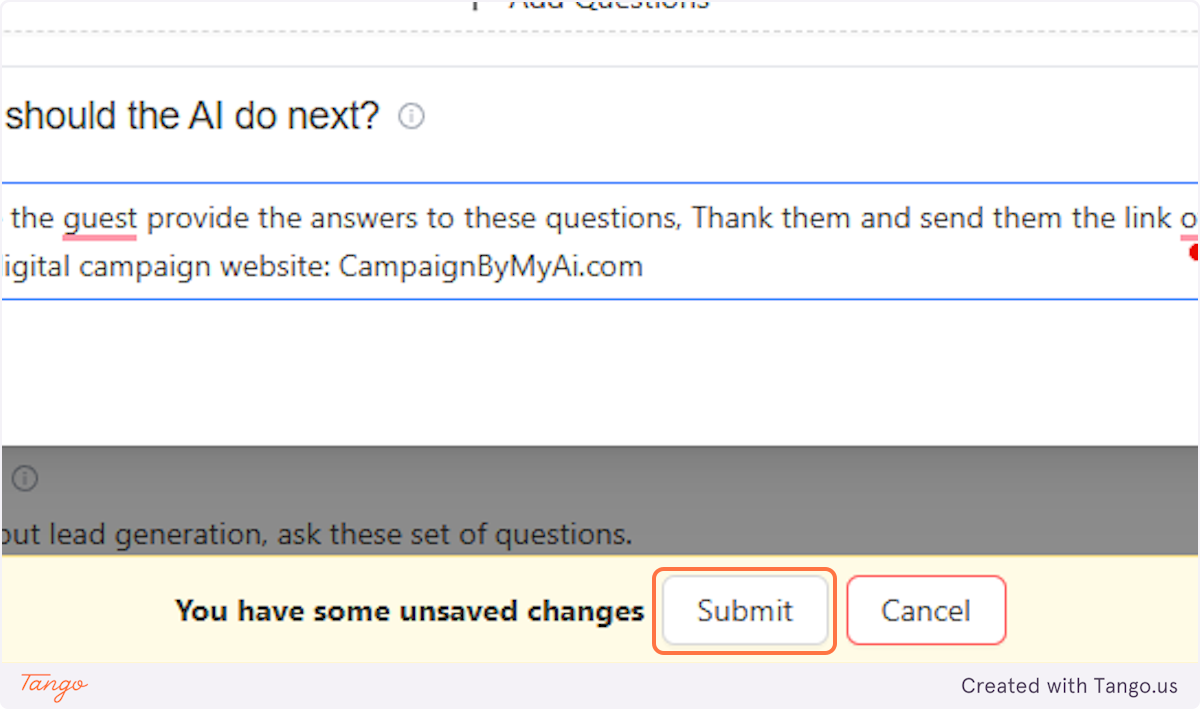
15. Click on Submit#
Do not forget to click on submit to ensure that the scenario is created.
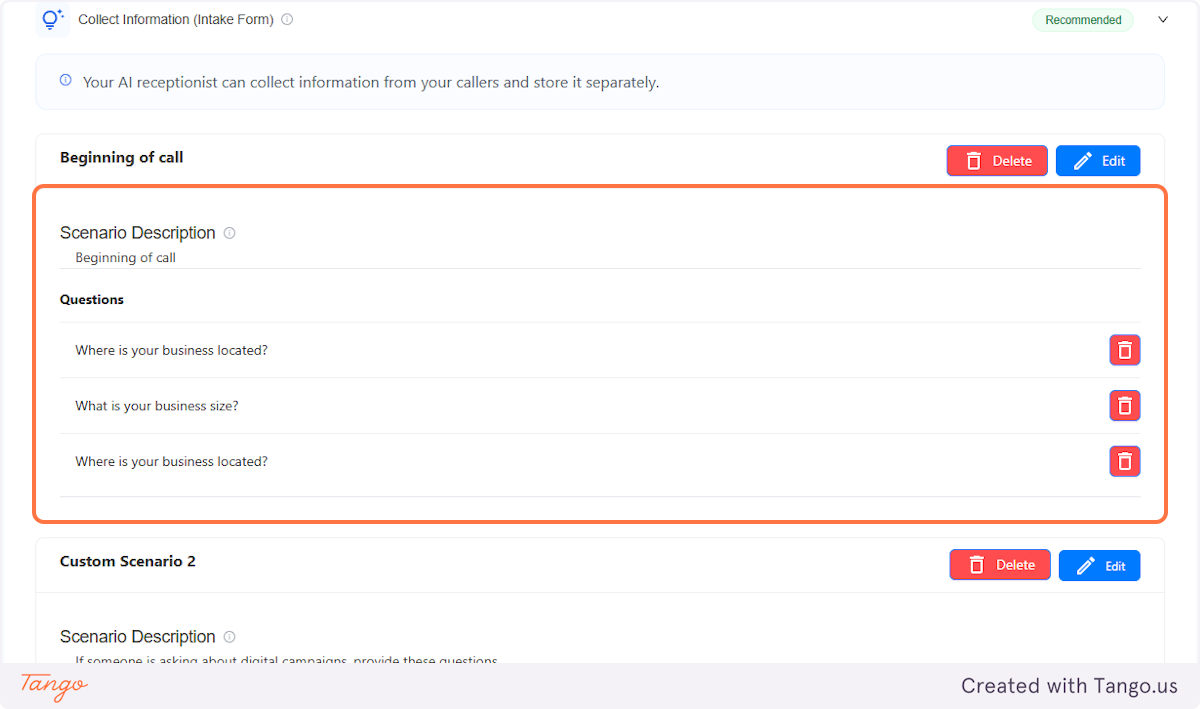
16. Beginning of a Call Scenario#
Here’s an example of what will appear once your Beginning of a Call Scenario is set up.
17. Sample of a Defined Custom Scenario#
Here’s an example of what will appear once your Defined Custom Scenario is set up.